Your P365 has a few thousand rounds through it, maybe more. It's your carry gun, so you want to know it works. The question isn't whether you should inspect it. The question is how deep you should go before you're creating problems instead of finding them.
SIG P365 Deals
Prices may change. May contain affiliate links.
SIG runs an eight-hour armorer certification course specifically for the P365 platform. That's not because the gun is impossibly complex. It's because the tolerances are tight, the parts are small, and the consequences of getting it wrong are serious in a gun this size. But a significant chunk of what armorers check during that course is visual inspection, function testing, and wear assessment that any competent owner can learn. The trick is knowing where the line is between "owner inspection" and "armorer territory."
This walkthrough covers the inspections you can do at your bench with basic tools, the wear indicators that tell you something needs attention, and the specific jobs where you should stop and hand it to someone qualified. No disassembly beyond what SIG's operator manual describes unless explicitly noted.
Clear the gun, then clear it again
This sounds obvious. Do it anyway. Drop the magazine, lock the slide back, visually and physically verify the chamber is empty. Then do it once more. Every inspection step below assumes an unloaded firearm with no magazine inserted. If you're going to dry-fire as part of function checking, do that verification a third time. The P365's small size makes it easy to get casual. Don't.
Set up on a clean, well-lit surface. A white towel on a table works fine. Small parts show up against it, and if something gets away from you, it won't bounce off the floor and disappear under the fridge.

Tools you actually need
You don't need an armorer's toolkit for owner-level inspection. Here's what's worth having on hand:
A good flashlight or headlamp for looking into the fire control unit cavity. A magnifying glass or loupe if your eyes aren't what they used to be. A set of roll-pin punches if you plan to remove the slide catch lever. A nylon brush and quality gun oil. And if you want one purpose-built accessory, the SIG Guy 365 Multi-Function Tool (the 365MFT V4) handles the striker channel and a few other P365-specific tasks without improvising with ill-fitting generic tools.
What you don't need and shouldn't buy for this purpose: armorer's blocks designed for the P320 (the FCU geometry is different), random punch sets from the hardware store (they'll mar the finish and can deform pins), or any kind of Dremel. If you're reaching for a rotary tool, you've left inspection territory and entered modification territory.
Field strip and frame inspection
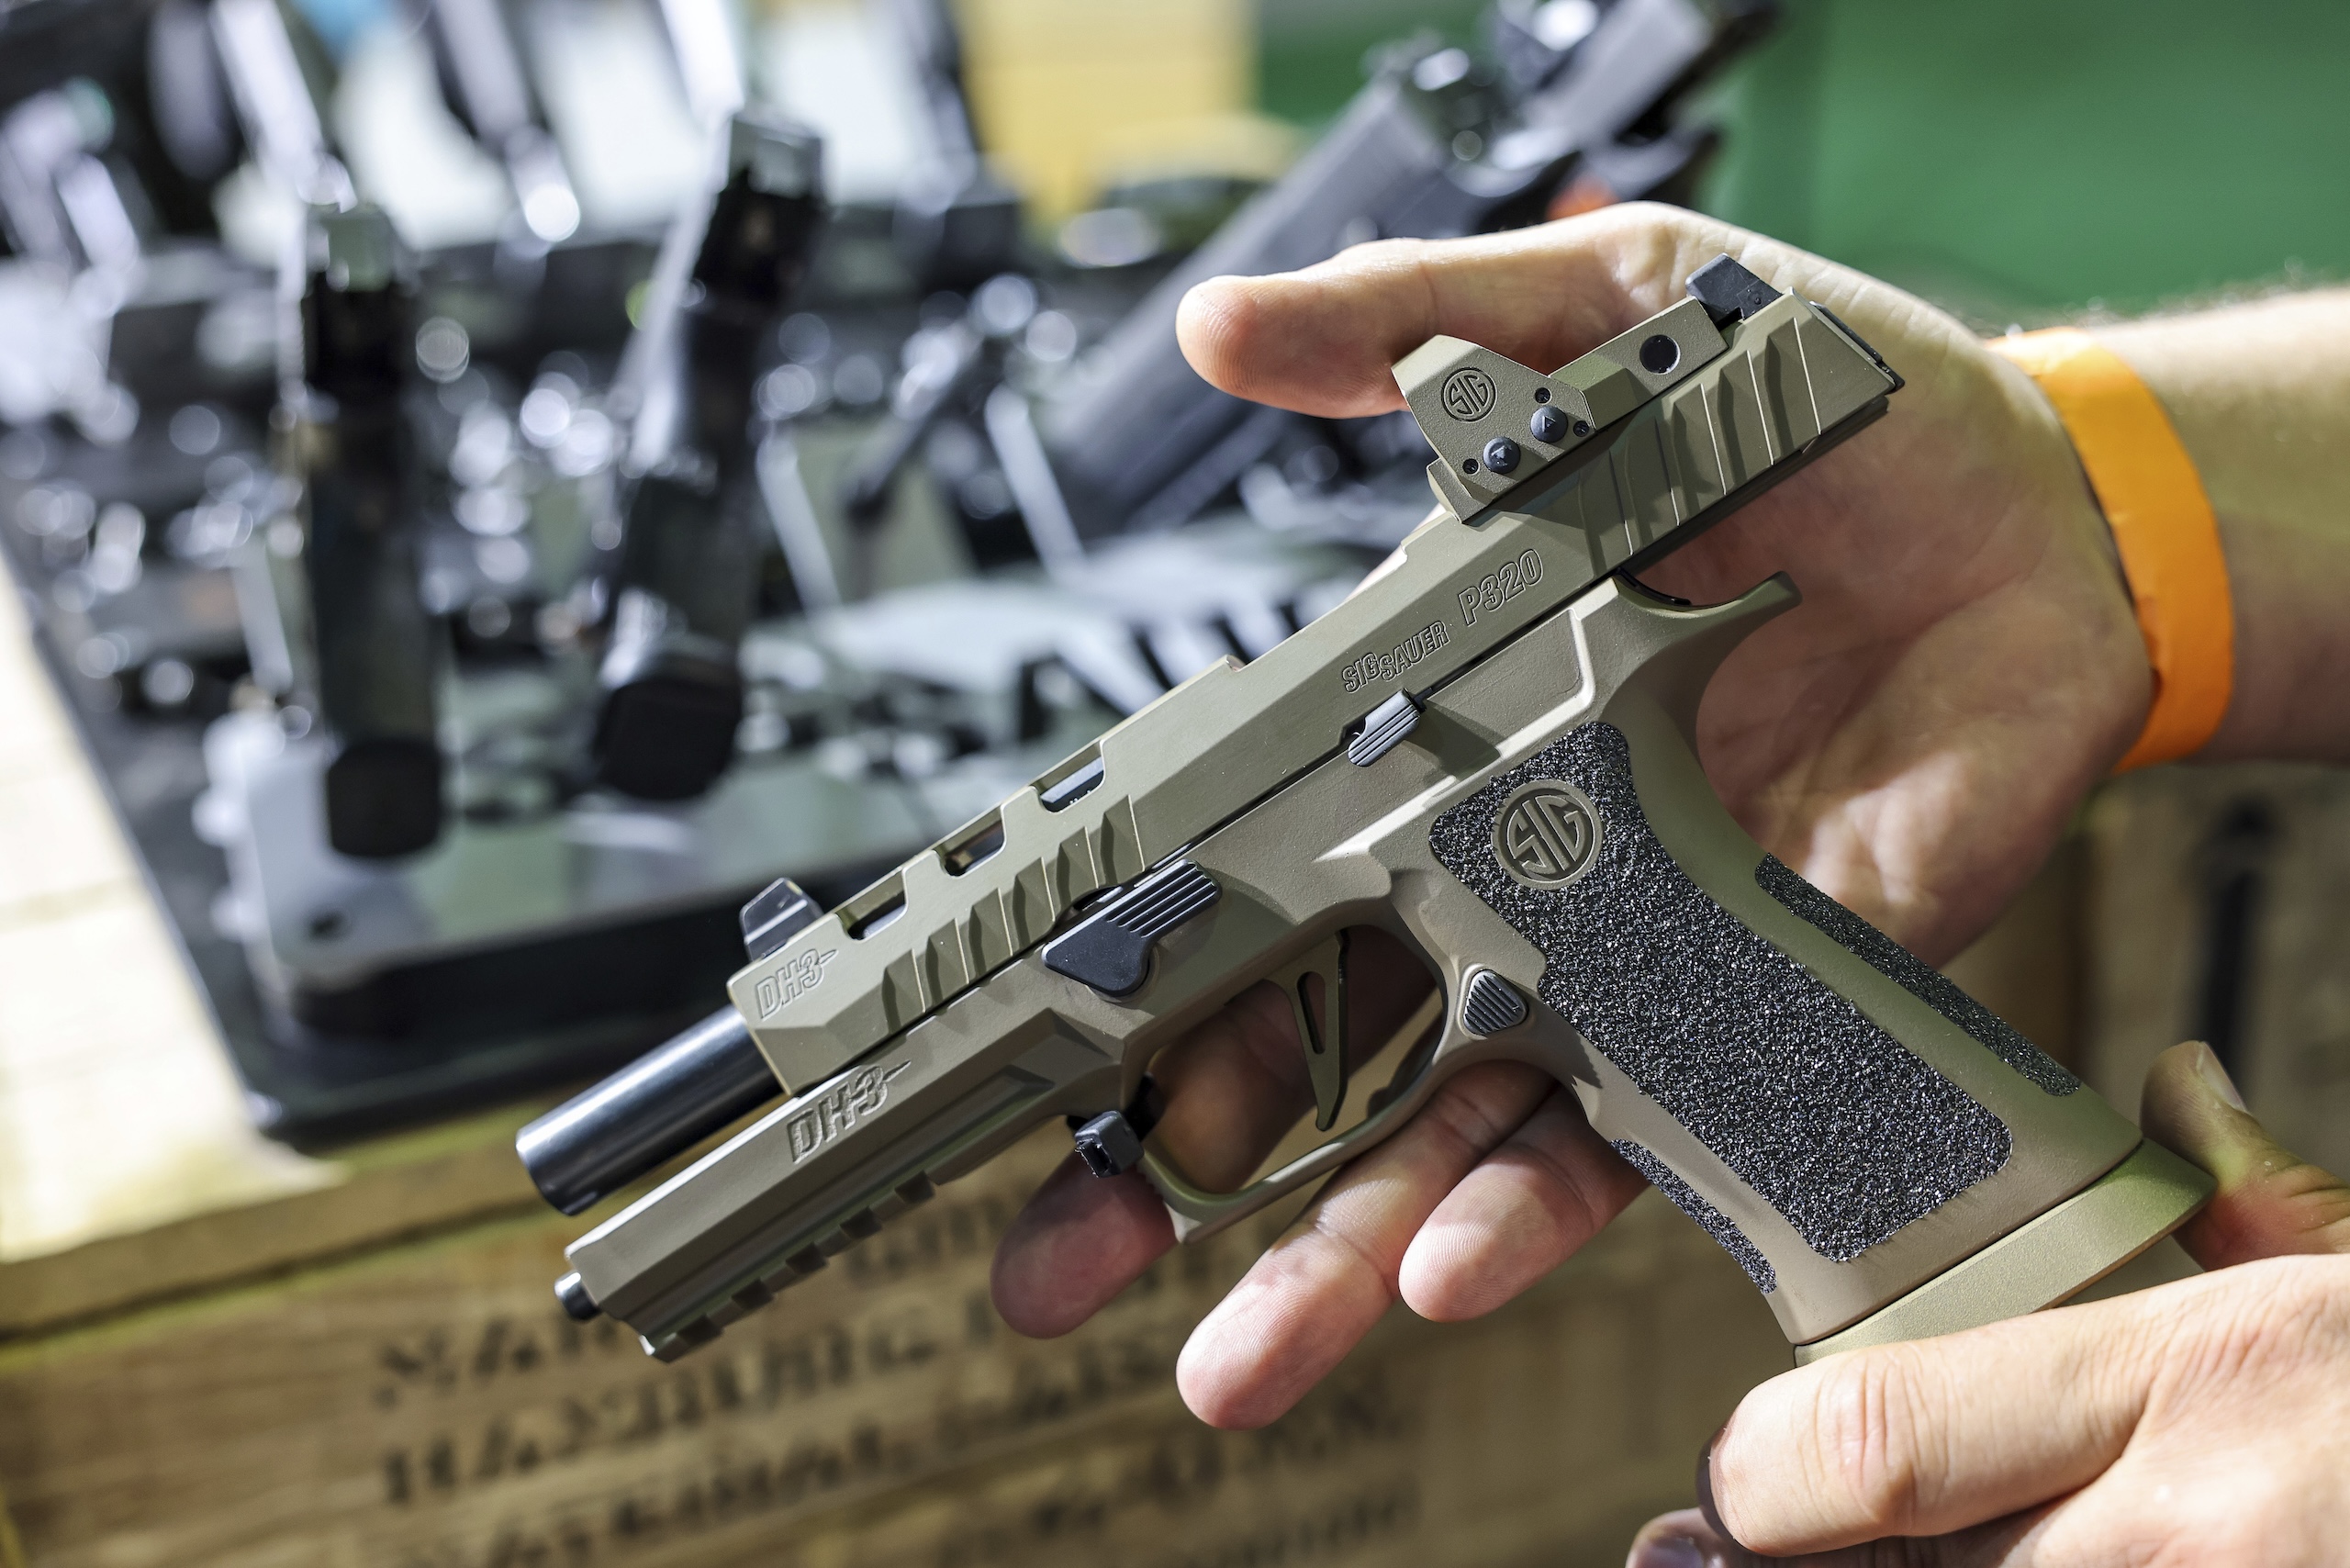
Field stripping the P365 follows the standard procedure from SIG's manual. Lock the slide back, rotate the takedown lever, ease the slide forward off the frame. Remove the recoil spring assembly and barrel. This is all owner-level, and if you're not comfortable doing it, spend time getting comfortable before you carry the gun.
What to look at on the frame
With the slide off, look down into the frame at the fire control unit. The P365 uses a stainless steel FCU chassis that houses the trigger, sear, and striker interface components. You're not disassembling this. You're looking at it.

Check the frame rails where the slide rides. On the P365, these are part of the FCU chassis, not molded into the polymer. Look for visible wear marks, which are normal, versus actual material removal or peening, which isn't. The rails should be smooth with a consistent wear pattern. If one rail shows significantly more wear than the other, or if you can see a groove being cut, that's worth flagging.
Look at the locking block area where the barrel locks into battery. Carbon buildup here is normal. Cracks are not. The locking block on the P365 is integral to the FCU, so if it's cracked, the entire FCU needs replacement. That's a SIG warranty issue, not a home repair.
The trigger bar is visible from above with the slide removed. It's a flat spring-steel piece that runs along the right side of the FCU. Look for any obvious bending, discoloration, or cracks. This component has a known failure mode that we'll cover in detail below.
The grip module
The polymer grip module is just a housing. Inspect it for cracks around the takedown lever cutout and the magazine well. Flex isn't a defect; the polymer is supposed to have some give. Cracks at stress points are the concern, particularly around the rear where the FCU pins seat.
Check that the takedown lever rotates smoothly and indexes firmly in both positions. A sloppy takedown lever usually means the spring or detent behind it is worn, not that the lever itself is bad.
Slide inspection
Flip the slide over and look at the interior. You're checking several things here, and the order matters because some issues mask others.
Breech face
The breech face is the flat surface at the rear of the slide where the cartridge head rests. It should be smooth with minor tool marks from manufacturing. Look for pitting, erosion, or any buildup of brass or copper transfer. Light brass marks wipe off with solvent. If you see actual cratering or erosion around the firing pin hole, that's a headspace or pressure concern and the slide needs professional evaluation.

The firing pin hole itself should be round and clean-edged. An elongated or eroded firing pin hole can cause primer flow, which shows up as a small crater on spent primers. Compare your spent brass to factory-new primers. A slight impression is normal. A deep crater with a raised ring around it suggests excessive firing pin protrusion or an eroded hole.
Extractor
The P365 uses a spring-loaded external extractor on the right side of the slide. With the slide removed from the frame, you can see the extractor claw at the breech face. It should have a sharp, defined hook with no chips or rounding. Push on it with your thumbnail. It should deflect inward against spring tension and snap back cleanly. If it feels mushy, sticks, or doesn't return with authority, the extractor spring is weakening.

This is where things get nuanced. Replacing the extractor on a P365 requires driving out a roll pin and managing a small spring and plunger. It's doable at home with the right punches, but the extractor tension after reassembly is critical. Too much and you get failures to eject. Too little and you get failures to extract. If you're not confident you can assess the correct tension by feel, this is a gunsmith job.
Striker channel
With the slide inverted, look into the striker channel from the rear. You're checking for debris, dried lubricant buildup, or corrosion. The P365's striker channel should be dry. SIG specifies no lubrication in the striker channel. Oil in there attracts carbon and grit, which can slow the striker and cause light primer strikes.
If you have the SIG Guy multi-function tool, it includes a striker channel cleaning component. Otherwise, a properly sized nylon brush and solvent work. Run it through, let it dry completely, and don't oil it afterward. This is one of the most common maintenance mistakes on the platform: people oil everything, including the striker channel, and then wonder why they're getting intermittent light strikes after a few hundred rounds.
Rear sight and optic plate
If you're running the standard P365 with iron sights, check that the rear sight hasn't shifted. Grab it and try to move it side to side. Any movement means the set screw (on models that have one) has loosened or the dovetail fit has worn. On optic-ready models like the P365X or P365XL, inspect the screws securing the optic plate or red dot. These should be checked with a torque wrench, not just finger-tight. SIG specifies torque values in the optic mounting instructions, and thread locker is required.
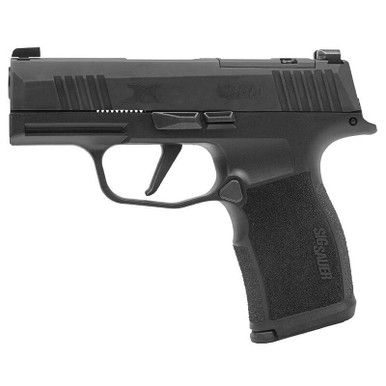
Sig sauer P365X Deals
Prices may change. May contain affiliate links.

Sig sauer P365XL Deals
Prices may change. May contain affiliate links.
The trigger bar spring: the known failure point
This deserves its own section because it's the single most discussed reliability issue on the P365 platform. The trigger bar spring, sometimes called the trigger return spring or trigger reset spring, is a small torsion spring that lives inside the FCU. Its job is to push the trigger bar forward after the sear releases, which resets the trigger for the next shot.
When this spring fails, the trigger goes forward but doesn't reset. You pull the trigger, the gun fires, the slide cycles, and the trigger stays dead. No click, no wall, nothing. The gun is mechanically safe in this condition because the sear is still doing its job, but the trigger won't function until you rack the slide manually.
How to check for it
You can't see the trigger bar spring without partial FCU disassembly, which puts it outside owner-level inspection. But you can check its function. With the gun cleared and verified empty, rack the slide to cock the striker. Press the trigger and hold it back. Now rack the slide again while keeping the trigger pressed. Slowly release the trigger. You should feel a distinct click and the trigger should move forward to its reset point.

Do this ten times. If the reset feels inconsistent, if the trigger doesn't come forward on one of those cycles, or if you feel the reset getting weaker over the course of the test, the spring is fatiguing. This is especially relevant on early-production P365 pistols (roughly 2018-2019), where trigger bar spring failures were reported more frequently. SIG revised the spring design, and later production guns use an updated part. But if you have an older gun with high round count, this check matters.
What to do about it
Replacing the trigger bar spring requires removing the trigger group from the FCU chassis. This involves small pins, a sear spring under tension, and precise reassembly of safety-critical components. SIG considers this armorer-level work. If your trigger reset check reveals a problem, send it to SIG (they've historically handled this under warranty) or take it to a SIG-certified armorer. This is not the place to learn FCU disassembly on your carry gun.
Some owners keep a spare trigger bar spring in their kit. That's reasonable, but only if they've been trained to install it or if they have a backup carry gun while theirs is at SIG.
Recoil spring assessment
SIG's operator manual doesn't specify an exact round count for recoil spring replacement on the P365, which has led to a lot of forum speculation. The general guidance from SIG's armorer courses and various community discussions suggests inspection at around 3,000 to 5,000 rounds, with replacement as needed based on condition.
Here's how to assess it without a spring scale. Remove the recoil spring assembly from the slide. Hold it vertically and let it hang. It should be straight, not bowed or curved. Compress it by hand. The resistance should be firm and consistent through the entire range of travel. If it feels noticeably weaker in one section, or if the spring has taken a set (meaning it's shorter than a new one at rest), replace it.

A more practical test: if you're experiencing erratic ejection patterns, brass going everywhere instead of consistently to one area, the recoil spring is a likely culprit. Same if the slide isn't returning fully to battery on the last round or two of a magazine. The P365 is a short-stroke, snappy gun by nature, but changes in how it cycles are telling you something.
Replacement recoil springs are available directly from SIG and from aftermarket sources. Stick with factory SIG springs for your carry gun. The spring weight is calibrated to the slide mass and barrel lockup timing. Aftermarket "reduced recoil" springs change that equation and can cause reliability issues.
Barrel inspection
Remove the barrel from the slide and hold it up to a light. Look through the bore from the chamber end. You're checking for pitting, erosion, or copper fouling buildup. The P365 barrel is carbon steel with a Nitron finish. It's durable, but it's not chrome-lined or cold hammer forged like some duty-size pistols.
The feed ramp should be polished smooth from the factory. Look for gouging or deep scratches that could catch a case rim during feeding. Light tool marks are cosmetic. Actual gouges that you can feel with a fingernail are functional problems.
Check the barrel hood, the flat top surface that locks into the ejection port. Wear marks here are completely normal and indicate proper lockup. What you don't want to see is peening, which looks like the metal is being mushroomed or deformed rather than just polished by friction.

The barrel lug underneath, where the barrel cams down during unlocking, will show wear. Again, a polished wear track is normal. Deformation is not. If the lug shows signs of battering, that's a headspace concern and needs professional gauging.
Magazine inspection
Magazines are consumable parts and the most common source of feeding malfunctions on any semi-auto. The P365 uses a proprietary magazine design, and there are meaningful differences between the flush-fit 10-round, the extended 12-round, and the 15-round extended magazines.
Strip each magazine by removing the baseplate and sliding out the spring and follower. Clean the interior of the magazine body with a brush and solvent. Look for dents or deformation in the magazine body, especially near the feed lips. The feed lips are the most critical dimension on the magazine. If they're spread, bent inward, or cracked, the magazine is done. Don't try to re-bend feed lips on a carry magazine. Buy a new one.

The magazine spring should be inspected the same way as the recoil spring: look for set, bowing, or inconsistent tension. Magazine springs weaken faster than recoil springs because they spend most of their life compressed (assuming you keep your carry magazines loaded). Rotating between two or three carry magazines extends their service life.
The follower should move freely up and down the magazine body without tilting or binding. Tilt the magazine side to side while pressing the follower down. If it catches or hangs up, there's a burr inside the magazine body or the follower is worn.
One specific note on the P365's 10-round flush-fit magazines: these are the tightest fit in the grip module, and they're the most sensitive to feed lip geometry. If you're having issues only with the flush-fit mag and not the extended ones, the magazine is almost certainly the problem.
Function check procedure
After any inspection or cleaning, run a function check before the gun goes back in the holster. Here's the sequence for the P365:
May contain affiliate links.
Reassemble the gun per the manual. Verify it's unloaded. Insert an empty magazine. Rack the slide and release it. The slide should go fully into battery. Press the trigger. The striker should fall with a clean break. Hold the trigger back, rack the slide, and slowly release the trigger. You should feel and hear the reset click. Press the trigger again. Another clean break.
Now check the slide stop. With the empty magazine inserted, rack the slide. It should lock back on the empty magazine. Press the slide release. The slide should close with authority.
Remove the magazine and rack the slide several times. The action should be smooth through the entire range of travel with no catching, grinding, or dead spots.
If your P365 has a manual safety (the P365 MS variant), verify the safety functions in both directions. Cock the striker by racking the slide. Engage the safety. Pull the trigger. Nothing should happen. Disengage the safety. Pull the trigger. The striker should fall. Do this three times minimum. A manual safety that works intermittently is worse than no safety at all.
Common mistakes during owner inspection
There are a handful of errors that come up repeatedly when P365 owners try to go beyond basic field stripping.
The first is over-lubricating. The P365 runs well with minimal lubrication. A drop of oil on each slide rail, a drop on the barrel hood, and a drop on the barrel lug. That's it. Flooding the gun with oil attracts debris and can migrate into the striker channel. In a carry gun that lives against your body and collects lint, sweat, and dust, excess oil becomes a liability.

The second is attempting to remove the striker assembly without understanding the spring tension involved. The P365 striker spring is under significant compression. If you remove the striker retaining plate without controlling the spring, parts launch. More importantly, reassembling the striker with incorrect spring orientation or tension creates a gun that either won't fire or fires with unreliable primer ignition. This is armorer territory.
The third is adjusting or replacing the sear spring to change the trigger pull. The sear spring tension on the P365 is set at the factory to ensure reliable sear engagement. Reducing it to lighten the trigger pull can result in a sear that doesn't hold under recoil. This is how you get a gun that doubles or follows, meaning it fires a second shot when the slide returns to battery. That's not an upgrade. That's a negligent discharge waiting to happen.
The fourth is using the wrong pins during reassembly. The P365 uses a mix of roll pins and solid pins, and they're not interchangeable. A solid pin in a roll-pin hole won't expand to grip. A roll pin in a solid-pin hole will deform. If you've removed any pins during inspection, make sure you're putting the right pin back in the right hole.
The fifth, and this one catches people, is forgetting to verify the loaded chamber indicator after reassembly. The P365 has a visual and tactile loaded chamber indicator on the extractor. After reassembly, insert a snap cap and verify the indicator functions. If it doesn't, the extractor isn't seated correctly.
What to leave to a professional
Here's the honest list of things that look tempting but should be left to a SIG-certified armorer or qualified gunsmith:
FCU disassembly beyond removing it from the grip module. This includes trigger bar removal, sear replacement, and striker assembly work. The tolerances are tight, the springs are small and under tension, and the consequences of incorrect reassembly are severe. SIG's armorer course exists specifically because this work requires training.
Headspace checking. If you suspect a headspace issue based on your brass inspection, a gunsmith with go/no-go gauges needs to verify it. You cannot reliably check headspace by feel or visual inspection alone.
Any modification to the sear engagement surfaces. Polishing the sear, adjusting the sear engagement angle, or fitting an aftermarket sear are all jobs that affect whether the gun fires when it should and only when it should. Companies like Grayguns offer professional trigger work on SIG platforms, and that's the right path if you want a better trigger.
Slide milling for optic cuts on non-optic-ready models. This is machine shop work, not bench work.
Fitting a manual safety to a model that didn't come with one. SIG sells conversion kits and has installation videos, but the job requires precise fitting of the safety lever detent and verification that the safety positively blocks the trigger bar. A safety that can be bumped off isn't safe. If you're going to do this, follow SIG's instructions exactly, and function-test it exhaustively before carrying.
Round count and service life considerations
SIG has been quoted in various contexts suggesting a maximum expected service life of around 20,000 rounds for the P365 platform. That number has generated a lot of debate. It doesn't mean the gun explodes at 20,001 rounds. It means SIG's engineering data suggests that by that round count, enough components may have worn to the point where a full inspection and parts replacement is warranted.

For a carry gun that sees 200 to 500 rounds per range session a few times a month, 20,000 rounds accumulates faster than most people think. At 1,000 rounds per month, you're there in under two years. At that point, a full armorer-level inspection, including FCU disassembly, spring replacement, and wear measurement, is justified. This is a good time to send the gun to SIG or take it to a certified armorer for a complete going-over.
Between those major service intervals, the owner-level inspections described above will catch most developing issues before they become failures. The trigger reset check, recoil spring assessment, extractor function test, and magazine inspection are your early warning system.
First range trip after inspection
After any significant cleaning or inspection, the first range session is a verification session, not a training session. Load one magazine with five rounds. Fire them, paying attention to how the gun cycles, where the brass lands, and how the trigger feels. Any change from your baseline is information.
Load a full magazine and fire it. Confirm the slide locks back on empty. Run a couple of magazines through it before you trust it for carry again. If anything feels off, stop shooting and start diagnosing.
The P365 is a well-designed carry gun with a strong track record, but it's a mechanical device with parts that wear. Knowing what to look for and when to look for it keeps it running. Knowing when to stop and hand it to someone with more training keeps it safe. There's no shame in the second part. The armorer course exists for a reason, and the best thing an owner can do is learn exactly where their competence ends and a professional's begins.