
You picked up a used Mini-14 and it short-strokes, fails to lock the bolt back, or won't cycle at all. Before you start swapping parts or assuming the magazine is bad, the gas block assembly deserves a hard look. Carbon buildup, erosion, and wrong-series replacement parts are the usual culprits, and on older rifles the gas block is often the first place neglect shows up.
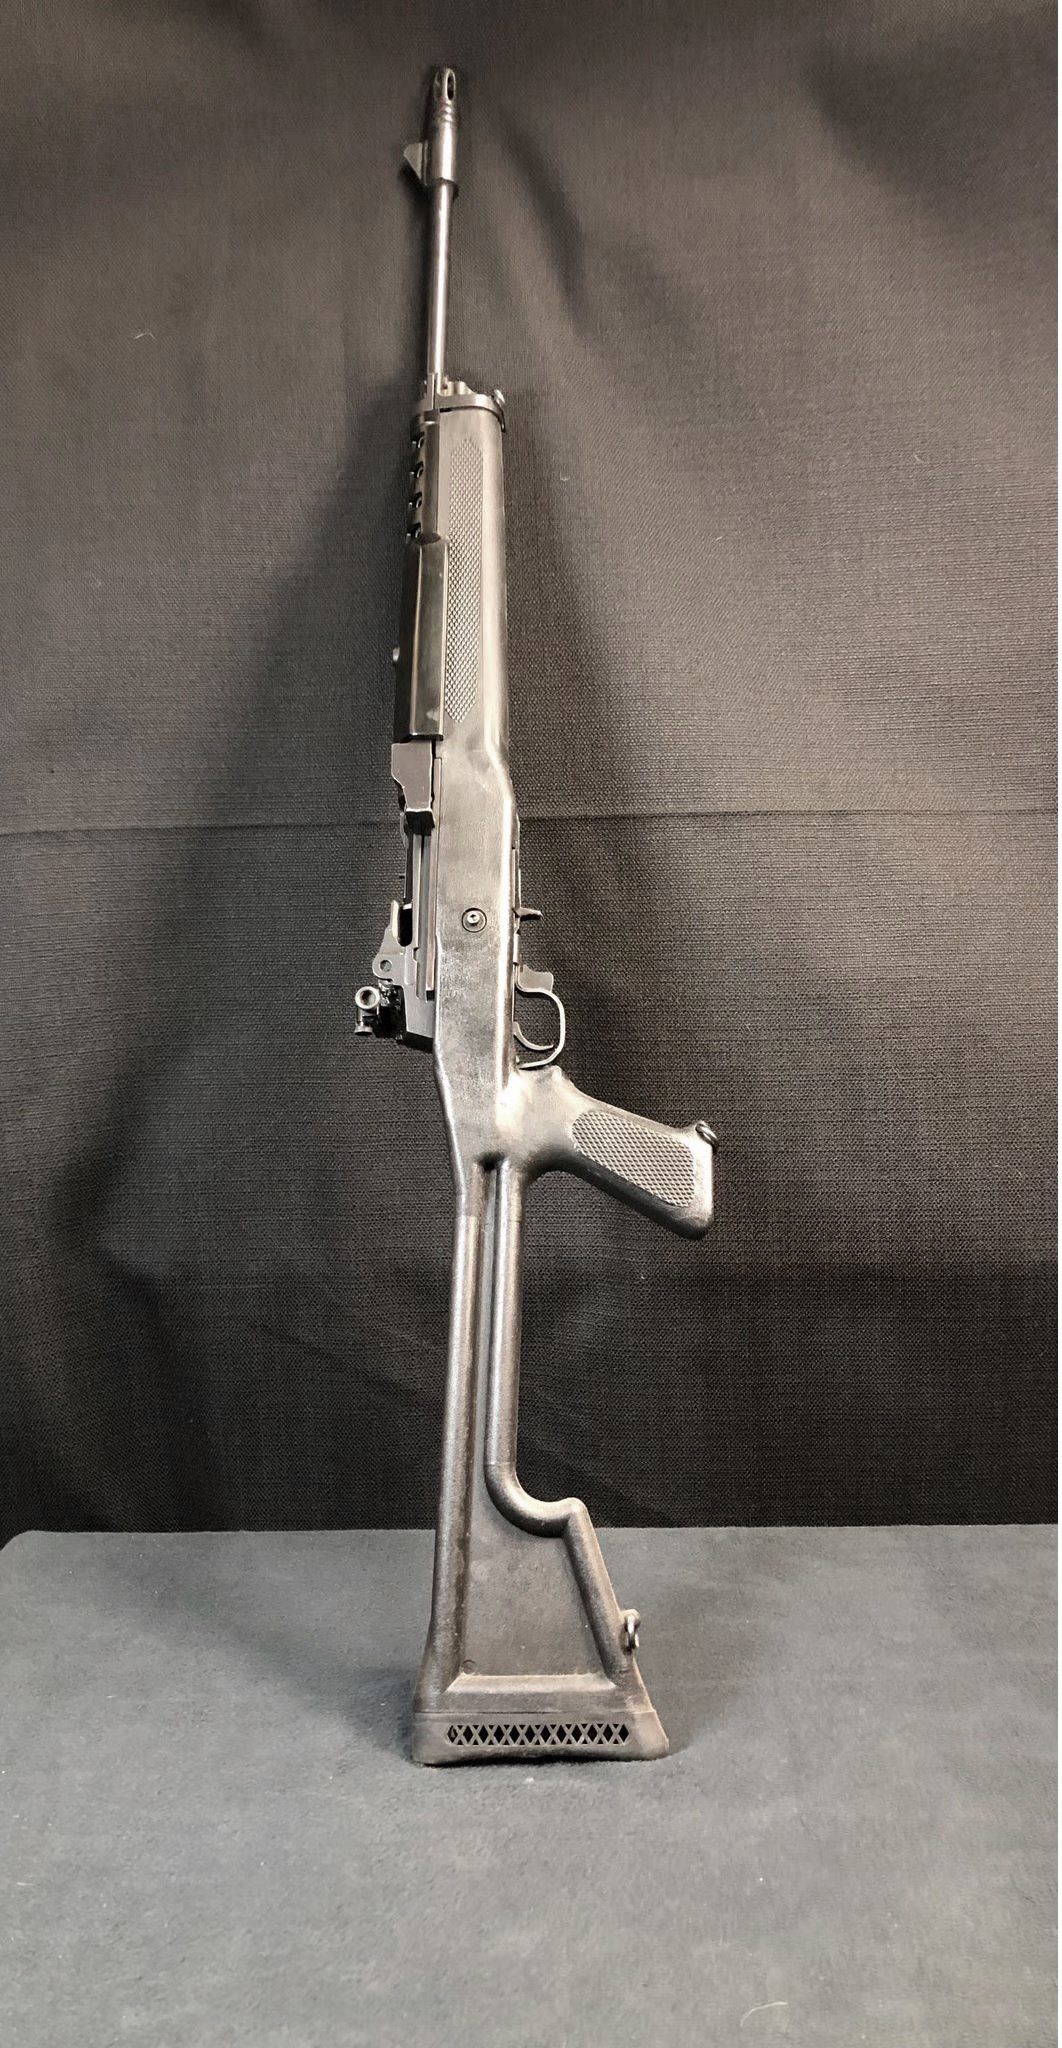
Ruger Mini-14 Deals
Prices may change. May contain affiliate links.
The Mini-14 features a fixed-piston gas system and a self-cleaning moving gas cylinder. Its operating rod and bolt arrangement is very similar in concept to the M1 Garand, though the gas system itself is a different design. Gas taps off the barrel through a port bushing, drives the slide and operating rod rearward, and cycles the action. When that system gets fouled or worn, the rifle turns into a straight-pull bolt action. The good news is that inspecting the gas block doesn't require exotic tooling. The bad news is that parts availability depends heavily on which series you're holding, and some rifles are genuinely orphaned from factory support.

This walkthrough covers how to safely inspect the gas block assembly on a used Mini-14, what to look for in terms of carbon fouling, erosion, and incorrect parts, and how to determine whether the rifle needs cleaning, new parts, or a trip to a qualified gunsmith.
Safety first
Clear the rifle. Remove the magazine, lock the bolt open, and visually and physically confirm the chamber is empty. Do this every single time you pick it up, even if you just set it down thirty seconds ago.

Work in a well-lit area with a clean bench. The gas block area involves small parts, including the gas port bushing and gas pipe, that can roll off a table and vanish. A magnetic parts tray helps. If you're working on a 180-series rifle and encounter seized or heavily corroded components, stop. Forcing rusted gas block parts risks cracking the assembly or damaging the barrel, and that's gunsmith territory. The same applies if you find evidence of erosion severe enough that surfaces are visibly pitted or material is missing. A cleaning brush can fix carbon. It can't fix metal that's no longer there.
One more thing: if you aren't sure which series your Mini-14 is, figure that out before you order any parts or attempt disassembly beyond field stripping. The series number is the three-digit prefix before the serial number on the receiver. This matters because gas system components are not interchangeable across all series, and using the wrong parts can create cycling problems or worse.
When this inspection is needed
The Mini-14's gas system will carbon up over time. That's true of any gas-operated semi-auto, but the Mini-14's fixed-piston design means fouling accumulates in the gas block, around the gas port bushing, and inside the gas pipe. On a rifle that's been regularly maintained, you might go a couple thousand rounds before the gas system needs more than a wipe-down. On a used rifle with unknown maintenance history, assume it hasn't been touched.
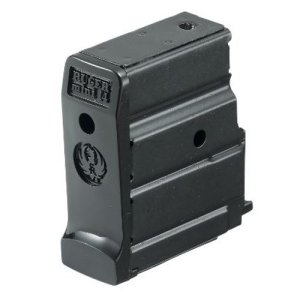
Ruger factory magazines Deals
Prices may change. May contain affiliate links.
There are specific symptoms that point to the gas system rather than other parts of the rifle. Short-stroking, where the bolt moves rearward but not far enough to pick up the next round or lock open on an empty magazine, is the classic sign. Complete failure to cycle while the rifle still fires is another. If you're getting inconsistent ejection, with spent cases dribbling out weakly rather than being thrown clearly, that also suggests insufficient gas is reaching the operating rod.
Before blaming the gas block, rule out the obvious. Try known-good Ruger factory magazines. Ruger factory mags are the best available for the Mini-14, and aftermarket magazines, especially older ones from the 1994-2004 ban era, are frequently the actual problem. If the rifle still won't cycle with a factory 5-round mag, the gas system moves to the top of the suspect list.
Used rifles that have been stored for years, especially those that were never cleaned after their last range trip, are prime candidates for a seized or heavily fouled gas block. Rifles that were refinished by a previous owner also warrant extra scrutiny. If someone painted or coated the exterior without disassembling the gas system, paint or coating material may have gotten into the gas port area and partially blocked it.
Tools and supplies
You don't need a full armorer's bench for a gas block inspection, but you do need a few specific items.

M1 Garand Deals
Prices may change. May contain affiliate links.
Required
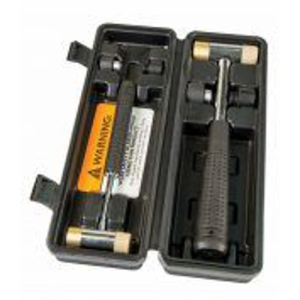
A set of roll pin punches in common sizes is essential for driving out the gas block pins. Brass or nylon punches are preferable to steel for avoiding marring. You'll need a small hammer, something in the 4- to 8-ounce range, not a framing hammer. A good carbon solvent is non-negotiable. Standard bore solvent works, but a dedicated carbon-cutting aerosol like a "crud cutter" type spray will save time on heavy buildup. Pipe cleaners and small brass brushes sized to fit the gas pipe interior are necessary for scrubbing the gas passages. A set of picks, dental-style or gunsmith picks, helps remove caked carbon from the gas port bushing and surrounding surfaces. You'll also want a bright flashlight or bore light for visual inspection of the gas port and pipe interior.

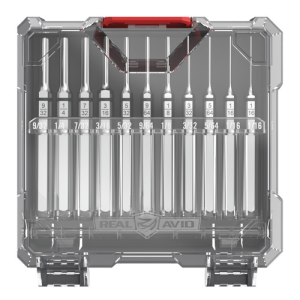
Real Avid Accu-Punch roll pin punch set Deals
Prices may change. May contain affiliate links.


Recommended but optional
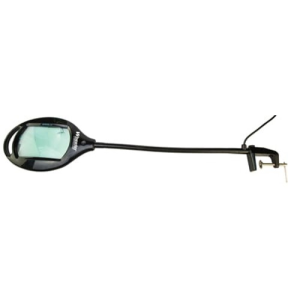
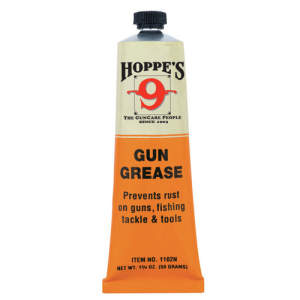
A magnifying loupe or jeweler's loupe in the 10x range helps evaluate erosion versus simple fouling. A magnetic parts tray keeps small components from walking off. Compressed air, either canned or from a compressor with a moisture trap, is useful for blowing out loosened carbon after solvent has done its work. A light gun grease, not oil, is appropriate for reassembly of the gas block area where the gas port meets the slide.
gun grease Deals
Prices may change. May contain affiliate links.
Protective gear
Carbon solvent gets on your hands, and some formulations are genuinely nasty. Nitrile gloves are a good idea. Eye protection is worth wearing any time you're driving pins, because a roll pin punch can skip off a pin and send fragments in unpredictable directions.


eye protection Deals
Prices may change. May contain affiliate links.
Step-by-step procedure
Identify your series
Before you touch a punch, check the serial number prefix. The 180 series rifles (1974-1977) have a gas port bushing approximately .052" in diameter. The 181 series and later (181 through 197) have a larger gas port bushing of approximately .080". The 580 series and later, produced from 2005 onward, represent the current design. These dimensions matter because the gas port bushing size directly affects how much gas drives the action, and a wrong-size bushing from a different series will cause cycling problems.

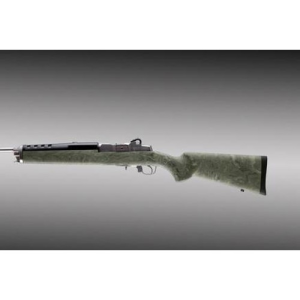
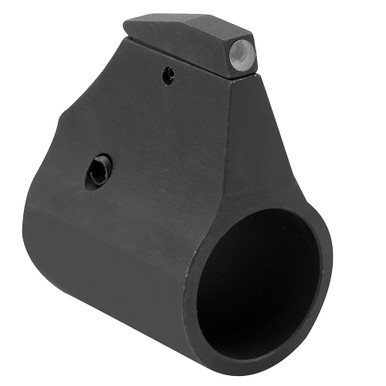
This is where it goes wrong: the 180 series is no longer supported by Ruger for parts or service. The 181 series gas block lower half is physically longer to accommodate the deeper slide/stock profile, so it cannot be directly swapped in without also changing the stock. The gas pipe has some detail shape changes between the two series, but the diameter and length are the same. The gas bushings differ in size (.052" vs .080"), though the 180's bushing can be used with 181 parts, making them a tuning difference rather than a true physical incompatibility. If you have a 180 series rifle with damaged gas components, you're looking at sourcing used parts from secondary markets like GunBroker, or finding a gunsmith who can fabricate what you need. Jack First has historically made improved 180 extractors, which is worth knowing, but gas block components for the 180 series are genuinely scarce.
For 580+ series Mini-14 rifles, Ruger provides standard parts and service support. Rifles with serial number prefixes below 580-, including the 181 through 197 series, fall under Ruger's limited parts and service category, so you'll want to contact Customer Service to determine what's available for your specific rifle. Note that the 180- series has no parts or service available at all. You can find some of the most popular Ruger parts for purchase through ShopRuger.com, or contact Ruger directly for further assistance.
Field strip the rifle
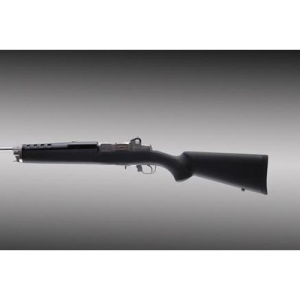
The Mini-14 breaks down into three basic subassemblies: the barreled action, the trigger group, and the bolt assembly. For gas block inspection, you need the barreled action separated from the stock and the bolt assembly removed.
Ruger Mini-14 stock Deals
Prices may change. May contain affiliate links.
Remove the trigger group by pushing out the trigger guard pin. Pull the barreled action from the stock. Remove the bolt assembly by pulling the operating rod handle rearward and lifting the bolt assembly out. Set the trigger group and bolt assembly aside. You're working on the barreled action from here.

Access the gas block
The gas block sits on the barrel near the front sight. On most Mini-14 variants, it's held in place by cross pins. The gas pipe connects the gas block to the receiver area where the operating rod sits.
Do NOT pry on the gas block with a screwdriver or use excessive force on the cross pins. If a pin won't move, apply penetrating oil and let it sit. Aluminum and steel in contact with carbon residue and moisture can create a bond that feels like the parts are welded together. Patience and penetrating oil are cheaper than a new gas block.
Drive out the gas block retaining pins using appropriately sized roll pin punches. Work from the correct side. If you aren't sure which direction the pins are meant to come out, look for any slight chamfer or taper that indicates the insertion side. Punching from the wrong side can enlarge the pin hole.
Once the pins are out, the gas block should separate from the barrel. If it doesn't, more penetrating oil and gentle tapping with a nylon drift are your options. Do NOT heat the gas block with a torch unless you fully understand the metallurgy involved and accept the risk of changing the temper of the barrel or gas block. That's a gunsmith decision.
Remove the gas port bushing and gas pipe
The gas port bushing is a small, precisely sized component that meters the amount of gas entering the system. On 180 series rifles it's approximately .063" in diameter; on 181 and later it's approximately .080". The gas pipe channels that gas from the block to the operating rod.
Carefully remove the bushing and pipe, noting their orientation. Take a photo before removal if you want a reference for reassembly. These parts look simple, but they go back in a specific way.
This part looks symmetrical. It isn't. The gas port bushing has a specific orientation relative to the barrel's gas port. Putting it back wrong will restrict or redirect gas flow and cause cycling failures that look exactly like the fouling problem you're trying to fix.
Inspection points
With the gas block disassembled, you're looking for three categories of problems: fouling, erosion, and incorrect parts.
Carbon fouling
Carbon buildup is the most common issue and the easiest to fix. Look inside the gas block body, the gas pipe interior, and around the gas port bushing. Heavy carbon will appear as a hard, dark, crusty layer that narrows the gas passages. In severe cases, the gas pipe can be almost completely occluded.
Use your picks to scrape the heaviest deposits, then follow with solvent and brass brushes. Pipe cleaners soaked in carbon solvent work well for the gas pipe interior. The gas port in the barrel itself, the small hole where gas enters the system, should be checked with a flashlight. If it's partially blocked with carbon, a correctly sized drill bit turned by hand (not in a drill) can clear it. Do NOT enlarge the gas port. You're removing carbon, not reaming the hole to a new size. Enlarging the gas port changes the system's gas dynamics and can cause overgassing, accelerated parts wear, and violent extraction.
After cleaning, blow out all passages with compressed air and verify you can see light through the gas pipe and port.
Erosion and wear
This is the inspection that separates "needs cleaning" from "needs parts." Erosion shows up as pitting, thinning, or roughened surfaces inside the gas block, on the gas port bushing, and inside the gas pipe. Gas erosion is caused by hot, high-pressure combustion gases repeatedly blasting through these passages, and it gets worse with neglect because carbon deposits trap moisture and accelerate corrosion.
Look at the gas port bushing under magnification. If the hole is no longer round, or if the bushing shows visible pitting or material loss, it needs replacement. A worn bushing that's opened up beyond its original diameter will overgass the system, causing harsh cycling, battered brass, and accelerated wear on the bolt, operating rod, and receiver.
Inspect the interior surfaces of the gas block body. Surface discoloration is normal. Pitting deep enough to catch a fingernail is not. Look at the gas pipe interior with a light. If the walls are visibly eroded or thinned, the pipe should be replaced.
Here's what correct looks like: clean gas passages with smooth, uniform interior surfaces. The gas port bushing should have a clean, round hole at the correct diameter for your series. The gas pipe interior should be smooth enough that a pipe cleaner passes through without catching on rough spots.
One owner on a forum documented finding gas block and gas tube components that were "eroded" on a 180 series rifle, with no replacement parts available. That's the worst-case scenario for the oldest guns. If your 180 series shows significant erosion, you're in gunsmith territory, and you may be looking at custom fabrication or sourcing NOS (new old stock) parts from specialty dealers.
Wrong-series parts
If a previous owner replaced gas system components, they may have used parts from the wrong series. This is especially common when someone owns both a 180 and a 181 series rifle and tries to swap parts between them. The gas block lower halves are different between the 180 and 181 series. The gas port bushing diameters are different (.063" vs .080"). The operating rod, recoil spring guide rod, and recoil spring are also different between series, with the 181 series using a heavier operating rod (382g vs 303g), a slightly larger diameter guide rod, and a recoil spring with a larger internal diameter to handle the increased gas volume.
If you find a .080" bushing in a 180 series rifle, that's a problem. The rifle is getting more gas than the lighter 180-series operating rod and spring were designed to handle. Conversely, a .063" bushing in a 181 series rifle will undergass it, causing short-stroking.
Three things to verify before reassembly: the gas port bushing diameter matches your series, the gas pipe is the correct length and diameter for your gas block, and the gas block lower half matches your series.
Reassembly and function check
Putting it back together
Clean all mating surfaces before reassembly. Apply a small amount of gun grease, not oil, where the gas port meets the slide and on the gas block's contact surfaces with the barrel. Grease stays put in this high-heat area better than oil, which will burn off quickly. One source specifically recommends applying grease where the gas port meets the slide to prevent seizing.
Reinstall the gas port bushing in its correct orientation. Seat the gas pipe fully. Position the gas block on the barrel and align the pin holes. Drive the cross pins back in from the correct side. They should seat flush without excessive force. If you have to beat on them, something isn't aligned.
Reassemble the bolt assembly into the barreled action, reinstall the barreled action into the stock, and replace the trigger group.
The function check that matters
With the rifle confirmed empty and pointed in a safe direction, run through these checks:
Pull the operating rod handle fully to the rear and release it. The bolt should travel forward with authority and lock into battery. If it feels sluggish or doesn't fully close, something in the gas system or recoil spring assembly is binding.
With the bolt forward, push up on the bolt hold-open and lock the bolt to the rear. It should lock positively. Insert an empty Ruger factory magazine. The bolt should remain locked open. Press the bolt release. The bolt should slam forward.
Cycle the action by hand several times. It should feel smooth and consistent. Any grinding, catching, or inconsistent resistance suggests a reassembly problem.
The real function check happens at the range. Load two rounds into a Ruger factory magazine. Fire one round. The rifle should cycle, eject the spent case clearly, chamber the second round, and lock the bolt open after the second shot is fired. If it does all of that, your gas system is working. If it short-strokes, fails to eject, or won't lock open, you're back to diagnostics.

Watch your brass. Ejected cases should land in a reasonably consistent pattern. Cases that barely clear the ejection port suggest undergassing. Cases that fly 20 feet and show signs of smearing or denting on the case head suggest overgassing. Both point back to the gas system.
Service interval recommendations
For a Mini-14 that gets regular range use, a basic gas system cleaning every 500 to 1,000 rounds is reasonable. That means running solvent through the gas pipe, scrubbing the gas block interior, and checking the gas port bushing. You don't need to fully disassemble the gas block every time. A crud-cutter aerosol spray blown through the gas system during regular cleaning will prevent the heavy buildup that causes problems.
For rifles that see heavy use, competition shooting, or extended training courses, shorten that interval. Carbon accumulates faster with higher round counts in shorter time periods because the system runs hotter and bakes the fouling on harder.
Rifles that sit in storage need attention too, but for different reasons. Moisture, not carbon, is the enemy during storage. A light coat of oil on all metal surfaces and storage in a climate-controlled environment prevents the corrosion that eats gas system components from the inside. If a rifle has been in storage for years with unknown maintenance history, treat it as if the gas system is fully fouled and do a complete inspection before firing.
For 180 series rifles, be proactive about sourcing spare gas system parts while they're still occasionally available on the secondary market. Ruger no longer supports the 180 series for parts or service, and these components are only getting scarcer. Having a spare gas port bushing and gas pipe on hand is cheap insurance against a rifle becoming a wall hanger.
For 181 through 197 series and 580+ series rifles, Ruger still stocks parts and supports service. If you're not comfortable doing gas block work yourself, Ruger's armorer courses cover complete disassembly, reassembly, inspection, troubleshooting, cleaning, and basic maintenance of the Mini-14, with a one-day course available and a day-and-a-half course that includes gauging. These are oriented toward law enforcement armorers, but the knowledge applies to anyone maintaining these rifles.
Know when to call a smith. If you find erosion you can't assess, parts from the wrong series that you can't source correct replacements for, or a gas port that's been enlarged by a previous owner, a qualified gunsmith with Mini-14 experience is the right call. Headspacing concerns, which can arise if someone has swapped bolts or set back a barrel, absolutely require professional gauging. Too much headspace on a Mini-14 would require setting the barrel back, and that snowballs into relocating the gas port and gas block, which is well beyond a bench inspection.

The Mini-14 is a straightforward rifle to maintain when you understand its gas system. Most cycling problems on used rifles trace back to neglected carbon fouling, and the fix is simpler than it looks: clean it thoroughly, inspect for actual damage, confirm the right parts are installed, and grease the contact points. The rifles that end up as real headaches are the ones where someone tried to fix a problem with wrong-series parts or ignored erosion until it ate through critical surfaces. Catch it early, and the gas block inspection is a Saturday-morning job. Catch it late, and you're hunting for parts that may not exist anymore.