
You zeroed at 100 yards because that's what the range had available, and now you're dialing 8.5 MOA to reach 500. Meanwhile, the guy next to you zeroed at a different distance and he's dialing 6. You're both shooting the same cartridge. The difference isn't the rifle or the load. It's the zero distance, and it changes everything downstream.
Your zero distance is the foundation of your entire DOPE (Data On Previous Engagement) card. Pick the wrong one and you're either doing unnecessary math in the field, holding over when you shouldn't need to, or worse, assuming your bullet is somewhere it isn't between 0 and 400 yards. For a hunting rifle specifically, where you get one shot at an animal that doesn't care about your excuses, the zero distance decision deserves more thought than most hunters give it.
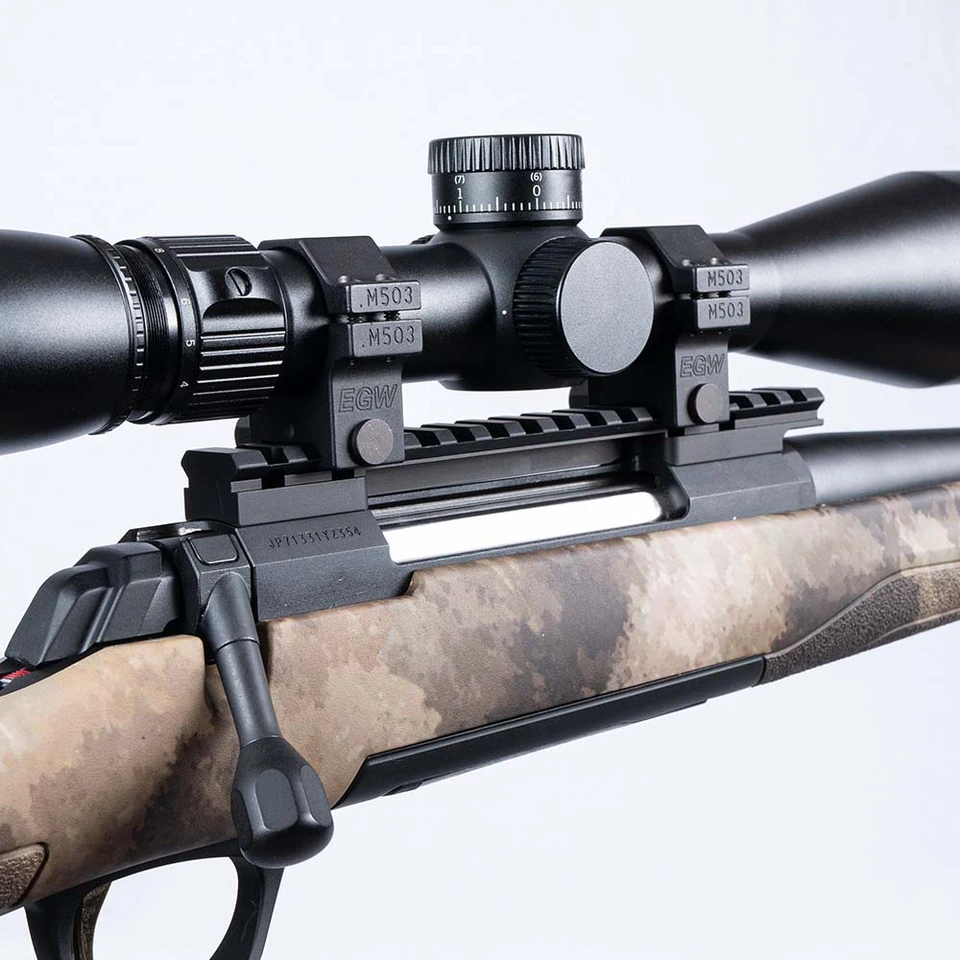
What follows is a framework for choosing a zero distance based on how you actually hunt, what cartridge you're running, and whether you dial or hold. By the end, you'll understand why the "just zero at 100" default is often leaving performance on the table, how maximum point blank range (MPBR) zeroes work and where they fall apart, and why a 100-yard zero might still be the right call for certain setups. More importantly, you'll know how to verify whichever zero you choose and build a DOPE card that doesn't lie to you at distance.
Safety and prerequisites
This assumes you can already shoot consistent groups at 100 yards. If your groups are opening up beyond 2 MOA at 100, your zero distance choice is irrelevant because the rifle (or the shooter) isn't precise enough for the discussion to matter. Fix that first.
Applied Ballistics Deals
Prices may change. May contain affiliate links.
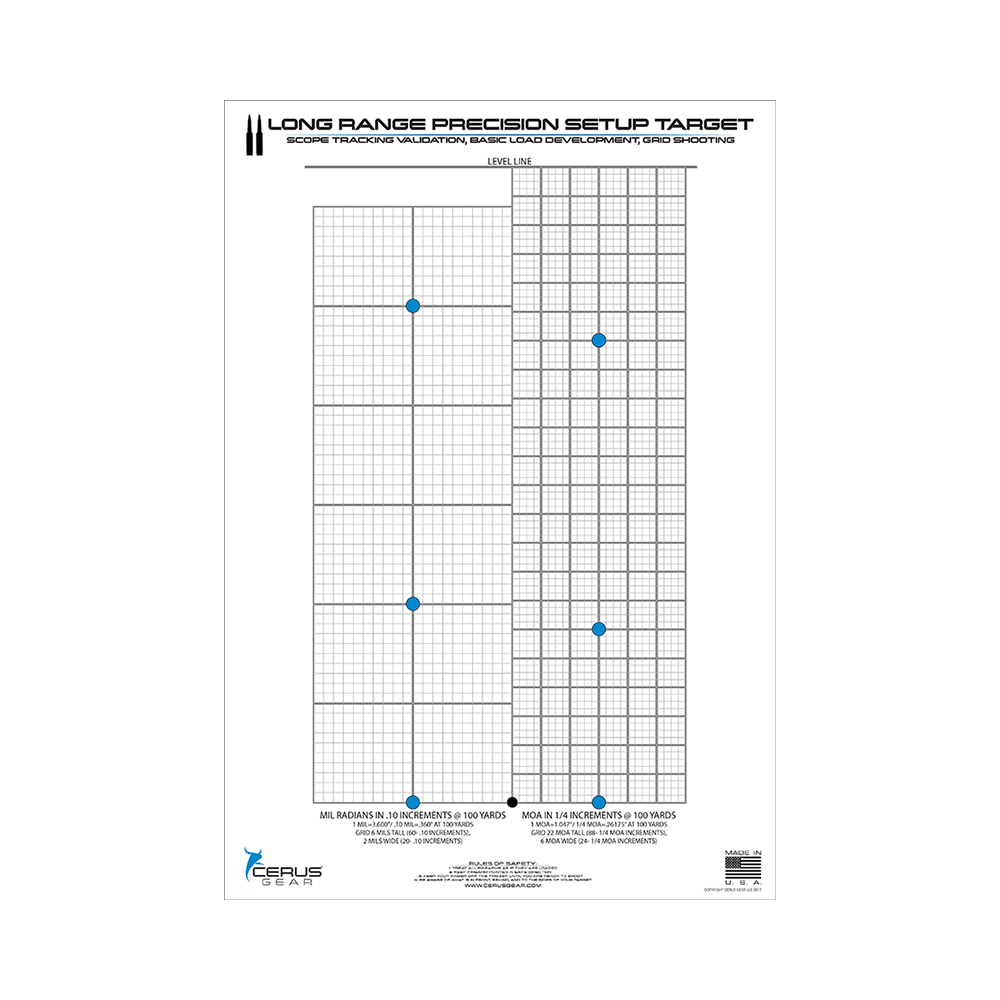
You need a rifle with a properly mounted scope that tracks accurately. Tracking means that when you dial 4 MOA up, your point of impact actually moves 4 MOA up. Plenty of budget scopes don't track well, and if yours doesn't, your DOPE card will be fiction regardless of zero distance. A tall-target test or box test at 100 yards will confirm tracking before you commit to anything.
Range access matters here too. If you only have a 100-yard range, you can still set a 200-yard zero by calculating the required offset at 100 (more on that below), but you'll want to confirm it at actual distance when possible. For live-fire verification, you'll ideally need access to 300 yards or beyond. And standard range safety applies: know your backstop, confirm your target, treat the rifle as loaded. None of this changes because you're adjusting a zero.
One more thing. You need a ballistic solver. Not a guess, not a chart from 1998 printed on the side of an ammo box. A ballistic calculator like the one on Federal's website, or an app like Applied Ballistics or Strelok, loaded with your actual muzzle velocity (chronographed, not the number on the box), your actual BC (ballistic coefficient), and your scope height over bore. The zero distance decision is a ballistics problem. You need ballistics tools.
What "good" looks like
A well-chosen zero distance does three things. First, it minimizes the total correction needed across the distances you're most likely to shoot. Second, it keeps your bullet's trajectory within a manageable window at intermediate ranges so you're not guessing about holdovers inside 300 yards. Third, it pairs logically with your method of compensating at distance, whether that's dialing turrets, holding with a reticle, or using a BDC.
Think of it this way. Your bullet leaves the muzzle below the line of sight (because the bore is below the scope), crosses the line of sight on the way up, arcs above it, then crosses it again on the way back down. That second crossing is your zero distance. Everything between the muzzle and that second crossing has a known trajectory relative to your point of aim. The question is where you want that second crossing to be, because it determines the shape of the entire arc.
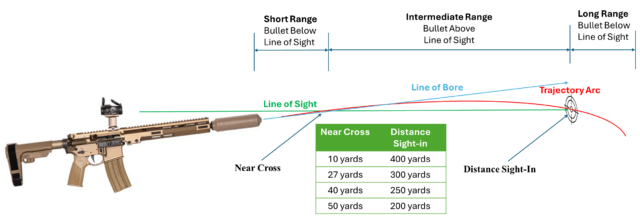
A 100-yard zero on a 6.5 Creedmoor pushing a 140-grain bullet at 2,700 fps puts you about 1.5 inches high at 50 yards, dead on at 100, roughly 13.4 inches low at 300, and around 53.3 inches low at 500. A 200-yard zero on the same setup puts you about 1.5 inches high at 100, dead on at 200, roughly 3.5 inches low at 300, and about 15 inches low at 500. That's a meaningful reduction in drop to account for at 500 yards, and the maximum height above the line of sight between 0 and 200 never exceeds about 2 inches.
The "good" zero is the one where the trajectory math works in your favor for the shots you actually take.
The three main approaches
There are essentially three philosophies for zeroing a hunting rifle, and they each optimize for different things. Understanding what each one prioritizes will tell you which fits your hunting.
The 100-yard zero
This is the default for a reason: it's simple, it's repeatable, and every rifle range in the country has a 100-yard line. You confirm zero, write down your drops from there, and dial or hold for everything beyond. The 100-yard zero is the standard in PRS and most precision shooting disciplines because it creates a clean, known baseline. Your DOPE card reads in simple increments from a universally understood starting point.
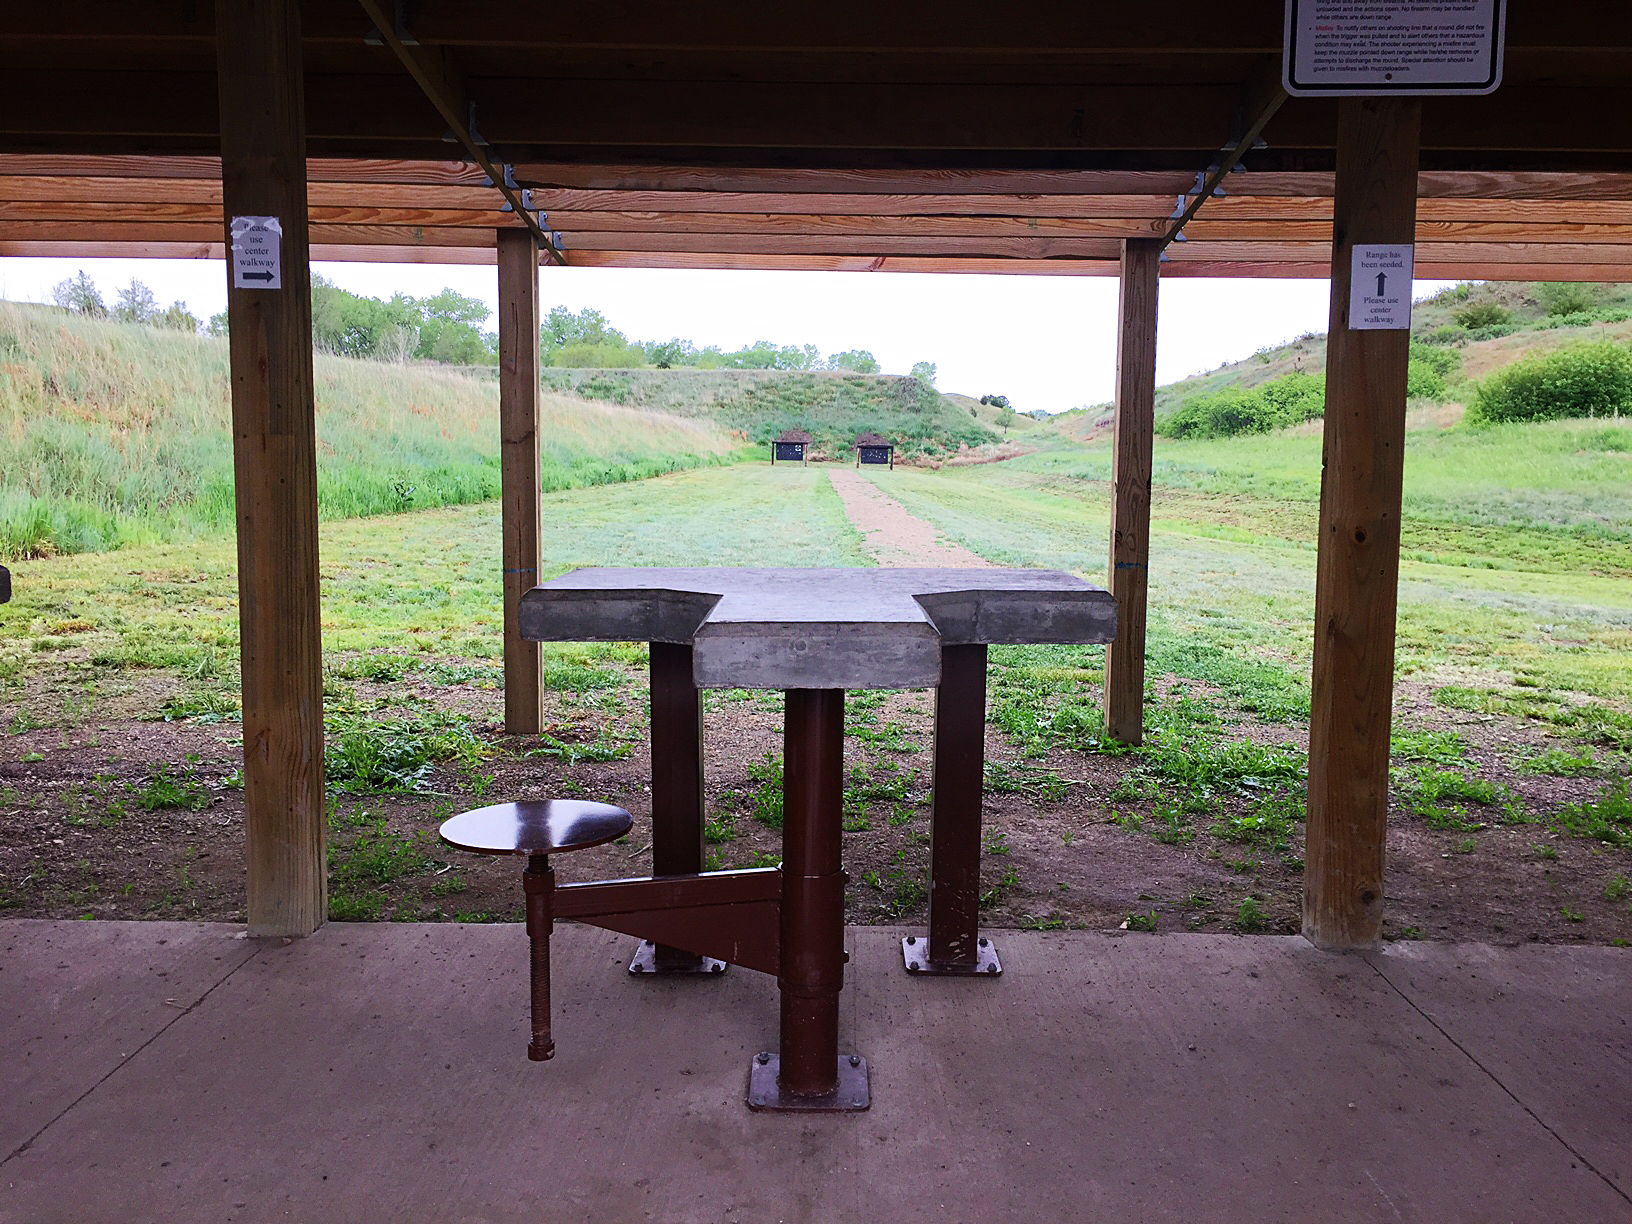
The strength of a 100-yard zero is clarity. You know exactly where your bullet hits at 100. Your drops are calculated from a consistent reference. If you're the type of shooter who dials every shot and trusts the turret, a 100-yard zero keeps the system clean. Bryan Litz has pointed out that a 100-yard zero creates a trajectory that "skims" the line of sight nicely, keeping the bullet close to the point of aim out to moderate distances without excessive height above the line of sight at intermediate ranges.
The weakness shows up if you hunt in terrain where shots between 150 and 350 yards are common and you don't want to dial. At 250 yards with a 100-yard zero, a typical .308 running 168-grain match ammo is already about 5 inches low. That's enough to miss the vitals on a pronghorn if you're holding dead center. You'd need to know that and compensate. Many hunters don't.
The 200-yard zero
This is the most popular alternative for hunters, and the math supports it for most centerfire cartridges. A 200-yard zero typically keeps the bullet within about 1.5 to 2 inches above the line of sight between 100 and 150 yards, dead on at 200, and reduces the total drop at every distance beyond compared to a 100-yard zero.
For a .30-06 shooting 165-grain bullets at around 2,900 fps, a 200-yard zero means you're roughly 1.8 inches high at 100, on target at 200, about 3.5 inches low at 250, and around 8 inches low at 300. That trajectory keeps you inside the vital zone of a deer-sized animal from the muzzle to about 260 yards without any holdover at all. That's a practical advantage in the field.
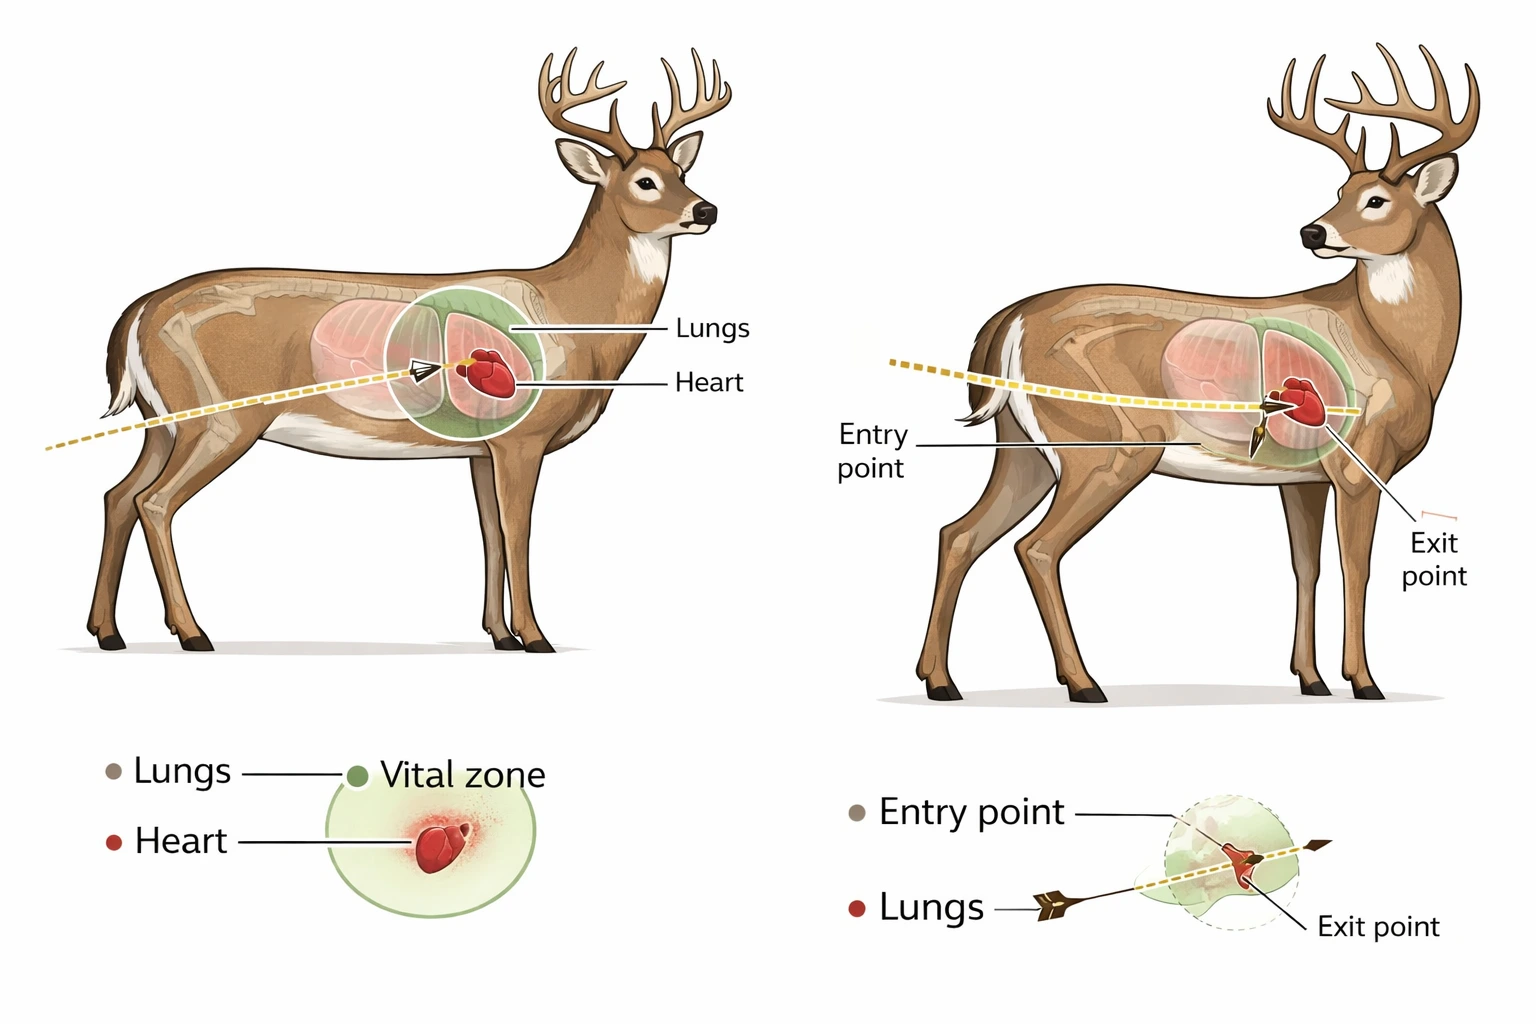
The 200-yard zero is also the standard combat zero for the USMC, documented in their marksmanship training orders. The logic translates: it gives a useful point-blank capability at the ranges where engagements are most likely, while minimizing the correction needed at moderate distances.
The downside is that you need to either confirm it at an actual 200-yard line or calculate the offset at 100 yards (typically 1.5 to 2.5 inches high, depending on cartridge and load). Zeroing "2 inches high at 100" is a common shorthand, but the actual number varies. Run it through your ballistic solver with your specific load data. Don't guess.
The MPBR zero
Maximum Point Blank Range is the zero distance that keeps your bullet within a defined vertical window, usually plus or minus 3 inches for big game (a 6-inch vital zone) or plus or minus 4 inches (an 8-inch vital zone), from the muzzle out to the farthest possible distance. The zero distance itself ends up being somewhere between 200 and 300 yards depending on the cartridge, and the MPBR tells you the maximum range at which you can aim dead center and still hit the vital zone.
For a 6.5 Creedmoor with a 142-grain bullet at 2,700 fps and an 8-inch vital zone, the MPBR extends to roughly 310 yards. For a .300 Win Mag pushing a 180-grain bullet at 2,960 fps, the MPBR falls in the neighborhood of 290 to 305 yards using a 6-inch vital zone, though exact figures shift depending on the vital zone size chosen. Ron Spomer's work on MPBR has shown these numbers in detail across dozens of cartridges.
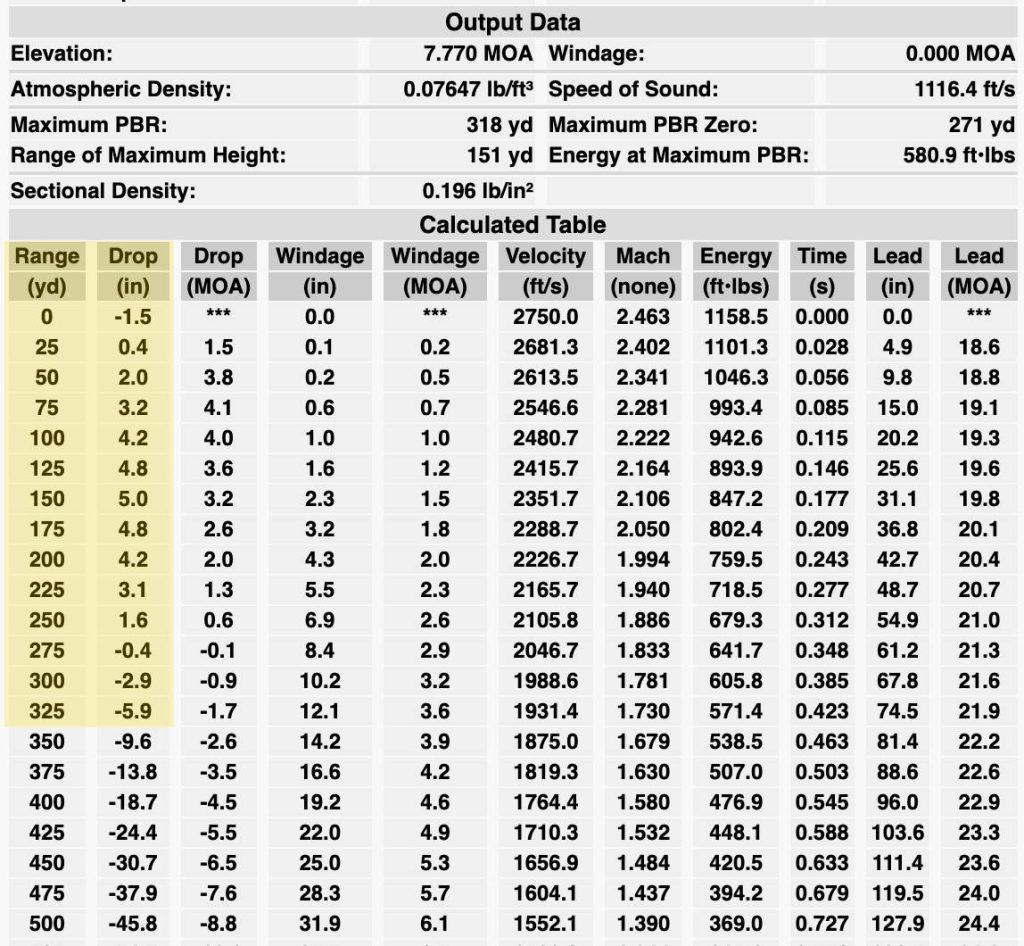
The appeal is obvious for a hunter who doesn't want to dial or hold. Aim center mass from 0 to 310 yards and you'll hit vitals. No math, no turret adjustment, no reticle holds. Just put the crosshair where you want to hit and press the trigger.
The problem is that MPBR falls apart past its maximum range, and it falls apart hard. At 400 yards with an MPBR zero, you might be 12 to 15 inches low depending on the cartridge, and the shooter who's been aiming dead center for every shot inside 300 has no practiced system for compensating. MPBR also obscures what the bullet is actually doing at each distance. You know it's "somewhere within 3 inches" but you don't know exactly where. For a precision-oriented shooter, that ambiguity is uncomfortable, and it should be.
MPBR is a legitimate approach for hunters who keep shots inside 300 yards and prioritize speed over precision at distance. It's a poor choice for anyone stretching beyond that.
How to choose based on how you hunt
Range notes: matching the zero to the mission
Your zero distance should reflect the distances you actually shoot at game, not the distances you shoot at paper. If 90% of your shots on animals happen between 50 and 250 yards (which is true for most eastern whitetail hunters and a lot of elk hunters in timber), a 200-yard zero or MPBR zero keeps things simple and effective. You're optimizing for the high-probability shots.
If you're a western hunter taking shots at mule deer or pronghorn at 400 to 600 yards, and you're dialing your turret for every shot, a 100-yard zero gives you the cleanest DOPE card and the least room for confusion. Your turret reads in MOA or MRAD from a known baseline, and you dial exactly what your solver tells you. There's no ambiguity about whether you're "a little high" at 150 or "a little low" at 250. You're dead on at 100 and you dial everything else.
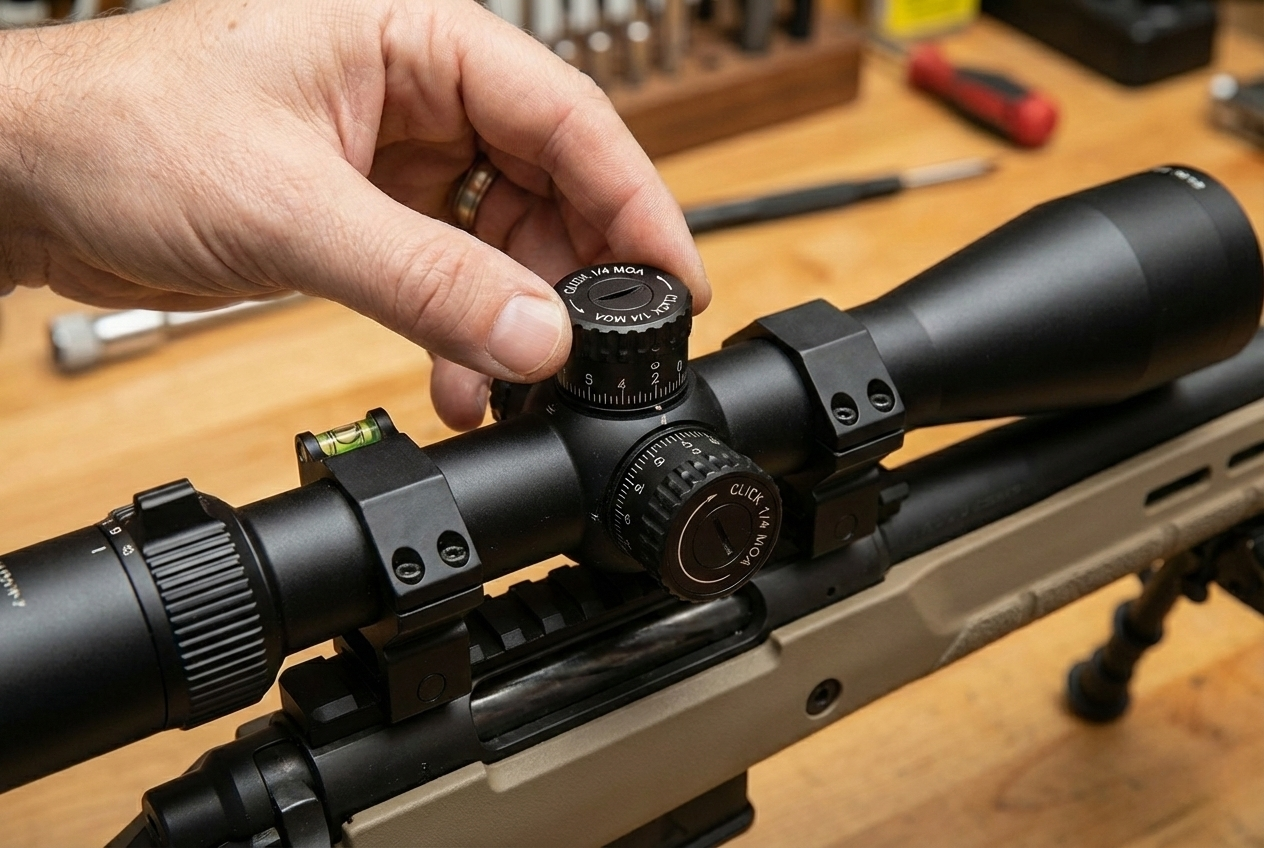
The hybrid approach that many experienced long-range hunters use is a 200-yard zero with a dialing system. This gives you a point-blank capability inside 250 for snap shots and close encounters, while reducing the total dial needed at distance. At 600 yards, the difference between a 100-yard zero and a 200-yard zero might be 1.5 to 2 MOA of dial. That's not nothing, especially if you're near the top of your turret's adjustment range.
Cartridge-specific considerations
The zero distance decision isn't cartridge-agnostic. Flatter-shooting cartridges benefit more from MPBR-style zeroes because their trajectory stays within the vital zone to greater distances. Slower, heavier-bullet cartridges see less advantage from pushing the zero distance out because they're dropping faster regardless.
Here's how five common hunting cartridges compare with different zero distances, using typical factory loads and a scope mounted 1.5 inches above the bore:
| Cartridge | Load | 100-yd zero drop at 300 | 200-yd zero drop at 300 | MPBR zero distance | MPBR (6" vital) |
|---|---|---|---|---|---|
| .308 Win | 168 gr at 2,680 fps | -12.5" | -7.2" | ~215 yd | ~275 yd |
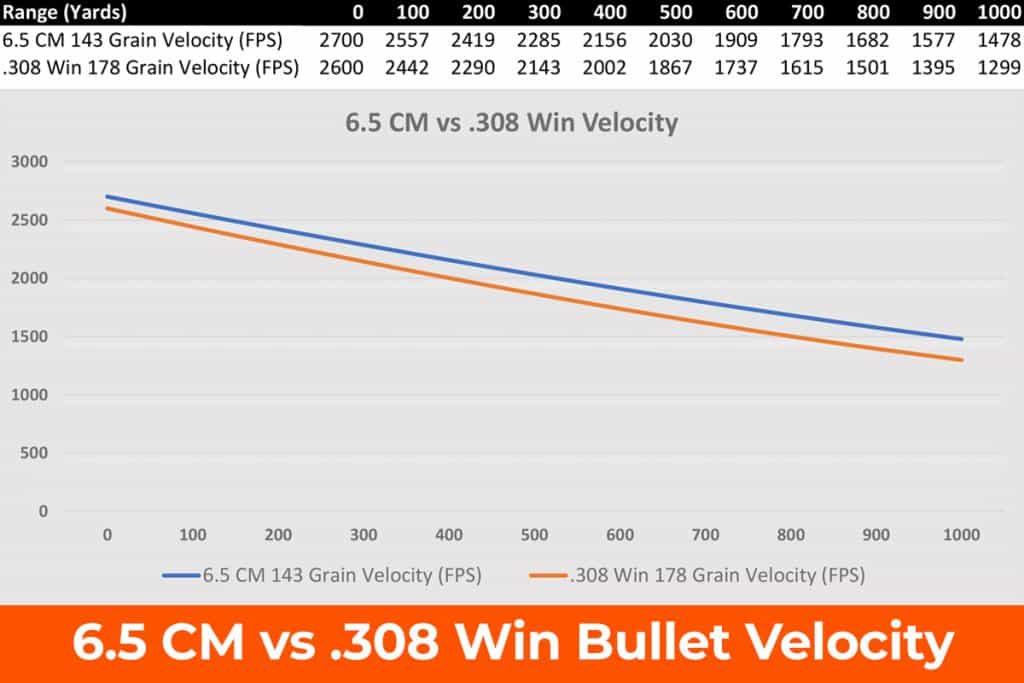
| 6.5 Creedmoor | 140 gr at 2,710 fps | -13.4" | -5.8" | ~235 yd | ~310 yd |
| .30-06 | 165 gr at 2,900 fps | -9.8" | -5.1" | ~245 yd | ~315 yd |
| 7mm Rem Mag | 162 gr at 2,940 fps | -10.9" | -7.3" | ~255 yd | ~335 yd |
| .300 Win Mag | 180 gr at 2,960 fps | -11.6" | -6.6" | ~260 yd | ~340 yd |
The .308 has the steepest trajectory and the shortest MPBR. The magnums stretch it further. But notice that even the .300 Win Mag only extends MPBR to about 340 yards. That's not 500. That's not 600. If you're shooting beyond 350, MPBR isn't your system regardless of cartridge.
The 6.5 Creedmoor and 7mm Rem Mag are interesting cases because their high-BC bullets maintain velocity well, which means the drop advantage of a 200-yard zero over a 100-yard zero actually grows at longer distances. At 700 yards, the 200-yard zero on a 6.5 Creedmoor saves you about 2.5 MOA of dial compared to the 100-yard zero. On a turret with 25 MOA per revolution, that's meaningful.
Common mistakes and fixes
Zeroing "2 inches high at 100" without running the actual numbers
This is the most common error. "Two inches high at 100" is a rough approximation of a 200-yard zero for some cartridges, but it's not universal. A 6.5 PRC at 2,900 fps might need to be 1.6 inches high at 100 for a true 200-yard zero. A .45-70 might need 5.1 inches. The difference between 1.6 and 2.0 inches high at 100 translates to a meaningful shift at 400 and beyond. Run your specific load through a solver. Get the exact number.
Assuming the zero holds across different lots of ammunition
You zeroed with Federal Gold Medal Match 140-grain 6.5 Creedmoor. Then you bought Hornady ELD-M 140-grain because it was on sale. The velocity difference might be 50 fps. That shifts your 200-yard zero by half an inch or more, and at 500 yards you could be 3 to 4 inches off. Every time you change ammo, you need to re-verify zero. No exceptions.
Never confirming the zero at actual distance
You calculated a 200-yard zero by shooting 1.8 inches high at 100. But scope tracking errors, slight mounting issues, and real-world atmospheric conditions mean the calculated offset doesn't always translate perfectly. If you can get to a 200-yard line (or 300, or 400), shoot a group and confirm. The data shows that small errors at 100 compound at distance. A 0.3-inch error at 100 can become a 2-inch error at 400 through trajectory math alone.
Using an MPBR zero and then trying to dial beyond it
MPBR is designed for a "hold center and shoot" approach. If you zero for MPBR and then try to dial at 500 yards, your DOPE card needs to be built from the MPBR zero distance, not from 100 or 200. This confuses people. They look up the drop for their cartridge at 500 yards, dial that, and miss because the published drop table assumes a 100-yard or 200-yard zero. Your DOPE card must match your actual zero. Always.
Ignoring height over bore at close range
At 25 yards, your bullet is still 1 to 1.5 inches below the line of sight regardless of your zero distance, because it hasn't crossed the line of sight yet. Hunters who zero at 200 or beyond sometimes forget this and aim dead center on a close-range shot, putting the bullet low. At 10 yards, the offset can be the full scope height, around 1.5 to 2 inches. For a hunting scenario where a bear is at 30 yards, that matters.
At-home dry-fire practice
You can't practice zeroing without live ammo, but you can practice the skills that make your zero reliable.
Set up your rifle on a stable rest or bipod pointed at a safe wall with a small aiming point. Practice your natural point of aim: close your eyes, settle into the rifle, open your eyes, and see if the crosshair is still on target. If it's drifted, adjust your body, not the rifle. This is the foundation of shooting a tight group at 100 yards, which is the foundation of a reliable zero.
Practice your turret manipulation. With the rifle shouldered, reach up and dial 3.5 MOA (or whatever your 300-yard correction is), then dial back to zero. Do it without breaking your cheek weld. Do it with gloves on. Time yourself. In the field, you'll need to dial, shoot, and potentially re-engage at a different distance. If turret manipulation breaks your position, that's a training problem you can fix at home.
Build your DOPE card during dry fire. Print it, laminate it, attach it to the rifle. Run through scenarios: "Mule deer at 425 yards, 8 mph wind from 3 o'clock." Look up the dial, the wind hold, and rehearse the sequence. This is mental rehearsal, and it's more valuable than most shooters realize. The goal is that when you're on a mountainside with an elevated heart rate, the process is automatic.
Also practice ranging objects in your yard or neighborhood (safely, without pointing a rifle at anything). Use your rangefinder, estimate the distance first, then verify. Ranging errors are the number one cause of misses at distance in hunting scenarios, and they matter more than whether you zeroed at 100 or 200.
Live-fire drills
Drill 1: zero confirmation and offset verification (40 rounds)
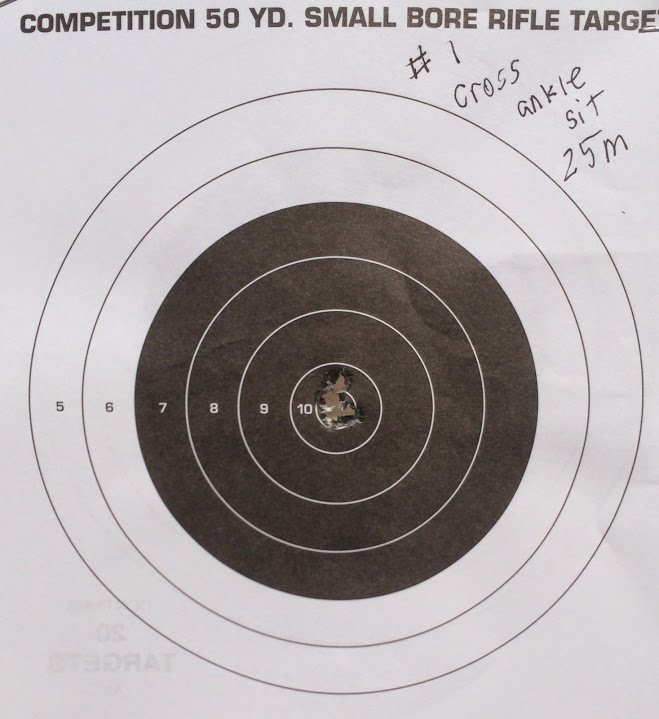
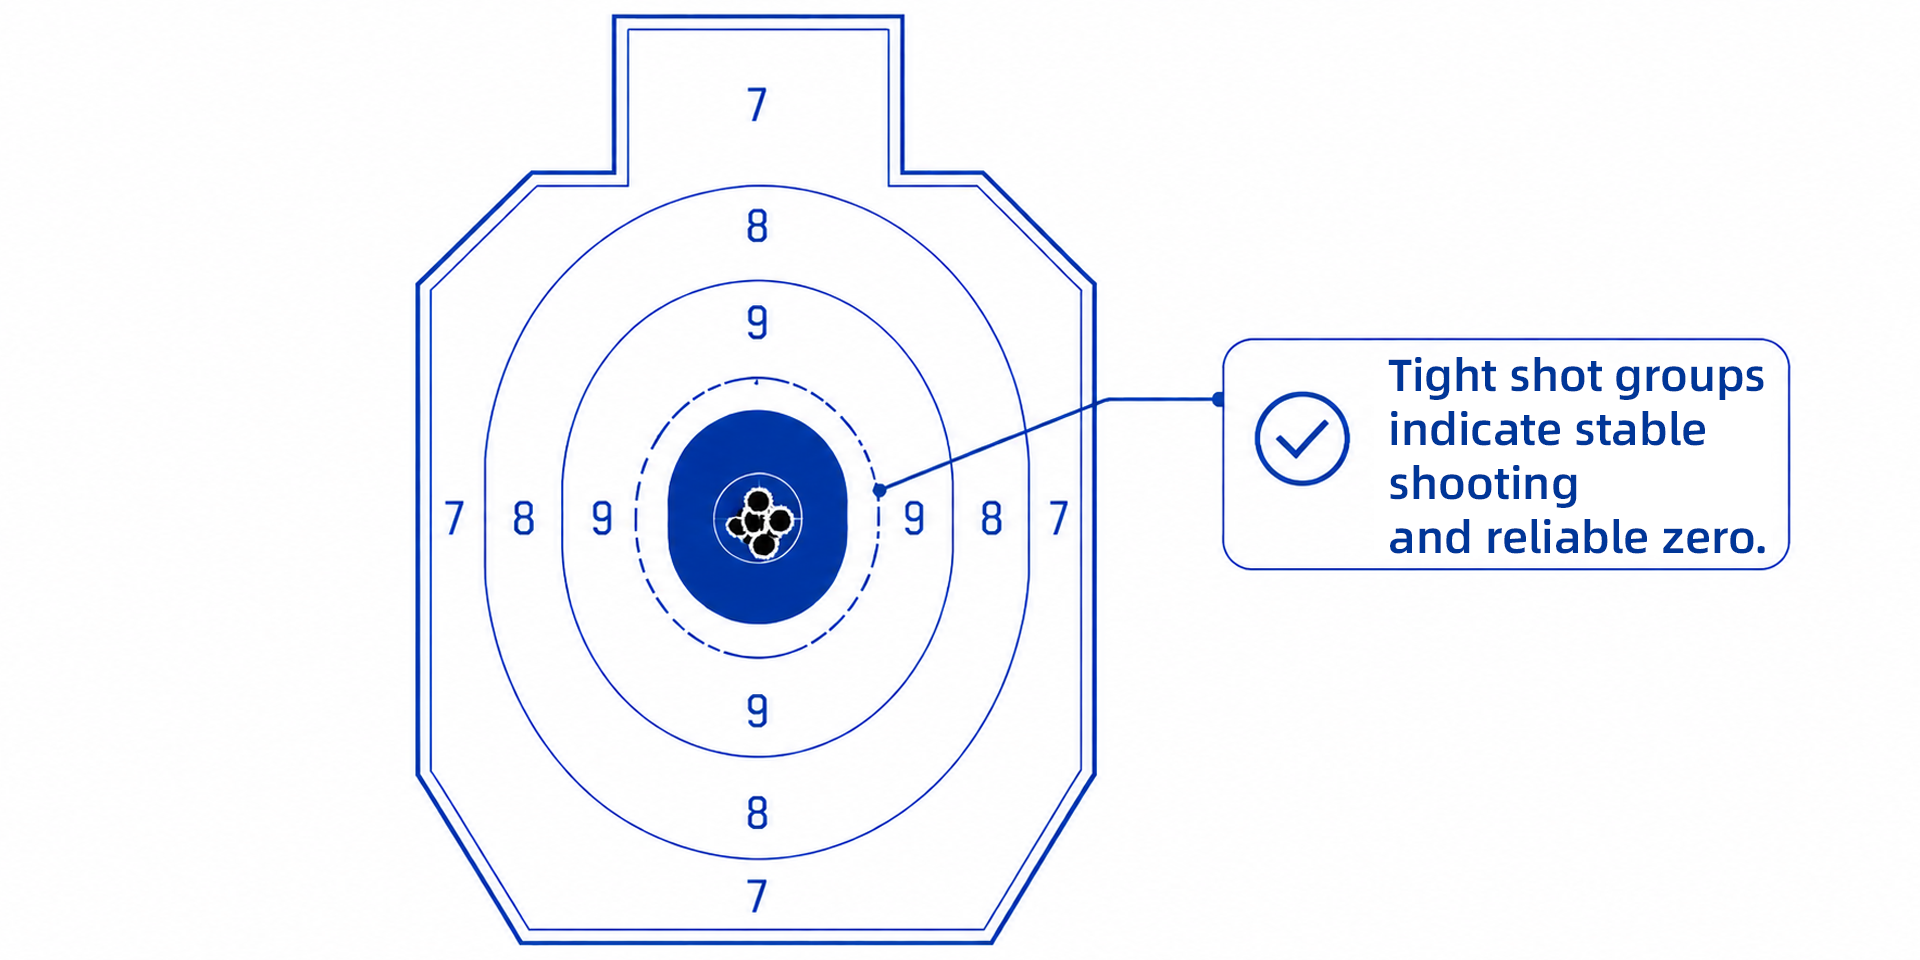
Start at 100 yards. Shoot a five-round group from a stable bench to confirm your zero. If your zero is 200 yards, confirm that the group center is the correct distance above your point of aim (whatever your solver calculated). Shoot two more five-round groups to verify consistency. That's 15 rounds.
Move to 200 yards (or the farthest distance available). If your zero is 200, the group should center on your point of aim. If your zero is 100, dial the calculated correction and confirm the group centers correctly. Shoot three five-round groups. That's another 15 rounds.
If you have access to 300 yards, shoot two five-round groups there with the appropriate dial from your DOPE card. Compare actual impact to predicted impact. Log the difference. That's 10 rounds.
The purpose of this drill isn't to shoot tiny groups. It's to verify that your DOPE card matches reality. If your solver says you need 4.5 MOA at 300 and your actual impacts are centering at 5.0 MOA, you have a velocity discrepancy, a BC discrepancy, or a tracking error. Find it and fix it.
Drill 2: field-position zero trust drill (30 rounds)
This is where you find out if your zero and DOPE card hold up when you're not on a bench. Set up three targets at 200, 300, and 400 yards (or whatever distances your range allows). Shoot from field positions: sitting with a pack as a rest, kneeling with shooting sticks, prone with a bipod on uneven ground.
Shoot two rounds at each distance from each position. That's 18 rounds across three distances and three positions. Log every impact. The question isn't whether you can shoot MOA groups. The question is whether your DOPE card corrections put the bullet where you expected from positions that aren't a concrete bench.
If your impacts are consistently off in one direction from field positions, that's a natural point of aim problem or a position-induced cant issue, not a zero problem. But you need to know the difference, and this drill reveals it.
Use the remaining 12 rounds to repeat any distance/position combination where you saw unexpected results. Diagnose before you shoot more. Ammo is data, not therapy.
Drill 3: cold bore verification (10 rounds, spread across range sessions)
Before every range session for the next five sessions, fire one round at 200 yards (or your zero distance) from a cold bore on a clean target. Log the impact location relative to your point of aim. After five sessions, you'll have a cold bore plot. If all five shots are within an inch of center, your zero is solid. If they cluster 0.5 inches low-left consistently, that's your cold bore offset and you need to account for it.
Cold bore data is the most honest data you'll collect. It strips away the warm-barrel, settled-position, rhythm-of-shooting variables and shows you what happens on the shot that matters most in hunting: the first one.
Measuring progress
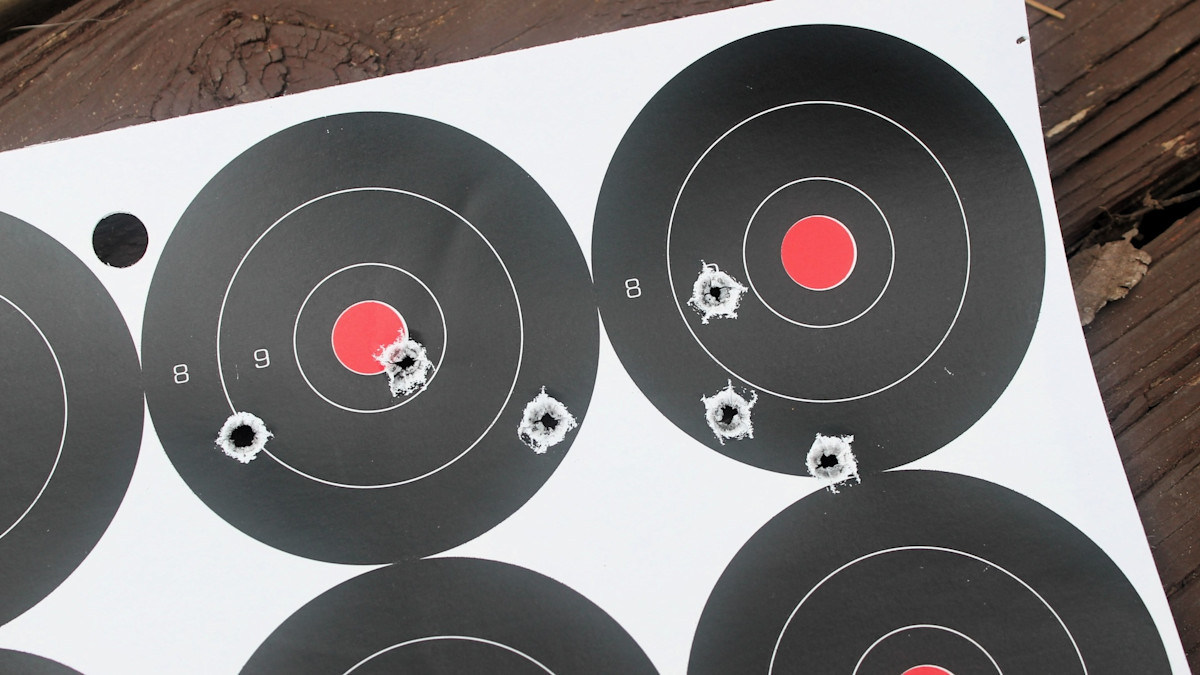
Your zero distance choice is validated by one metric: does your actual point of impact match your predicted point of impact at every distance you've verified? That's it. If your solver says 6.75 MOA at 400 with a 200-yard zero, and your group at 400 centers within 0.5 MOA of that prediction, your system is working.
Track these numbers in a log. Date, temperature, altitude, ammo lot, distance, predicted correction, actual correction needed, and group size. Over time, this log becomes more valuable than any article or forum post because it's your rifle, your ammo, your conditions.
Set specific standards for yourself. A reasonable goal for a hunting rifle system: impacts within 1 MOA of predicted at every distance from 100 to 500 yards. That means at 500 yards, your actual impact is within 5 inches of where your DOPE card said it would be. If you're consistently outside that, something in the system is wrong. It could be the velocity input in your solver, the BC, scope tracking, or your own execution.
For the cold bore drill, the standard is all impacts within 1.5 inches of your point of aim at your zero distance. If your cold bore shots are wandering 2 or 3 inches, investigate barrel condition, stock bedding, and your pre-shot routine.
Review your log every 200 rounds. Look for trends. Is the zero drifting as the barrel wears? Are certain positions producing consistent errors? Is one lot of ammo performing differently than another? The log tells the story. The ES/SD (extreme spread and standard deviation of velocity) of your ammo tells another part of it. A load with an SD over 15 fps will show more vertical dispersion at distance, and that can look like a zero problem when it's really a consistency problem.
The final measure is confidence. When you're on a ridge at 6 AM and a bull steps out at 380 yards, you should know exactly what to dial, trust that the bullet will go where the math says it will, and focus entirely on the wind call and the trigger press. If you're second-guessing your zero at that moment, the system isn't validated yet. Go back to the range.
Your zero distance isn't a personality trait or a tribal affiliation. It's an engineering decision. Run the numbers for your cartridge, match the zero to your hunting style and engagement distances, verify it with live fire at actual distance, and build a DOPE card you trust. The 100-yard zero works. The 200-yard zero works. MPBR works inside its envelope. The one that doesn't work is the one you never confirmed.