
You're setting up to check headspace on a surplus rifle, or maybe you're ready to chamber your first barrel. Either way, you need tools that hold to spec, and the brand that keeps coming up in every forum thread and every smith's toolbox is Forster. There's a reason for that, but not every Forster product is equally relevant to every job.
This is a walkthrough of the Forster tools that actually matter for headspacing, chambering, and barrel work. What each one does, where it fits in the process, and where Forster's stuff genuinely earns its price versus where you might look elsewhere. No catalog dump. Just the tools worth knowing about and how they get used in practice.
Why Forster keeps showing up
Forster Products has been manufacturing in Lanark, Illinois since 1946. They started with case trimmers and reloading tools and expanded into headspace gauges, chambering reamers, and precision accessories that gunsmiths and serious handloaders actually rely on. The reason Forster dominates the headspace gauge conversation is straightforward: they hold SAAMI and NATO dimensional specs consistently, they cover an enormous cartridge list, and their steel quality and heat treatment produce gauges that don't wear quickly.
Pacific Tool & Gauge Headspace Gauge
May contain affiliate links.
Manson Precision Reamers Headspace Gauge
May contain affiliate links.
That said, Forster isn't the only player. Pacific Tool & Gauge and Manson Precision Reamers both make excellent headspace gauges and chamber reamers. The difference usually comes down to cartridge availability, lead time, and whether you need SAAMI or CIP dimensioned gauges. Forster tends to have the broadest SAAMI and NATO gauge inventory available off the shelf, which matters if you don't want to wait six weeks for a custom order.
Headspace gauges: the foundation of safe barrel work
If you only buy one category of Forster tool, make it headspace gauges. Headspace is the distance from the bolt face to the datum point in the chamber that stops the cartridge's forward movement. For rimless cartridges like .308 Win or .30-06, that datum point is on the case shoulder. For rimmed cartridges like .30-30 or 7.62x54R, it's the rim itself. For belted magnums, it's the belt. Get this dimension wrong and you're looking at case head separations, misfires, or worse.
Forster Go Gauge .223 Remington
May contain affiliate links.
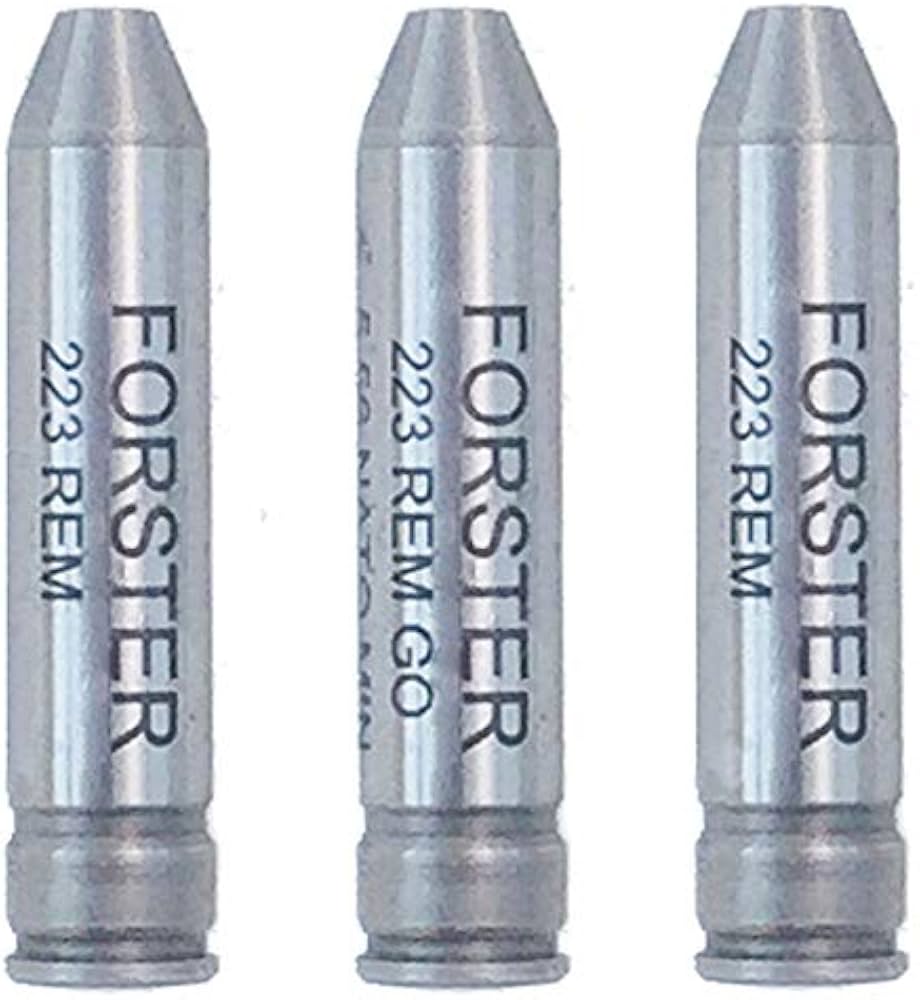
Forster makes three types of headspace gauges: Go, No-Go, and Field.
Go gauge
The Go gauge represents the minimum chamber dimension. When you're chambering a new barrel, you ream until the bolt closes on the Go gauge with normal resistance. Not forced, not sloppy. Just closes. This is your "the chamber is cut to minimum spec" confirmation. Every barrel job starts here.
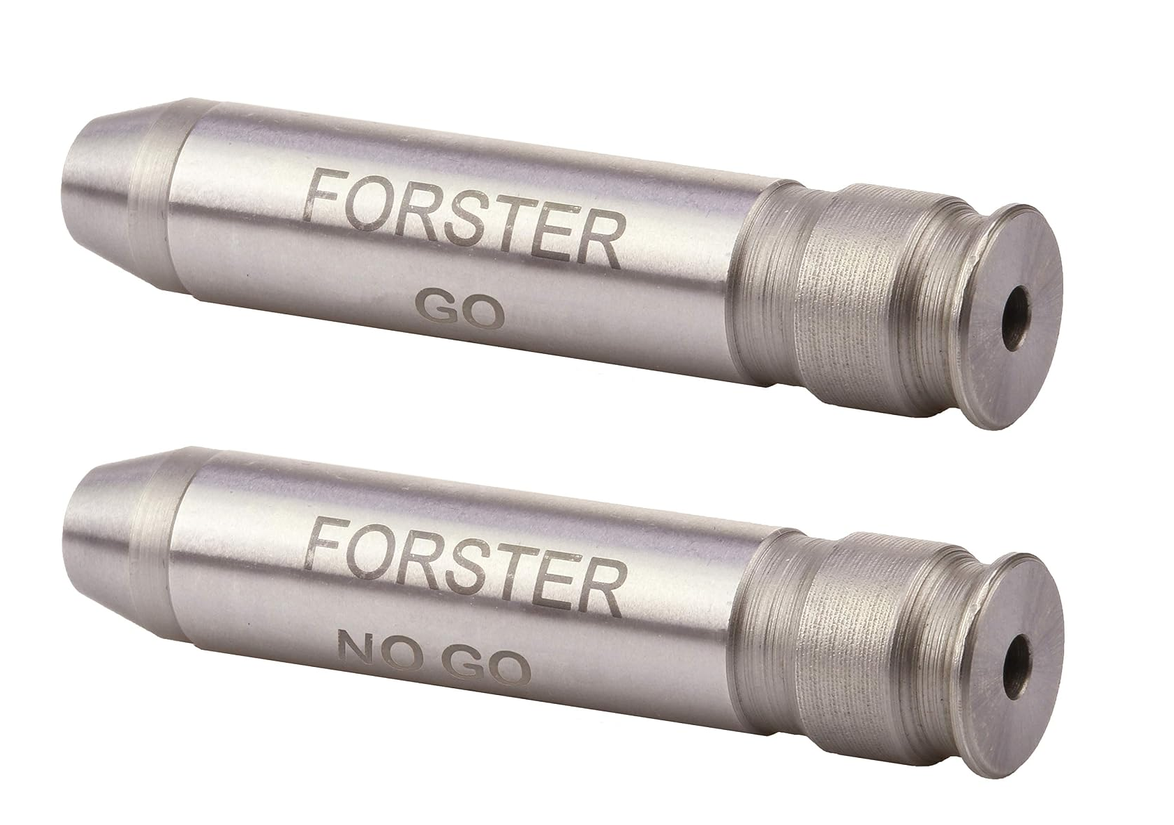
No-Go gauge
The No-Go gauge sits between the Go and Field dimensions. On a new barrel, the bolt should not close on the No-Go gauge. If it does, you've cut too deep and the chamber is out of spec. On a used firearm, a bolt closing on a No-Go gauge means the action has stretched or the locking lugs have worn, and the gun needs attention. This is the gauge most people use for routine safety checks.
Forster No-Go Gauge .223 Remington
May contain affiliate links.
Forster Go Gauge .308 Winchester
May contain affiliate links.
Forster No-Go Gauge .308 Winchester
May contain affiliate links.
For .308 Winchester, the Go dimension is 1.6300 inches and the No-Go is 1.6340 inches. That's only four thousandths of an inch of difference. This is why gauge quality matters. A cheap gauge that's off by even a thousandth puts your reading in no-man's land.
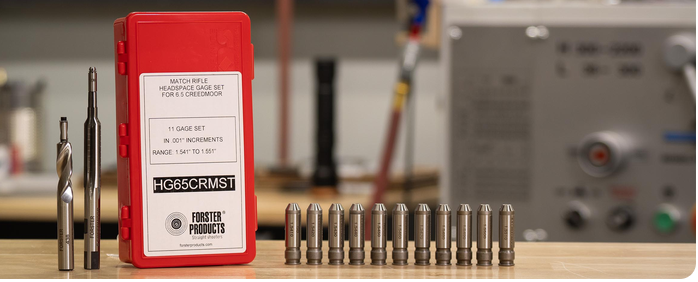
Field gauge
The Field gauge represents the absolute maximum safe chamber dimension. Military armorers use this one. If a bolt closes on the Field gauge, the firearm is unsafe to shoot and needs to be pulled from service. For civilian use, the Field gauge is your "this gun should not be fired" tripwire.
Forster Field Gauge .223 Remington
May contain affiliate links.
SAAMI vs. NATO gauges
This is where people get tripped up. Forster makes both SAAMI-dimensioned gauges and NATO-dimensioned gauges, and they are not interchangeable for certain cartridges. The 5.56x45 NATO chamber is cut differently than the .223 Remington chamber. NATO headspace specs differ from SAAMI specs. If you're checking headspace on a military-spec 5.56 barrel, you need the NATO gauge, not the .223 Remington SAAMI gauge. Forster clearly labels these, but you have to pay attention when ordering.
The same applies to 7.62x51 NATO versus .308 Winchester. The dimensions are close but not identical, and using the wrong gauge will give you a reading that's technically accurate for the wrong standard. On a bolt gun you built yourself with a known .308 SAAMI chamber, use the SAAMI gauge. On a surplus FAL or M14 pattern rifle, use the NATO gauge.
Rimmed and belted cartridge gauges
Forster's rimmed and belted headspace gauges follow the same Go/No-Go/Field system but measure from different datum points. For 7.62x54R, the gauge seats on the rim. For .300 Win Mag, it seats on the belt. The measurement principle is the same, but the physical gauge looks different. Forster stocks these for most common rimmed and belted cartridges, though some of the more obscure ones may require a special order.
Forster Go Gauge 7.62x54R
May contain affiliate links.
Forster Go Gauge .300 Win Mag
May contain affiliate links.
Bench notes: how to actually use a headspace gauge
Strip the bolt if possible. On a bolt-action rifle, remove the extractor and ejector so they don't influence how the bolt closes on the gauge. Drop the gauge into the chamber, close the bolt, and feel the resistance. On a Go gauge, the bolt should close with the same feel as closing on a loaded round. On a No-Go gauge, you should feel the bolt stop before fully closing. If you have to force it, back off and check that the gauge is seated properly.
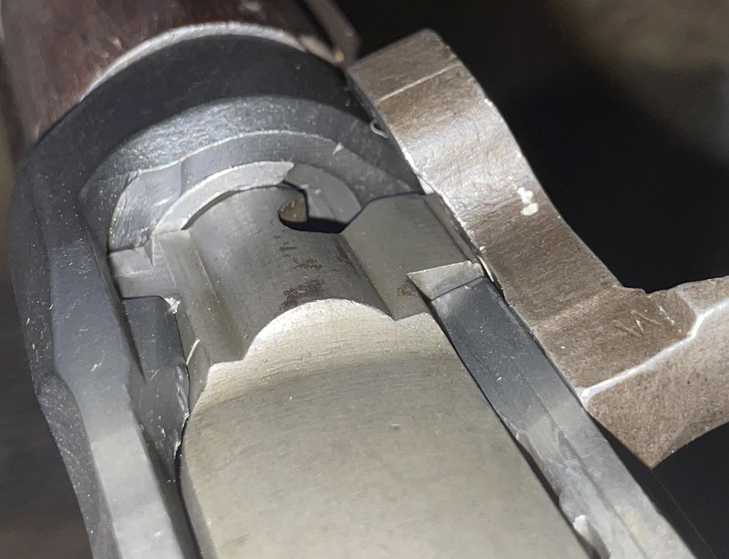
On semi-auto actions like an AR-15 or AR-10, you can check headspace with the bolt and barrel out of the upper receiver. Insert the gauge into the chamber, then press the bolt against it. The bolt should close on Go and not close on No-Go. Some people use the "drop test" method where you let the bolt carrier slide forward under its own weight. If it closes on the No-Go gauge under just gravity and carrier momentum, that's a problem.
The common mistake with headspace gauges is contamination. Oil, carbon, or brass shavings in the chamber will give you a false reading. Clean the chamber thoroughly before checking. A dirty chamber can add a thousandth or two to your reading, which is enough to turn a pass into a fail on the No-Go gauge.
Chambering reamers
Forster has expanded their reamer line significantly in recent years, and this is where things get interesting for anyone doing barrel work beyond just checking headspace. A chambering reamer is the cutting tool that actually creates the chamber in a barrel blank. It's a precision-ground, hardened steel tool with flutes that cuts the chamber, throat, and leade to exact specifications.
Finish reamers vs. roughing reamers
Forster's primary offering is finish chambering reamers. These are the reamers that cut the final chamber dimensions. If you're chambering a barrel from a blank that's already been rough-bored and profiled, the finish reamer is what you need. Some smiths use a roughing reamer first to remove the bulk of the material, then follow with the finish reamer for the final cut. Forster makes both types for popular cartridges.
The distinction matters because a finish reamer should never be used to hog out large amounts of steel. That dulls the cutting edges quickly and can produce a rough chamber that causes extraction problems. If you're starting with an unchambered blank, rough it first, then finish.
What Forster reamers cover
Forster has been adding reamers for modern precision cartridges alongside the traditional hunting and military calibers. You'll find reamers for 6.5 Creedmoor, 6mm GT, .224 Valkyrie, and other cartridges that the precision rifle community has adopted. They also stock reamers for the old standards like .30-06, .308, and .223 Remington.
Where Forster's reamer line sometimes falls short compared to Manson or Pacific Tool & Gauge is in truly custom or wildcat chamberings. If you need a reamer for a 6mm Dasher with a specific throat length, or a .284 Win with a non-standard freebore, Manson and PT&G are more set up for that kind of custom work. Forster's strength is in SAAMI-spec reamers for standard cartridges, made to tight tolerances and available without a long lead time.
Using a chambering reamer correctly
This is not beginner territory. Chambering a barrel requires a lathe (or at the very minimum, a chambering kit with a floating reamer holder for bolt actions), headspace gauges, cutting oil, and the patience to take light cuts and check progress constantly. The reamer gets coated in cutting oil, inserted into the bore, and advanced in small increments. After every few thousandths of depth, you withdraw the reamer, clean the chips, re-oil, and check headspace with your Go gauge.
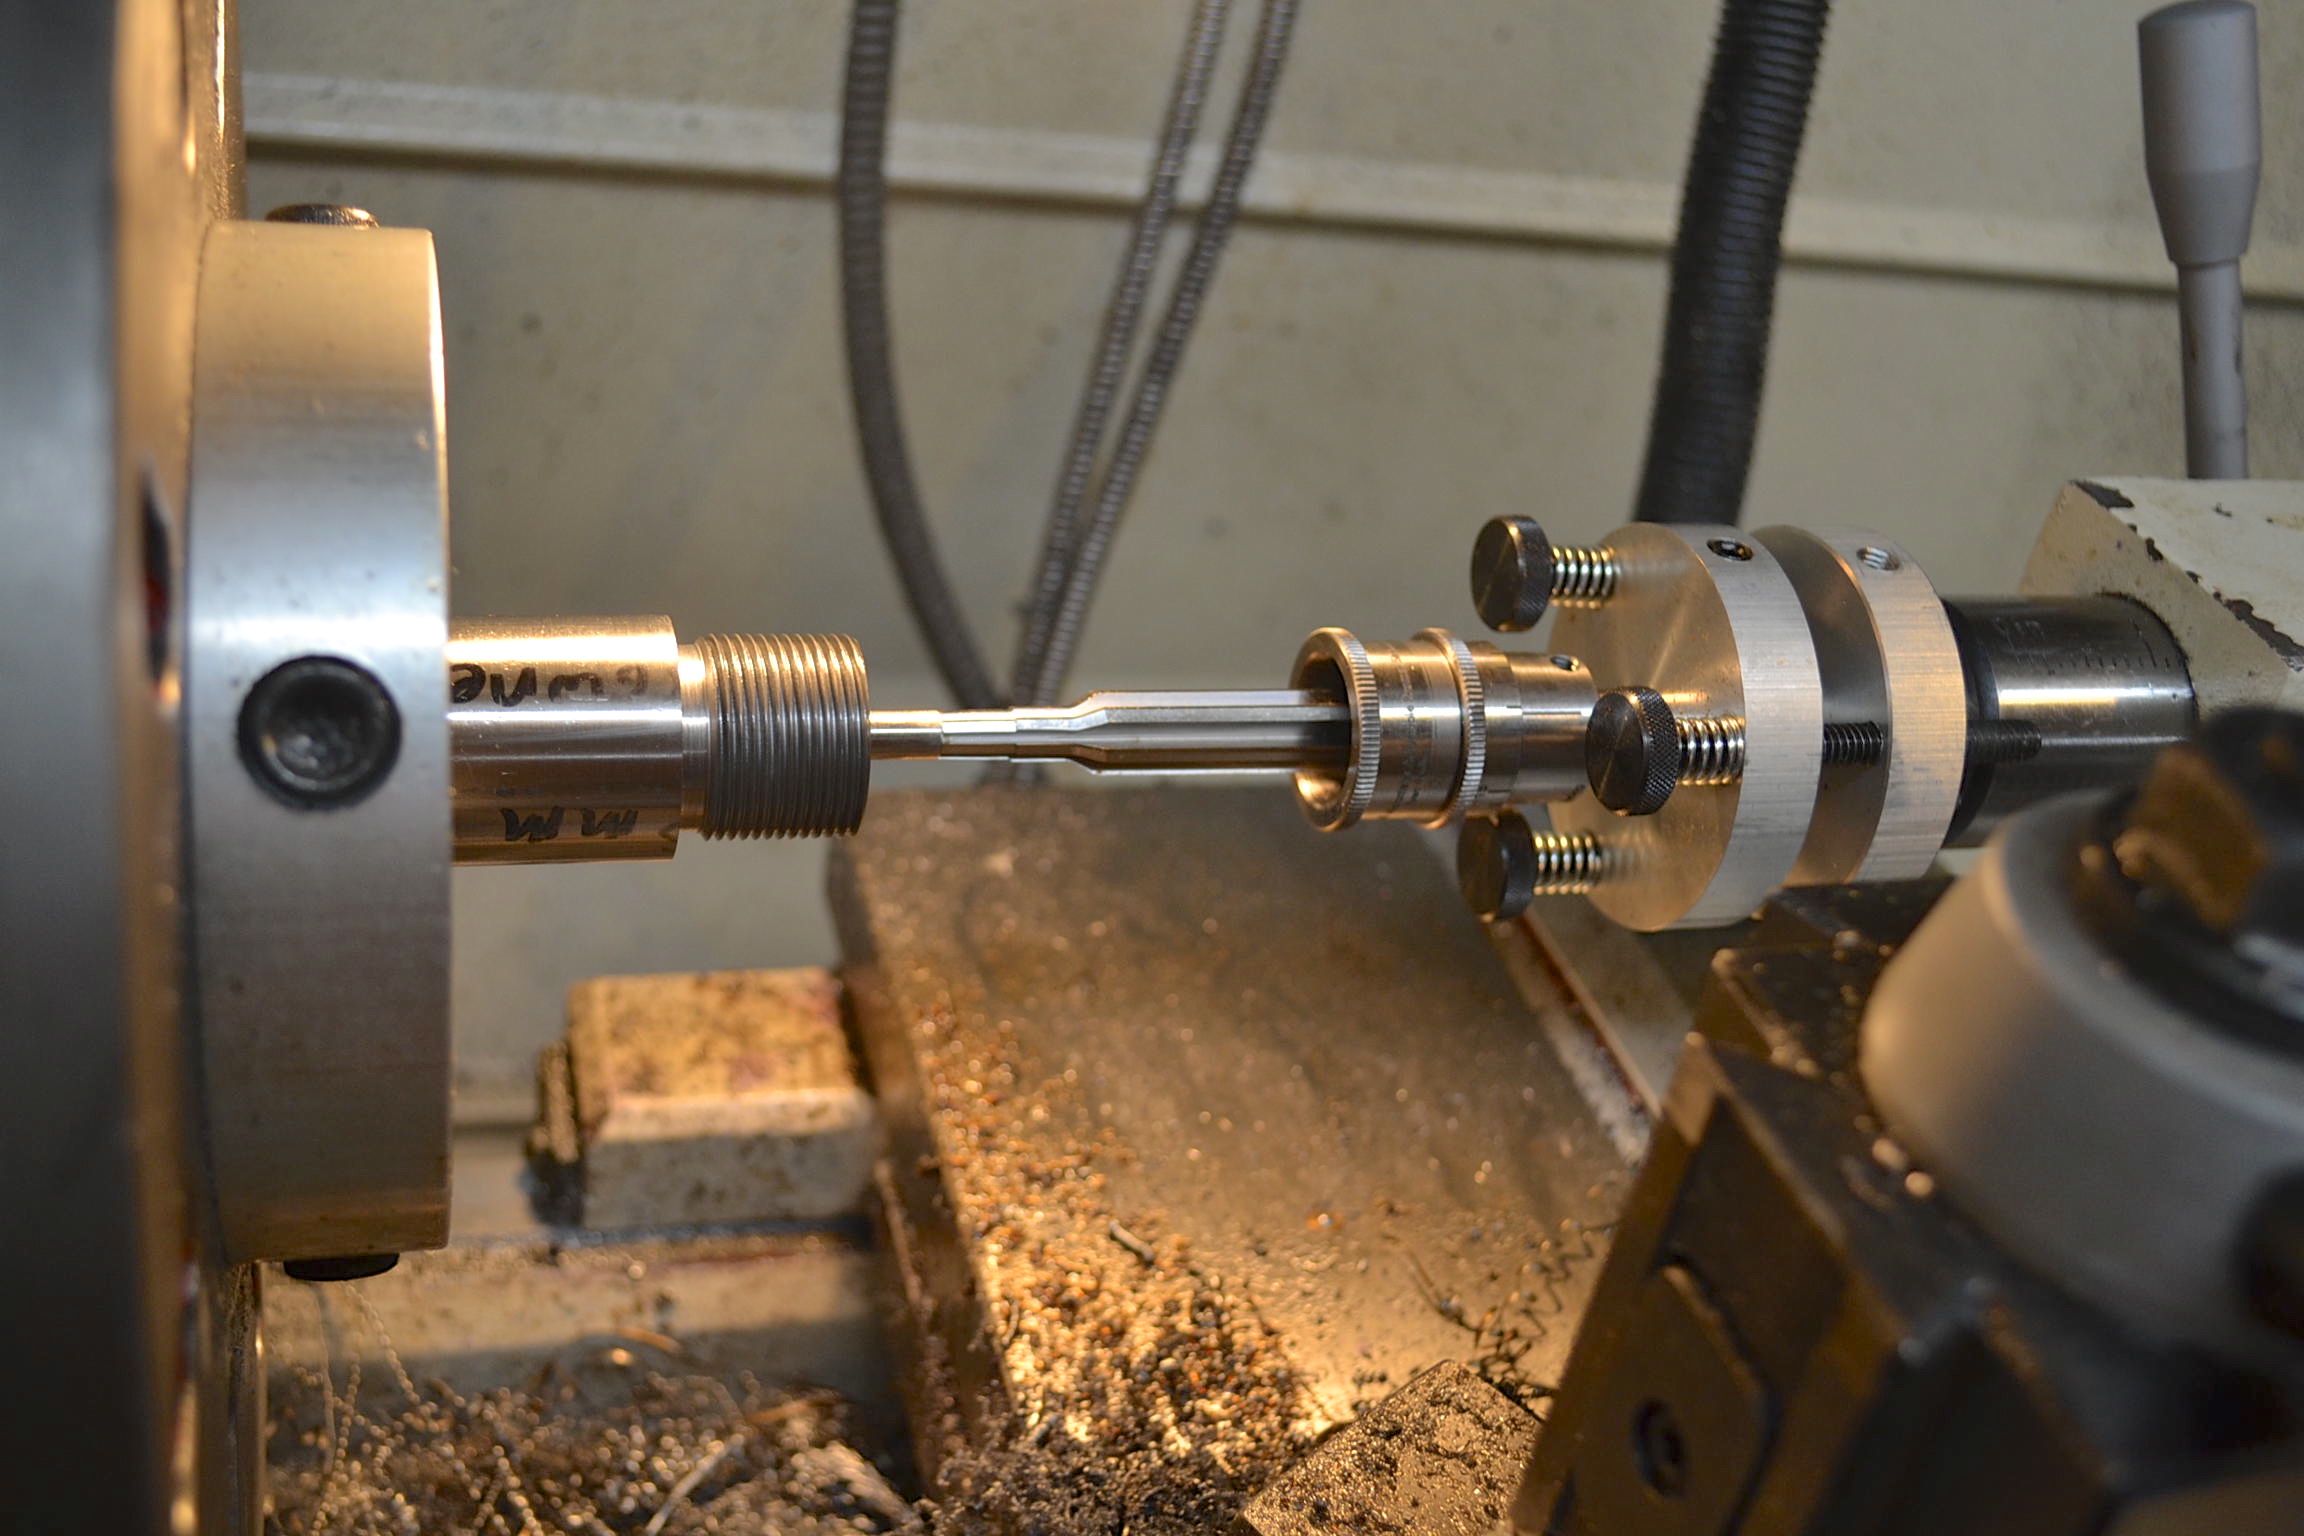
This is where it goes wrong: people advance the reamer too aggressively, either taking too deep a cut or failing to clear chips. Steel chips caught between the reamer flutes and the chamber wall will score the chamber. A scored chamber causes brass to stick during extraction and can be nearly impossible to fix without re-barreling. Take light cuts. Clear chips obsessively. Check headspace every two or three thousandths of advancement as you approach the final dimension.
The other common failure is misalignment. If the reamer isn't perfectly concentric with the bore, you get a chamber that's cocked relative to the barrel's axis. On a lathe, this means your barrel needs to be indicated in properly before you start cutting. With a floating reamer holder on a bolt action, the holder is designed to self-center, but you still need to make sure the barrel is properly torqued and the action face is square.
Tool you'll need alongside the reamer
A chambering reamer by itself is just a cutting tool. You also need a reamer handle or a floating holder (depending on whether you're working on a lathe or using a through-the-action approach), a T-handle tap wrench for hand-turning if applicable, cutting oil formulated for reaming (not WD-40, not motor oil), and compressed air or a bore brush for chip clearing. Forster sells some of these accessories, but many smiths use handles from Manson or Bald Eagle depending on their setup.
The Co-Ax press and benchwork tools
Forster's Co-Ax press isn't a gunsmithing tool in the traditional sense, but it shows up in virtually every serious reloading setup, and the precision it delivers ties directly into barrel work and accuracy testing. If you're chambering barrels and developing loads for them, the press you use to size brass and seat bullets matters.
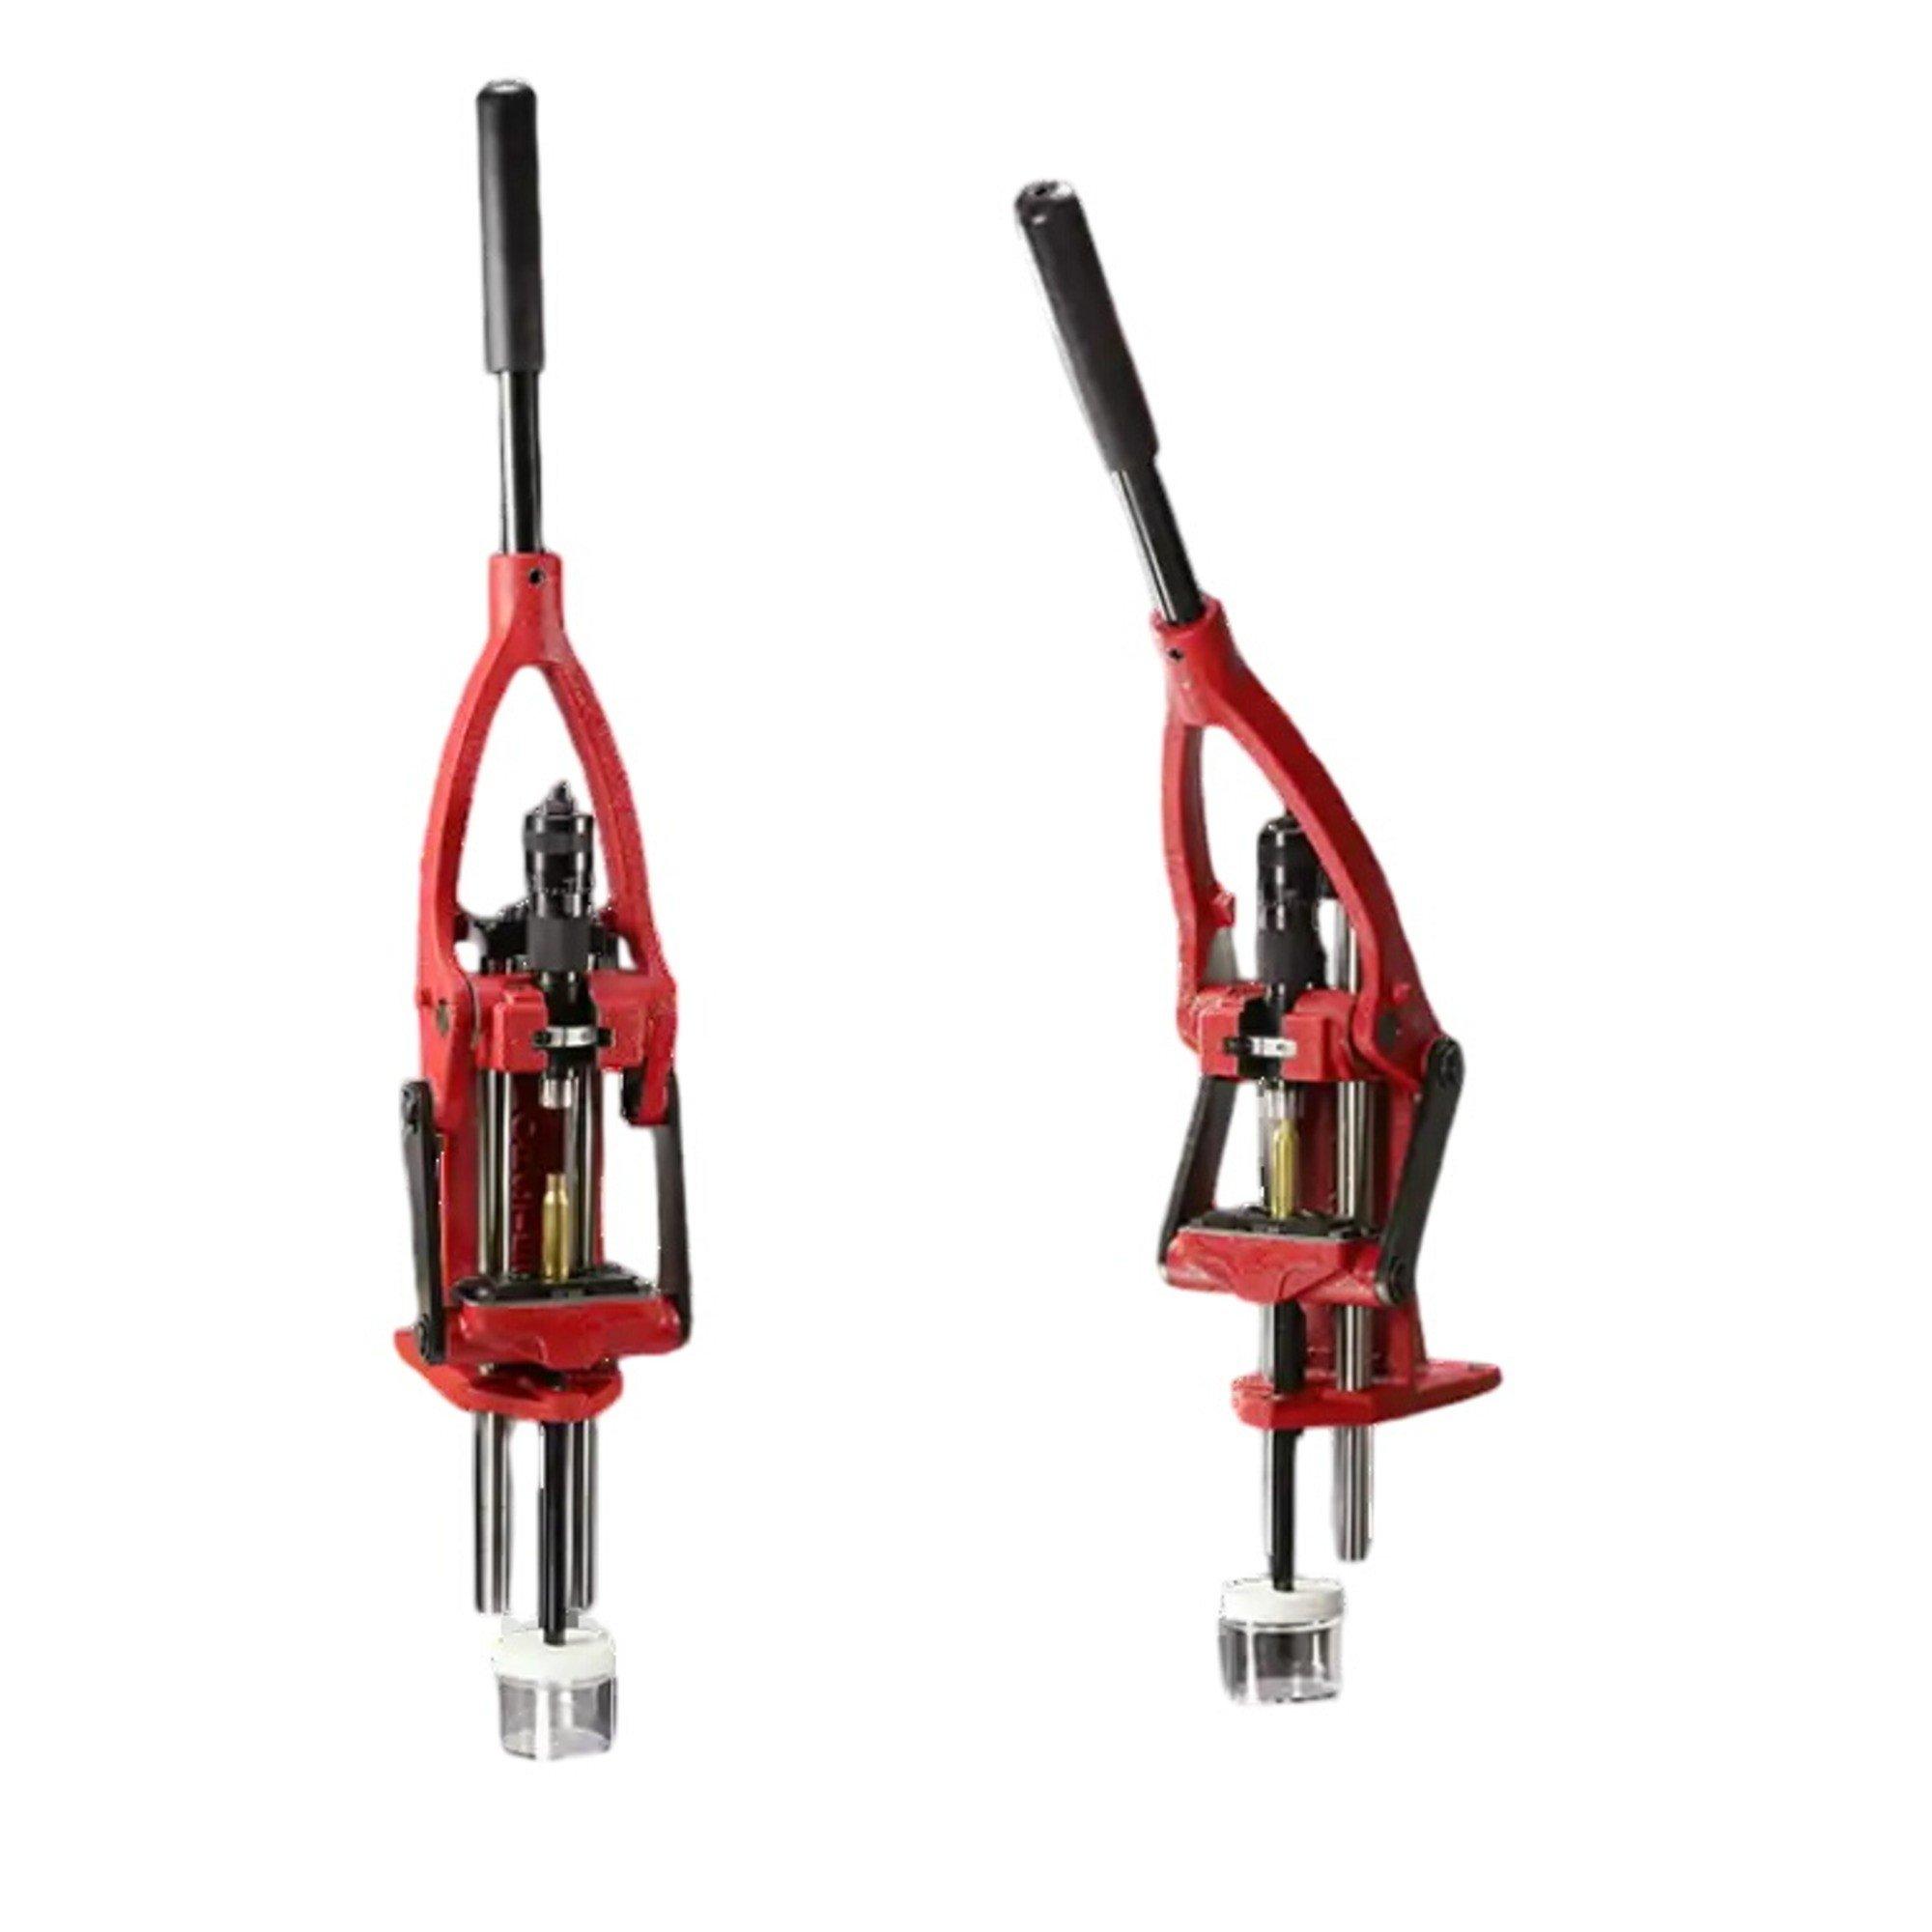
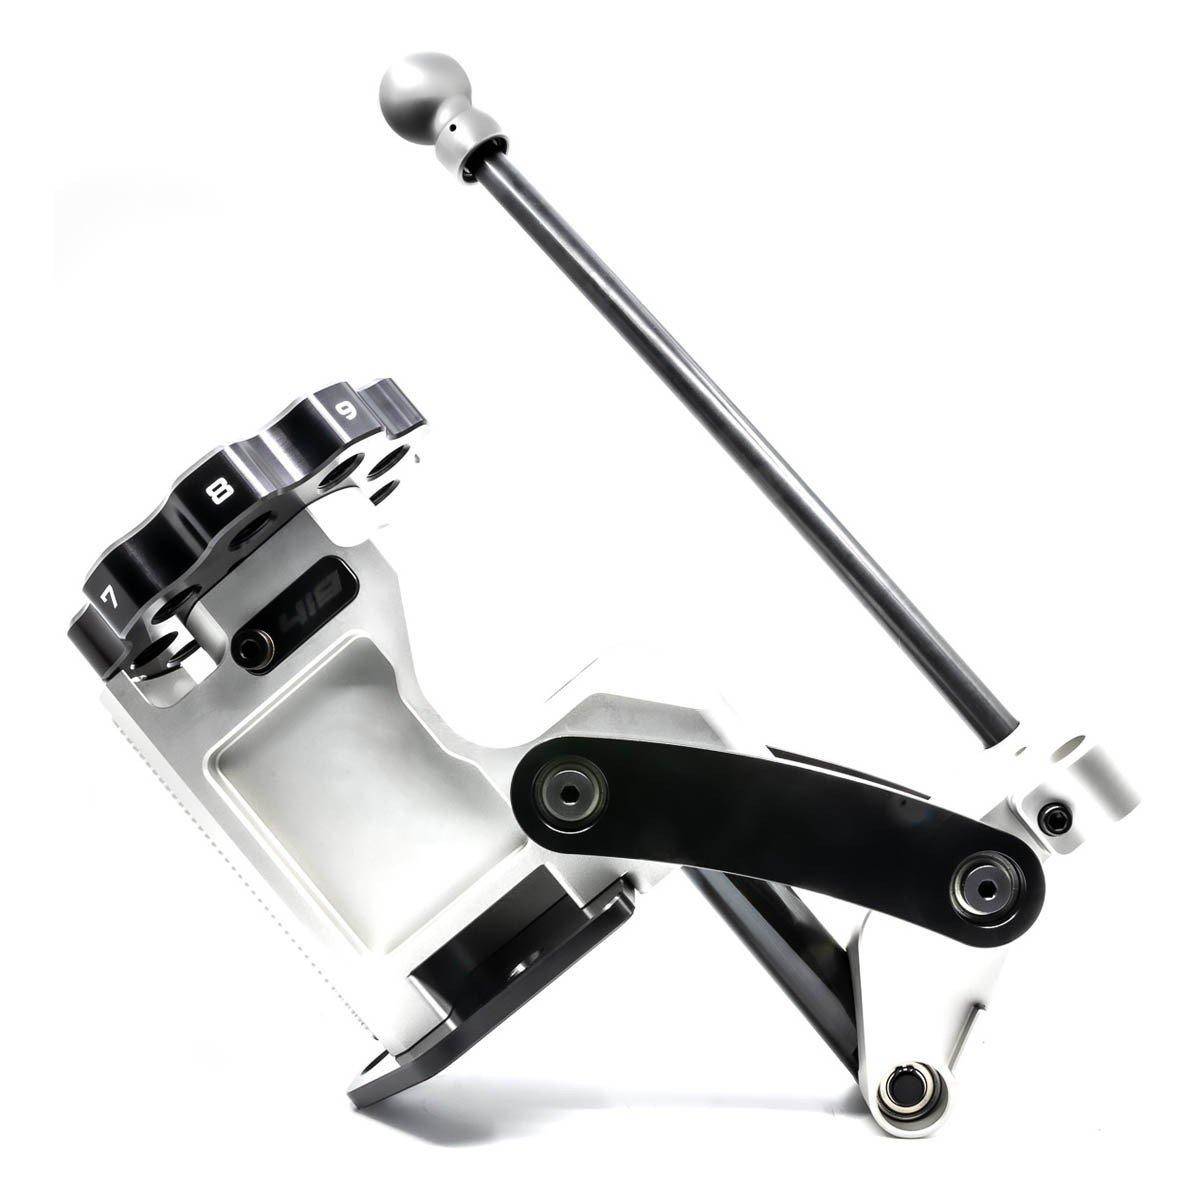
Area 419 Zero Press Deals
Prices may change. May contain affiliate links.
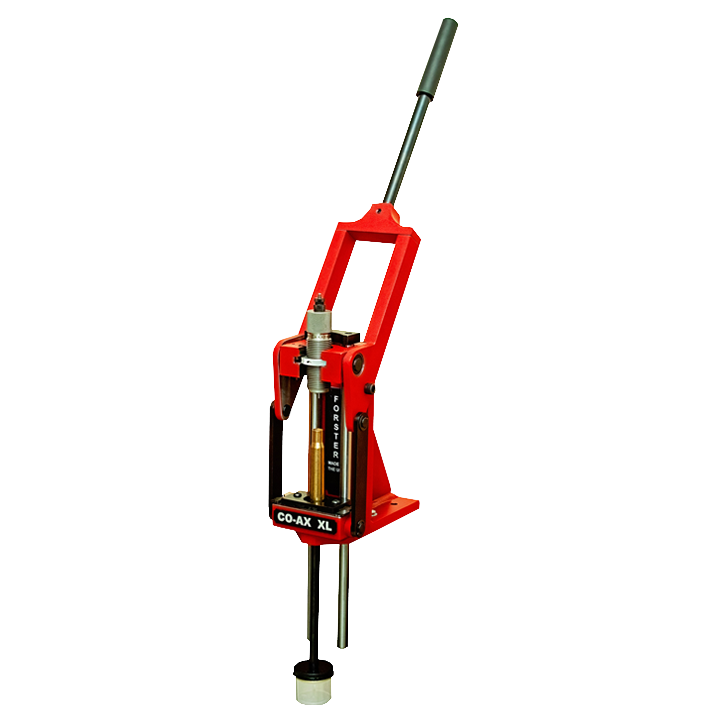
The Co-Ax uses a unique floating die design where the die isn't threaded into the press. Instead, it's held by a snap-in system with a floating jaw that allows the die to self-center on the cartridge case. The result is more concentric ammunition with less runout. Multiple surveys of competitive precision rifle shooters show the Co-Ax consistently ranking among the most popular single-stage presses, often alongside the Area 419 Zero press and the Redding Big Boss II.
What makes the Co-Ax relevant to barrel work is load development. After you chamber a barrel, you need to test it, and that means producing ammunition that's consistent enough to separate barrel accuracy from ammo inconsistency. A press that introduces variable runout will mask what the barrel is actually capable of. The Co-Ax minimizes that variable.
The press does have quirks. Shell holders are proprietary Forster designs (they use snap-in jaws rather than standard RCBS-style shell holders), and some dies with unusual profiles don't fit the floating system perfectly. But for standard sizing and seating operations, it's hard to beat for concentricity without spending significantly more money.
Case trimmers: the Original and the 3-in-1
Forster's Original Case Trimmer has been around for decades and it's still one of the most commonly recommended trimmers for precision work. The design is simple: a collet holds the case by the neck, and a cutter on a pilot trims the case mouth to a consistent length. It's manual, it's slow compared to power trimmers, and that's actually the point. For precision rifle work where you're trimming 50 to 100 cases at a time, the control and consistency of a hand-cranked trimmer matters more than speed.
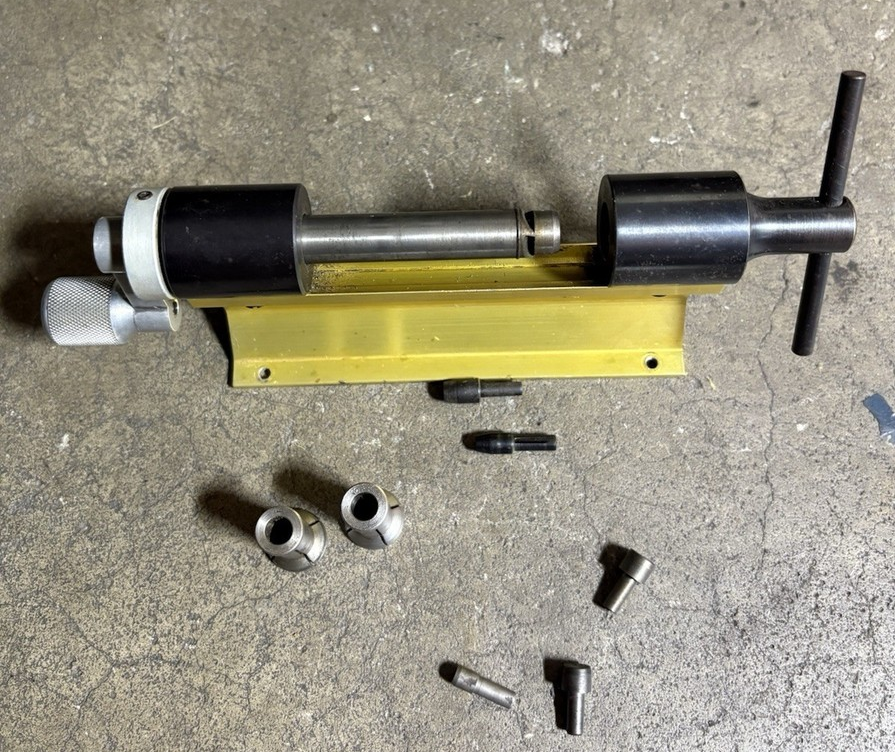
The Original Case Trimmer uses interchangeable collets and pilots for different calibers. You need the correct collet for your case head diameter and the correct pilot for your caliber's bullet diameter. This means some initial investment in collets and pilots if you load for multiple cartridges, but the base trimmer lasts essentially forever.
Where the Original shines versus where it doesn't
For precision bolt gun work where you're trimming small batches of brass to exact lengths, the Forster Original is excellent. The collet holds the case firmly without crushing, the pilot keeps the cutter centered, and the stop rod lets you set a repeatable trim length. Consistency is typically within a thousandth of an inch case to case.
Where it struggles is volume. If you're loading several hundred rounds of .223 for a prairie dog trip, hand-cranking each case gets old fast. That's where power trimmers or the Forster 3-in-1 trimmer come in. The 3-in-1 adds outside neck turning and case mouth deburring to the trimming function, which saves setup time if you're doing all three operations. But it's still a manual tool at heart.
Compared to the Giraud power trimmer or the WFT (World's Finest Trimmer), the Forster is slower but arguably more versatile. The Giraud trims and chamfers in one power-driven operation, and it's the go-to for high-volume shooters. The Forster gives you more control over each individual case, which matters more for long-range precision work where you're chasing single-digit ES (extreme spread) in velocity.
Neck reamers and turning tools
Forster makes inside neck reamers that uniform the neck wall thickness from the inside. This is a different approach than outside neck turning, which removes material from the exterior of the case neck. Both methods achieve the same goal: consistent neck tension on the bullet, which translates to consistent release pressure and better velocity uniformity.
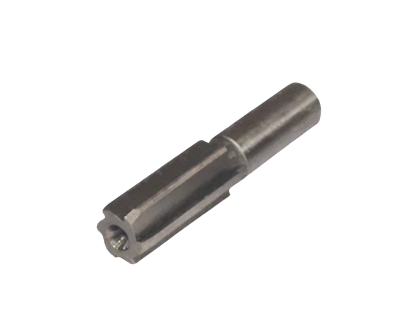
The Forster inside neck reamer mounts in their case trimmer and uses the same pilot system. You run the case over the reamer just like trimming, but instead of cutting the case mouth, you're cutting the inside of the neck to a uniform diameter. The advantage is simplicity. The disadvantage is that you can only remove material, so if your brass has necks that are too thin in spots, inside reaming won't fix that the way outside turning can.
For most shooters who aren't competing at the national level, inside neck reaming is sufficient to get neck tension consistent enough that it's no longer a meaningful variable. Outside neck turning with a tool like the Forster or K&M neck turner gives you tighter control but adds another step and another tool to the process.
Common mistakes with Forster tools
Buying the wrong headspace gauge standard
SAAMI and NATO gauges for the same parent cartridge are not the same dimensions. A .223 Remington No-Go gauge is not a 5.56 NATO No-Go gauge. Check your chamber's specification before ordering.
Skipping the extractor removal during headspace checks
The extractor spring tension on a bolt-action rifle can force the bolt closed over a gauge it shouldn't close on, giving you a false "in spec" reading. Remove the extractor and ejector before checking headspace. On an AR-pattern bolt, you can usually get away with leaving the extractor in place because the bolt rotates to lock, but removing it still gives a cleaner reading.
Advancing a chambering reamer without clearing chips
Steel chips in the flutes will score your chamber. Every two or three turns of the reamer, back it out, clean the chips, re-oil, and go again. This is tedious and non-negotiable.
Using the wrong cutting oil with reamers
Forster reamers are high-speed steel. They need proper cutting oil, not penetrating oil, not light machine oil. Something like Tap Magic or Do-All cutting fluid works. The oil's job is to lubricate the cut, carry away heat, and help float chips out of the flutes. Wrong lubricant means premature dulling and rough chamber surfaces.
Not indicating the barrel before chambering on a lathe
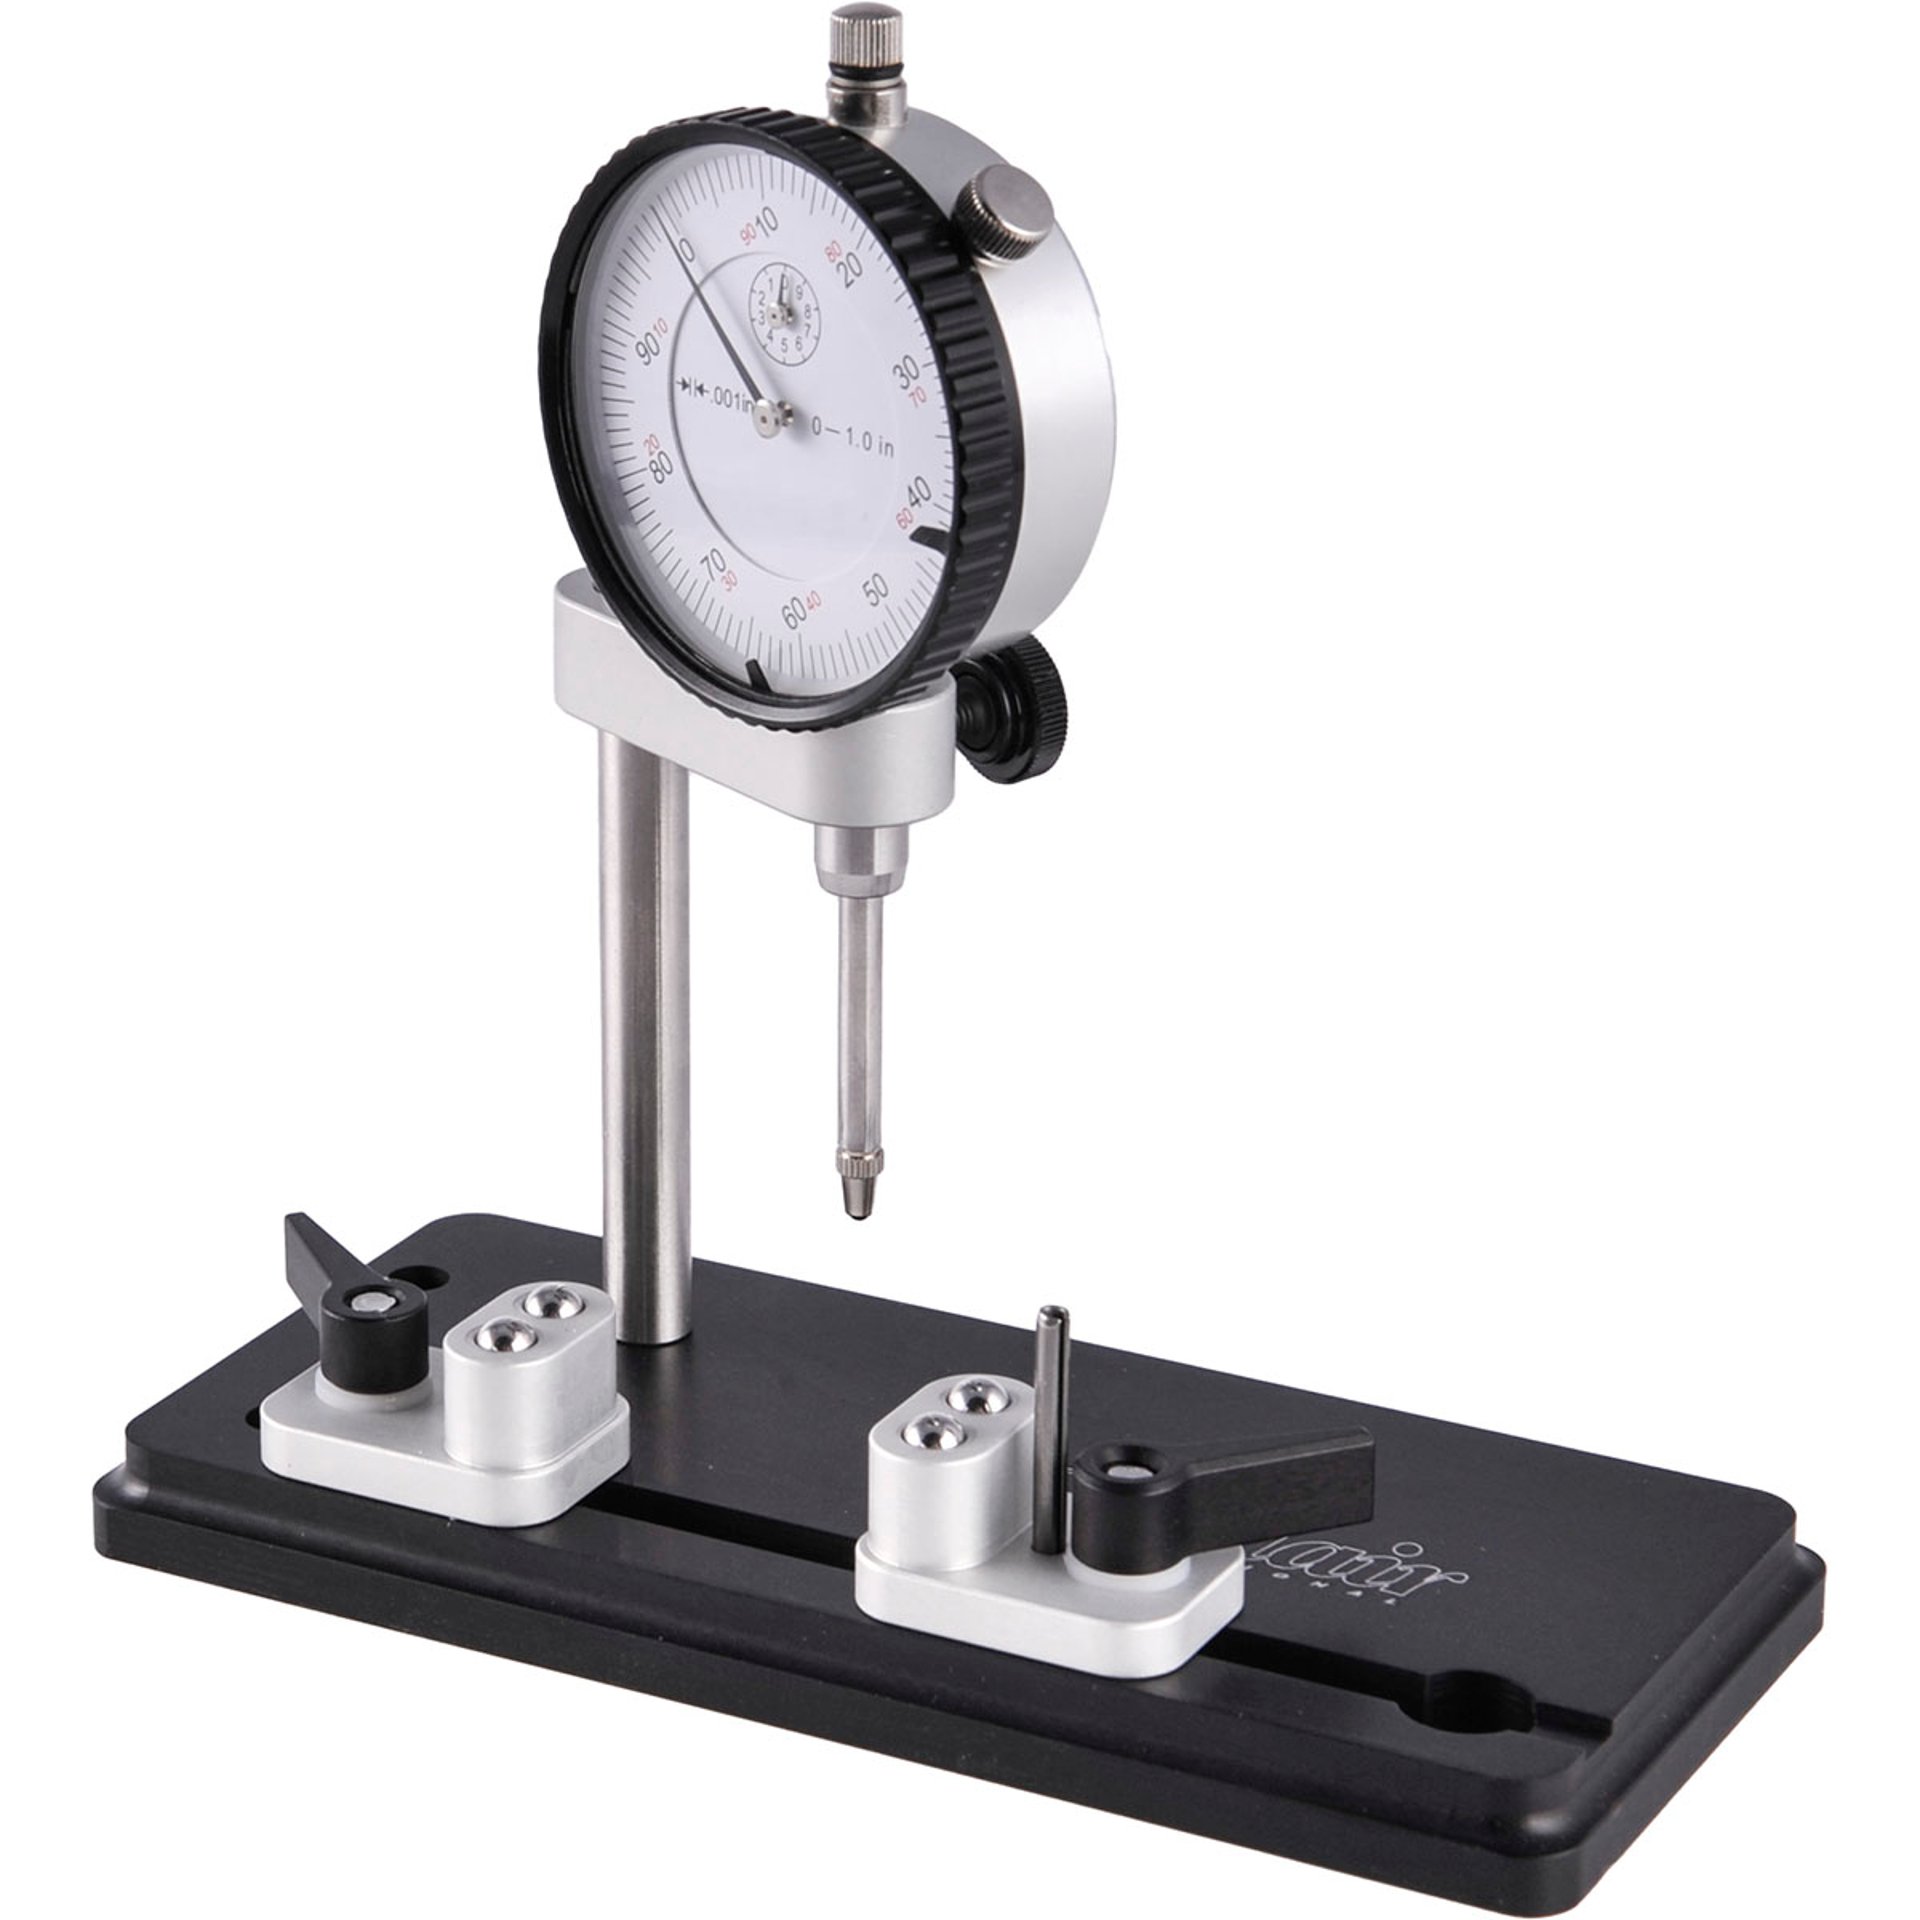
If your barrel blank isn't running true in the lathe, the chamber will be cut off-axis from the bore. This causes accuracy problems that no amount of load development will fix. Indicate the bore at both the muzzle and the breech end using a dial indicator and a test rod. Get concentricity within a tenth (0.0001 inch) or better before you touch the reamer to the steel.
What to buy and in what order
If you're getting into barrel work or just want to be able to check headspace on your own firearms, here's a practical acquisition order.
Start with headspace gauges for the cartridges you actually own. A Go and No-Go set for your primary rifle is the minimum. Add a Field gauge if you buy surplus firearms or do armorer-level checks. Forster gauges typically run in the $25 to $40 range per gauge depending on cartridge, so a Go/No-Go set for one caliber is a modest investment for a critical safety tool.
Next, if you reload, the Original Case Trimmer with appropriate collets and pilots. This is a tool you'll use for years. The base trimmer, one collet, and one pilot gets you started, and you add caliber-specific accessories as needed.
The Co-Ax press comes next if you're building a precision reloading setup. It's a significant purchase compared to a basic single-stage press, but the concentricity advantage pays dividends in ammunition quality.
Chambering reamers come last because they assume you have the skills, the lathe (or action wrench and barrel vise setup), and the headspace gauges already in hand. Don't buy a reamer until you've watched the chambering process done correctly, either in person or through detailed instructional content, and you understand every step. A reamer is a precision cutting tool that costs $100 to $200 or more. One bad chambering job due to inexperience and you've ruined both the reamer and the barrel.
When to stop and call a smith
Headspace checking is absolutely a DIY task. Anyone who can field-strip their rifle can learn to use Go and No-Go gauges correctly. Case trimming and reloading are DIY with proper education and attention to published load data.
Chambering a barrel is where the line gets blurry. If you have a lathe, machining experience, and you've studied the process thoroughly, it's achievable. If you're planning to chamber a barrel with hand tools and a YouTube education, stop and reconsider. A misaligned or overcut chamber isn't just an accuracy problem. It's a safety problem. The cost of having a competent smith chamber and headspace a barrel is typically $150 to $300 depending on the work involved. That's cheap insurance against a ruined barrel blank that cost you $300 to $500.
Similarly, if your headspace check reveals a problem, especially on a semi-auto or a lever gun with a non-adjustable bolt, the fix usually involves replacing the bolt, the barrel, or the locking lugs. That's smith territory unless you're very confident in your ability to fit those parts correctly.
Forster makes tools that are good enough for professional gunsmiths to rely on daily. That doesn't mean every tool they make is appropriate for every skill level. Know what you can do well, invest in the gauges and measuring tools first, and build your capability from there. The gauges will tell you whether your work (or your smith's work) is right. That alone makes them the most important Forster tools you'll ever own.