
You've got a printer, you've got an AR-15, and you've already printed a Benchy that came out decent. Now you're wondering what you can actually make for your rifle that's worth the filament. The answer is more than you'd expect, but less than the hype suggests. The 3D printing community has a habit of treating every successful print like a breakthrough, and the firearms community has a habit of dismissing all of it as plastic junk. Both are wrong.
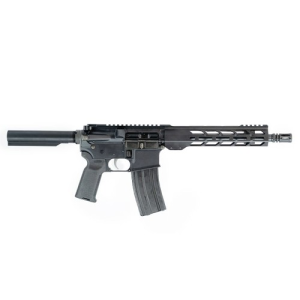
AR-15 Deals
Prices may change. May contain affiliate links.
The real story is narrower and more useful: there's a specific set of AR-15 accessories where 3D printing genuinely makes sense, where the parts hold up under actual use, and where you're getting something that either doesn't exist commercially or costs five times more than a spool of filament. There's also a category of parts where printing is a terrible idea, and knowing where that line falls matters more than any STL file. This is about the accessories that work, the materials that hold up, and the mistakes that waste your time.
The line between "printable" and "don't even try"
The first thing to internalize: 3D printing on an AR-15 works best for parts that don't bear significant mechanical stress, don't contact hot surfaces for extended periods, and don't need to hold tight tolerances over thousands of rounds. That rules out buffer tubes, gas blocks, barrel nuts, and anything in the bolt carrier group. It also rules out lower receivers for serious use, despite what certain corners of the internet celebrate. A printed lower can technically function, but longevity under recoil, pin hole wear, and buffer tower cracking are real failure modes that don't show up on a 50-round test.
What does work: rail covers, handguard panels, magazine well flares, grip accessories, selector switch extensions, trigger guards, dust cover handles, cable management clips, optic riser templates, and various jigs or tools for assembly. These are parts where the loads are low, the consequences of failure are minor, and the geometry is often simple enough that even a budget FDM printer can nail it.
The mental model here is "furniture and fixtures." If the part touches your hand, organizes your accessories, or helps you assemble the rifle, it's probably a good candidate. If the part touches the chamber, contacts propellant gases, or retains a pin under spring tension, leave it to machined metal.
Materials matter more than layer height
Most people obsess over print settings when they should be obsessing over filament choice. The difference between PLA and nylon on a rail cover that sits six inches from a gas block is the difference between a part that survives a range session and one that warps into modern art.
PLA is fine for jigs, templates, and anything that never touches the rifle during firing. It's stiff, easy to print, and dimensionally accurate. But it has a glass transition temperature around 60°C, which means sustained fire will soften it if it's anywhere near the barrel or gas system. A handguard gets well above that during a moderate strings-of-fire drill.
PLA+ buys you a few degrees and slightly better impact resistance. Still not enough for anything heat-adjacent.
PETG is the minimum viable material for parts that stay on the rifle during shooting. Glass transition sits around 80°C, layer adhesion is better than PLA, and it handles UV exposure without getting brittle as fast. Most printed rail covers and grip panels in regular use are PETG, and they hold up fine.
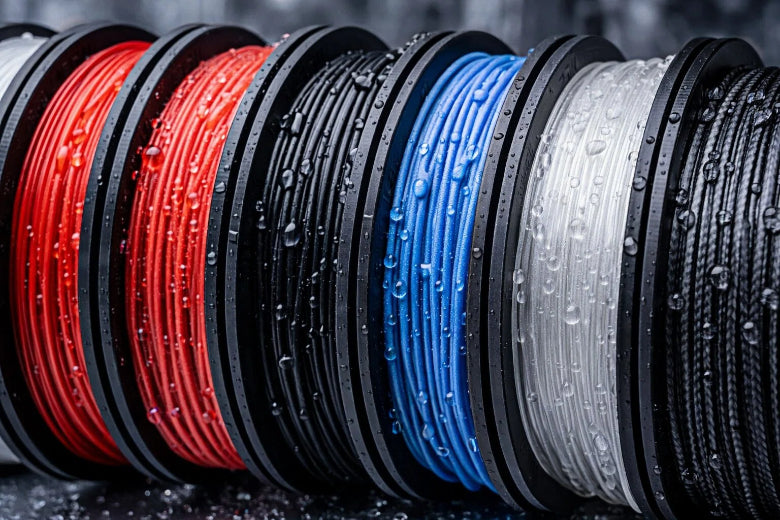
Nylon (PA6 or PA12) is the real deal for functional parts. It's tough, slightly flexible, heat resistant well above 100°C, and wears like a commercial polymer part. The tradeoff is that it's hygroscopic, meaning it absorbs moisture from the air and prints like garbage if you don't dry it first. A filament dryer isn't optional here. Hoffman Tactical's filament guide specifically calls out nylon and polycarbonate as the go-to materials for anything that needs to survive real use, and that tracks with what the broader community reports.
Polycarbonate pushes heat resistance even higher and adds serious impact strength, but it's demanding to print. You need an enclosed printer, bed temps around 110°C, and patience. For a grip or a trigger guard, it's overkill. For a handguard panel that sits right above the gas tube, it might be worth the hassle.
Carbon fiber filled filaments (CF-nylon, CF-PETG) add rigidity and reduce warping. They also destroy brass nozzles in about 20 hours of printing. Budget for a hardened steel nozzle if you go this route.
The short version: PETG for most accessories, nylon for anything structural or heat-exposed, PLA only for bench tools and templates.
Rail covers and handguard panels
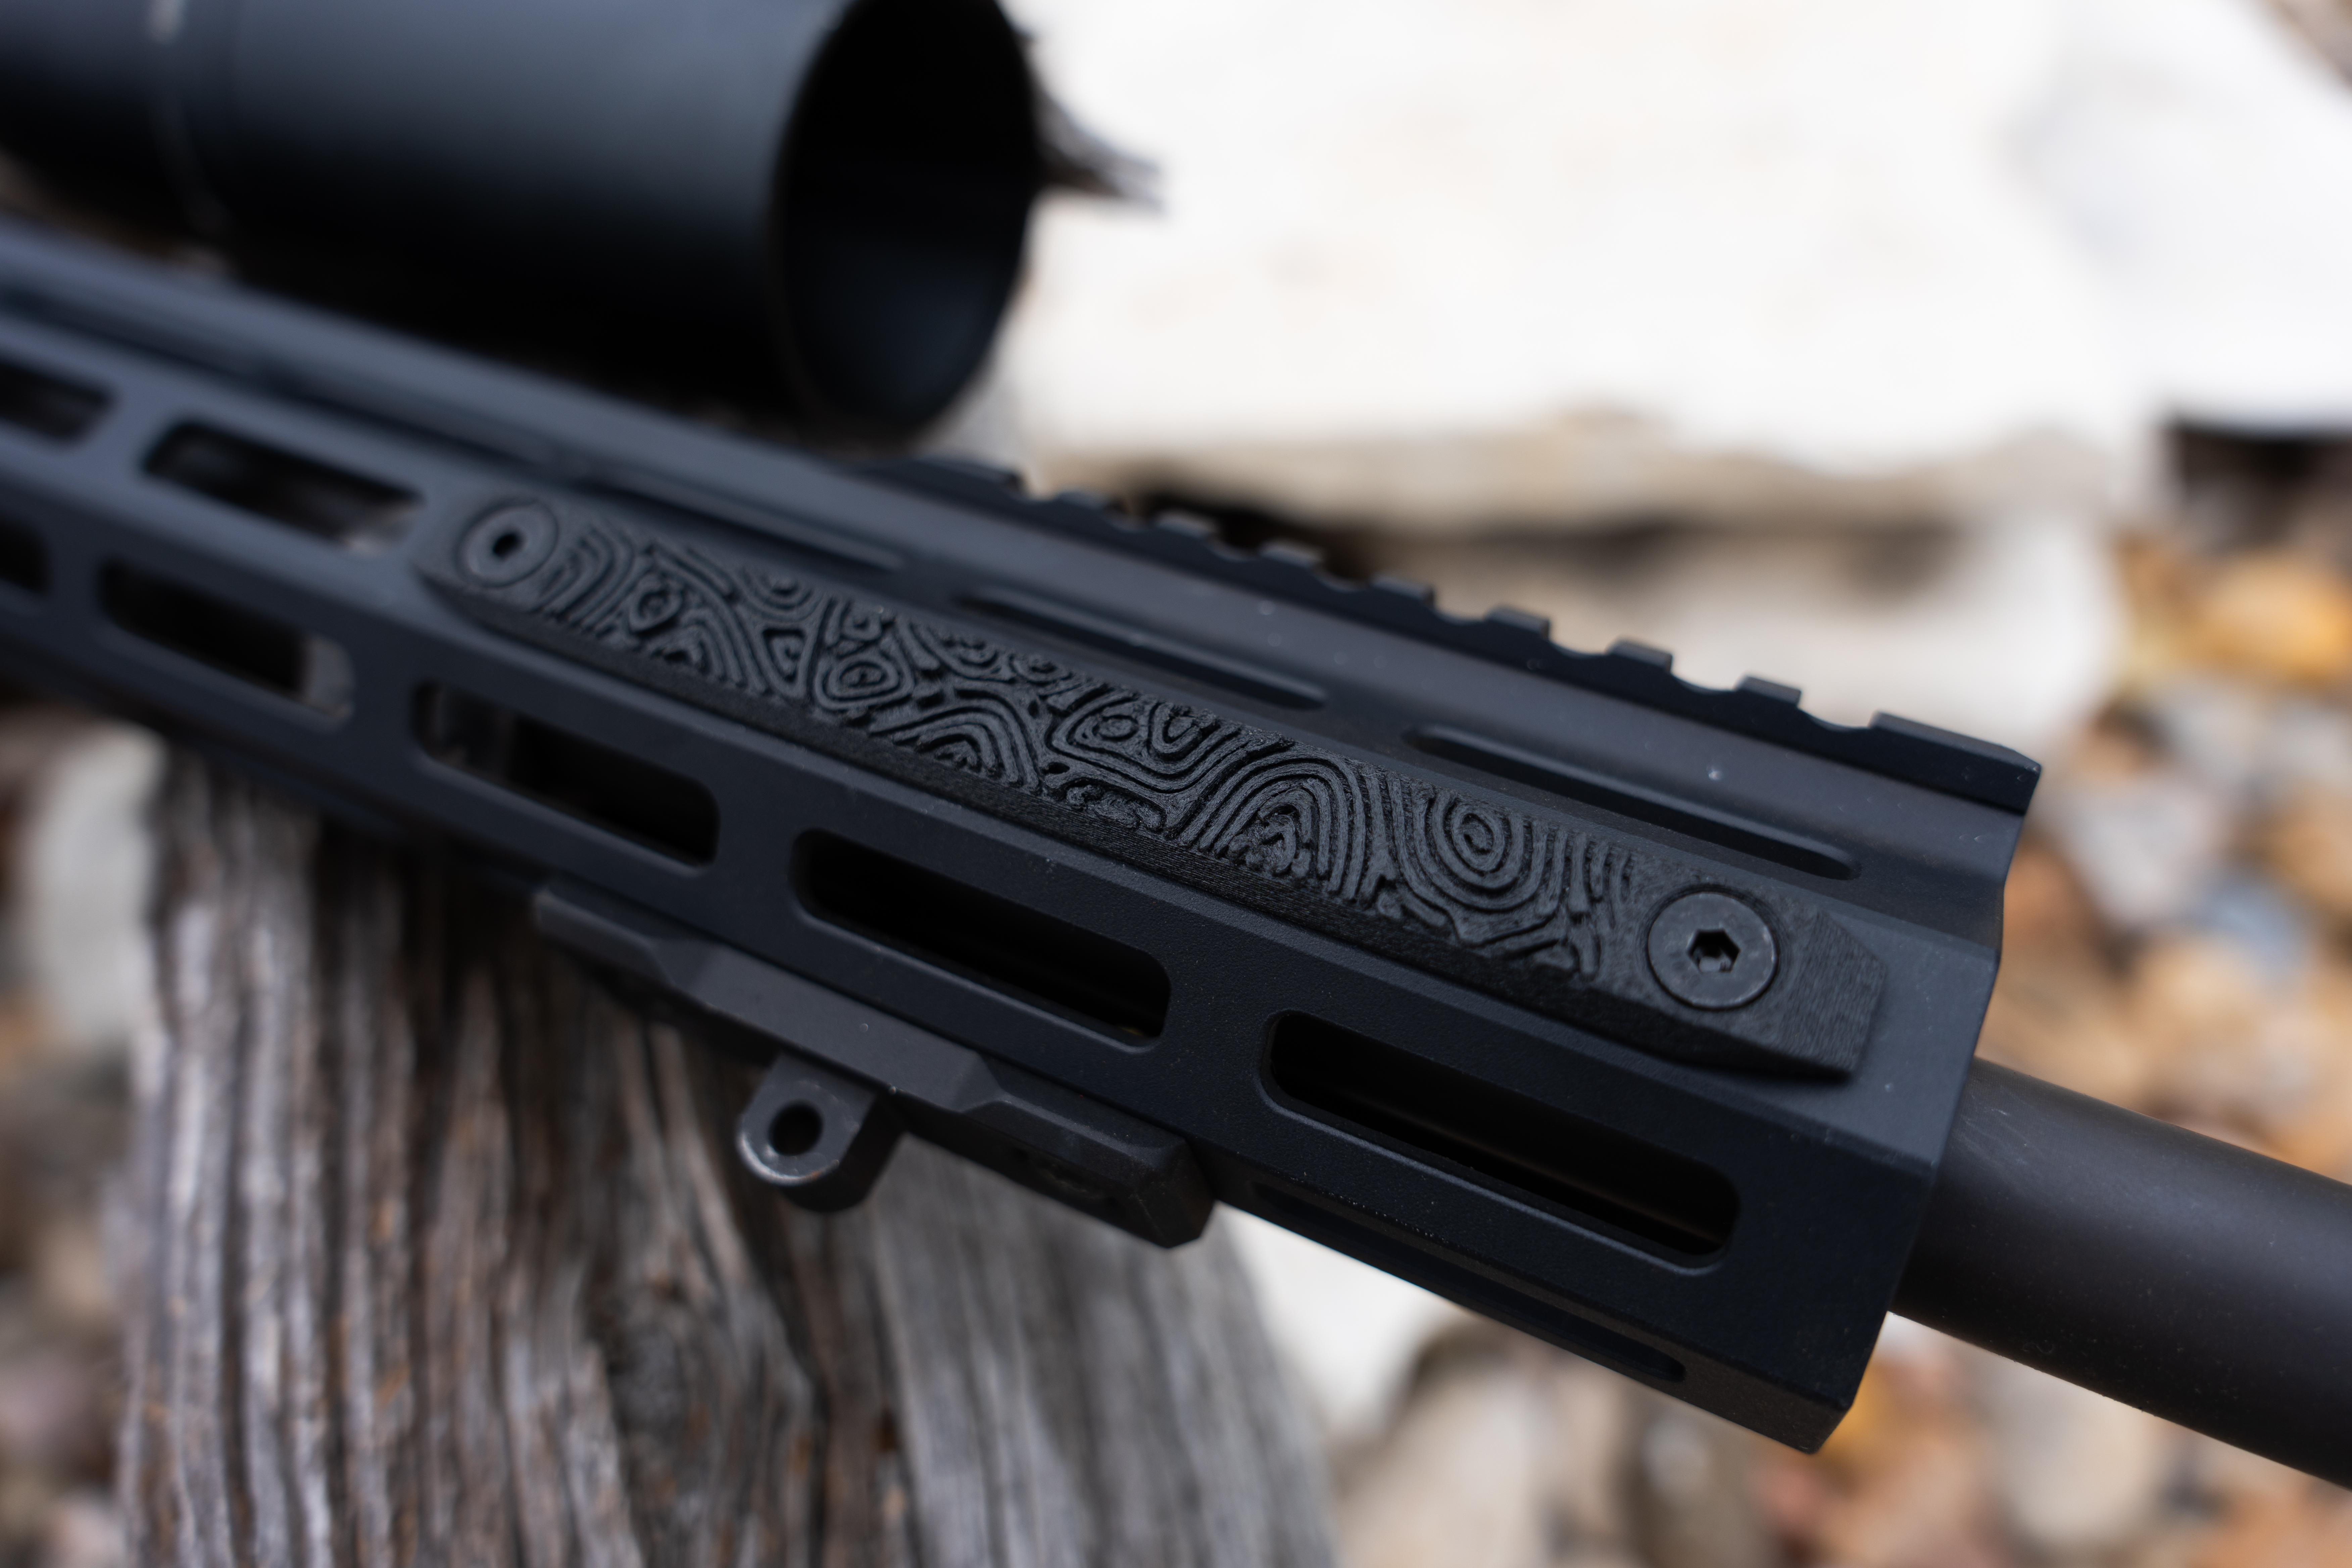
This is the single best use case for 3D printing on an AR-15, and it's not even close. Commercial M-LOK rail covers run anywhere from $8 to $25 for a set, they come in limited textures and profiles, and half of them are the same injection-molded rubber that every company sources from the same factory. Printed rail covers cost pennies in material, can be customized to any texture pattern, and can be reprinted in an hour if they wear out or you want to try a different profile.
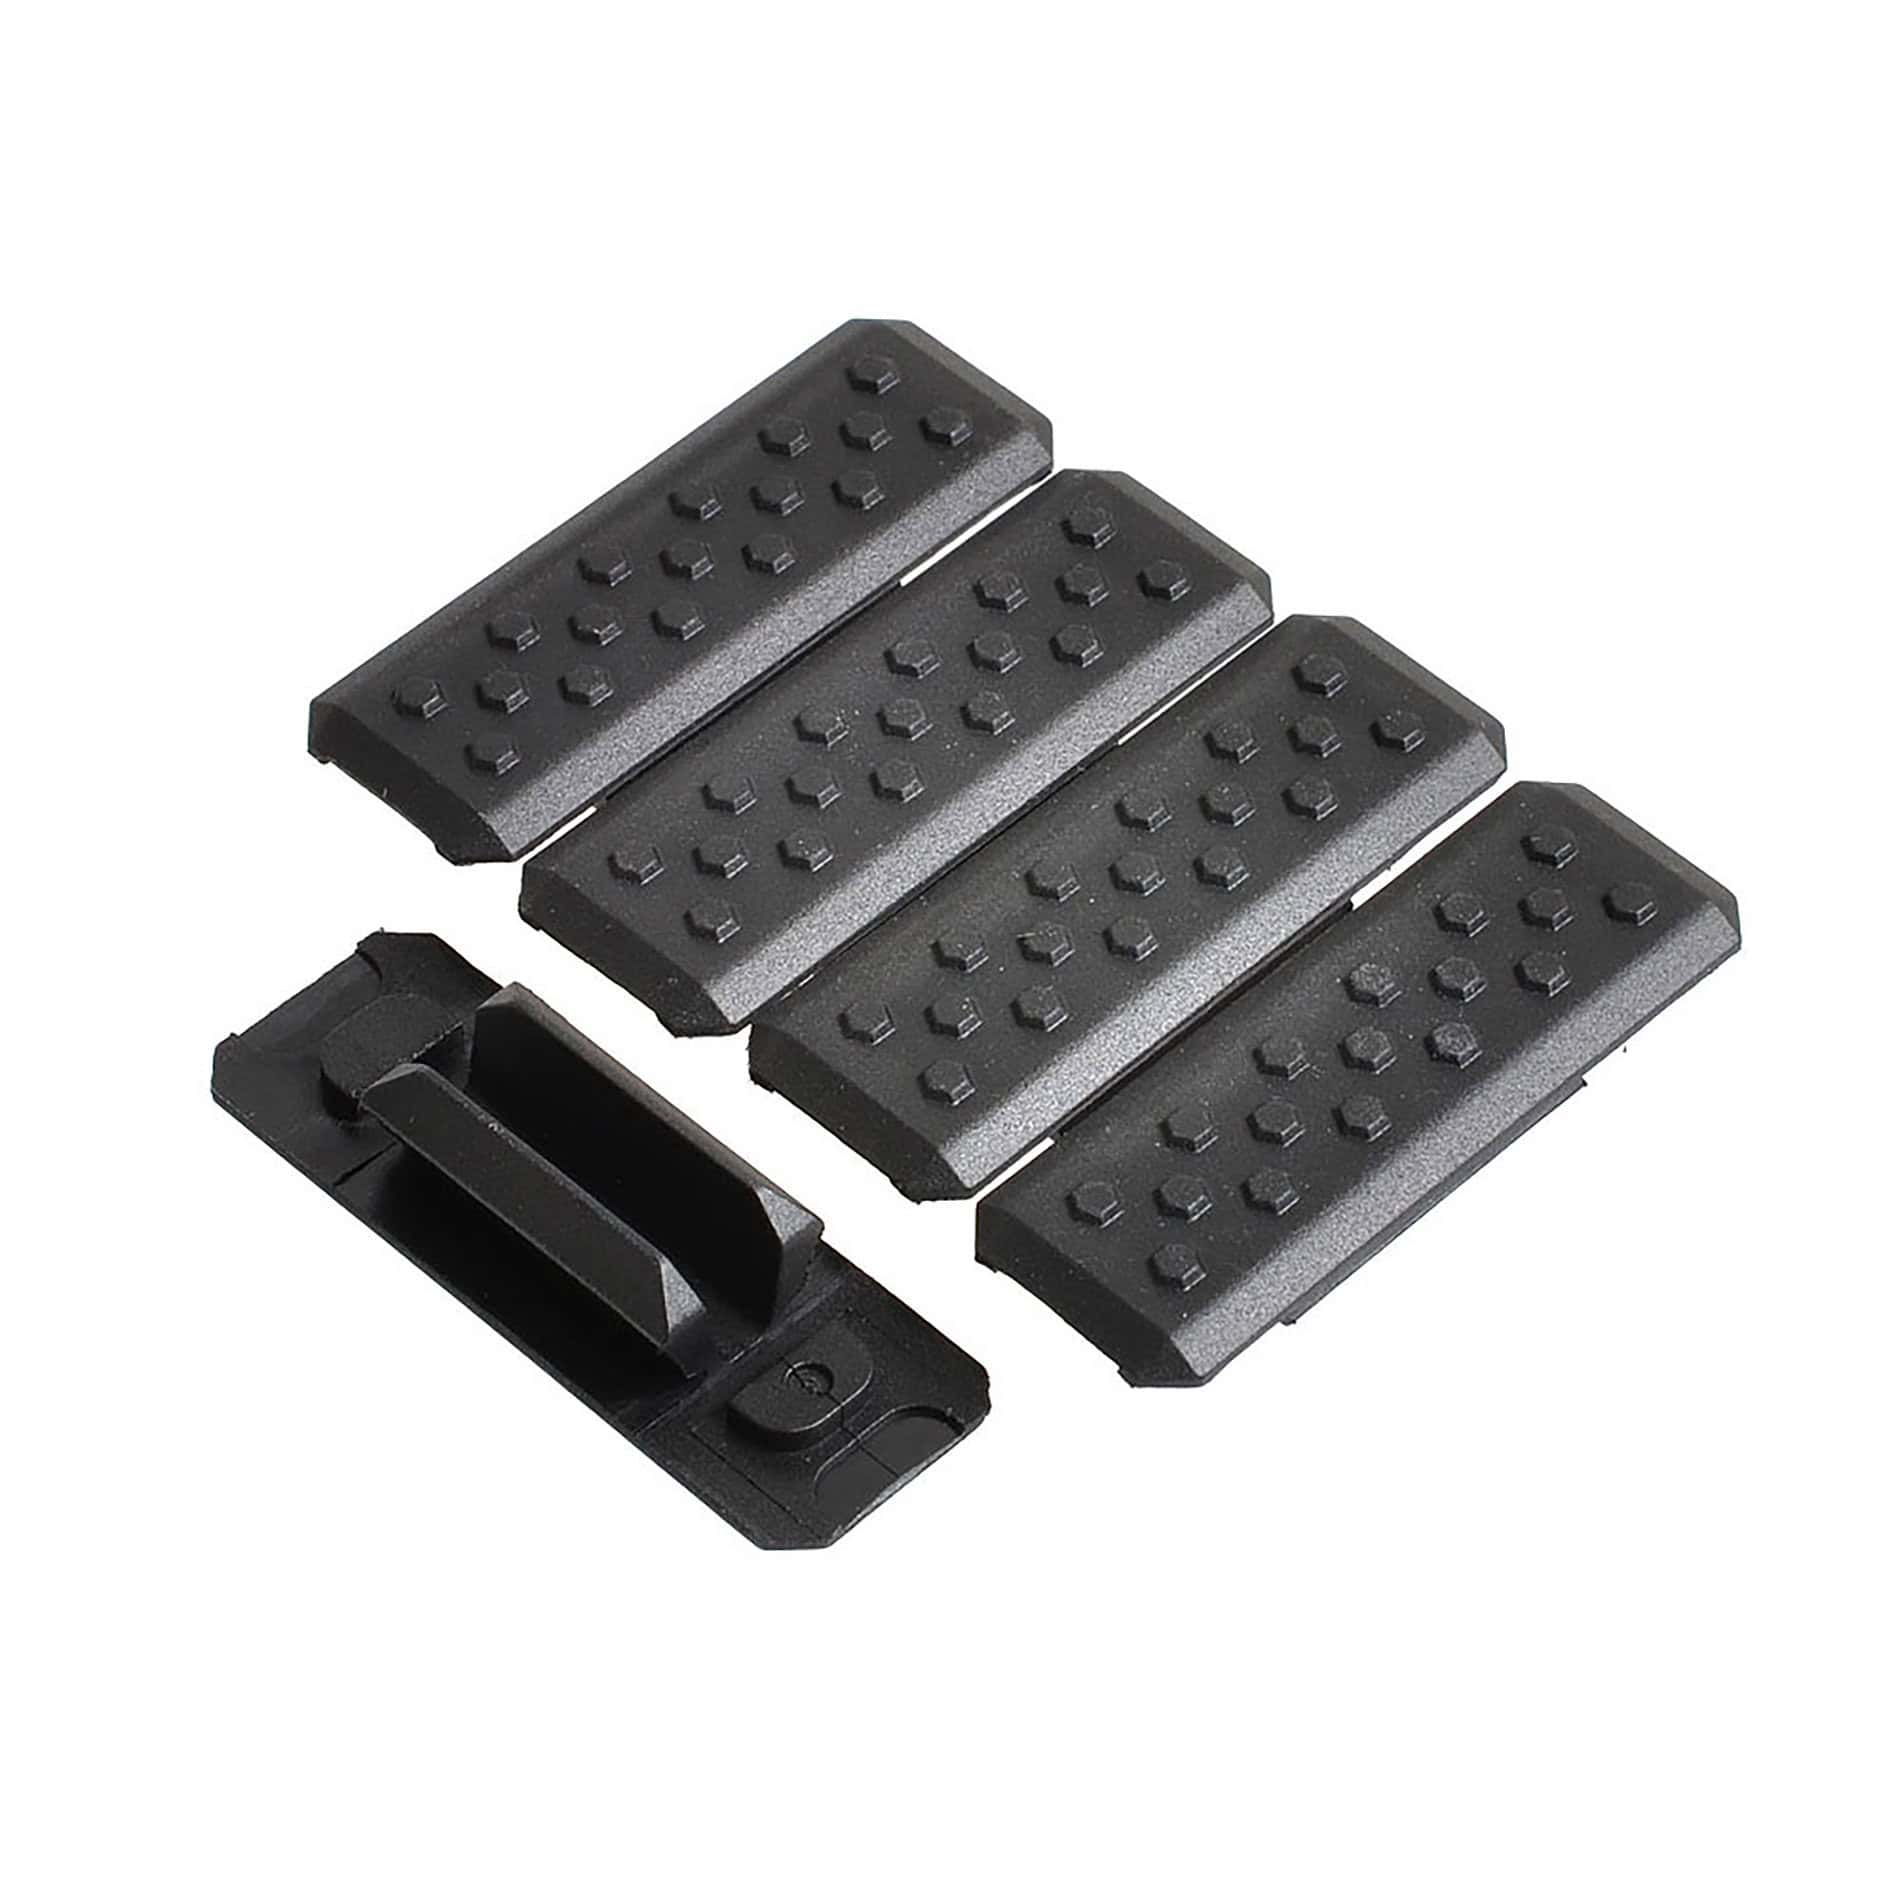
M-LOK Rail Covers Deals
Prices may change. May contain affiliate links.
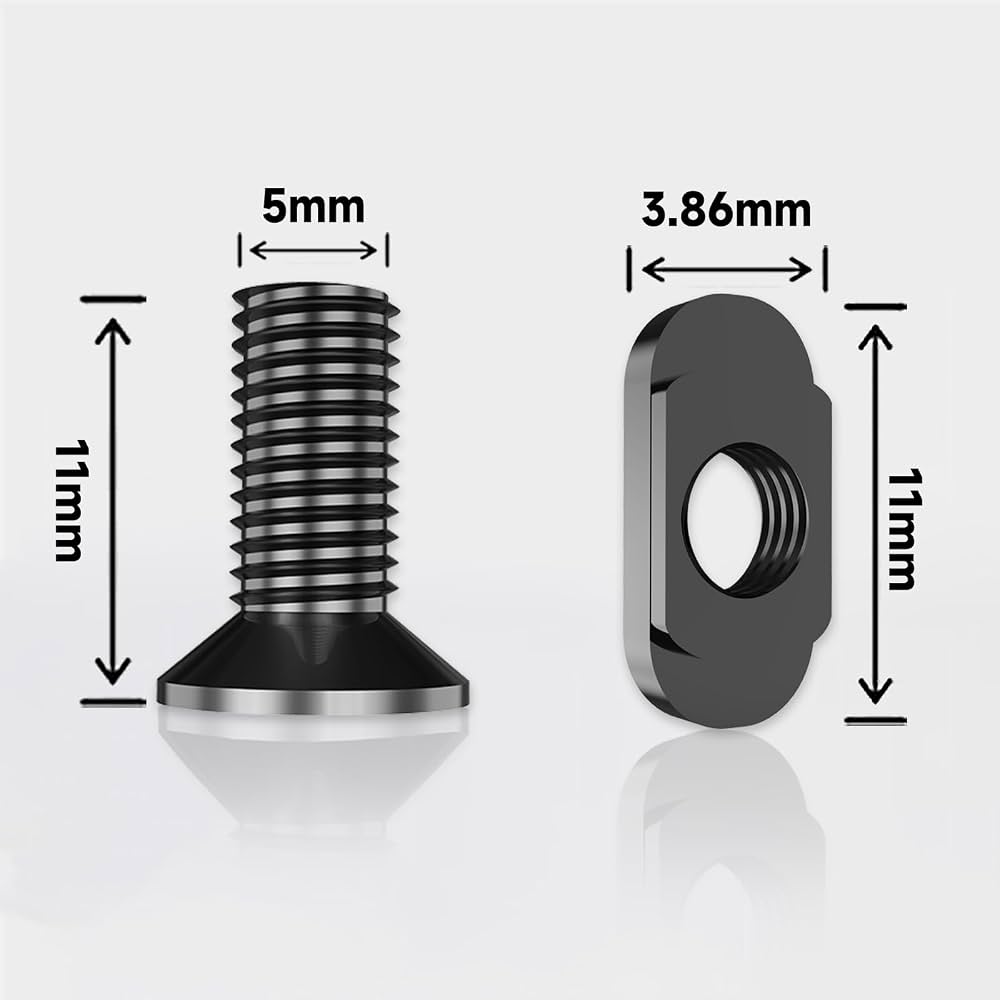
The M-LOK mounting system is practically designed for 3D printing. The slot dimensions are standardized, the retention mechanism is a simple T-nut and screw arrangement, and the loads on a rail cover are essentially zero beyond hand pressure. A PETG rail cover printed at 4 walls and 40% infill will survive thousands of rounds without any issue. The part isn't bearing mechanical load; it's just giving your hand a surface that isn't bare aluminum.
Where this gets genuinely useful is heat management. A printed rail cover with an air gap between the panel face and the rail surface acts as an insulator. You can design internal lattice structures that would be impossible to injection mold affordably. Some designs on community repositories use a honeycomb internal geometry that keeps the outer surface noticeably cooler than a solid panel during sustained fire. That's not marketing; it's just physics. Air is a poor thermal conductor, and a structured air gap works.
The DualCool CP1 handguard from Mitchell Defense takes this concept to the extreme with metal 3D printing, using DMLS (direct metal laser sintering) to create internal cooling channels in an aluminum handguard. That's a $400+ commercial product, but the underlying principle scales down to a $0.30 PETG rail panel with a honeycomb fill.
What you'll notice
The first time you swap from commercial rubber rail covers to a well-designed printed set, the grip texture difference is immediate. You can dial in aggressive knurling patterns, skateboard-tape-style ridges, or smooth contours depending on whether you're running gloves or bare hands. Most commercial covers split the difference with a mild texture that's adequate for everyone and ideal for nobody. Printing lets you optimize for your grip.
Fit is the other thing. A well-designed M-LOK cover clicks into place with zero wobble. A poorly designed one rattles or requires so much force to seat that you're worried about cracking it. The critical dimension is the T-nut pocket depth and the slot width. If your printer is calibrated within 0.1mm, the fit will be tight and clean. If your printer is off, you'll be sanding and swearing.
Grips, grip extensions, and ergonomic add-ons
The AR-15 pistol grip is another strong candidate for printing, with a caveat: the grip itself needs to be printed in nylon or polycarbonate if you want it to survive long-term. PETG works for a range toy that sees occasional use. PLA will eventually crack at the screw boss where the grip bolt threads in, because that single point takes all the torque and some recoil vibration.
Mil-Spec Trigger Guard Deals
Prices may change. May contain affiliate links.

AR-15 Pistol Grip Deals
Prices may change. May contain affiliate links.

MOE Grip Deals
Prices may change. May contain affiliate links.
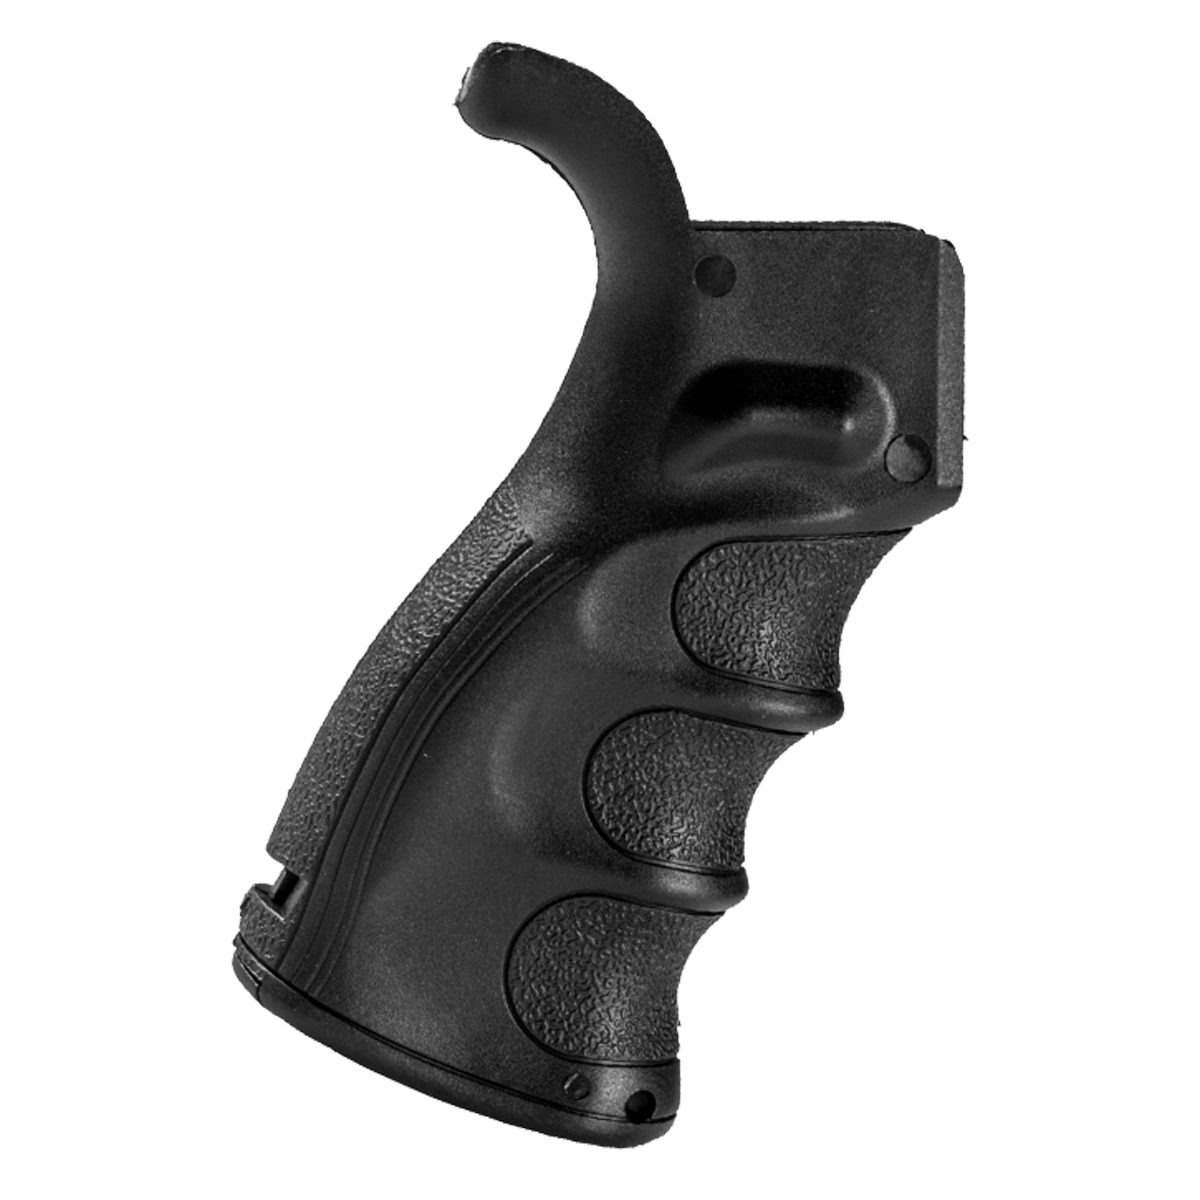
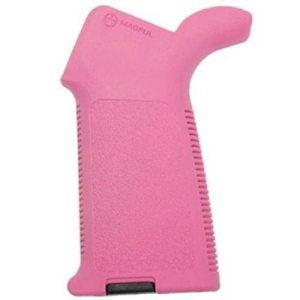
What's more practical than printing an entire grip from scratch is printing grip modifications. Beaver tail extensions that fill the gap between the grip and the lower receiver. Finger groove inserts that press-fit into an existing A2 or MOE grip. Palm shelf attachments for competition shooters who want a more vertical hand position without buying a $60 aftermarket grip.
The AR-15 grip angle is 17 degrees from vertical on a standard A2. A lot of shooters prefer something closer to vertical, around 5 to 10 degrees. You can print adapter wedges that bolt between the lower and a standard grip to change the effective angle without buying a new grip. It's a $0.50 solution to a problem that the aftermarket charges $30 to $45 to solve.
Trigger guard replacements are trivially easy to print and genuinely useful if you shoot with gloves. The standard mil-spec trigger guard is tight with anything heavier than a mechanics glove. An oversized printed trigger guard in PETG takes 20 minutes to print and installs with the same roll pin. Just make sure the pin holes are oriented so the layer lines run perpendicular to the pin, not parallel. Parallel layer lines mean the pin is trying to split layers apart, and that's how you get a cracked trigger guard on your second range trip.
Selector switches, charging handle extensions, and small functional parts
This category is where 3D printing saves the most money relative to commercial parts, because the commercial versions of these parts are absurdly overpriced for what they are.
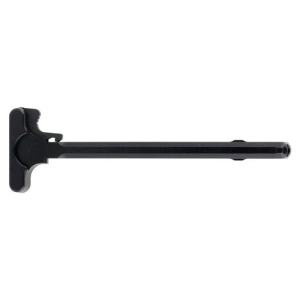
Mil-Spec Charging Handle Deals
Prices may change. May contain affiliate links.
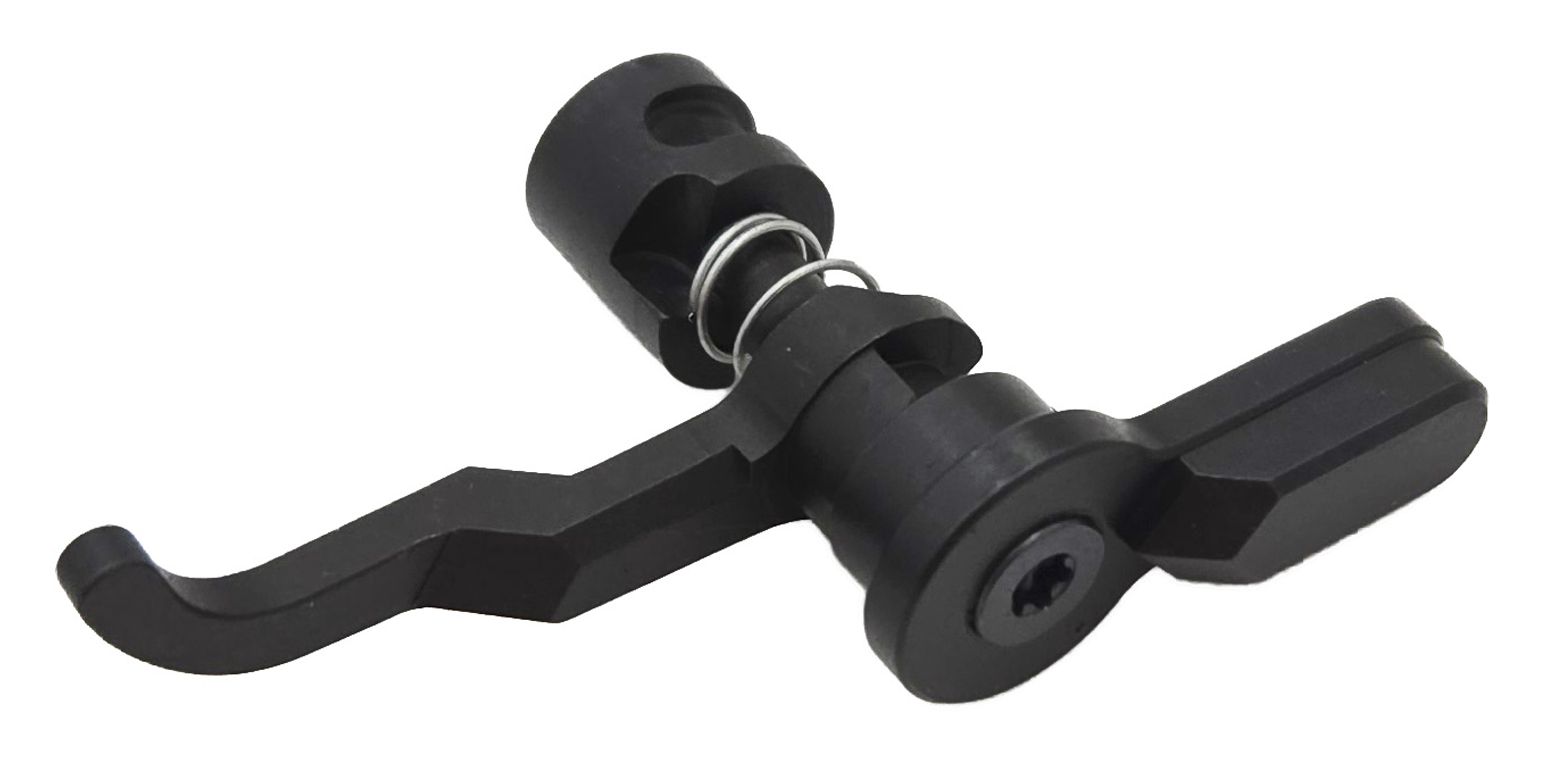
An extended selector switch lever is a piece of polymer or aluminum with a specific detent profile. The Hoffman Tactical Super Safety is a printed design that replaces the standard selector with a flat, extended lever that's easier to manipulate under stress. The geometry is simple, the loads are just thumb pressure against a detent spring, and the part works. Printed versions in nylon function identically to machined aluminum versions that cost $30 to $50. The detent engagement is the critical feature, and as long as your print dimensions are accurate, the selector snaps between safe and fire with the same positive click.
Charging handle extensions and latches are similarly good candidates. The latch on a mil-spec charging handle is small and slippery. An extended latch that bolts or press-fits onto the existing handle gives you more purchase for a faster charge. These parts see brief, moderate loads (you're pulling back a charging handle, not cycling a bolt under gas pressure), and PETG handles it fine.
Dust cover assist tabs, forward assist caps, and magazine release extensions all fall into the same bucket: small parts, low loads, high commercial markup, trivial to print.
Mistakes that waste filament and time
Printing a magazine release button with the layer lines running vertically (parallel to the press direction) is asking for delamination. Orient it so you're pressing across layers, not trying to shear them apart.
Skipping a test fit before printing a full production run of rail covers is a classic waste. Print one panel, check the M-LOK slot fit, adjust your horizontal expansion setting in the slicer, then print the rest.
Using PLA for anything that stays on the rifle during a summer range day. Ambient heat inside a rifle case in a hot car can hit 60°C before you even fire a round. PLA parts come out of the case deformed.
Not accounting for shrinkage on nylon prints. Nylon shrinks about 1.5% to 2% as it cools, which means a part that measures perfect on screen will be slightly undersized in hand. Scale your model up by 1.5% to 2% before slicing, or use your slicer's shrinkage compensation if it has one.
Over-tightening M-LOK screws on printed panels. Commercial aluminum rail sections don't care about 15 inch-pounds of torque. A printed panel with a T-nut pocket will crack if you gorilla-grip the screw. Snug plus a quarter turn is plenty.
Jigs, tools, and assembly fixtures
This is the unsexy category that delivers the most practical value. A front sight block press jig. A pivot pin installation tool. A barrel nut wrench adapter. A gas block alignment fixture. An upper receiver vise block. These are parts you use once during a build and then toss in a drawer, and paying $15 to $30 each for injection-molded versions makes zero sense when you can print them in PLA (since they never see heat or recoil) for the cost of a few grams of filament.
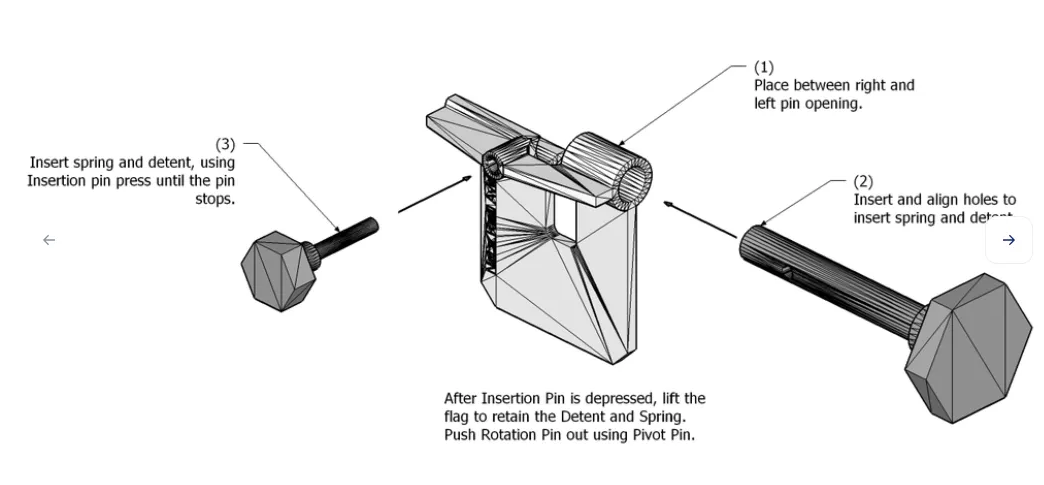
The pivot pin detent installation tool is a perfect example. Installing a pivot pin detent and spring without a tool is a rite of passage that involves launching a tiny spring across the room at least once. The printed tool holds the detent and spring captive while you slide the pivot pin through. It's a 10-minute print, it works on the first try, and it saves you crawling around on the floor looking for a 3mm spring.
Upper receiver vise blocks are another standout. A commercial one runs $25 to $40. A printed one in PLA or PETG, with the right internal geometry to engage the magazine well and takedown pin lugs, works identically for the moderate torque involved in barrel nut installation (assuming you're using the vise block with a proper torque wrench and not a breaker bar). Print it with 6 walls and 60% infill for rigidity.
Bore alignment tools, sight adjustment reference cards, and even basic laser bore sight holders are all printable and useful. The AR15.com forums have threads going back years with shared designs for armorer's tools that cost nothing to produce and work exactly as well as the commercial equivalents.
Products worth comparing to your prints
At some point you should ask whether printing is actually better than buying, and for some parts, the honest answer is no.
-Rail-Covers.jpg)
Magpul M-LOK Type 2 Rail Covers Deals
Prices may change. May contain affiliate links.
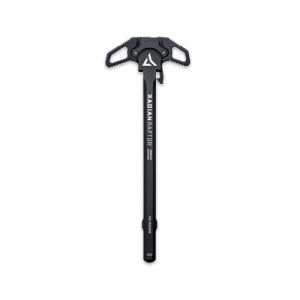
Radian Raptor Charging Handle Deals
Prices may change. May contain affiliate links.

Bravo company BCM Gunfighter Mod 3 Grip Deals
Prices may change. May contain affiliate links.
Magpul M-LOK Type 2 Rail Covers are the benchmark. They're $8 for a set of four, they fit perfectly every time, and they're made from a polymer that handles heat and UV without complaint. If your time is worth more than your filament, and you don't care about custom textures, just buy these. They work.
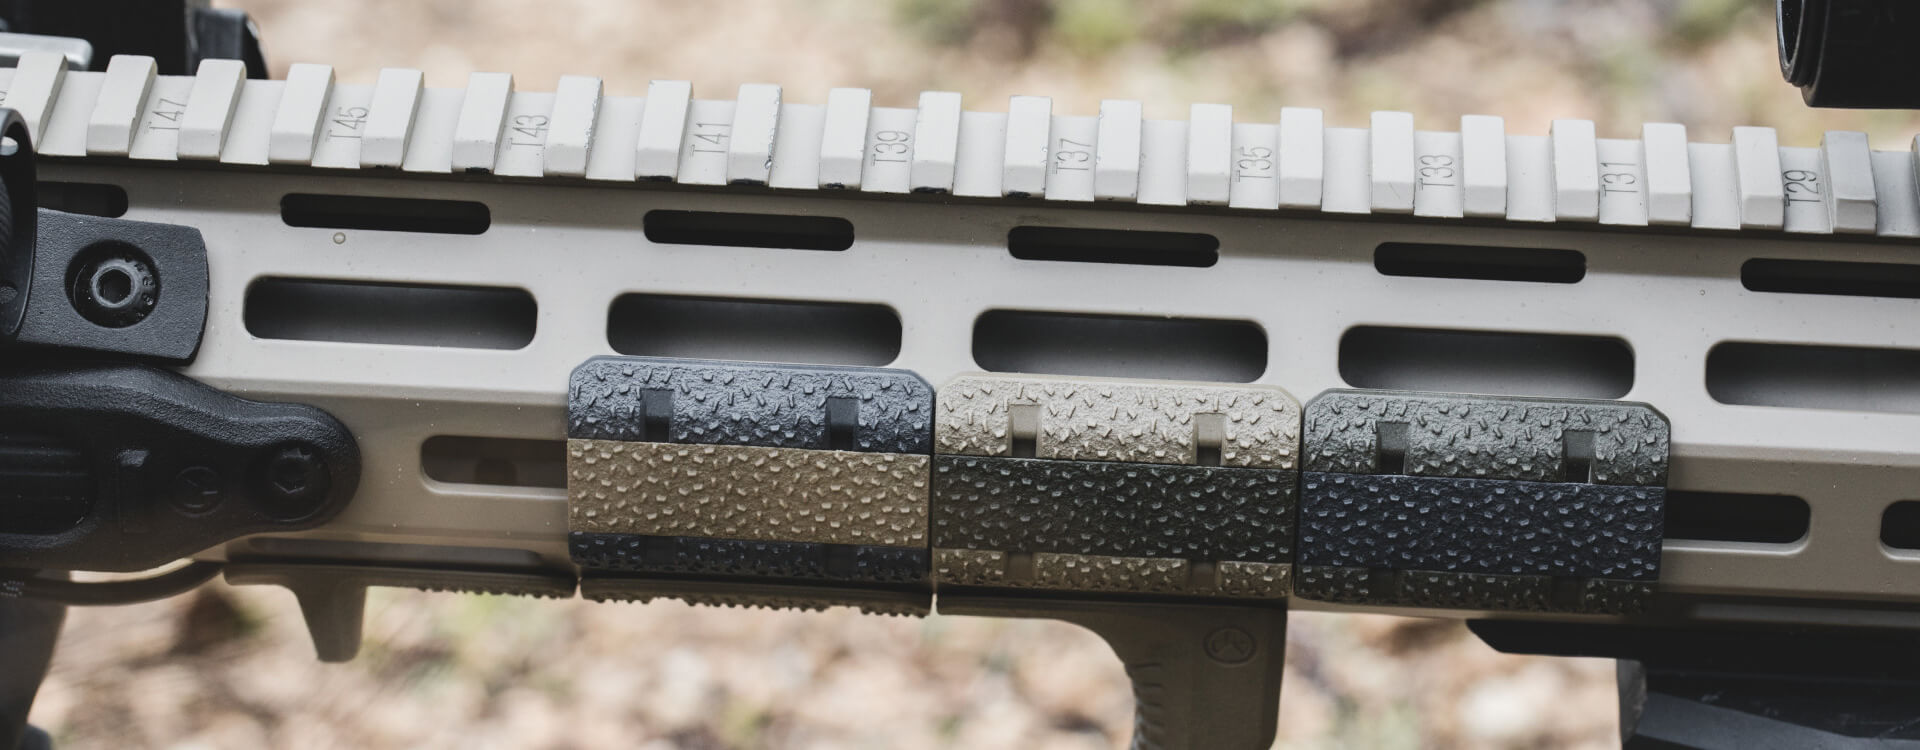
RailScales HTP M-LOK covers occupy the premium end. They're machined from a proprietary polymer that's thinner and grippier than anything you'll print on an FDM machine. The surface texture options are genuinely excellent, and the low-profile design doesn't add bulk. These are better than printed covers in every measurable way except cost.
The Hoffman Tactical Super Safety is an interesting case because it's a commercially available version of a printable design. You can buy the finished product or download the files and print your own. The commercial version is machined from aluminum and anodized. The printed version in nylon works fine functionally but won't have the same wear resistance over tens of thousands of selector manipulations. For most shooters, the printed version lasts longer than they'll own the rifle.
BCM Gunfighter Mod 3 Grip is the comparison point for printed grips. It's $18 to $22, the ergonomics are excellent, and the polymer is glass-reinforced. You can print a grip that's adequate, but matching the texture, strength, and dimensional consistency of the BCM at home requires nylon, a well-tuned printer, and probably three attempts. The BCM is the "just buy it" option unless you need a grip geometry that doesn't exist commercially.
Radian Raptor Charging Handle is what you're competing against if you print charging handle extensions. The Raptor's ambidextrous latches are machined aluminum with aggressive jimping. A printed latch extension that bolts onto a mil-spec handle gets you 70% of the functionality at 5% of the cost, but it won't feel as refined. Whether that tradeoff works depends on whether you're building a budget rifle or a duty gun.
The legal reality, briefly
Printing accessories is straightforward legally. Rail covers, grips, trigger guards, selector levers, handguard panels, tools, and jigs are not regulated items. You're making the equivalent of furniture. No serialization, no FFL, no paperwork.
Printing lower receivers is a different conversation entirely and one that changes depending on your state, your intent (personal use vs. distribution), and current ATF interpretations. That's not the focus here, and frankly, if you're printing a lower for your first AR build, you're solving the wrong problem. Buy a stripped lower for $50 to $80 and spend your printing time on the accessories that actually improve how the rifle handles.
Printed trigger mechanisms like the FRT-style forced reset triggers that circulated online occupy a gray area that has turned definitively hostile from a regulatory standpoint. The ATF has classified FRT devices as machine guns. Whether you agree with that classification or not, printing one carries the same legal risk as possessing any other unregistered NFA item. That's a federal felony. The Hoffman Tactical FRT design generated significant community interest, but the legal landscape has made it a non-starter for anyone who values their freedom and their dog.
Printer setup that actually works for gun parts
You don't need a $3,000 printer. You need a $250 to $400 printer that's properly calibrated. A Bambu Lab A1 Mini or P1S, a Creality K1, or a Prusa MK4 will all produce parts that fit and function on an AR-15. The printer matters less than the calibration.
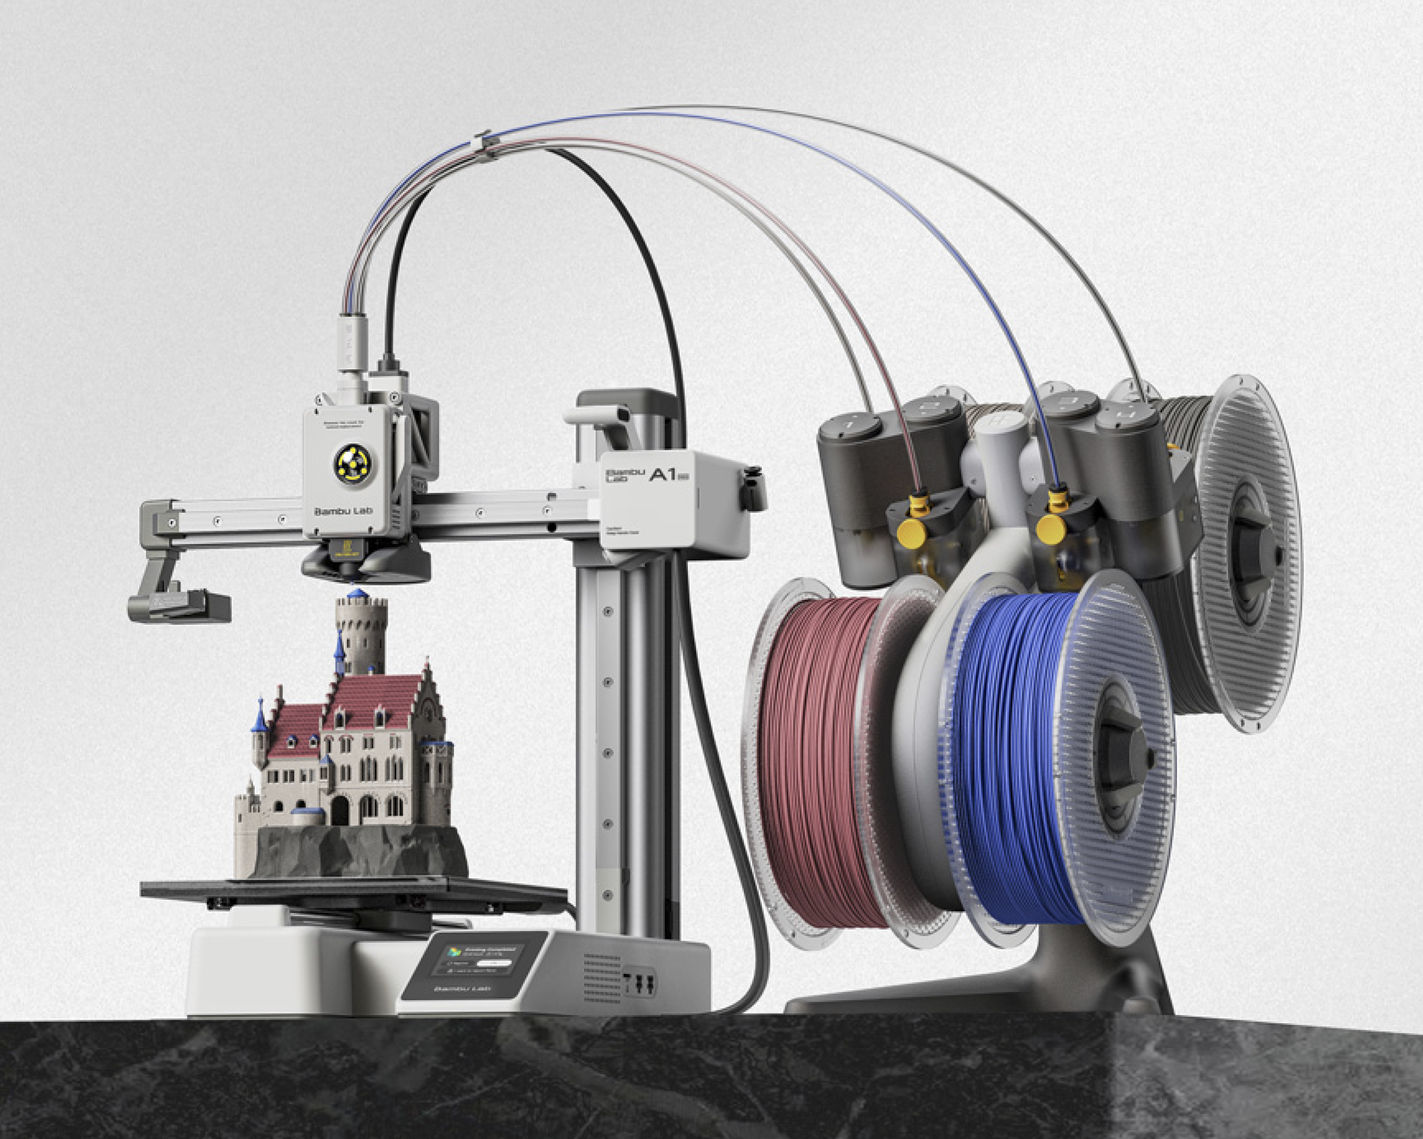
What matters: dimensional accuracy within 0.1mm on the X and Y axes, good first-layer adhesion (so parts don't warp at the base where M-LOK engagement surfaces live), and an enclosure if you're printing nylon or polycarbonate. A filament dryer is non-negotiable for nylon. A hardened steel nozzle is non-negotiable for any carbon fiber filled material. Everything else is preference.
Print orientation determines strength. Layer lines are the weak point in any FDM part. Orient your part so that the primary stress direction runs across layers, not along them. For a trigger guard, that means printing it on its side so the pin holes run vertically during printing. For a grip, print it upright so the grip bolt torque compresses layers together rather than trying to peel them apart.
Wall count matters more than infill for most gun accessories. Four to six walls with 20% to 40% infill produces a part that's stiff, impact resistant, and prints faster than a 2-wall, 80%-infill version that uses more material and isn't actually stronger where it counts. The outer walls carry the load. The infill just keeps them from buckling.
What to print first
If you've never printed a gun accessory before, start with an M-LOK rail cover. It's the lowest-risk, highest-reward print. The geometry is simple, the fit tolerance is forgiving, and you'll know within 30 seconds of installation whether your printer is dialed in. If the rail cover fits cleanly, your printer is ready for more complex parts. If it's loose or too tight, fix your calibration before moving on.
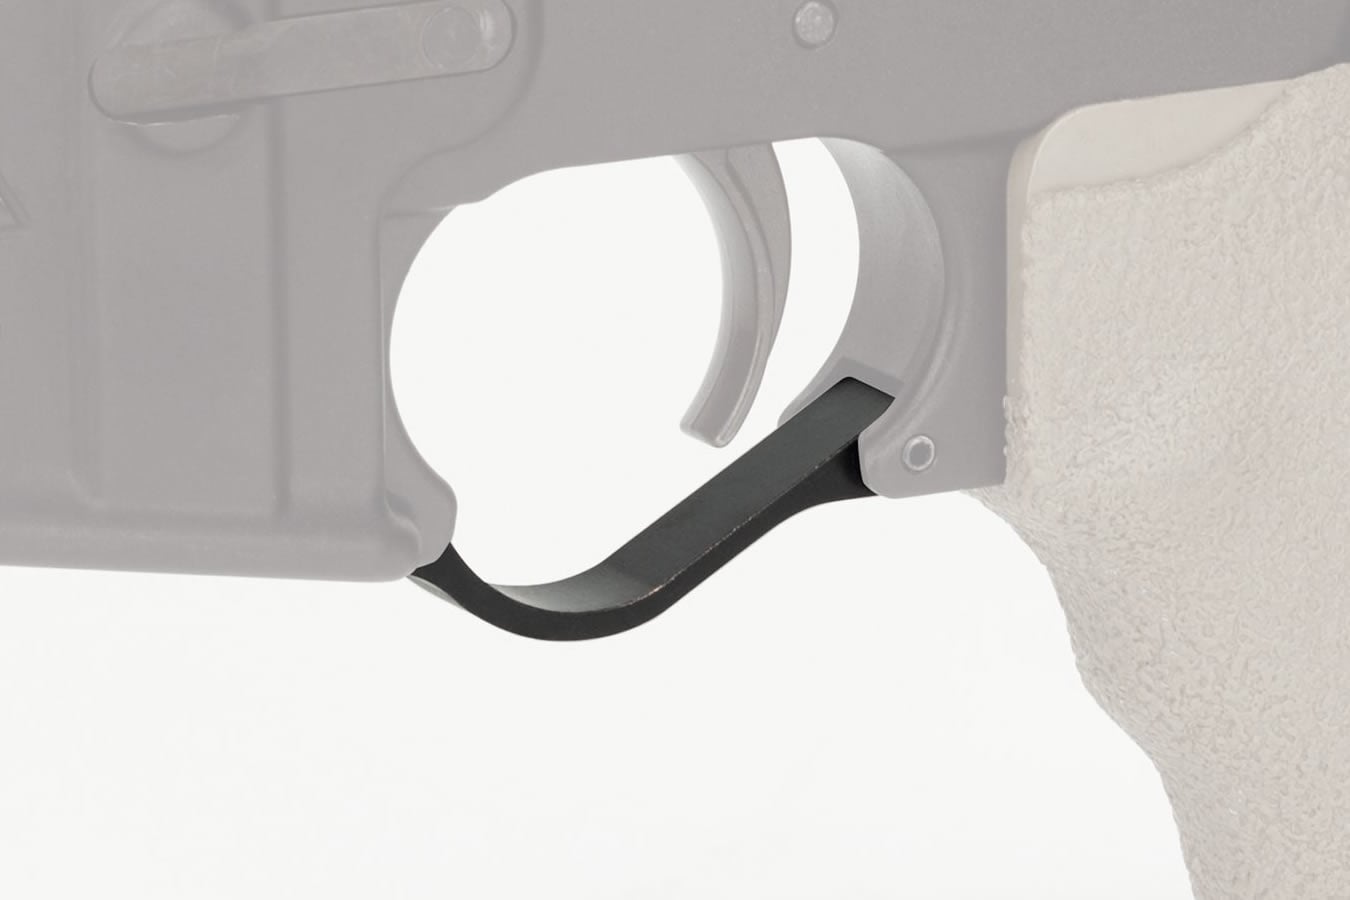
After rail covers, print a trigger guard. It's a functional part that installs with a real pin and actually changes how the rifle feels in your hands. Then move to a selector lever extension or a magazine release button if you want to start replacing commercial parts with printed ones.
Keep a notebook or a text file with your print settings for each successful part. Filament brand, nozzle temp, bed temp, print speed, wall count, infill percentage, and orientation. When you come back six months later to reprint a worn rail cover, you won't have to redial everything from scratch.
The real value of 3D printing for AR-15 accessories isn't replacing your parts bin with plastic. It's the ability to prototype, test, and iterate on ergonomic changes that would cost $20 to $50 each if you bought commercial versions. Print a grip angle adapter, shoot with it for a week, decide you want two more degrees of rake, reprint it in an hour. That iterative optimization loop is something no commercial accessory can match, and it's where printed parts genuinely outperform bought ones. Not in material strength or surface finish, but in the ability to get exactly what you want without waiting for some company to decide it's worth manufacturing.