
You're running mixed range brass through your progressive, and the decapping pin snaps. Again. Maybe it's a Berdan-primed case that snuck through your sort. Maybe it's a crimped military primer pocket that needed more force than your sizing die's pin could handle. Either way, you're stopping the press, fishing out pieces, and replacing a pin that costs almost nothing but eats ten minutes every time it breaks. The frustration isn't the part. It's the interruption.
The Dillon 2nd Gen Auto-Center Decapping Die exists to solve a specific set of problems that progressive press reloaders hit when they separate decapping from sizing. That's the core concept: instead of decapping inside your sizing die (where a broken pin means a stuck case and a full teardown), you move decapping to its own dedicated station with a die built to handle the abuse. The Gen 2 version refines the original FW Arms design that Dillon acquired, and the changes matter if you're processing volume brass.
This piece breaks down what the Gen 2 actually changed, how it compares to other standalone decapping options, where it fits in a progressive workflow, and whether your setup actually needs one. If you're loading 500 rounds a month of single-headstamp brass you sorted yourself, you probably don't. If you're processing buckets of mixed 9mm or .223 range pickup, the math changes fast.
The problem with decapping inside your sizing die
Every standard sizing die ships with a decapping pin assembly built in. The pin punches the spent primer out while the die body resizes the case. It's efficient. One station, two operations. For single-stage loading with consistent brass, this works fine for years.
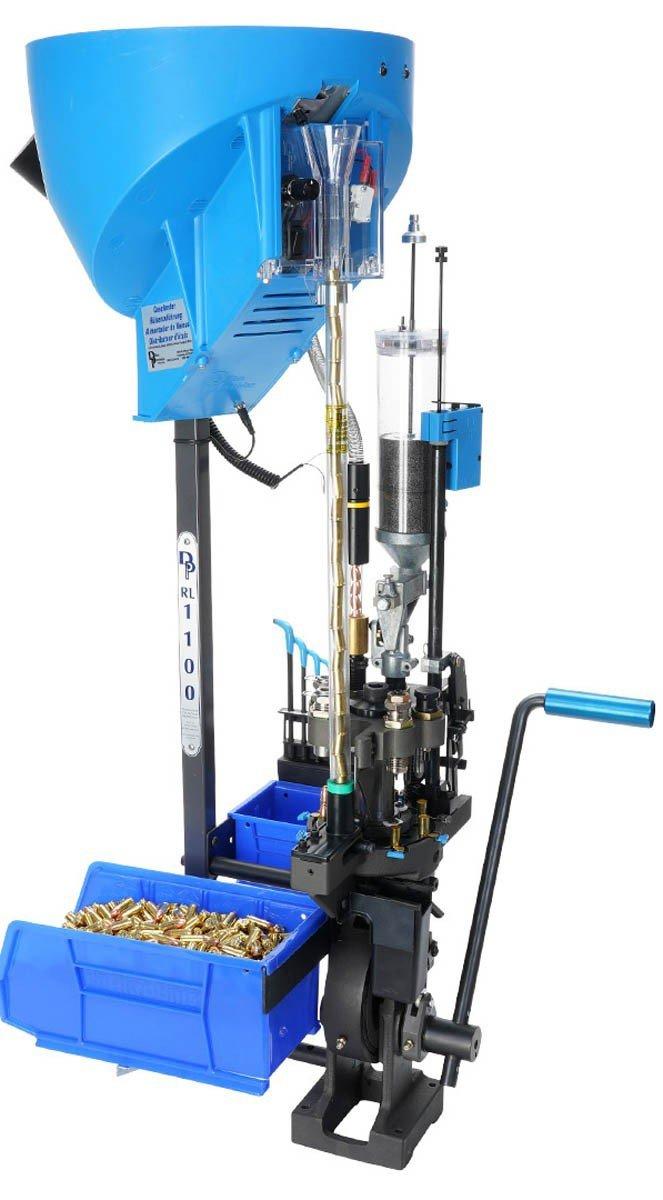
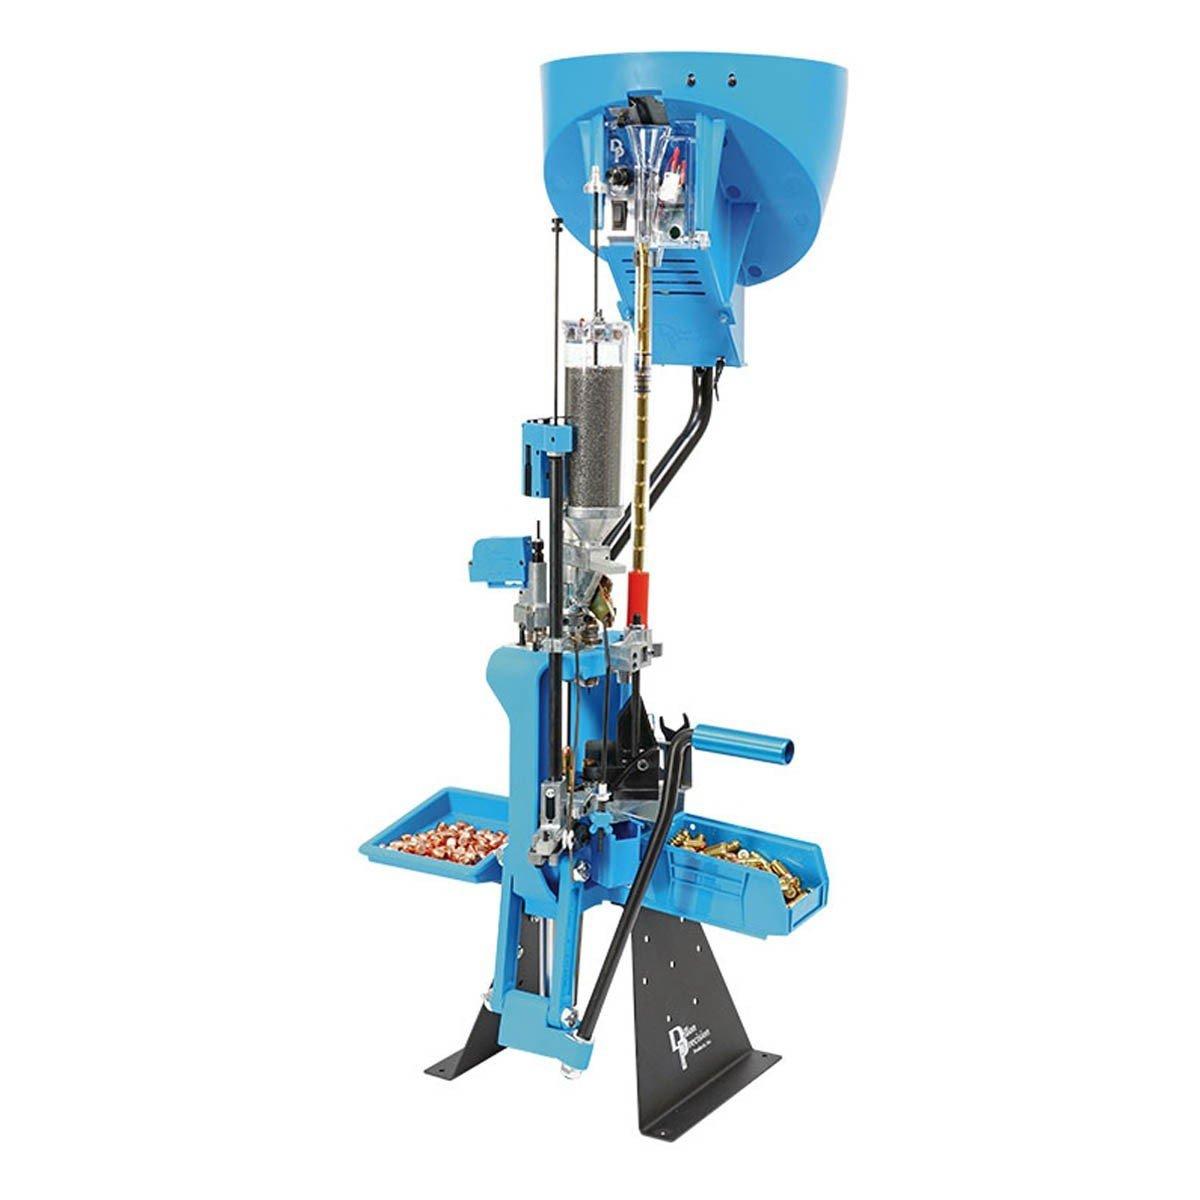
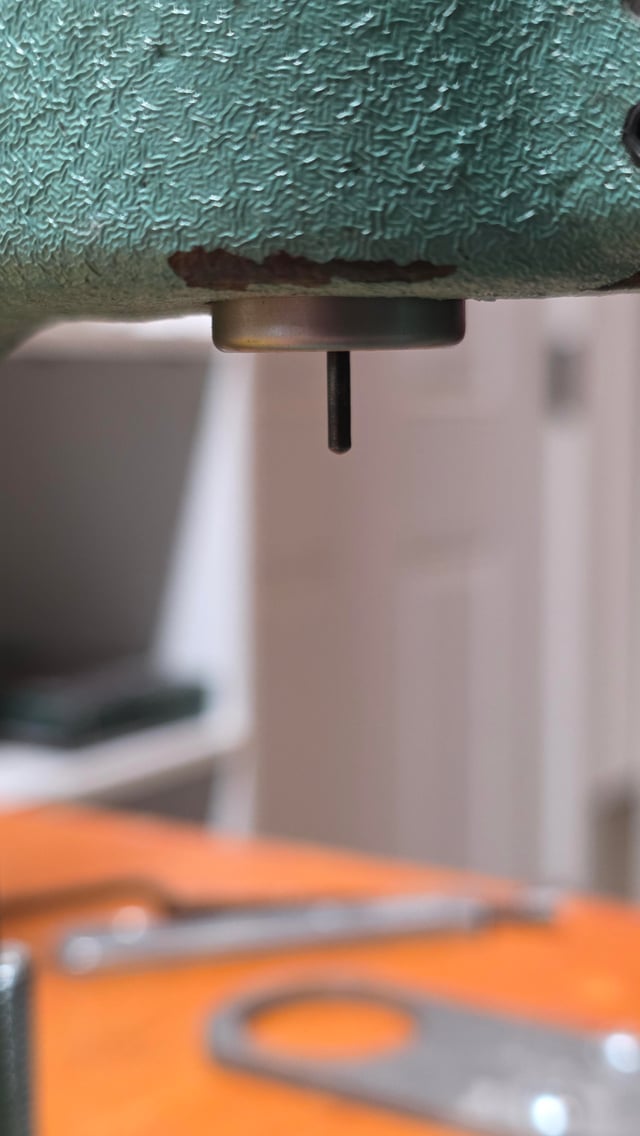
Progressive presses change the equation. You're running cases through at speed, and every case that enters station one is a variable you didn't inspect under magnification. Mixed range brass means mixed primer types, mixed pocket conditions, and the occasional Berdan-primed case or military brass with heavy crimps. When a standard decapping pin hits a Berdan pocket, it doesn't find the single flash hole it expects. It finds a solid web of brass between two offset holes. The pin bends or snaps.
On a single-stage press, that's a minor annoyance. Pull the case, replace the pin, move on. On a progressive, a broken pin inside a sizing die means the case is likely stuck in the die, the shellplate is locked up, and you're disassembling the toolhead to clear the jam. On a Dillon XL750 or RL1100, that can mean pulling the toolhead entirely, which resets your die adjustments. Every time you reset, you're re-verifying headspace, seating depth, and crimp. That's not a five-minute fix. That's a thirty-minute recalibration if you're doing it right.
The solution that experienced progressive loaders landed on years ago: move decapping to a separate operation. Decap all your brass first, then tumble it clean (wet tumbling with decapped brass gets the primer pockets spotless), then run the clean brass through your progressive with the decapping pin removed from the sizing die. Your sizing die never touches a primer. It just sizes. And your decapping die, running on a separate press or in a dedicated station, absorbs all the risk.
What the original auto-center design solved
The original Auto-Center Decapping Die, designed by FW Arms before Dillon acquired it, tackled the alignment problem that universal decapping dies had always dealt with imperfectly. A standard universal decapping die has a fixed pin centered in the die body. The case mouth enters the die, and the pin has to find the flash hole. With straight-wall pistol brass, alignment is usually fine because the case enters the die with minimal wobble. But bottleneck rifle cases, especially shorter ones like .223 Remington, can enter slightly off-axis. When the pin doesn't hit the flash hole dead center, it catches the edge, and that's where pins bend or break.
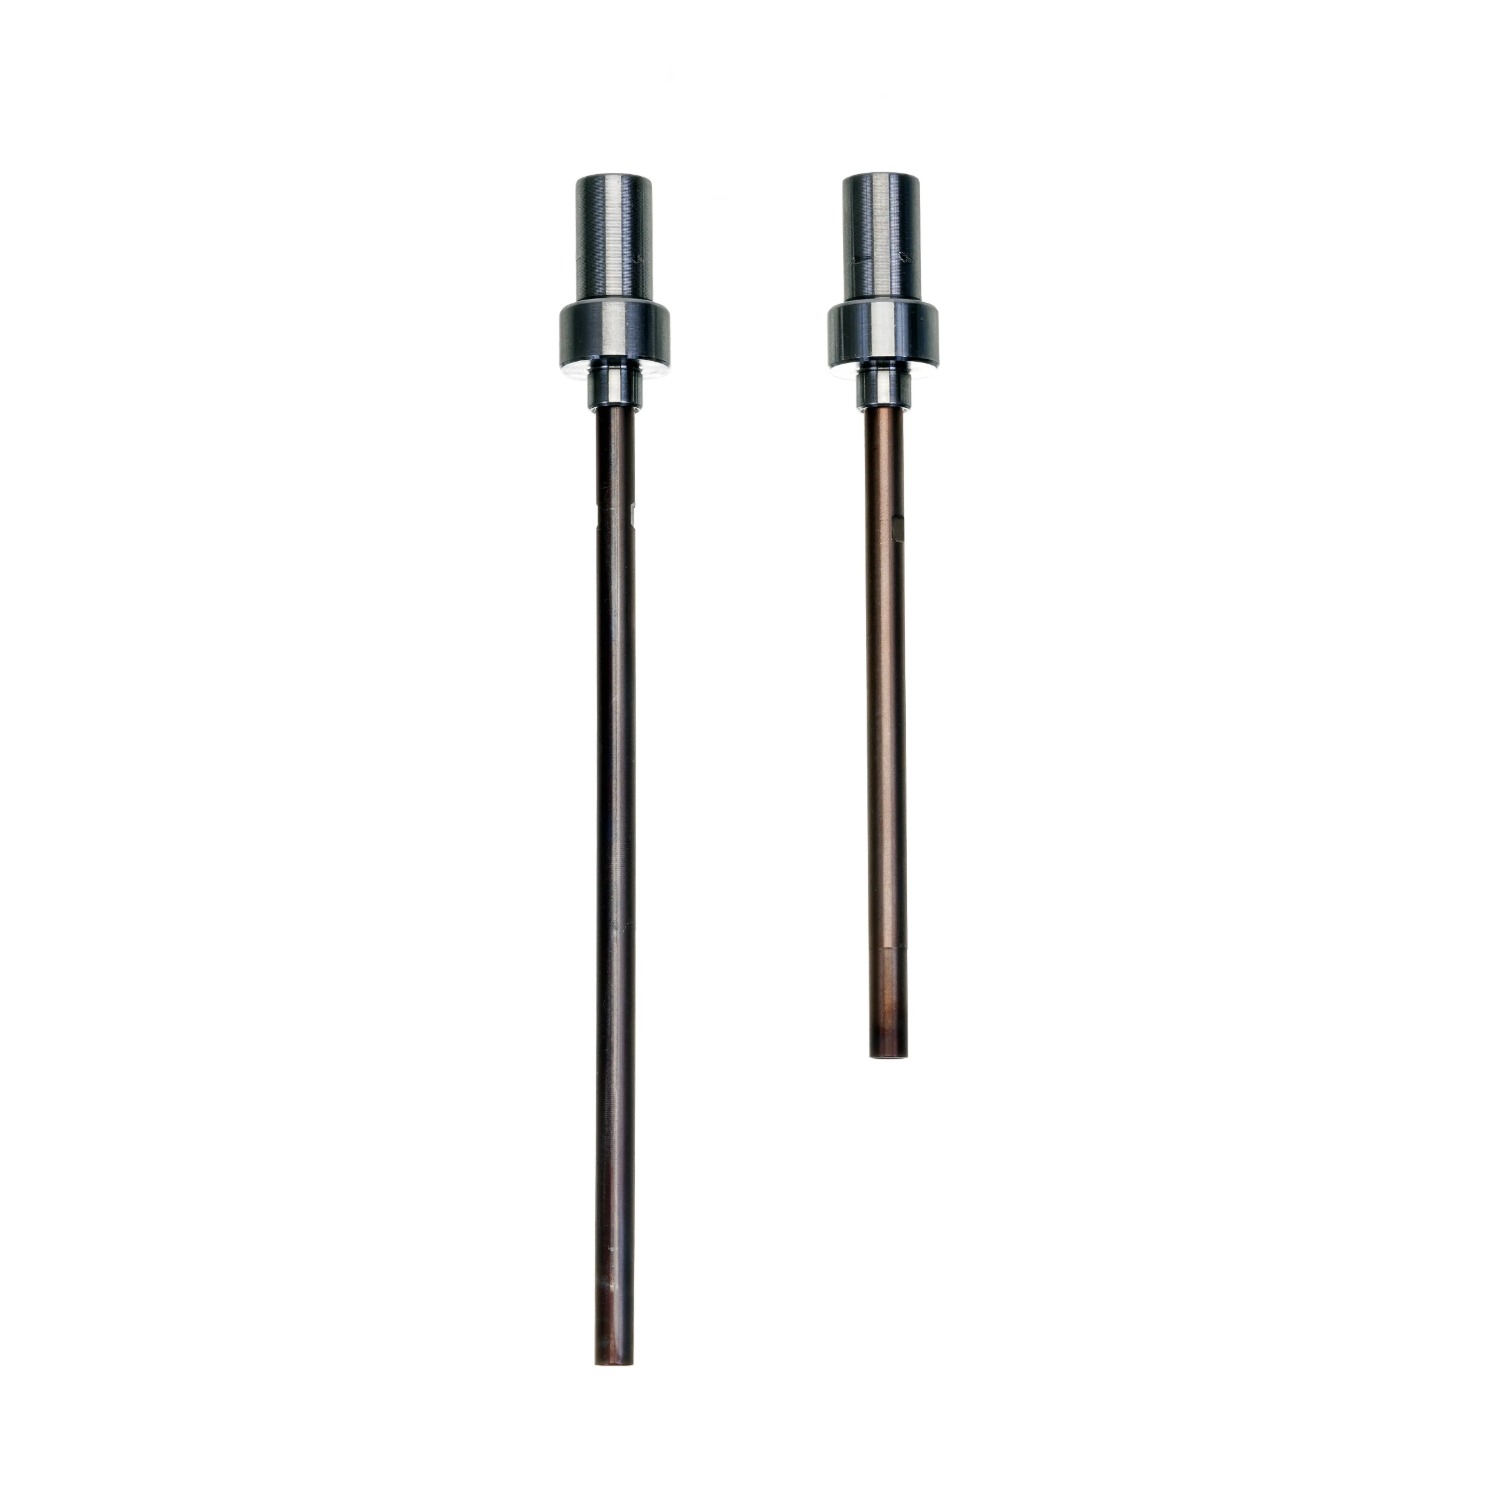
The auto-center mechanism uses a floating guide that self-centers on the case mouth as the ram rises. Instead of the case finding the pin, the pin assembly finds the case. The guide nose enters the case mouth and aligns the pin with the flash hole before any force is applied. This works across calibers without changing the die body, handling everything from .380 ACP up through .308 Winchester and similar case head sizes.
The original version worked. Reloaders who process thousands of rounds of mixed brass swore by it. But it had quirks. The guide could wear over high round counts, the pin retention system sometimes loosened, and the die body threading didn't always index perfectly in non-Dillon presses. The Gen 2 addresses these specific complaints.
What the Gen 2 changed
Dillon's 2nd generation version isn't a complete redesign. It's a refinement of the mechanism that keeps what worked and fixes what didn't. The changes fall into three categories.
Pin retention and replacement
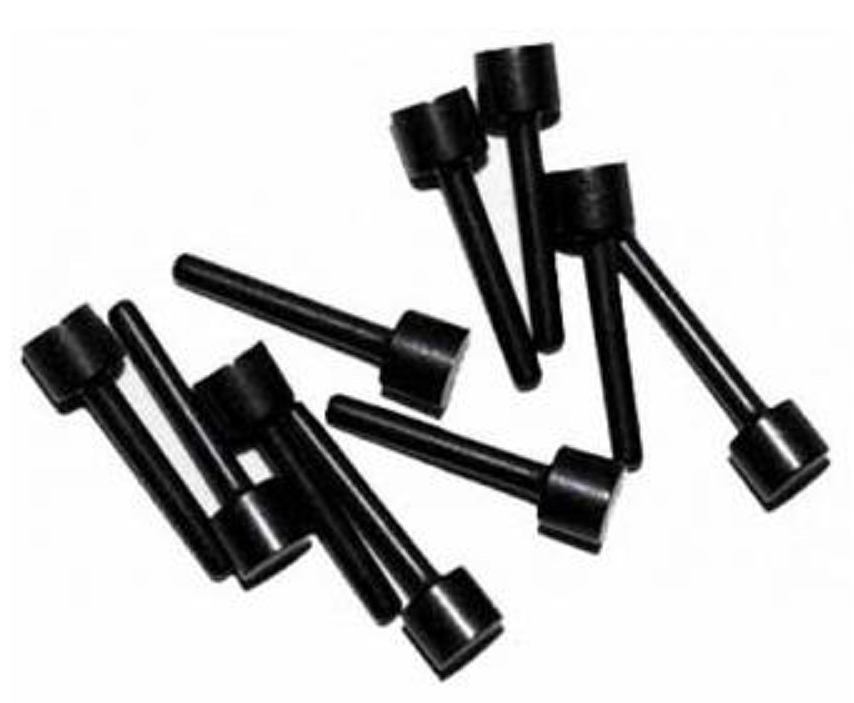
The Gen 1 used a pin retention system that could back out under repeated impact, especially when hitting crimped primer pockets. Over a session of processing military .223 brass, the pin could gradually work loose, leading to inconsistent primer knockout or the pin dropping out entirely. The Gen 2 uses a revised retention method that locks the pin more positively. Pin replacement is still tool-free, which matters when you do snap one on a Berdan case. You're not reaching for an Allen wrench. You're swapping the pin and getting back to work in under a minute.
The replacement pins themselves are hardened steel, and Dillon sells them in packs. If you're processing range brass regularly, keeping a bag of spares on the bench is standard practice. The pins are consumable. Treating them as disposable rather than precious changes your mindset. When one breaks, it did its job by breaking instead of jamming your press.
Guide nose geometry
The floating guide that gives the die its "auto-center" function got a geometry update in the Gen 2. The original guide nose could struggle with certain case mouth conditions, particularly cases with slightly damaged or flared mouths. Range brass that's been run over, stepped on, or fed through a semi-auto with an aggressive ejector often has mouths that aren't perfectly round. The Gen 2's guide has a revised taper that handles out-of-round mouths more consistently, centering on the case even when the mouth is slightly oval.
This matters more for rifle brass than pistol. A 9mm case mouth that's been dinged is still close enough to round that most dies handle it fine. A .223 case that took a hit from a brass deflector and has a visibly oval mouth is a different story. The Gen 2 guide finds center on these cases more reliably than the original.
Die body and threading
The Gen 2 die body uses standard 7/8-14 threading, same as the original, but Dillon refined the external dimensions to improve compatibility with non-Dillon presses. The original was designed primarily for Dillon toolheads, and some users reported fitment issues in Lee, RCBS, or Hornady press bushings. The Gen 2 fits more universally, which matters because many reloaders use a dedicated single-stage or turret press just for decapping and keep their progressive set up for the loading operations.
Where it fits in a progressive workflow
The most common setup for high-volume reloaders looks like this: a cheap single-stage press dedicated to decapping, followed by wet tumbling, followed by the progressive press for sizing, priming, charging, seating, and crimping.
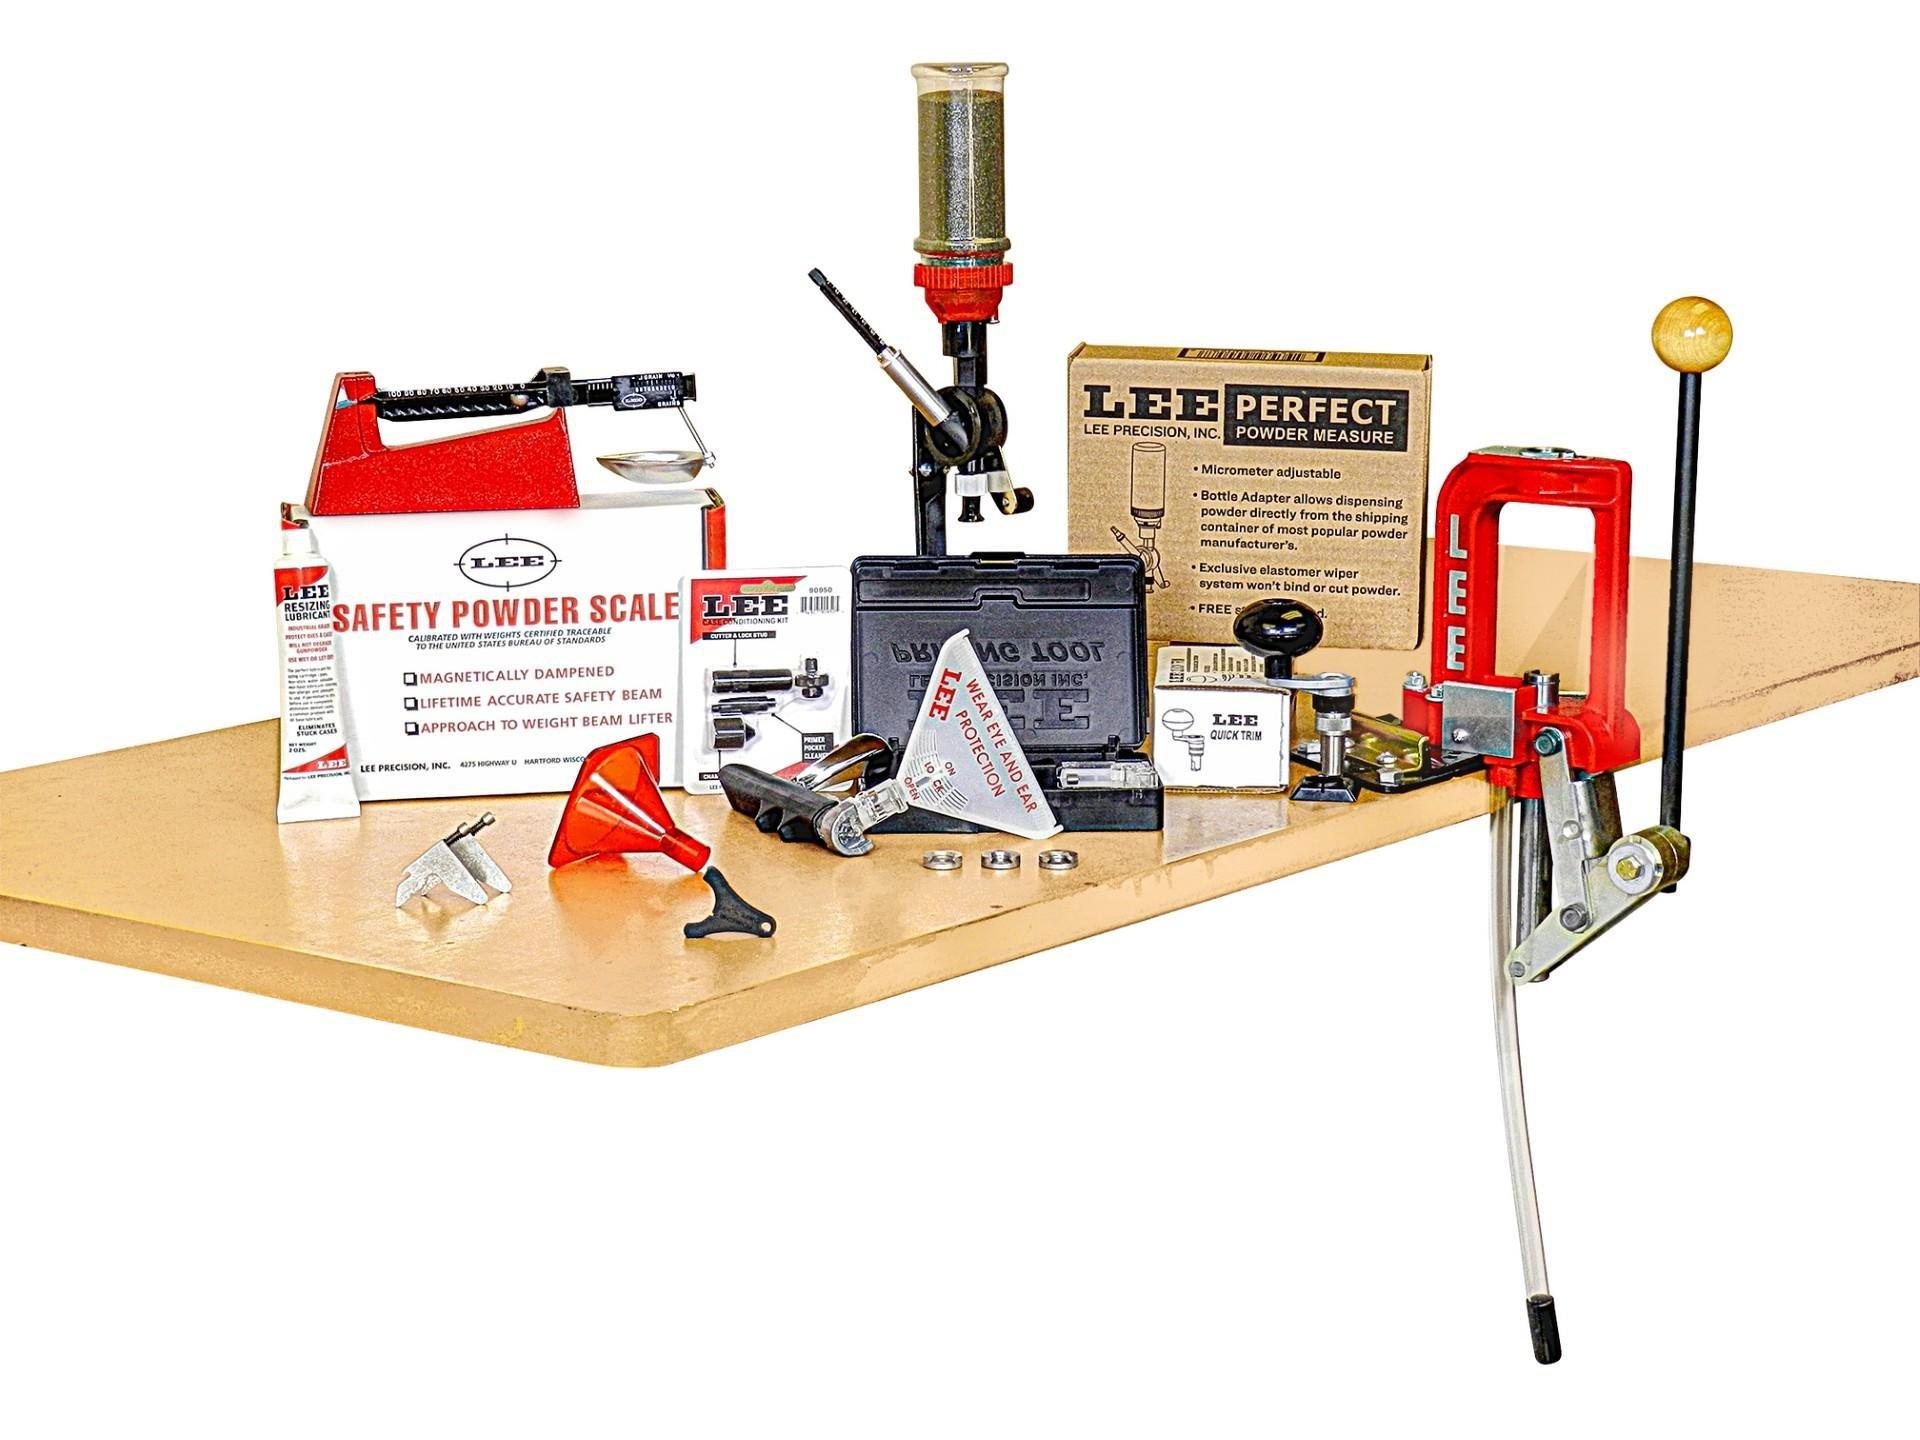
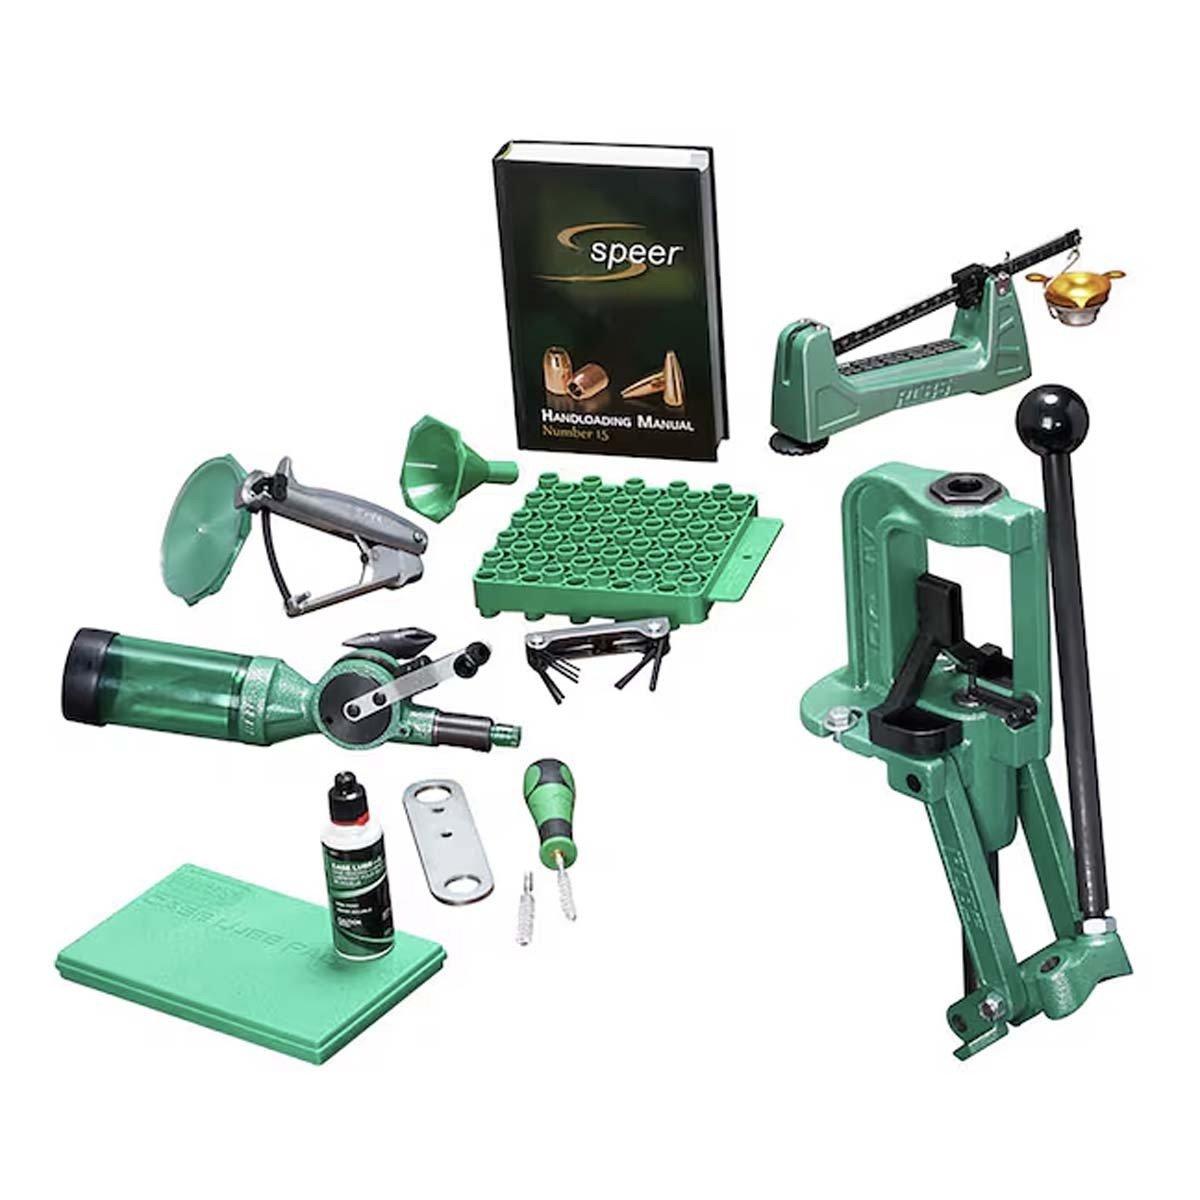
The Dillon Gen 2 Auto-Center Decapping Die goes in that single-stage press. Some reloaders use a Lee Breech Lock Challenger or an old RCBS Rock Chucker they've had for decades. The press doesn't need to be fancy. It just needs to push a ram up with enough force to pop primers. The auto-center die does the alignment work.
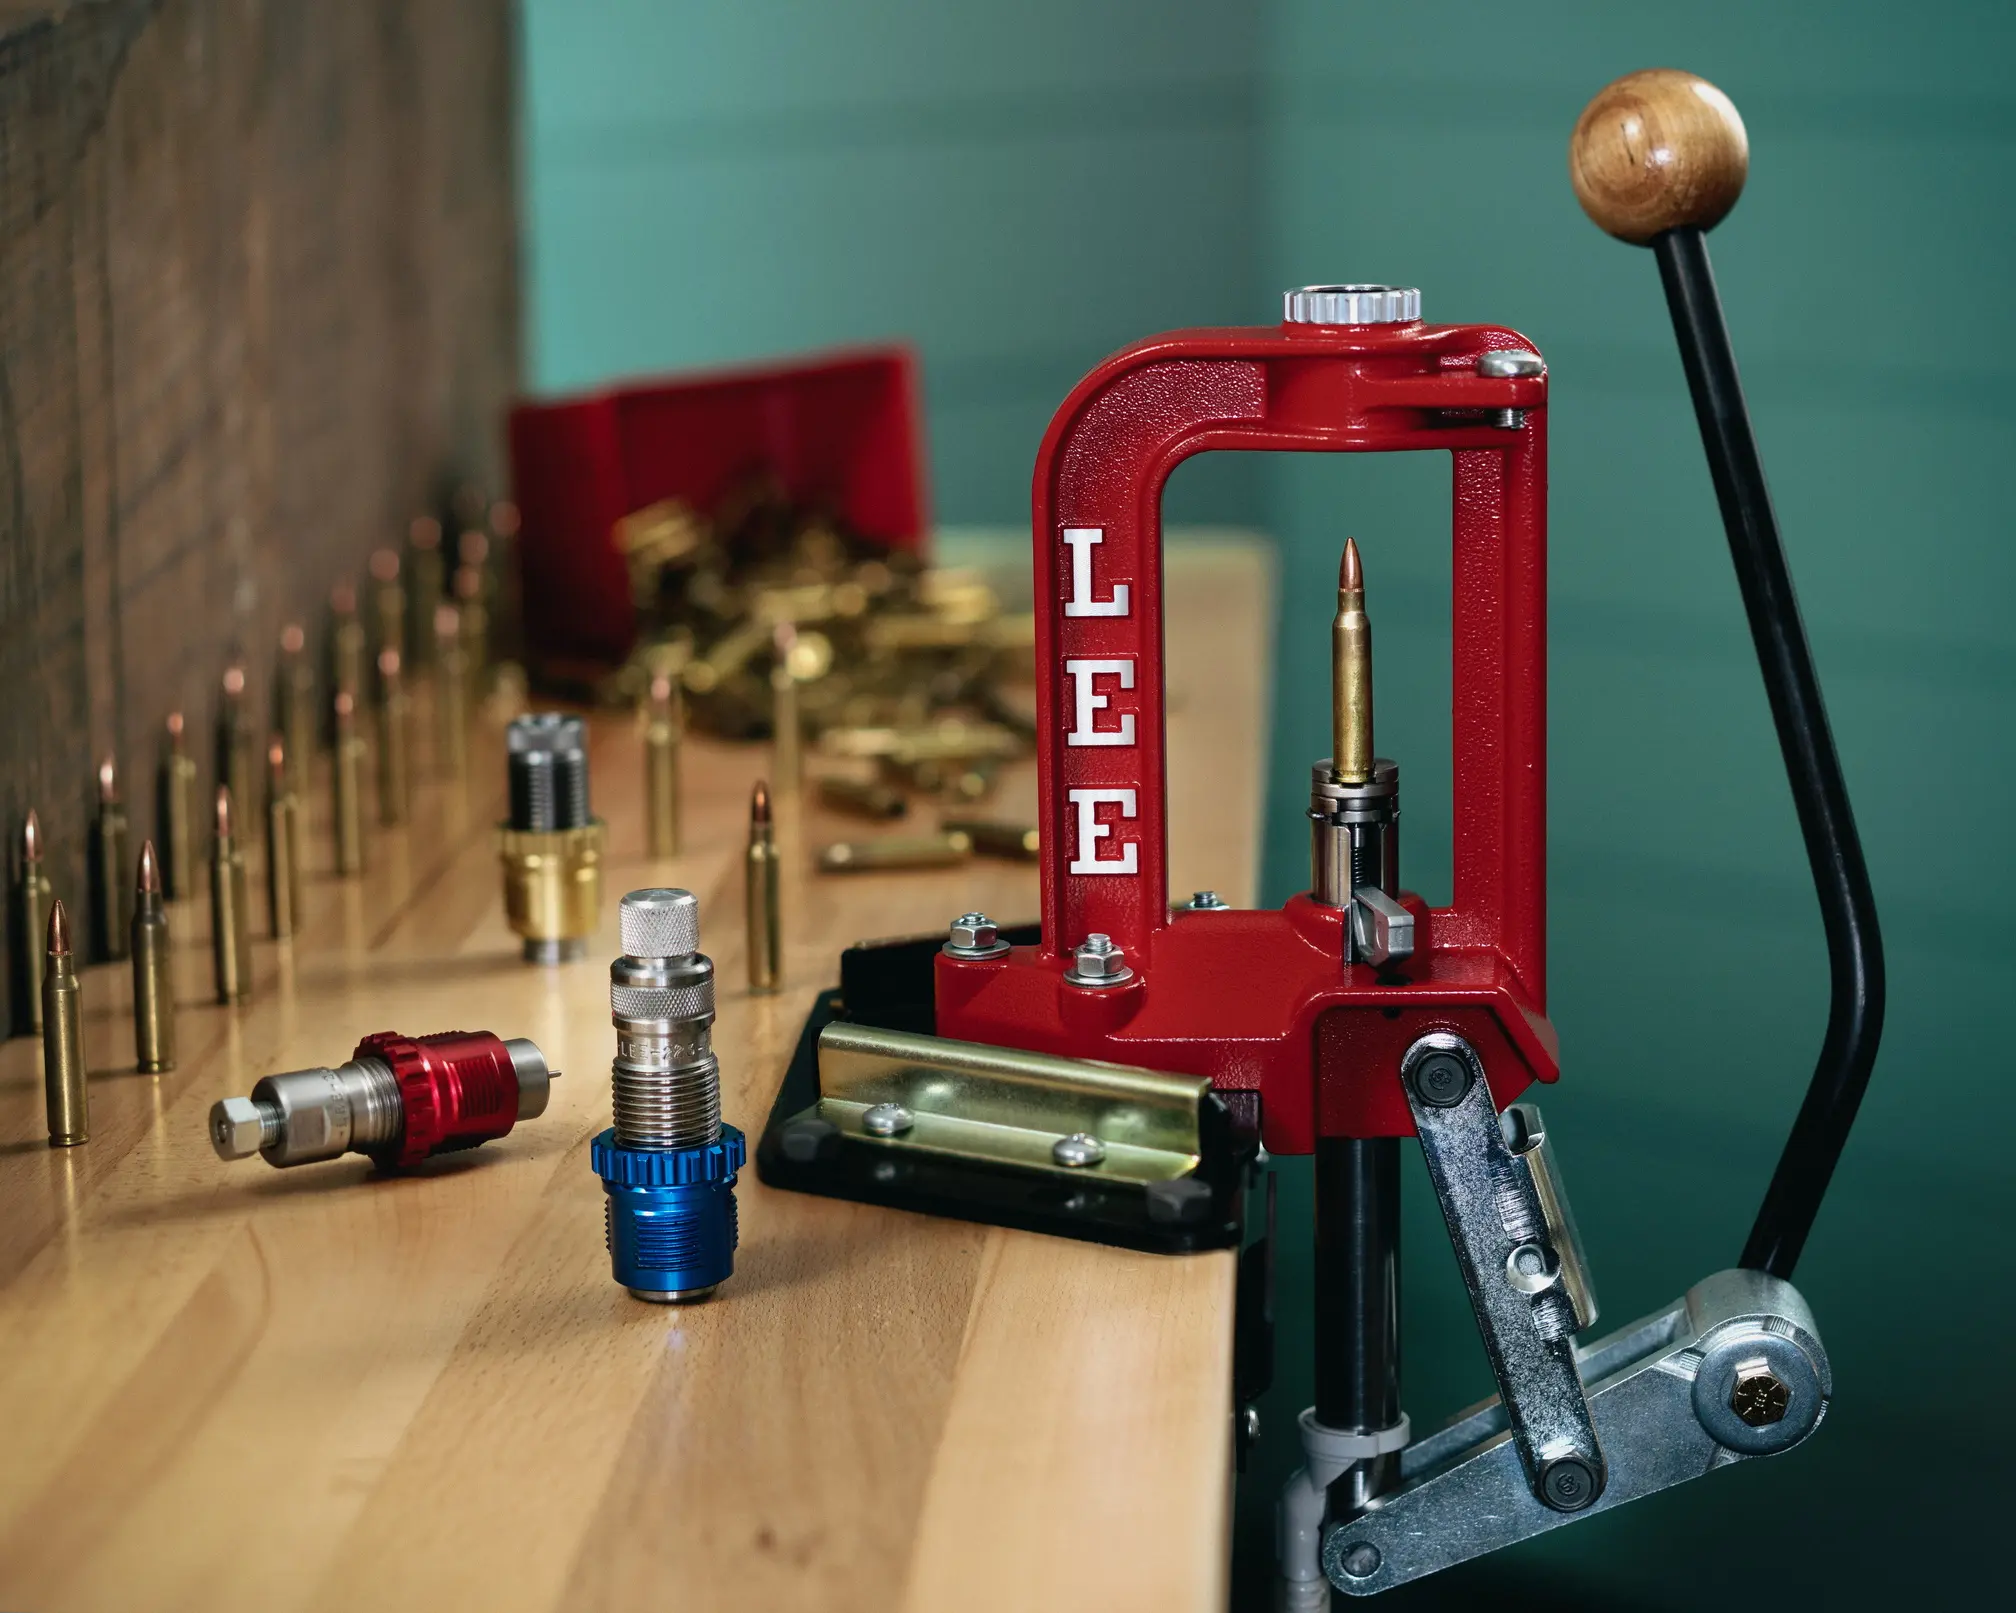
On Dillon progressive presses specifically, you can also run the Gen 2 in station one of your toolhead, ahead of your sizing die. This means your sizing die in station two never sees a live primer. The downside is that you're using a station for decapping alone, which on a four-station press like the XL750 means you're giving up a station. On the five-station RL1100, this is less of a constraint. Some RL1100 users run the auto-center die in station one, a sizing die (with decapping assembly removed) in station two, and still have three stations for powder, seating, and crimping.
The workflow decision depends on your volume and your brass source. If you're buying once-fired brass from a known source and it's all boxer-primed commercial brass, running the decapping pin in your sizing die is probably fine. The auto-center die earns its place when your brass source is "whatever I swept up at the range" or "three five-gallon buckets of mixed .223 from a buddy."
Bench notes: the wet tumbling advantage
Decapping before tumbling is the real reason most volume reloaders separate the operation. Wet tumbling with stainless steel pins cleans primer pockets to bare brass, but only if the spent primer is already out. If you tumble with primers still in, the pockets stay dirty and the carbon buildup eventually causes seating issues with new primers.
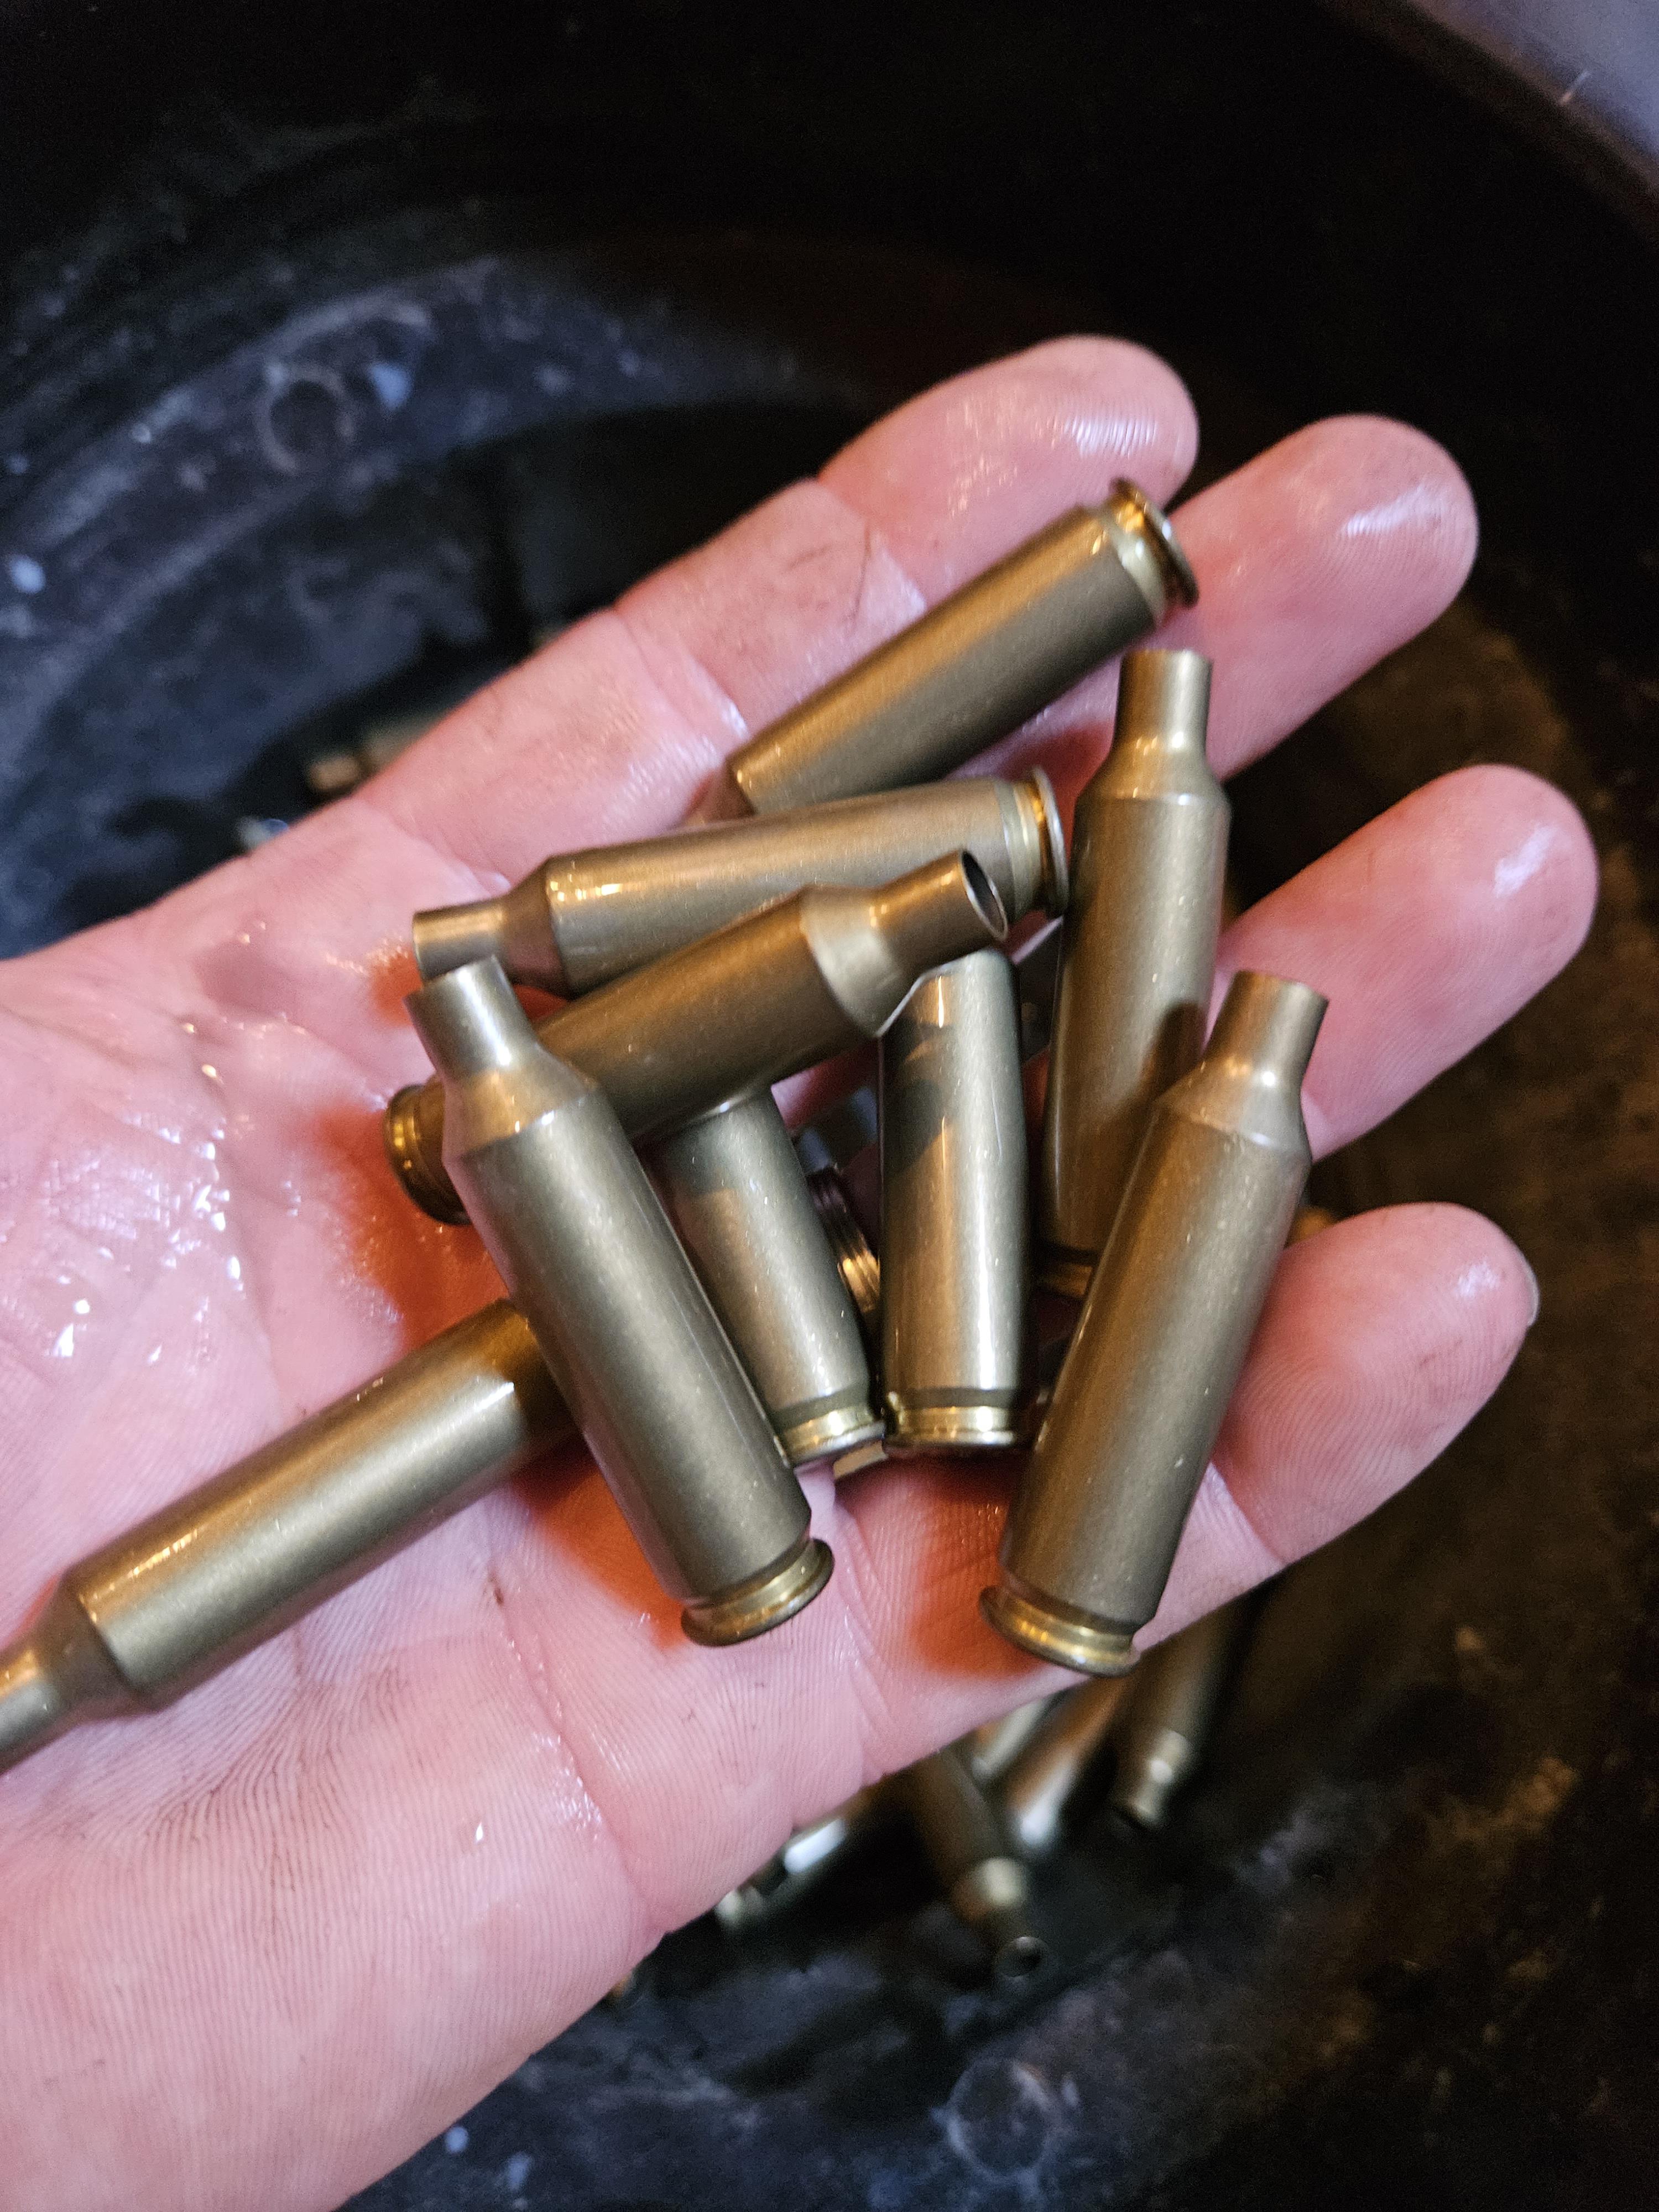
Running all your brass through the auto-center die first, then dumping it in the tumbler, means every case comes out with clean pockets, clean flash holes, and no carbon anywhere. Your sizing die stays cleaner too, because it's only seeing polished brass. Die maintenance intervals extend significantly.
How it compares to other decapping options
The Dillon Gen 2 isn't the only standalone decapping die on the market. Here's how the main options stack up in practice.
Lee Universal Decapping Die
The Lee universal die is the budget standard. It uses a fixed pin with a collet-style retention system. The pin is designed to break before the die or press takes damage, which is the right engineering choice. It handles the full range of calibers from .22 Hornet through .30-06 class cases without adjustment. Where it falls short compared to the Dillon is alignment on bottleneck cases. The Lee die relies on the case entering the die body straight, and with shorter bottleneck cases, the wobble factor increases. Broken pins are more frequent on .223 brass with the Lee than with the auto-center design. That said, replacement pins are dirt cheap and the die itself costs a fraction of the Dillon. For pistol brass processing, the Lee is hard to argue against. For rifle brass, especially mixed military surplus, the Dillon's self-centering mechanism reduces pin breakage noticeably.
RCBS Universal Decapping Die
The RCBS version is built heavier than the Lee and uses a sturdier pin. It handles crimped primers better than the Lee due to the pin's larger diameter and the die body's tighter case fit. But it shares the same fundamental limitation: fixed pin alignment. On straight-wall cases, it's excellent. On bottleneck brass with damaged mouths, it has the same centering challenges as any fixed-pin design. RCBS pins are more robust but also harder to replace quickly. Some users on forums report that the RCBS pin bends rather than breaks, which can be worse because a bent pin can damage the flash hole without the operator realizing it immediately.
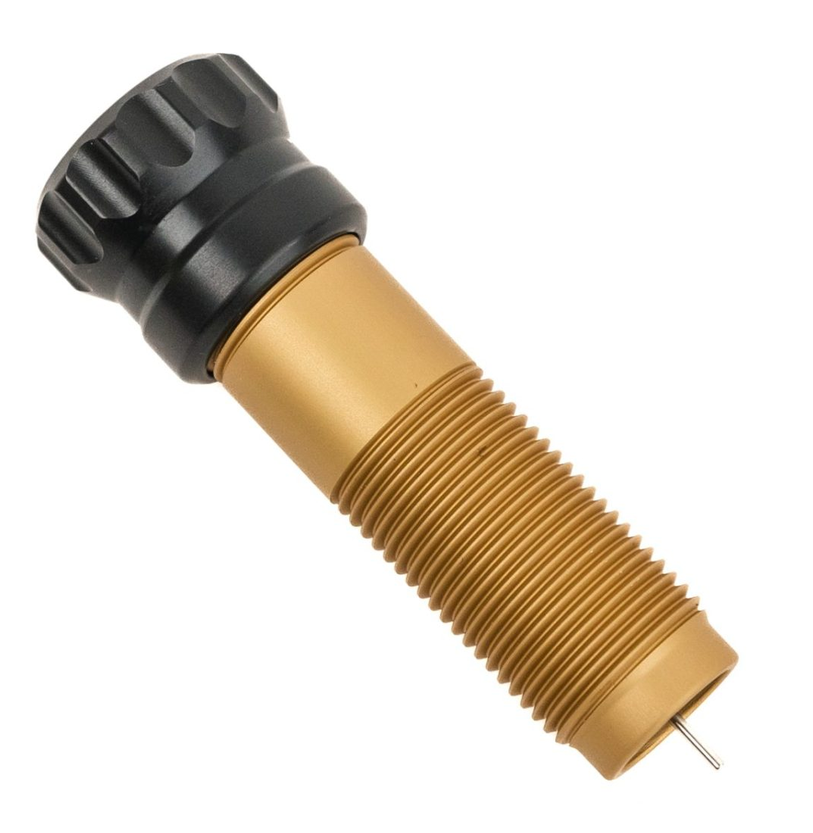
Mighty Armory decapping die
Mighty Armory makes a heavy-duty decapping die with a hardened steel pin that's significantly more robust than standard options. It's designed to punch through crimped primer pockets without pin breakage. The tradeoff is that when it hits a Berdan-primed case, something has to give, and it might be the case head rather than the pin. The Mighty Armory approach is brute force. The Dillon approach is alignment finesse. Different philosophies for different problems. If your brass is all boxer-primed but heavily crimped (bulk military .223 and 7.62x51), the Mighty Armory's strength advantage matters. If your brass is mixed and might include the occasional Berdan case, the Dillon's breakaway pin design is actually the safer choice because it fails gracefully.
Harvey Deprimer
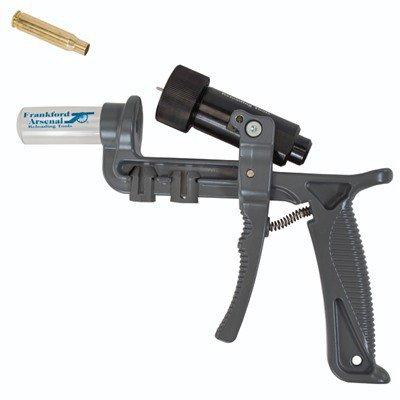
The Harvey Deprimer takes a completely different approach, using a push-through design on a dedicated base rather than a traditional press-mounted die. It's fast for bulk processing and handles crimped primers well. But it's a separate tool, not a die you mount in an existing press. For reloaders who already have a single-stage press dedicated to decapping, adding another piece of equipment to the bench doesn't always make sense. The Harvey excels when you're processing truly massive volumes (tens of thousands of cases) and want the fastest possible cycle time for decapping alone.
Common mistakes with standalone decapping
Even with the right die, reloaders make predictable errors when they separate decapping from sizing. Here are the ones that cause the most problems.
Not sorting brass before decapping is the big one. The auto-center die handles caliber variation well, but it can't save you from a .380 case mixed into your 9mm bucket. Cases that are too short for the die's guide to engage properly won't center correctly, and the pin hits off-axis. A quick visual sort before processing catches the obvious outliers.
Running the die adjusted too deep is another common issue. The decapping pin only needs to travel far enough to push the primer out of the pocket. Setting the die so the pin extends well past the case head means more force on the pin with every stroke, more wear on the guide mechanism, and more stress on the press linkage. Adjust the die so the pin clears the primer pocket by about 1/16 inch past the case head. No more.
Ignoring Berdan brass in the sort will break pins regardless of which die you're using. The auto-center design reduces pin breakage from alignment issues, but it doesn't help when the pin hits solid brass instead of a flash hole. If you're processing military surplus or imported brass, Berdan-primed cases are in the mix. Some headstamps are known Berdan (most steel-case imports, certain NATO-spec lots), but not all are obvious. When a pin snaps cleanly on a case that looked normal, pull that case and check the flash hole. Two holes instead of one means Berdan. Toss it.
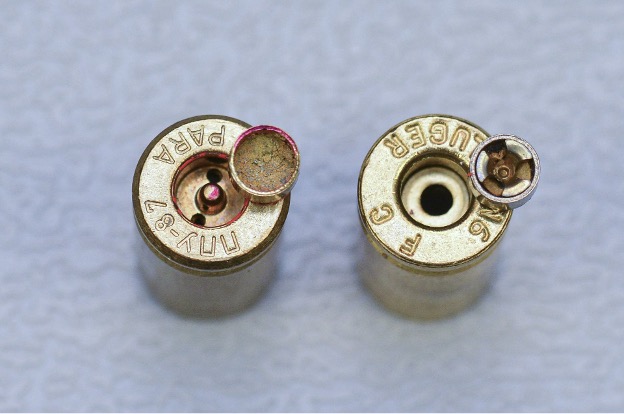
Neglecting to clean the die periodically lets carbon and primer residue build up inside the guide mechanism. The auto-center function depends on the guide floating freely. If it's gummed up with residue, it doesn't center properly, and you're back to the same alignment problems you bought the die to solve. A quick wipe with solvent every thousand rounds keeps it running right.
Forgetting to remove the decapping assembly from your sizing die after adding a standalone decapping station is surprisingly common. If you're decapping in station one and sizing in station two, but you left the decapping pin in your sizing die, you're decapping twice. That's not harmful per se, but the sizing die's pin is now hitting an empty primer pocket, and if the case isn't perfectly aligned at that station, you can still break the sizing die's pin. Remove it. The whole point of the standalone die is to keep your sizing die out of the decapping business.
Who actually needs this die
The honest answer is that not every reloader does. The Gen 2 Auto-Center Decapping Die solves a specific problem set, and if you don't have that problem, your money goes further elsewhere.
You need it if you process large volumes of unsorted range brass on a progressive press. The combination of unknown primer types, potential Berdan cases, crimped military pockets, and damaged case mouths creates a failure-rich environment for standard decapping pins inside sizing dies. Moving decapping to a dedicated station with a self-centering die dramatically reduces press stoppages.
You need it if you wet tumble and want clean primer pockets. Decapping before tumbling is the correct sequence for the cleanest possible brass, and doing that efficiently requires a die that handles volume without constant pin replacement.
You need it if you load bottleneck rifle cartridges from mixed sources. The auto-center mechanism's advantage over fixed-pin dies is most pronounced on bottleneck cases where alignment matters most. Straight-wall pistol reloaders get less benefit from the self-centering feature, though it still helps with damaged case mouths.
You probably don't need it if you buy new brass or carefully sorted once-fired brass, load on a single-stage press, and process a few hundred rounds at a time. In that workflow, the decapping pin in your sizing die works fine, and a broken pin every few hundred rounds is a minor inconvenience rather than a workflow-killing event.
You also don't need it if you're already running a Lee universal die for decapping and rarely break pins. If your brass source is consistent and your breakage rate is low, the Lee does the job at a fraction of the cost. The Dillon earns its premium when breakage rates climb, and that's a function of brass quality more than die quality.
Setting it up right the first time
Thread the die into your press (or toolhead station) and run the ram up with a case in the shellholder. You want the guide nose to enter the case mouth and the pin to just clear the primer pocket at full ram travel. Don't crank the die down until the press strains at the top of the stroke. The die body shouldn't be contacting the case shoulder on bottleneck brass. It's a decapping die, not a sizing die. No case body contact is needed or wanted.
Check pin protrusion with the first few cases. The spent primer should pop out cleanly and fall free. If primers are hanging up or only partially ejecting, the pin isn't extending far enough. Adjust the die down in small increments until primers drop free consistently.
After the first fifty cases, pull the die and inspect the guide nose for wear marks. On the Gen 2, the guide should show even, concentric contact marks. If the wear pattern is lopsided, the die isn't threading in straight or the press ram has alignment issues. Fix that before processing a full batch.
What to do next
If you're considering adding a standalone decapping station to your workflow, start by tracking your current pin breakage rate. Load a hundred rounds and note every stoppage caused by the decapping operation. If you're breaking pins or bending them more than once per session, the standalone die pays for itself in time savings within a few loading sessions.
Set up a cheap single-stage press on your bench dedicated to decapping. Run all your brass through it before tumbling, then feed the clean, deprimed brass into your progressive. Log your press stoppages for the next five sessions and compare. The data tells you whether the investment was worth it.
The Gen 2 Auto-Center Decapping Die isn't a revolutionary tool. It's an incremental improvement on a sound concept: move the most failure-prone operation to a station where failures are cheap and fast to fix. That's good engineering. The kind of thinking that keeps the press running and the ammo box filling up.