
You just dropped serious money on a Krieger, Bartlein, or Shilen blank, had it chambered by a reputable smith, and now some guy on the internet is telling you to shoot one round, clean, shoot one round, clean - for the first fifty rounds. That's an hour of shooting turned into a full afternoon of running patches. The question nobody seems to agree on: does any of this actually do anything measurable?
The barrel break-in debate has been raging on forums for decades, and the positions are entrenched. On one side, you've got barrel makers recommending specific shoot-and-clean sequences. On the other, you've got gunsmiths and competitive shooters who say they've never broken in a barrel and their rifles shoot lights out. Both camps have evidence. The problem is separating the mechanical reality of what happens inside a new bore from the rituals that have calcified into gospel.
Here's the deal: there is something real happening during the first rounds through a new barrel. But the protocols people follow - and the reasons they give - are often disconnected from the actual metallurgy and bore geometry involved.
What "break-in" actually means at the bore level
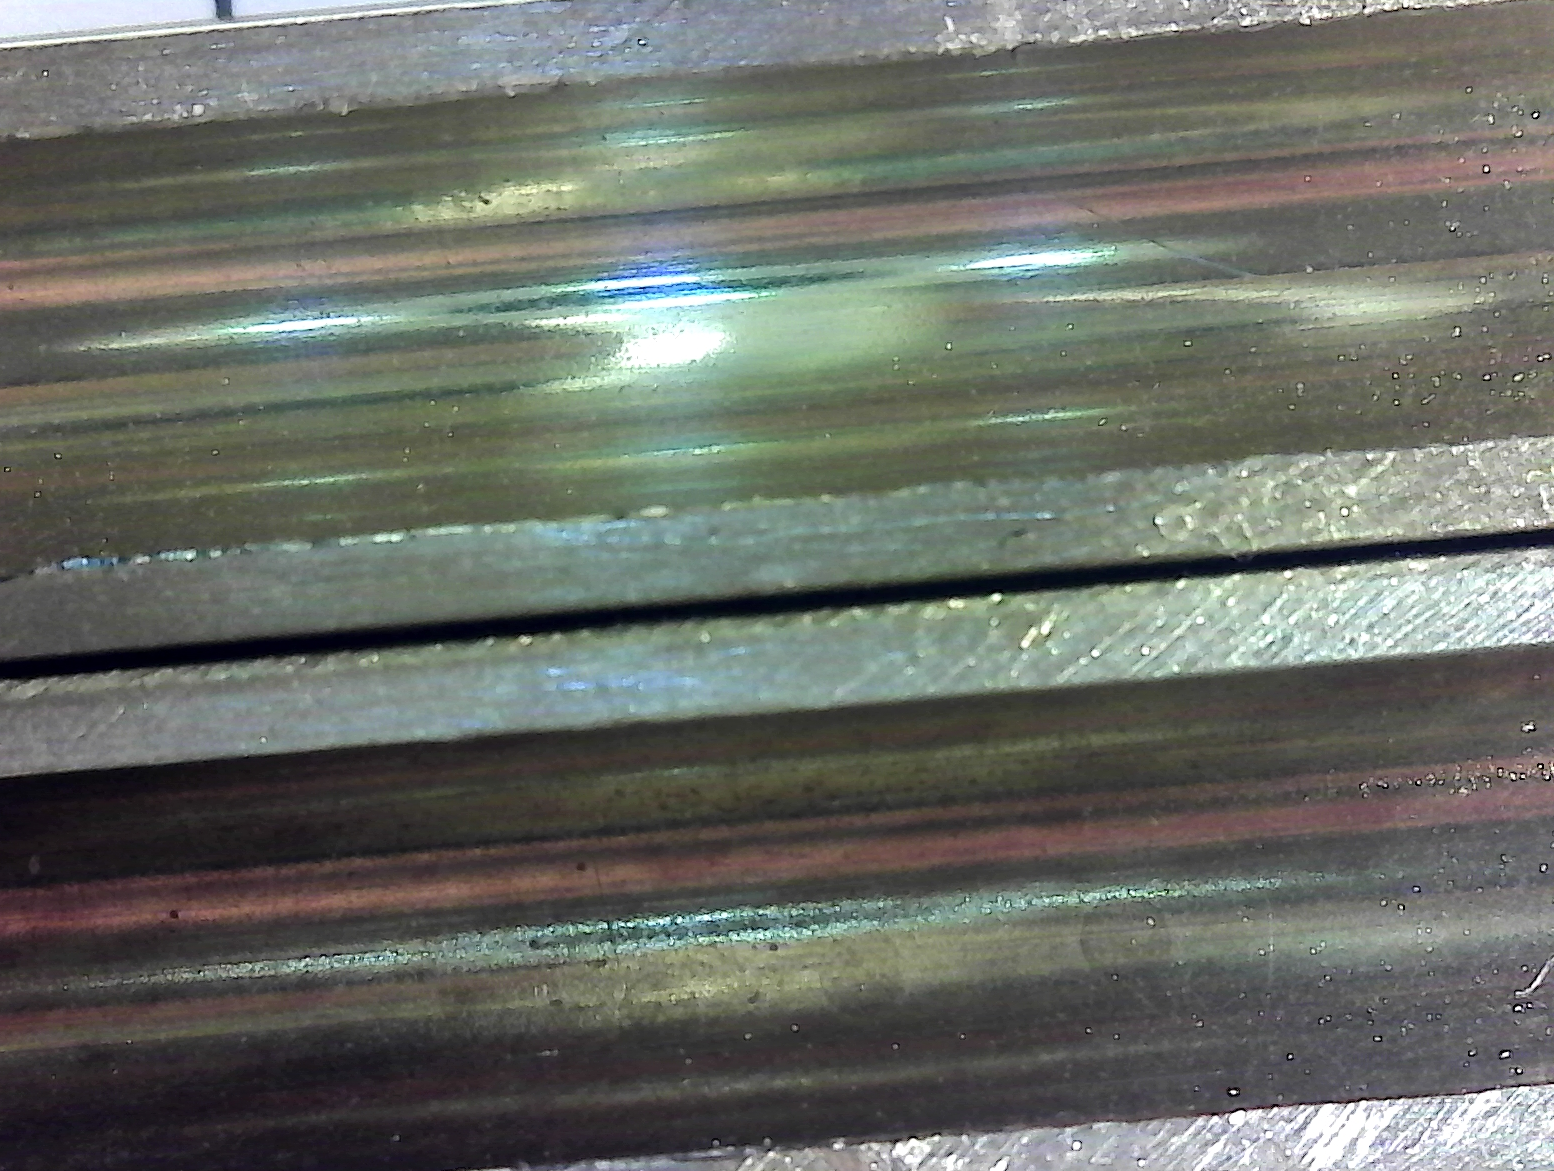
A freshly cut or button-rifled barrel isn't perfectly smooth. Even a hand-lapped barrel from a premium maker still has microscopic tool marks in the bore, particularly at the throat: the area just forward of the chamber where the bullet first contacts the rifling. These tool marks create tiny peaks and valleys in the steel surface that trap copper fouling from jacket material.
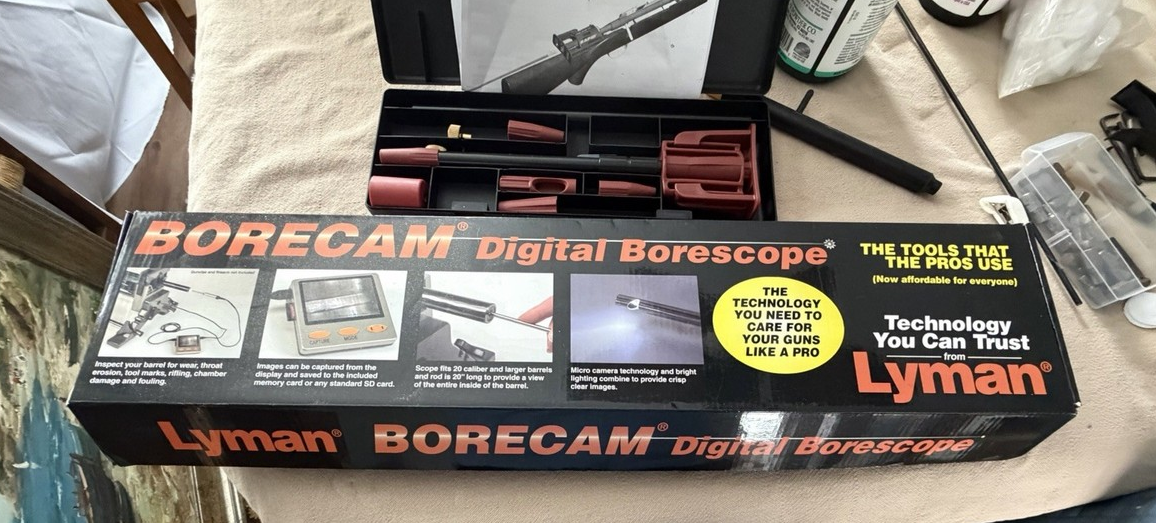
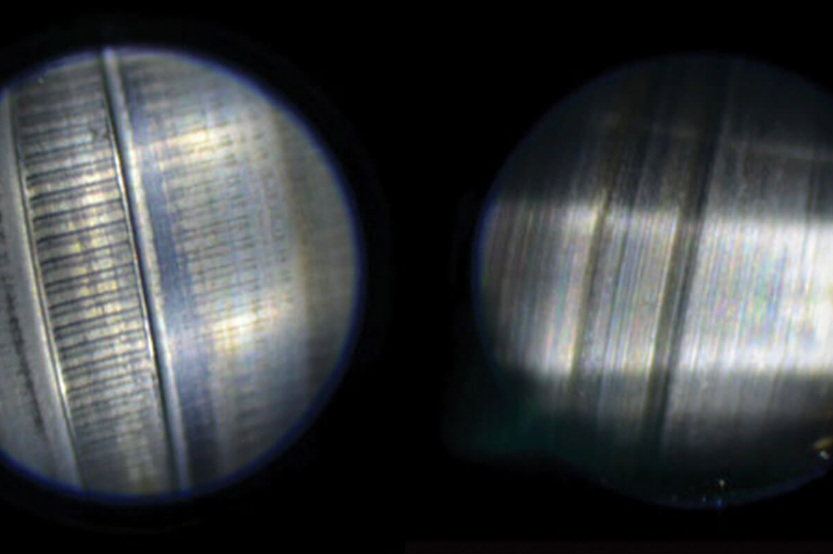
During the first several dozen rounds, those peaks get burnished down. Copper deposits on the high spots, and subsequent bullets shear some of it off while also pressing the steel smoother. This is a real, observable phenomenon. Pull a borescope on a barrel at round zero versus round fifty and you'll see the difference. The throat smooths out, and copper fouling patterns change; they become more uniform and easier to clean.
The disagreement isn't about whether this happens. It does. The disagreement is about whether you need to actively manage it with a cleaning protocol, or whether it just happens on its own regardless of what you do between shots.
The traditional protocol and where it came from
The most commonly cited break-in procedure goes something like this: shoot one round, clean to bare metal, repeat for five to ten rounds. Then shoot three-round groups with cleaning between each group for another ten to fifteen rounds. Then five-round groups with cleaning. Total investment: somewhere around thirty to fifty rounds of ammo, a pile of patches, and a lot of patience.
This protocol traces back largely to Gale McMillan, the founder of McMillan barrels, though it's been attributed to and modified by various barrel makers over the years. The logic is straightforward; by cleaning between shots early on, you prevent copper from building up in those tool marks and "glazing over" them, which would prevent the bore from smoothing properly. You're giving each successive round a cleaner surface to burnish against.
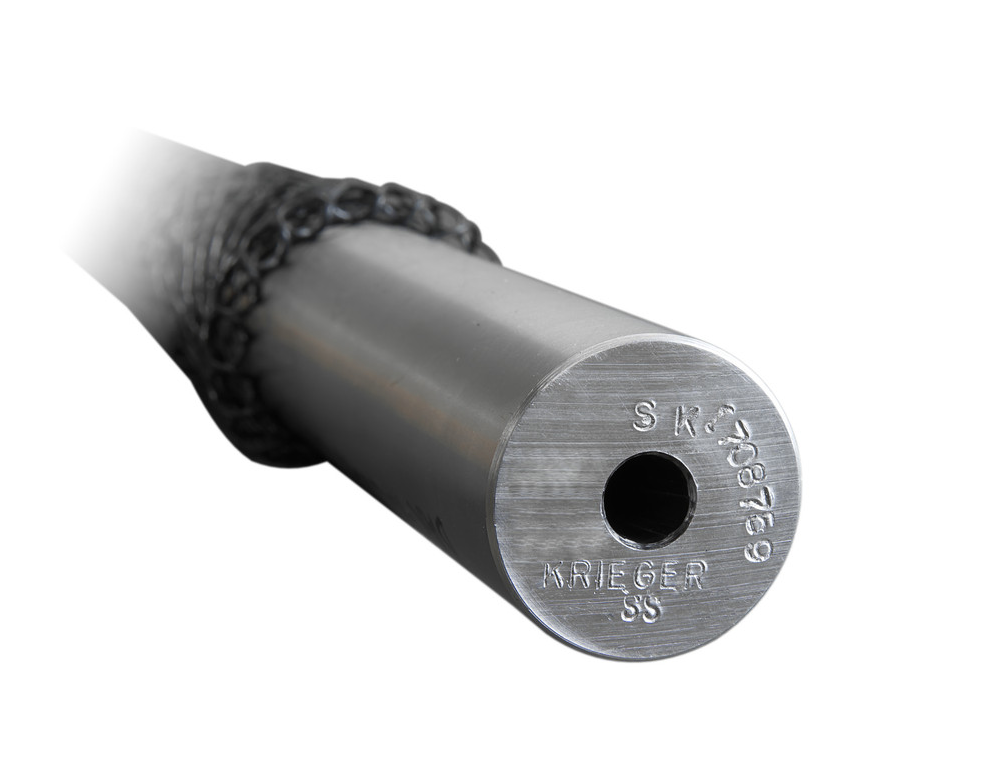
Krieger Barrels recommends a version of this on their FAQ page: one shot followed by cleaning for the first five rounds, then three shots and clean for the next fifteen, then five and clean for the next fifteen. Shilen has published similar guidance. These aren't random forum posters; they're the people actually making the barrels.
The counterargument has teeth
Here's where it gets interesting. Several well-known gunsmiths and competitive shooters have pushed back hard on structured break-in. The core argument: a properly lapped barrel doesn't need it, and a poorly finished barrel won't be saved by it.
There's a thread on Sniper's Hide where a machinist and barrel maker laid out a pretty compelling case. He argued that the break-in process people describe is essentially just the barrel wearing in naturally, and that cleaning between every shot doesn't accelerate or improve the smoothing process in any meaningful way. His position: shoot the rifle, clean it when accuracy degrades or when you're done for the day, and the barrel will sort itself out in the same number of rounds regardless.
Some barrel makers have quietly moved away from recommending elaborate break-in. The reasoning is practical; a customer who scrubs their bore aggressively fifty times with a steel rod is more likely to damage the crown or throat than a customer who just shoots the rifle normally and cleans periodically. Bad cleaning technique is a real accuracy killer, and break-in protocols multiply the opportunities to introduce it.
The MeatEater crew covered this topic and landed in a similar place: the evidence for structured break-in improving long-term accuracy or barrel life is mostly anecdotal. Nobody has published a controlled study where identical barrels were split into break-in and no-break-in groups and tracked over thousands of rounds.
What the bore actually tells you
Forget the protocol for a second. Here's what matters mechanically.
A new barrel will copper foul heavily for the first twenty to fifty rounds. This is normal and expected regardless of whether you clean between shots. The rate at which copper fouling decreases over those initial rounds is your actual indicator that the bore is smoothing out. If you're still getting heavy copper at round 100, you might have a bore finish problem that no amount of break-in ritual will fix; that barrel may need hand lapping or it might just be a rough tube.
Range notes
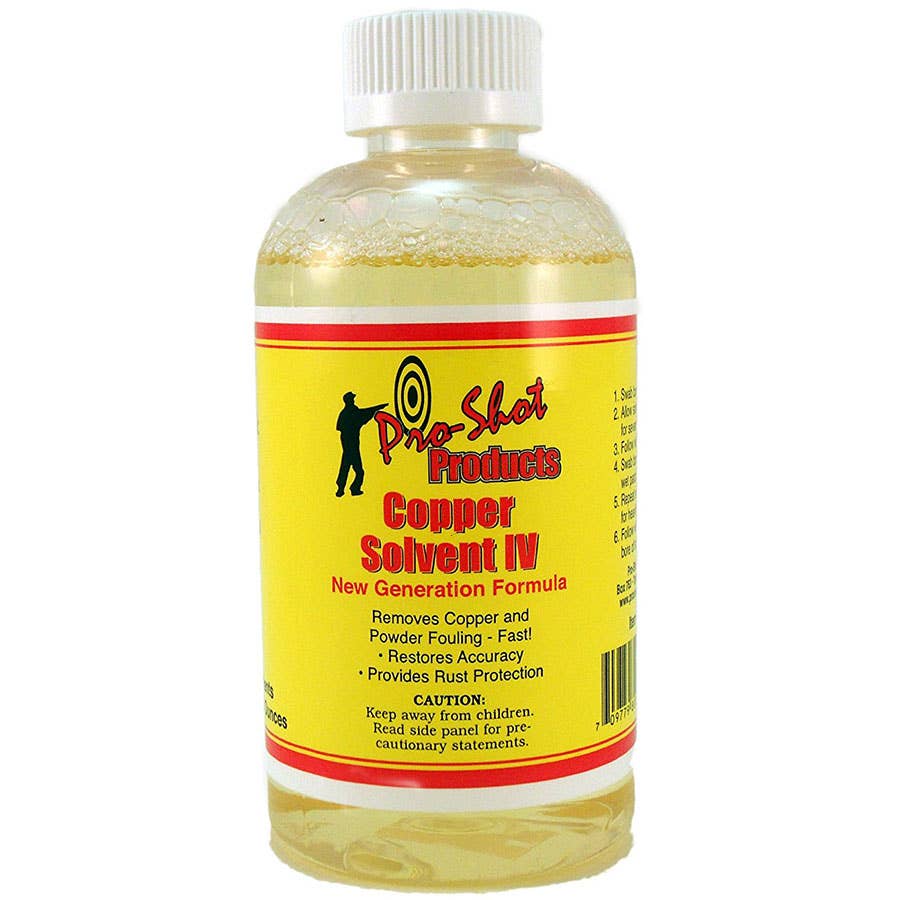
If you want to actually observe your barrel's break-in rather than just follow a recipe, do this: clean the bore thoroughly before your first session. Shoot a five-round group. Run three wet patches of copper solvent (Boretech Eliminator or similar) and note the color. Shoot another five. Repeat. You're looking for the copper indication to decrease over the session. By round thirty to fifty on a quality barrel, you should see noticeably less copper transfer. That's your barrel telling you the throat is smoothing out. If it's not decreasing, you have a bore quality issue, not a break-in technique issue.
The lapping variable nobody talks about
Here's something that changes the equation significantly: whether your barrel was hand-lapped at the factory. Most premium barrels, Krieger, Bartlein, Hawk Hill, Brux, are hand-lapped after rifling. This process uses an abrasive compound on a lead slug pushed through the bore to smooth out tool marks before the barrel ever ships.
A hand-lapped barrel has already had much of its "break-in" done mechanically. The tool marks are reduced, the bore is more uniform, and initial copper fouling will be less severe than an unlapped barrel. This is a big part of why competitive shooters using premium blanks often report that break-in didn't seem to matter; their barrels were already lapped.
A factory Remington 700 barrel, a Ruger American barrel, or a standard AR-15 barrel from a mid-tier manufacturer? Those are typically not hand-lapped. The bore finish is rougher out of the box, and those barrels will benefit more from some attention during the first few dozen rounds. Not necessarily the full shoot-one-clean-one ritual, but at least periodic cleaning to prevent heavy copper buildup from embedding in the tool marks.
Common mistakes during break-in
The irony of barrel break-in is that the process meant to protect your barrel is often where people damage it. Here are the real problems to watch for.
Using a steel cleaning rod without a bore guide is the most common one. Every time that rod contacts the crown or the throat, you're potentially doing more harm than fifty rounds of shooting would. A one-piece carbon fiber rod and a proper bore guide are non-negotiable if you're going to clean frequently.
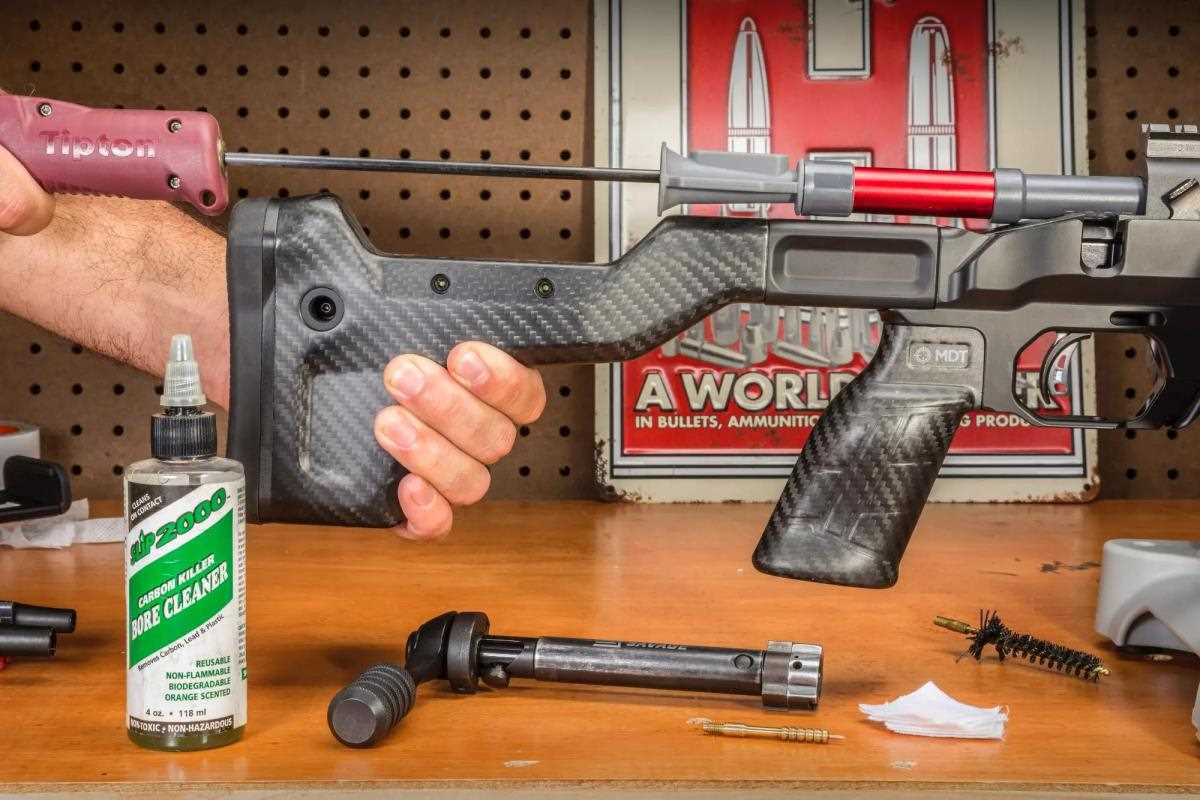
Over-scrubbing with aggressive copper solvents can etch the bore surface. Products like Sweets 7.62 are effective but can damage steel if left in the bore too long. Follow the solvent manufacturer's dwell time recommendations; more is not better here.
Cleaning from the muzzle end on a bolt rifle when a breech-end approach is available makes no sense, but people do it. The crown is the last thing the bullet touches. Protect it with your life.
Using worn or oversized bore brushes that bounce around in the bore rather than maintaining consistent contact. A brush should fit snugly. If it slides through without resistance, it's done.
Skipping a final dry patch and oil before storage. You just stripped all the protective fouling and oil out of the bore. Bare steel plus humidity equals surface rust, sometimes overnight.
Comparing barrels and what to expect
A Krieger cut-rifled, hand-lapped blank in 6.5 Creedmoor will typically show reduced copper fouling by round twenty and settle into its accuracy node within forty to sixty rounds. A Ballistic Advantage Hanson profile barrel for an AR-15, a good mid-tier option with a button-rifled bore, tends to take longer to smooth out, often fifty to eighty rounds before fouling patterns stabilize. A factory Ruger American barrel in .308 usually shows heavy initial fouling that tapers off around round sixty to seventy, and accuracy often tightens measurably between round fifty and round one hundred. A Bartlein 5R rifled blank, hand-lapped, behaves similarly to the Krieger; fast stabilization, relatively mild initial fouling. A standard mil-spec AR-15 barrel from a government contract manufacturer (FN, Daniel Defense) will foul more aggressively early on but generally sorts itself out by round one hundred without any special attention.
The pattern is clear: bore finish quality at the factory determines how much the first rounds matter, not which cleaning ritual you follow.
What to actually do with a new barrel
Here's the practical approach that respects the metallurgy without turning range day into a cleaning clinic.
Clean the bore before firing. Factory barrels have cutting oil and preservative in them. Get that out first. Then shoot a twenty-round session, doesn't matter if it's groups or just function testing. Clean thoroughly with a good copper solvent and a bore guide. Shoot another twenty. Clean again. Inspect with a borescope or just note how much copper is coming out on your patches. By round sixty, you should see a noticeable reduction in copper fouling. If you do, you're done; clean on your normal schedule going forward.

If copper fouling hasn't decreased by round one hundred, consider having the bore inspected or hand-lapped by a smith. No amount of shoot-and-clean cycles will fix a genuinely rough bore.
Skip the one-shot-and-clean protocol unless you genuinely enjoy the process. There's no controlled evidence it produces better results than shooting normal strings and cleaning periodically. What it will produce is a very clean rod and a lot of wasted range time.
The barrel does 80% of the work. Respect the bore, clean it properly, and let the steel do what steel does. The rifle will tell you when it's settled in; your groups will tighten, and your patches will come out cleaner. That's not lore. That's just how metal works.