
Your press is bolted to a folding table and the whole thing shifts when you cam over a .308 case. Or maybe you're running a single-stage on a wobbly desk that was never designed to handle the 50+ pounds of lever force a full-length resize demands. The bench is the foundation of every operation that follows: powder charging, bullet seating, priming. If it moves, your process is compromised before you ever pull a handle.
This is a bench-building guide for reloaders, not general woodworkers. The requirements are specific: the top needs to resist deflection under repeated vertical force, the structure has to anchor a press (or multiple presses) without racking, and the layout needs to support a workflow that makes sense for how ammunition actually gets loaded. All of this is achievable for under $200 in lumber and hardware, sometimes well under that if you're resourceful with materials.
By the end you'll have a clear plan for dimensions, materials, joinery, mounting strategy, and layout; the stuff that determines whether your bench is a tool or a frustration.
Why reloading benches aren't regular workbenches
A woodworking bench absorbs lateral forces: planing, chiseling, sawing. A reloading bench absorbs concentrated vertical and lever-arm forces, almost always at the front edge where the press mounts. That distinction matters more than most people think.
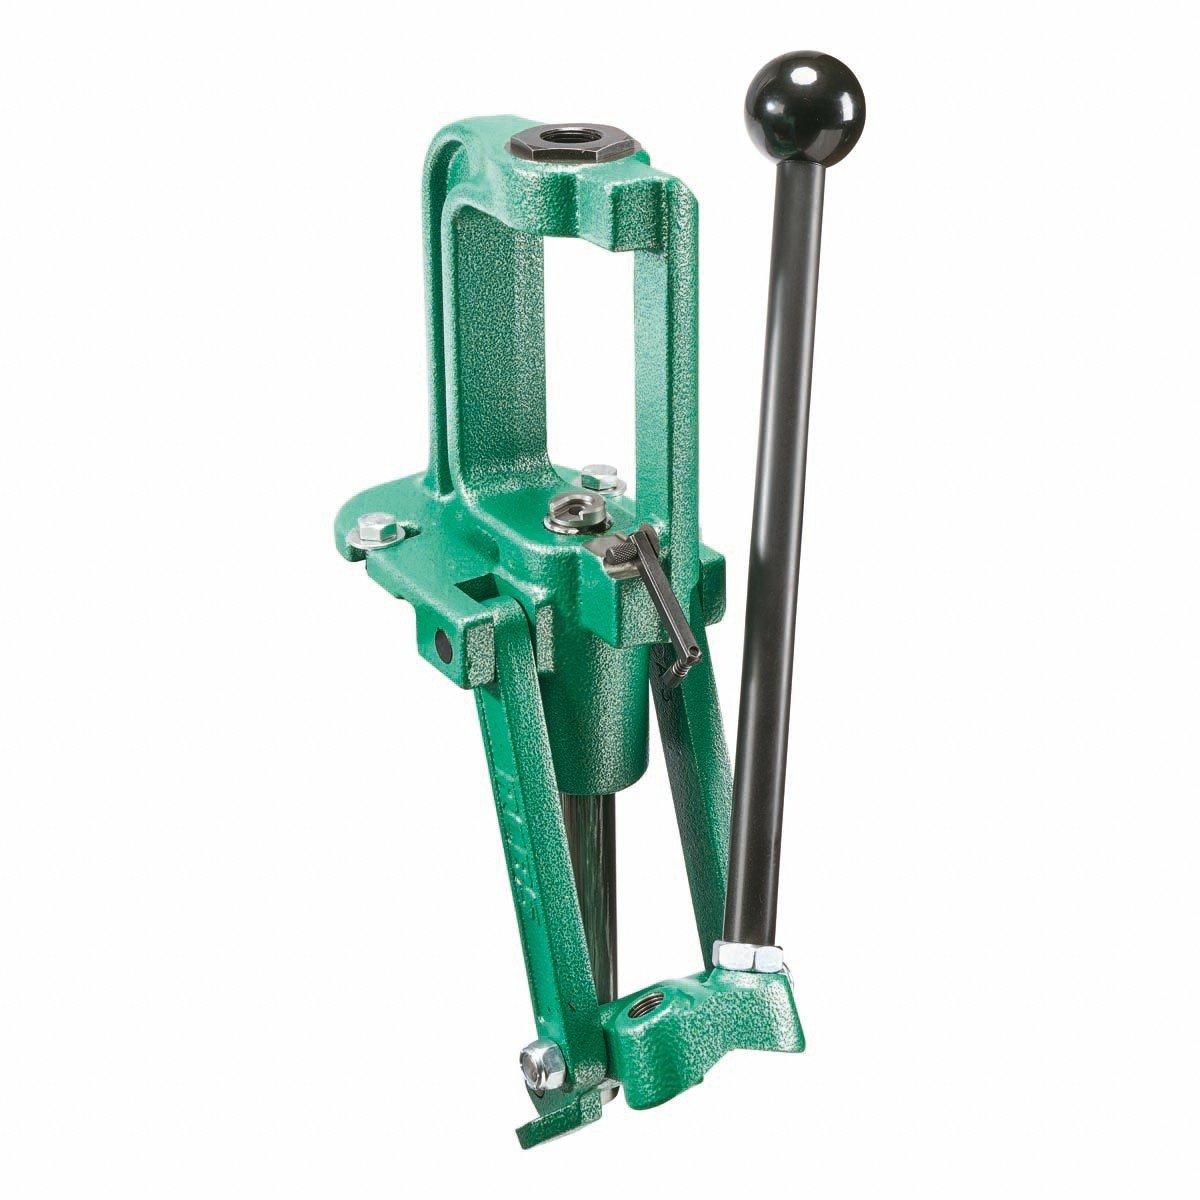
RCBS Rock Chucker Deals
Prices may change. May contain affiliate links.
When you full-length resize brass on a single-stage press like an RCBS Rock Chucker, you're applying somewhere between 30 and 80 pounds of force through the lever, depending on the caliber and how much the case needs to be worked. That force transfers through the press mounting bolts into the benchtop, then into the frame. If the top flexes, or the frame racks side to side, you'll feel it immediately; and your dies will feel it too. Inconsistent cam-over means inconsistent sizing, which means inconsistent headspace and neck tension downstream.
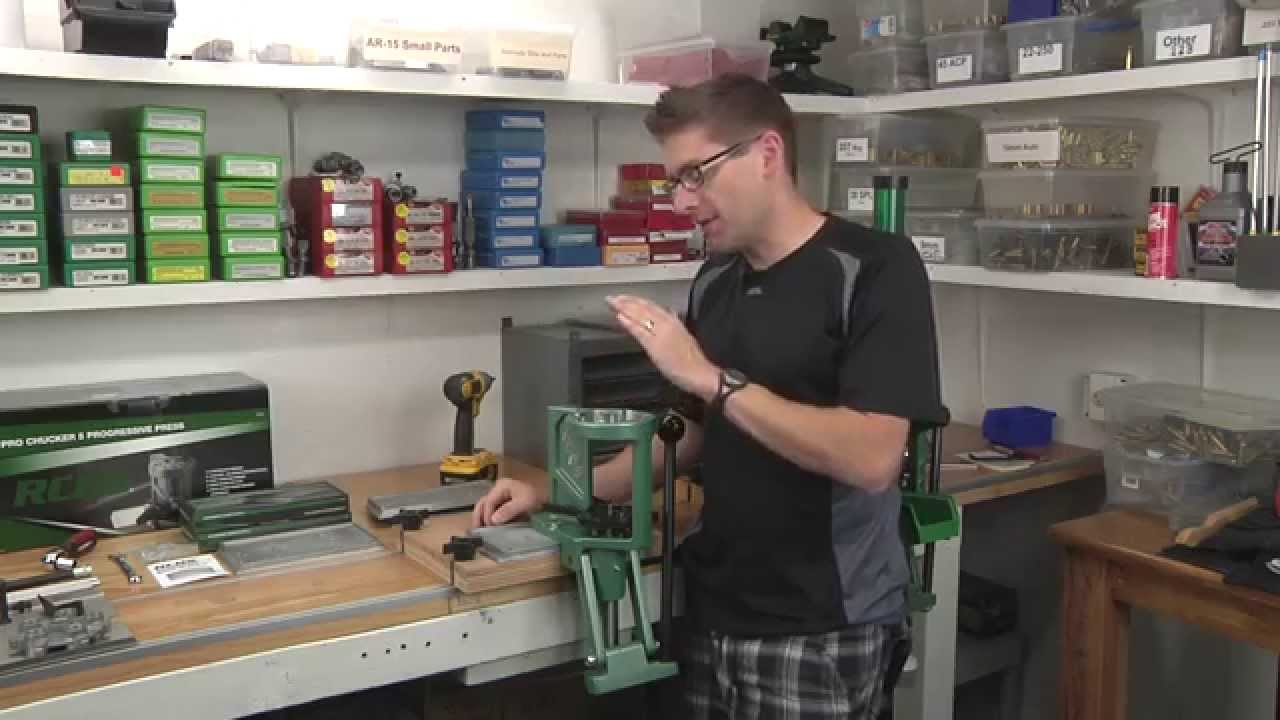
The other thing that separates a reloading bench from a general-purpose workbench is the need for a clean, organized, and relatively vibration-free surface. Powder scales, especially beam scales, are sensitive to vibration. Priming operations require feel. If your bench transmits every footstep from the garage floor, you're fighting the environment instead of focusing on the work.
Dimensions that actually work
Bench height is the single most debated dimension in reloading forums, and it's also the one that matters most for long sessions. The standard workbench height of 34 inches works for most people between 5'8" and 6'0", but reloading has a wrinkle: you're standing and pulling a lever, not sitting. The press handle typically sits 8 to 12 inches above the benchtop, which means your working height for press operations is really 42 to 46 inches.
Most experienced reloaders land between 34 and 38 inches for bench height. If you're over 6 feet tall, lean toward 36 to 38. Under 5'8", stay closer to 34. The test is simple: stand at the bench with your arm at your side. Your palm should rest flat on the surface without bending at the waist or raising your shoulder. If you have to hunch over to operate the press, you'll know it after 100 rounds.
For depth, 24 inches is the minimum that makes sense. It gives you room for a press at the front edge and still leaves space behind it for components, a scale, and a loading block. Going to 30 inches is better if you have the room; it lets you set up a powder measure and scale side by side without crowding the press. Deeper than 30 and you're reaching too far for items at the back.
Length depends on how many stations you're running. A single press with a powder measure and some staging area needs about 4 feet. Two presses with room for a case prep station pushes you to 6 feet. Eight feet is luxury, but if you have the wall space, you won't regret it. Bench real estate fills up fast once you start adding trimmers, tumblers, and storage.
Materials: what to use and what to skip
The top
This is where most budget builds go wrong. A single layer of 3/4-inch plywood or particleboard will flex under press operations. You'll see it and feel it.
The best budget benchtop is a double layer of 3/4-inch plywood, glued and screwed together, for a total thickness of 1.5 inches. Use cabinet-grade birch plywood if you can get it; it's denser and more dimensionally stable than construction-grade CDX. The glue matters: Titebond III is waterproof and handles the temperature swings in a garage or basement shop. Titebond II works fine if moisture isn't a concern. Spread glue across the full mating surface, clamp or weight it down, and drive 1-1/4 inch screws from the bottom layer into the top every 8 to 10 inches.
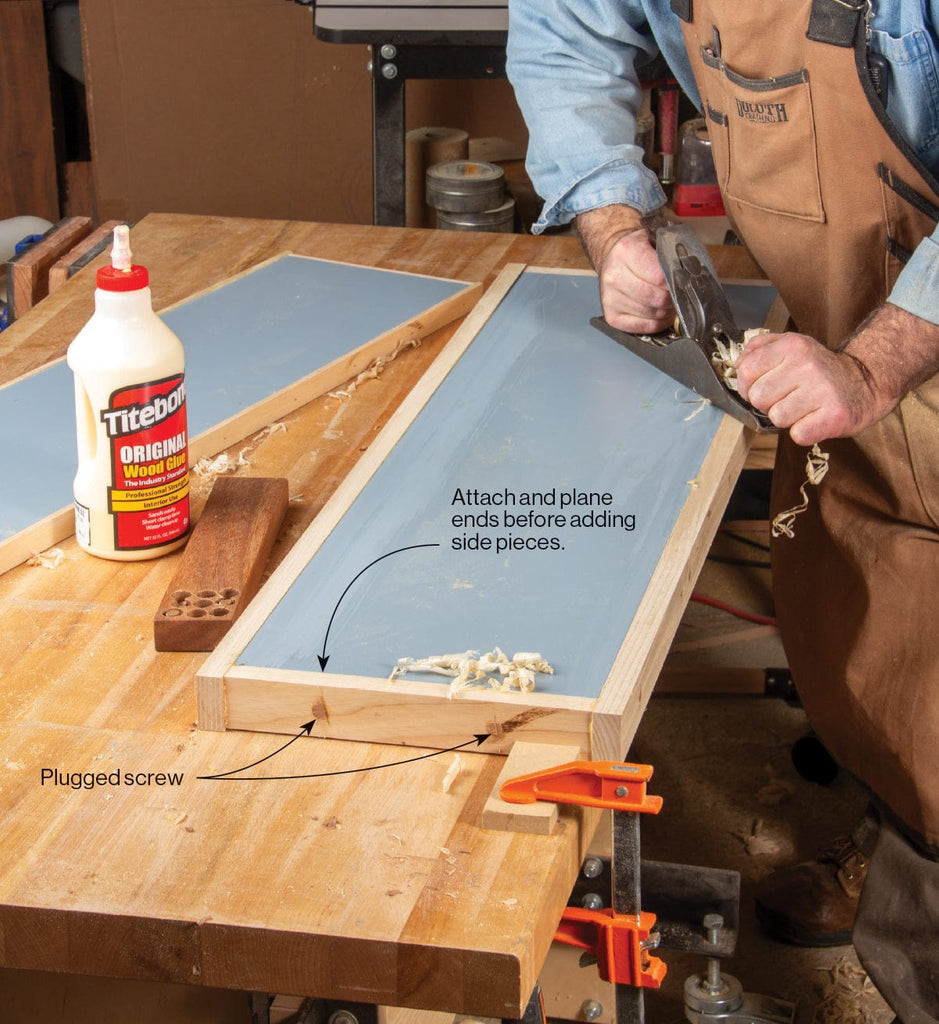
MDF is another option, and it's dead flat out of the box. A 3/4-inch sheet of MDF is denser than plywood and won't have voids. The downsides: it's heavy (a 4x8 sheet runs about 97 pounds), it swells if it gets wet, and it doesn't hold screws as well as plywood at the edges. A double layer of MDF makes an extremely rigid top, but you need to seal it; a coat of polyurethane on all surfaces, including the bottom, prevents moisture absorption. Some reloaders use a 3/4-inch MDF top over a 3/4-inch plywood substrate, which gives you the flatness of MDF with the screw-holding ability of plywood underneath.
Solid-core doors from a salvage store are the sleeper pick. An old 1-3/4 inch solid-core door, trimmed to your dimensions, gives you a pre-made benchtop that's flat, heavy, and rigid. They're often available for $20 to $40 at Habitat for Humanity ReStores or similar outlets. Check that it's actually solid core; knock on it and you'll know immediately.
Skip hollow-core doors, OSB, and single-layer particleboard. They all fail under concentrated press loads.
The frame
Two approaches dominate budget reloading bench builds: 2x4 lumber frames and welded steel. For most people, 2x4s are the right call. They're cheap, they're easy to work with basic tools, and a properly built 2x4 frame is more than rigid enough.
The legs should be 4x4 posts or doubled-up 2x4s. Single 2x4 legs will rack under heavy press use unless you add significant cross-bracing. Doubled 2x4s, glued and screwed face-to-face, give you a 3x3.5 inch leg that's stiffer than a single 4x4 in the narrow dimension and nearly as stiff in the wide dimension.
For the frame rails, the horizontal members that connect the legs and support the top, standard 2x4s work. Run a front rail and a back rail at the top of the legs, plus a lower rail on each side about 6 inches off the floor. That lower rail does double duty: it prevents racking and gives you a shelf for heavy items like bullet boxes and brass bins, which adds mass low in the structure. Mass is your friend. A heavier bench absorbs more force without moving.
Joinery and fasteners
Simpson Strong-Tie connectors are the fastest way to build a rigid 2x4 frame without cutting any joints. The workbench series (their rigid tie connectors, specifically) bolts the rails to the legs at 90 degrees with structural screws. A bench built this way goes together in an afternoon with just a drill and a socket wrench.
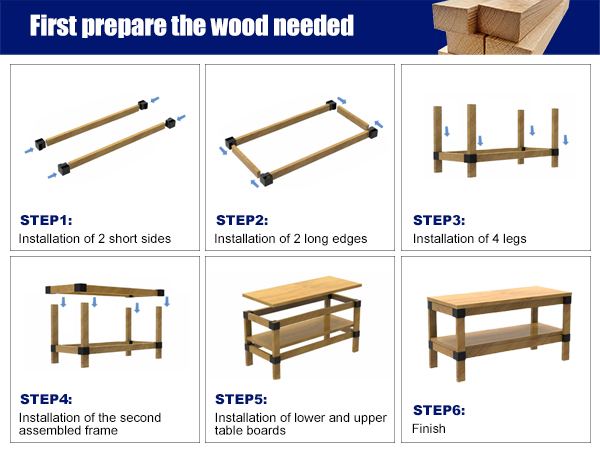
If you'd rather skip the brackets, half-lap joints at the leg-to-rail connections are the strongest wood-only option. Cut a notch halfway through each mating piece so they interlock, glue with Titebond III, and drive 3-inch structural screws through the joint. This is stiffer than butt joints with pocket screws, and it doesn't require any specialized jigs.
Lag screws (3/8-inch diameter, 3 to 4 inches long) are the right fastener for connecting the top to the frame. Pre-drill pilot holes, 15/64 inch for 3/8-inch lags in softwood, and drive them from underneath the frame rails up into the top. Four to six lags per rail is plenty.
Avoid drywall screws for structural connections. They're hardened and brittle, and they snap under shear loads. Use structural screws (GRK, SPAX, or similar) or lag screws for anything load-bearing.
Bench notes: how to tell it's right
Once the bench is assembled, run this test before you mount anything. Stand at the front edge and push down hard with both hands, shifting your weight forward like you're operating a press. Watch the back legs. If they lift off the floor even slightly, you need more cross-bracing or you need to anchor the bench to the wall or floor. Press the front edge side to side. Any lateral movement means the frame is racking; add a diagonal brace on the back panel or bolt the bench to wall studs.
A properly built bench should feel like it's part of the building. If it moves, fix it before you mount a press.
Anchoring the bench
A free-standing bench that isn't anchored to anything will eventually walk across the floor during heavy press operations. You have three options.
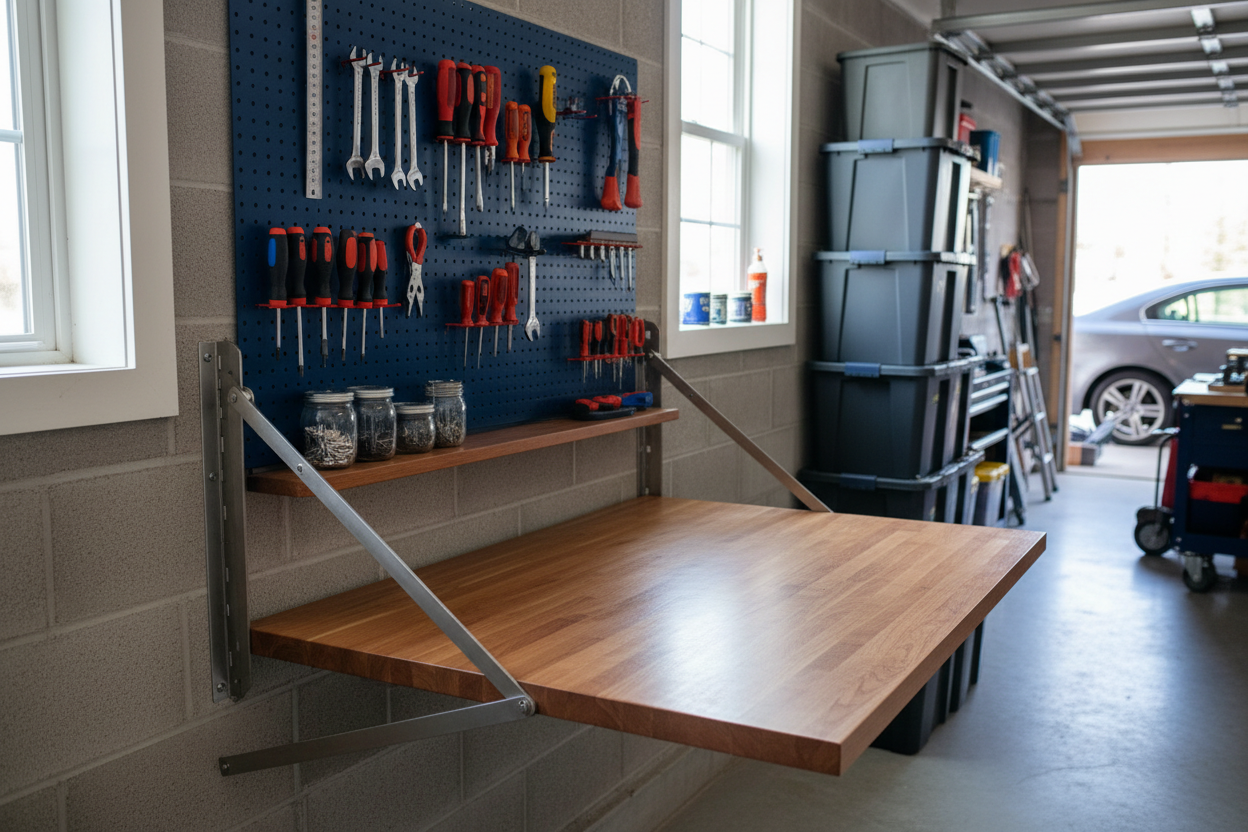
Bolting to wall studs is the easiest. Run 3/8-inch lag screws through the back rail of the bench frame into the wall studs. Two lags per stud, into at least two studs, and the bench isn't going anywhere. This also eliminates the need for back legs entirely if you use a French cleat or ledger board design; mount a 2x6 to the studs, hang the bench frame on it, and support the front with legs only.
Bolting to a concrete floor requires concrete wedge anchors or sleeve anchors. A 3/8-inch wedge anchor into 3 inches of concrete has a pullout strength well over 2,000 pounds; far more than you'll ever generate with a press. Drill through the bench legs into the concrete with a hammer drill and a masonry bit, drop in the anchors, and tighten. Two anchors per leg is sufficient.
If you're renting or don't want to drill into anything, mass is your backup plan. Add a lower shelf and load it with 50-pound bags of sand, lead shot, or just boxes of brass and bullets. A bench that weighs 300+ pounds won't move under normal reloading forces.
Press mounting: the part most people get wrong
Mounting the press directly to a single layer of plywood with the bolts that came in the box is the most common bench mistake in reloading. Those bolts are typically 5/16-inch or 3/8-inch, and they'll pull through thin or soft material under repeated stress.
The reinforcement plate
Cut a piece of 3/8-inch or 1/2-inch steel plate to about 6x8 inches; large enough to span the press mounting holes with at least 2 inches of margin on all sides. Drill the mounting holes to match your press pattern, then bolt the press through the benchtop and through the steel plate underneath. The plate distributes the load across a much wider area and eliminates any chance of the bolts pulling through or the top compressing around the holes.
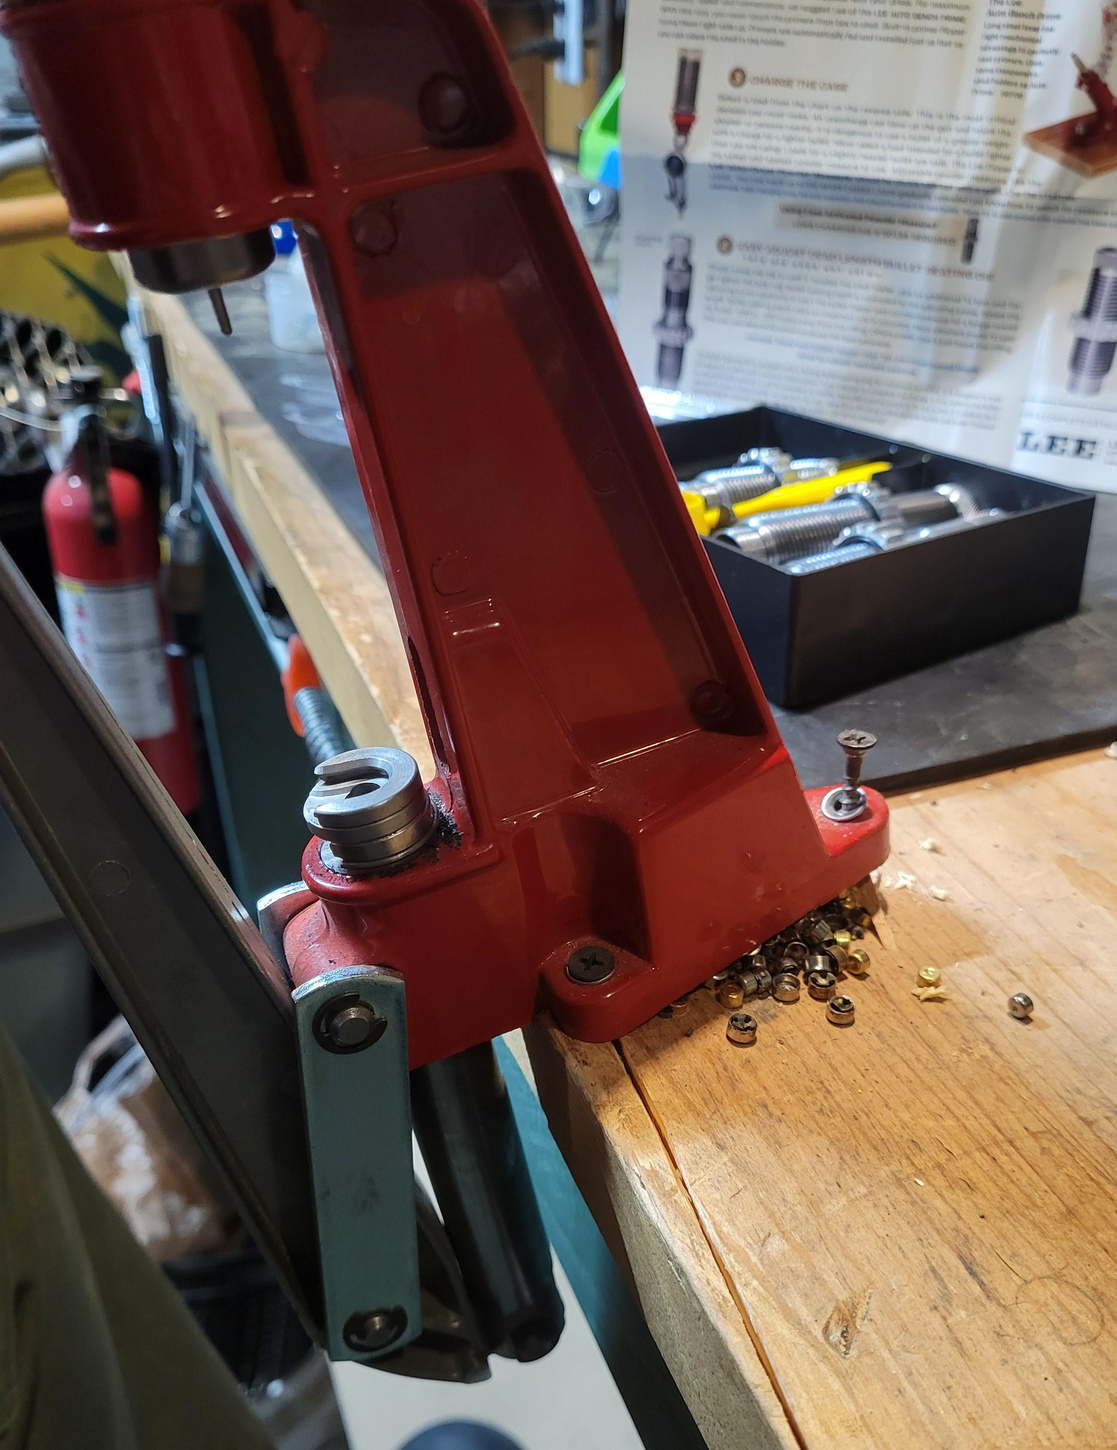
If you don't have access to a drill press and steel plate, a hardwood block (maple or oak, 1 inch thick, 8x10 inches) under the benchtop does a similar job. It's not as rigid as steel but it's a massive improvement over bare plywood.
Quick-change systems
If you run multiple presses or want to swap between a press and a case trimmer, Inline Fabrication's quick-change mounting system is the standard. You mount a base plate permanently to the bench, then each press gets its own riser that drops into the base and locks with a cam lever. Swap time is about 10 seconds. The system adds 3 to 6 inches of height to the press, which can actually improve ergonomics if your bench is on the shorter side.
The alternative is dedicated mounting holes for each press, with bolts stored in the holes when the press isn't mounted. This works but it's slower and you're constantly fishing for hardware.
Mounting position
Mount the press so the handle swings toward you, not side to side. The lever arc should clear the front edge of the bench and your body. Most right-handed reloaders mount the press on the left side of the bench so the right hand operates the lever without crossing over the body. Left-handers reverse this.
The press should sit as close to a leg as possible; ideally directly over one. This puts the load path straight down through the structure instead of cantilevering off the front edge. If you can't position the press over a leg, add a vertical support under the benchtop at the press location.
Common mistakes
Skipping the cross-bracing is the number one structural failure. A rectangular frame with four legs and four rails is a parallelogram waiting to happen. One diagonal brace on the back; a 1x4 running corner to corner, screwed at both ends; eliminates racking almost entirely. Two diagonals forming an X is even better.
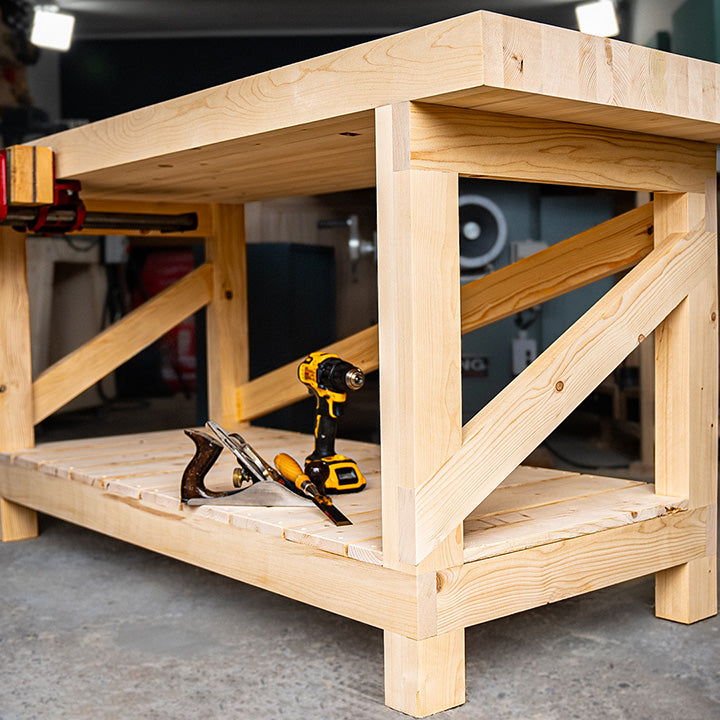
Building too small is the second most common regret. You'll fill a 4-foot bench in a month and wish you'd built 6 feet. If you have the wall space, build bigger than you think you need.
Ignoring the floor is a subtle one. Garage floors aren't level. If the bench rocks on an uneven floor, every measurement and operation on it is compromised. Use adjustable leveling feet (threaded into T-nuts in the bottom of each leg) or shim the legs with composite shims that won't compress over time.
Placing the powder scale next to the press seems logical but creates problems. The vibration from press operations; especially progressive presses; throws off beam scales and can cause electronic scales to drift. Put the scale on the opposite end of the bench, or better yet, on a separate small shelf mounted to the wall studs independently.
Using the bench as general storage turns your reloading space into a junk drawer. Dedicate the benchtop to reloading operations only. Build shelves above or below for component storage, but keep the working surface clear.
Layout for workflow
Reloading is a sequential process, and your bench layout should follow the sequence. For a single-stage operation, the flow moves left to right (or right to left, pick one and commit): dirty brass staging area, press for sizing and depriming, case prep area (trimming, chamfering, primer pocket work), priming station, powder charging and scale, press again for seating, and finished round storage.
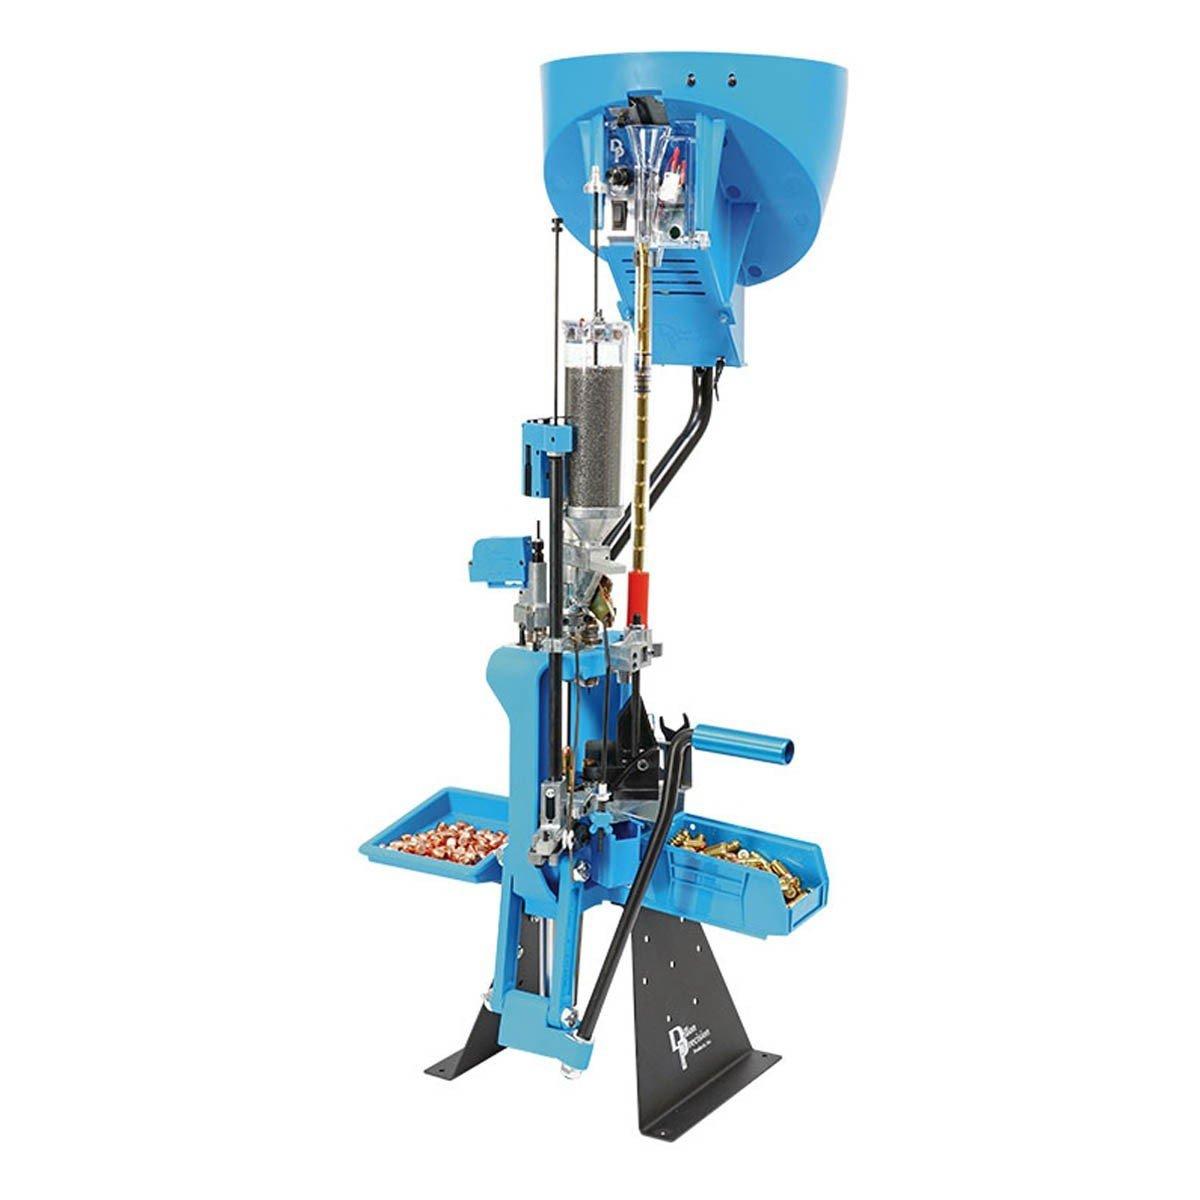
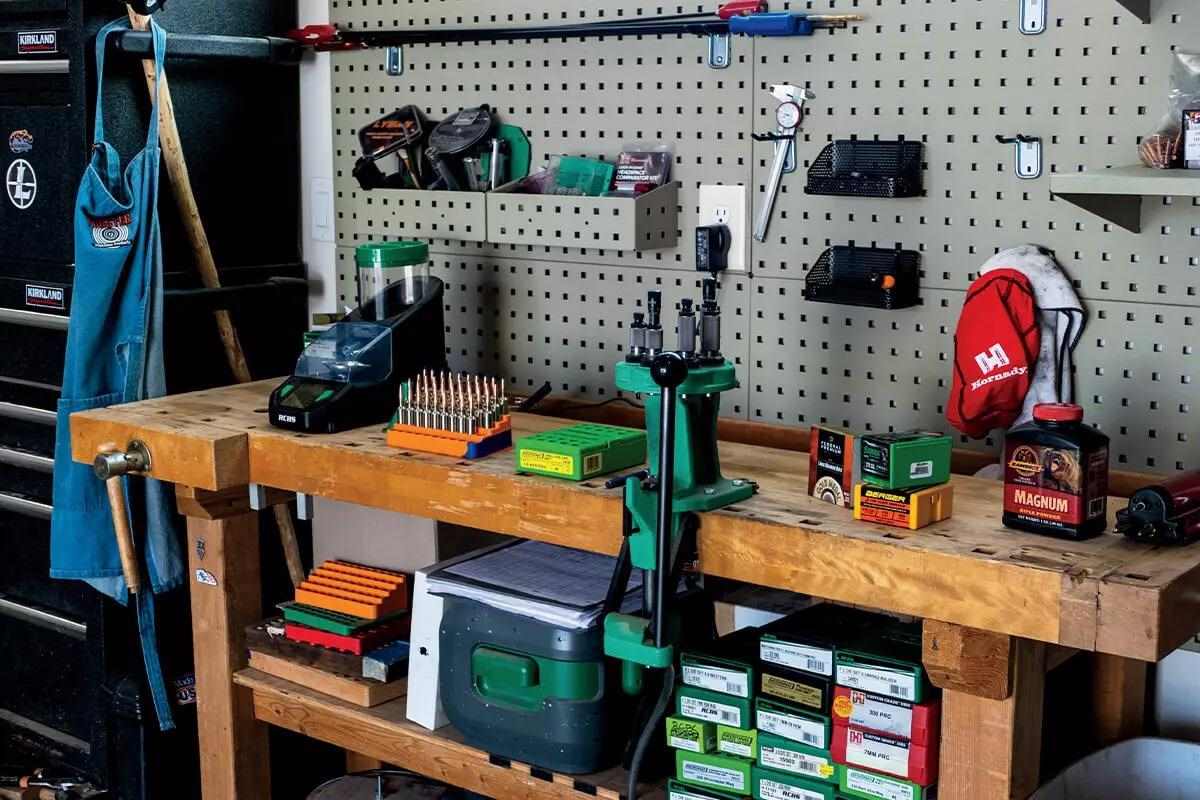
If you're running a progressive press like a Dillon 750 or Hornady Lock-N-Load AP, the press handles most of those steps in one stroke. Your bench layout shifts to: component staging (primers, powder, bullets within arm's reach of the press), the press itself in the center, and a finished-round collection area. Keep the case gauge and calipers right next to the output side so you're checking as you go.
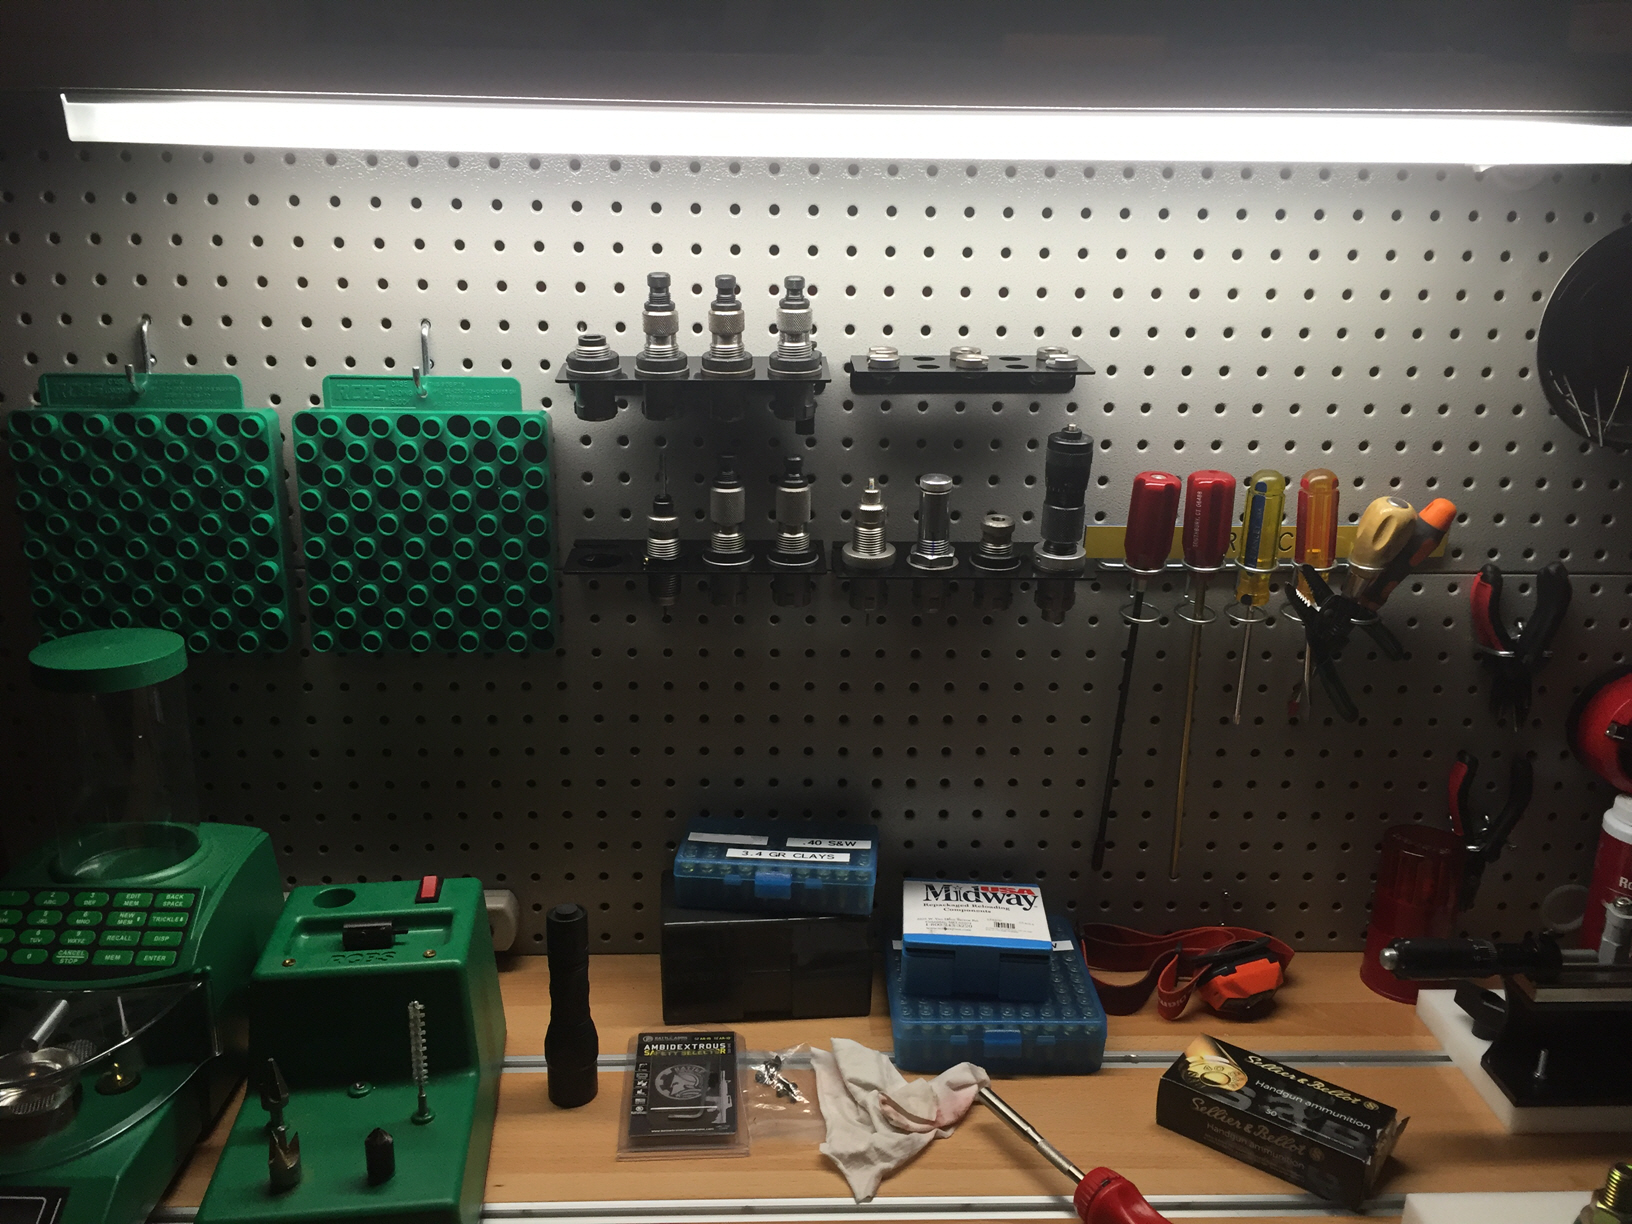
A small shelf or pegboard above the bench keeps dies, shell holders, and tools visible and accessible without eating into benchtop space. Magnetic strips mounted to the wall hold steel tools and small items. Label everything; when you come back to load a different caliber in three months, you don't want to spend 20 minutes finding the right shell holder.
What to do next
Build the frame first, without the top, and test it for rigidity before you commit. Push on it, rack it, lean on it. Fix any movement at this stage; it's easier before the top goes on. Then mount the top, level the bench, and bolt it to the wall or floor.
Before you mount the press, sit at the bench (or stand, depending on your setup) and mime the reloading sequence. Reach for where the powder measure will go. Reach for where the scale will sit. Reach for the loading block. If anything requires you to twist your torso or take a step, rethink the placement. Efficiency in layout translates directly to consistency in output; fewer distractions, fewer mistakes, fewer pulled rounds.
The bench is the one piece of reloading equipment you build once and use for decades. Spend the extra hour on bracing, the extra $15 on a second layer of plywood, and the extra thought on layout. Everything that sits on top of it; every die, every charge, every seated bullet; depends on the surface underneath being solid and still.