
You spent $350 on a red dot sight, mounted it with a $17 piece of mystery metal from Amazon, and now you're chasing zero shifts you can't explain. The mount is the problem. It was always going to be the problem. And yet this keeps happening; experienced shooters who'd never cheap out on a barrel or trigger group will happily bolt their optic to an unbranded aluminum mount because it looks the same as the $80 one.

This isn't a rant about spending more money for the sake of it. Plenty of mid-priced mounts work perfectly well. The issue is the specific failure modes that show up in the sub-$30 bracket; the ones that don't announce themselves with a dramatic crack but instead quietly ruin your data over dozens of range trips. The optic mount is the mechanical bridge between your receiver and your aiming system. When that bridge flexes, shifts, or strips out, everything downstream is garbage. And the cheap stuff fails in ways that are genuinely hard to diagnose if you don't know what to look for.
So here's the case; not for buying the most expensive mount on the market, but for understanding why the cheap ones fail and where the actual floor of acceptable quality sits.
What a mount actually does (and where cheap ones cheat)
An optic mount does three things: it clamps to the rail, it holds the optic at the correct height, and it maintains that relationship under recoil, temperature changes, and the general abuse of being strapped to a thing that generates thousands of Gs at the muzzle end. That's it. Simple job description. The problem is that doing it well requires tighter tolerances than most people realize.
The clamping interface is where cheap mounts fail first. A Picatinny rail slot is 0.206 inches wide with a tolerance of plus or minus 0.003 inches. The cross-bolt or lever that locks into that slot needs to engage squarely and pull the mount down with even pressure. Cheap mounts often have sloppy cross-bolt fits; the bolt rattles in the channel before tightening, which means the mount can settle into slightly different positions every time you remove and reinstall it. That's your return-to-zero gone before you even fire a round.

The second failure point is the material itself. Reputable mounts use 6061-T6 or 7075-T6 aluminum, and they'll tell you which one. The cheap Amazon stuff rarely specifies an alloy. Some of it is cast rather than machined from billet, which introduces porosity; tiny air pockets in the metal that become stress concentrators. You won't see them. They won't matter for the first 500 rounds. Then a screw hole starts to elongate, or a ring cap develops a hairline crack right where it clamps the scope tube, and you're back to chasing phantom zero shifts.
Thread quality is the third area, and honestly the most consequential for the average shooter. Cheap mounts frequently have threads that are cut shallow or slightly off-spec. Torque a screw to the manufacturer's recommended 15-18 inch-pounds and the threads strip. Now you've got a mount with a dead screw hole and a scope that won't stay put. Forum threads on Sniper's Hide and other communities are full of people dealing with stripped base screw holes; and while it sometimes happens with quality hardware, the rate is dramatically higher with budget mounts because the threads just aren't deep or clean enough to handle proper torque specs.
The zero shift nobody can see
Here's the insidious part: a cheap mount that shifts 0.5 MOA doesn't feel broken. At 100 yards, that's a half-inch. Your groups open up from 1.5 MOA to 2 MOA and you blame the ammo, the barrel, your trigger pull, the wind. You adjust your zero, it seems fine, then next week it's off again. You adjust again. This cycle can go on for months.
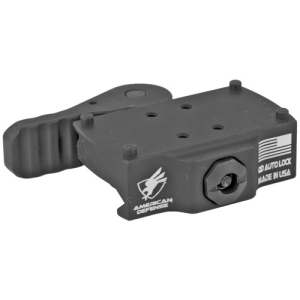
American Defense QD Mount Deals
Prices may change. May contain affiliate links.
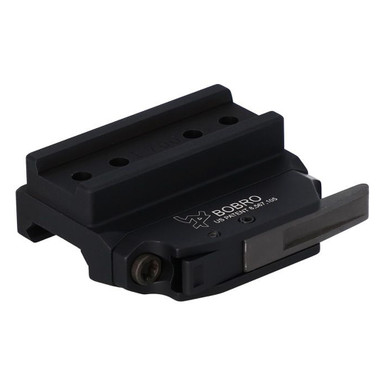
Bobro QD Mount Deals
Prices may change. May contain affiliate links.
The way to actually catch it is boring but effective. Mark your mount's position on the rail with a paint pen or a witness mark on the cross-bolt. Shoot a group, then remove the mount completely, reinstall it, and shoot another group. If point of impact shifts more than about 1 MOA, the mount isn't holding position. Do this three times and you'll have your answer. Most shooters never run this test because they assume the mount is the one constant in their system. With quality hardware, that assumption is correct. With cheap hardware, it's the first thing that should be questioned.

Quick-detach mounts amplify this problem. A good QD mount from American Defense, Scalarworks, or Bobro will return to zero within about 0.5 MOA or better; that's the whole point of the design. A cheap QD lever that doesn't cam to a consistent lockup will scatter your return-to-zero across 2-3 MOA. At that point, the "quick detach" feature is purely decorative. You can take the optic off, sure. You just can't put it back on and trust it.
The comparison that matters
Five mounts, five different price points, five different design philosophies. All currently available, all widely used.
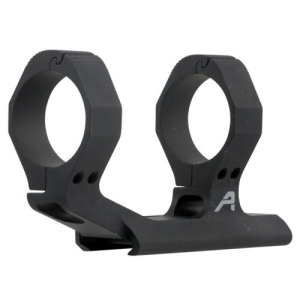
Aero Precision Ultralight 30mm Extended Cantilever Mount Deals
Prices may change. May contain affiliate links.
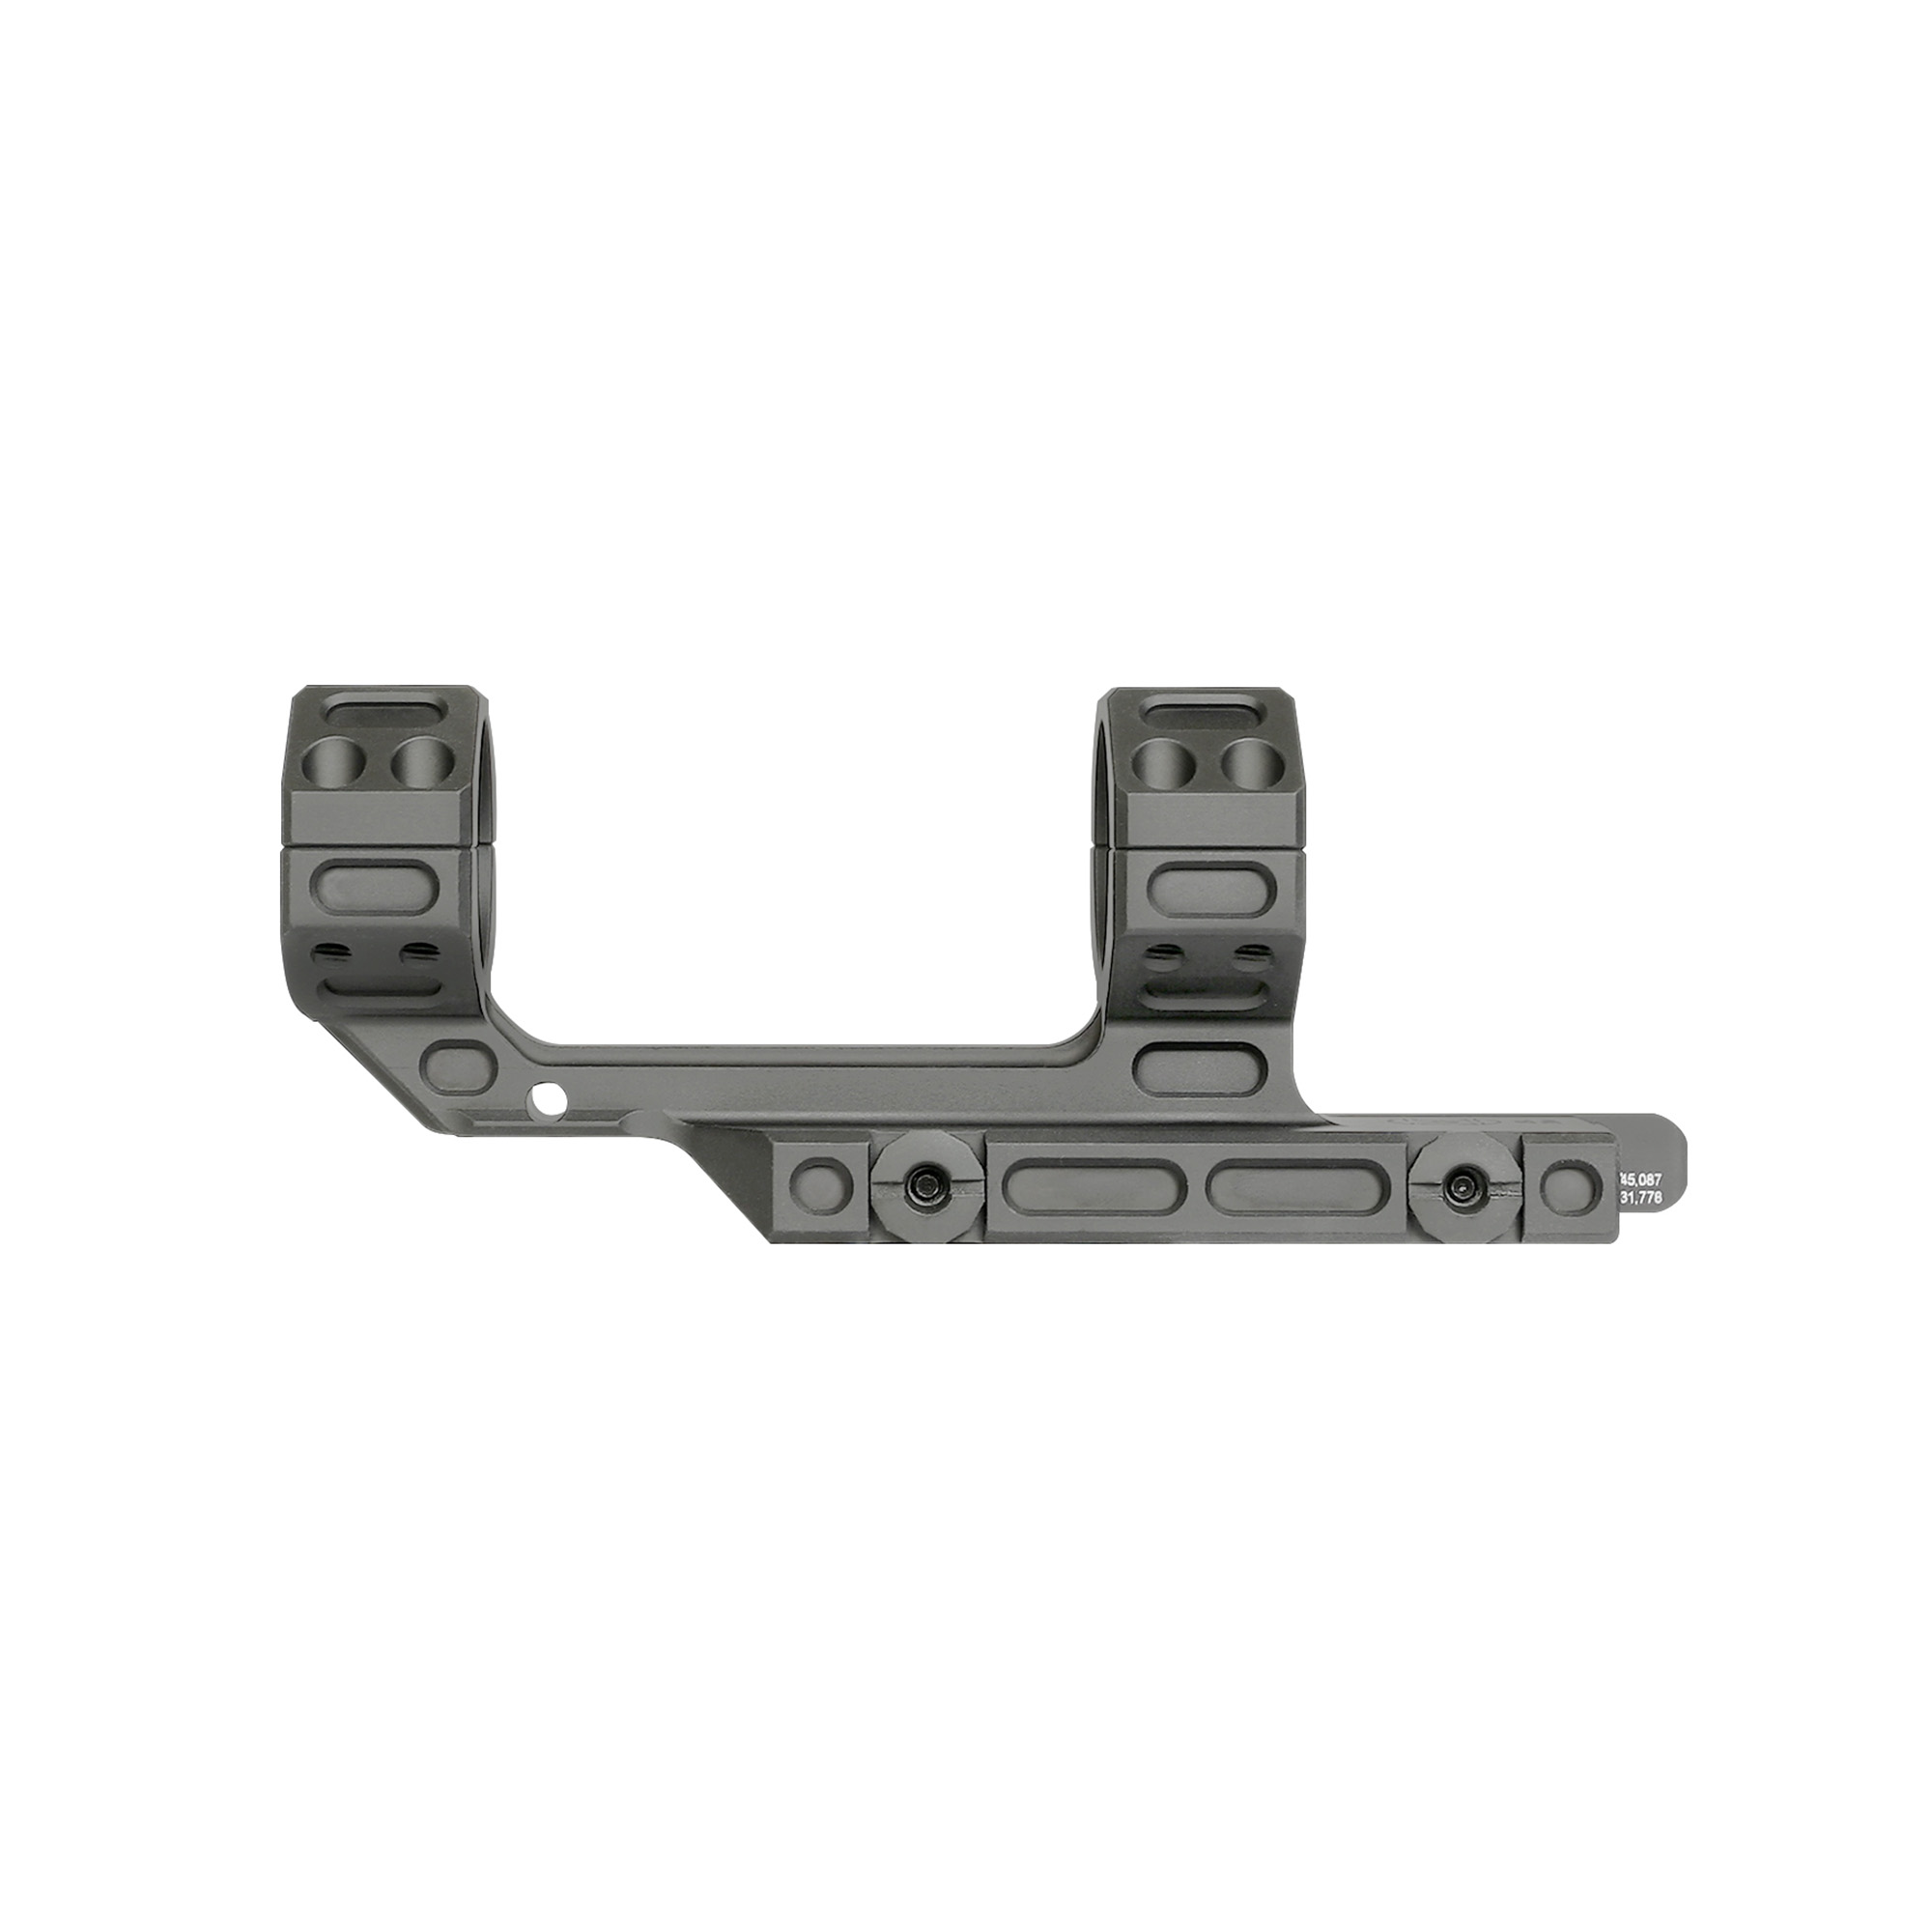
Midwest Industries QD Mount Deals
Prices may change. May contain affiliate links.
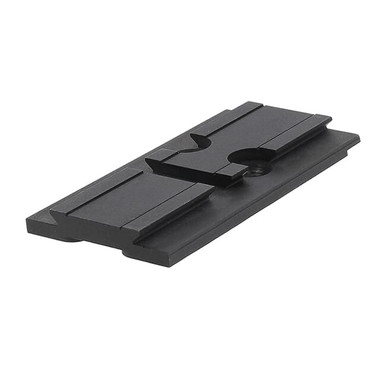
Aimpoint ACRO Mount Deals
Prices may change. May contain affiliate links.
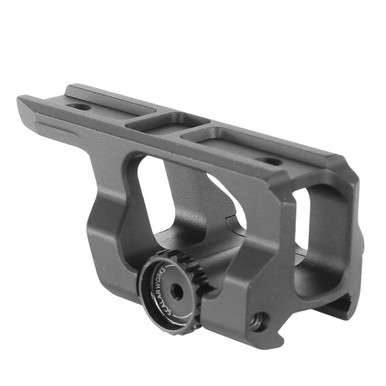
Scalarworks LEAP Mount Series Deals
Prices may change. May contain affiliate links.
The Aero Precision Ultralight sits around the entry-level price point for mounts that are actually worth using. It's a 30mm extended cantilever made from 6061-T6 with a lightweight skeletonized design. The clamping system is basic; four-bolt ring caps with a cross-bolt rail attachment; but the tolerances are correct and the threads hold up to proper torque. It won't win durability awards if you're doing three-gun in the mud every weekend, but for a range rifle or a hunting setup that lives in a case, it does the job without the failure modes of the sub-$30 bracket.
The Midwest Industries QD mount represents the middle ground. Machined from 7075-T6, it uses a single-lever QD system with an adjustable cam that lets you tune the lockup to your specific rail. Return-to-zero is reliable enough that you can actually use the QD feature as intended. The fit and finish is noticeably tighter than anything in the budget bracket; ring halves close evenly, screws engage cleanly, and the whole thing feels like one piece when it's torqued down.

The Badger Ordnance Condition One is where you start paying for modularity and bomb-proof construction. The 34mm unimount is machined from a single piece of 7075-T6, and the design accepts accessory plates on top; you can add an offset red dot, a J-arm for a micro sight, or an Aimpoint ACRO mount without drilling or modifying anything. At 1.70-inch height, it's set up for heads-up shooting with modern stocks. The Condition One is heavy and expensive, but it's the kind of mount that outlasts multiple optics and rifles.
The Scalarworks LEAP series takes a different approach entirely. Instead of cross-bolts or lever-lock systems, Scalarworks uses a proprietary clamping mechanism with captive hardware; nothing to lose, nothing to cross-thread. The LEAP mounts are remarkably light for their strength, and they're some of the most consistently praised mounts for return-to-zero performance. The downside is that they're purpose-built for specific optic footprints, so you're not getting a universal solution.
Then there's the no-name Amazon mount. You know the one; black anodized, vaguely tactical-looking, ships in a plastic bag with a hex key that feels like it was stamped from a tin can. On the surface, it looks like the Aero Precision. Same general shape, same number of screws, same Picatinny interface. The difference is in every dimension you can't see from a product photo: thread depth, bore concentricity, clamp surface flatness, anodize thickness. Those invisible differences are the entire reason one mount holds zero and the other doesn't.

Fit and feel: what you'll notice
Pick up a Midwest Industries or Badger Ordnance mount and set it on a rail without tightening anything. It should sit flat, with minimal rock. The cross-bolt or lever should engage the Picatinny slot with very little side-to-side play before you snug it down. Tightening should feel progressive; you're drawing metal against metal, not chasing a bolt through slop until it finally catches.
Now do the same thing with a cheap mount. You'll often feel the mount shift or tilt slightly as you tighten, because the mating surfaces aren't flat enough to self-align. The cross-bolt might bottom out before the mount feels fully locked, or the lever might cam over with a gritty, inconsistent feel. These are the tactile warnings. If the mount doesn't feel precise going on, it won't be precise under recoil.
Ring concentricity matters too, especially for magnified optics. If the top and bottom ring halves don't form a true circle when torqued, they'll put uneven pressure on the scope tube. Best case, you get a stress mark on the tube. Worst case, you get an internal shift in the erector assembly; the optic's zero changes because the guts moved, and now you've got a warranty claim on a scope that was fine until you mounted it wrong. Lapping rings is a partial fix, but it's a band-aid on a manufacturing problem that shouldn't exist.
Mistakes that keep showing up
Skipping a torque wrench is the most common one. Every mount manufacturer publishes torque specs for a reason. Ring cap screws on most 30mm mounts want 15-18 inch-pounds. Rail clamp bolts are usually 25-35 inch-pounds. Those numbers sound low, and they are; that's the point. Aluminum threads strip easily when over-torqued, and the clamping force at spec is more than sufficient. A basic inch-pound torque wrench costs less than a box of match ammo. Use one.

Arisaka Defense Optic Leveler Deals
Prices may change. May contain affiliate links.

Using the wrong thread locker is surprisingly common too. Blue Loctite 242 is the standard for optic mount screws; it's medium-strength and removable with hand tools. Red Loctite is permanent and requires heat to break. Vibra-Tite VC-3 is another option that works well and is easier to apply cleanly, especially on small screws. The debates on this get surprisingly heated in long-range communities, but the actual answer is simple: use something, make sure it's the removable kind, and let it cure before you shoot.
Mounting an optic on a rail that bridges the upper receiver and the handguard is a classic error. The handguard flexes independently of the receiver. If your mount spans that junction, your zero will shift every time the handguard takes a load; from a sling, a barricade, a bipod, your support hand. The entire optic and mount system should sit on the receiver only, unless you're running a monolithic upper where the rail and receiver are one piece.
Not leveling the optic is the last one worth mentioning. A scope that's canted even two degrees will introduce tracking errors at distance; your turret adjustments won't move the point of impact straight up, they'll move it up and to the side. An Arisaka Defense Optic Leveler or similar tool takes five minutes to use and eliminates this variable completely. Eyeballing it is not as accurate as people think.
Where the actual price floor sits
The question everyone asks: how cheap is too cheap? The honest answer is somewhere around $40-60 for a basic fixed mount, and $80-120 for a QD mount. Below those numbers, the compromises start showing up in material quality, thread integrity, and machining tolerances. Above those numbers, you're paying for incremental improvements in weight, modularity, and durability; real improvements, but ones that matter more to hard-use shooters than to someone putting a red dot on a home defense carbine.
Holosun Red Dot Deals
Prices may change. May contain affiliate links.
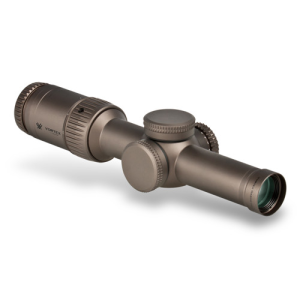
Vortex Razor Scope Deals
Prices may change. May contain affiliate links.
The gap between a $17 Amazon mount and a $50 Aero Precision isn't $33. It's the difference between a mount that might work and a mount that will work. That $33 buys you specified aluminum alloy, properly cut threads, flat mating surfaces, and a company that will actually answer the phone if something goes wrong. The gap between $50 and $150 is meaningful but less dramatic; you're getting harder alloy, tighter QD lockup, better anodize, and usually a more thoughtful clamping design. The gap between $150 and $350 is where you're buying modularity, extreme durability, and the kind of tolerances that matter for precision rifle work at distance.
Nobody needs a Badger Ordnance Condition One to mount a Holosun on a range toy. But nobody should be mounting a Vortex Razor on a mystery-metal clamp either. Match the mount to the optic and the use case, and stop treating the mount as the one place in the system where you can cut corners.
What to do with this information
If you've already got a cheap mount on a rifle, run the witness-mark test described above. Remove the mount, reinstall it, check for point-of-impact shift. Do it three times. If it's consistent within 1 MOA, you got lucky; ride it until it gives you a reason not to. If it's scattering, replace the mount before you burn another hundred rounds trying to diagnose a problem that isn't the ammo, the barrel, or your fundamentals.
If you're buying new, spend the extra money on the mount and; if budget is tight; drop one tier on the optic instead. A $200 red dot on a solid mount will outperform a $350 red dot on a mount that shifts. That's not intuitive, but it's true. The optic can only be as good as the platform it's sitting on.

Run a torque wrench on every screw. Apply thread locker. Level the optic. Mark your mount position. These are five-minute tasks that eliminate entire categories of problems. The mount is the most boring part of the optic setup, and that's exactly why people get it wrong; they rush through the boring part to get to the fun part, and then the fun part doesn't work right. Slow down on the mount. Everything else gets better when you do.