
Stop guessing; how to actually run a shot timer practice session
You bought a shot timer. Maybe you've hit the buzzer a few times, run a drill or two, then stuffed it back in your range bag. That's how most people use them; as an expensive novelty instead of the single most important diagnostic tool you can own.
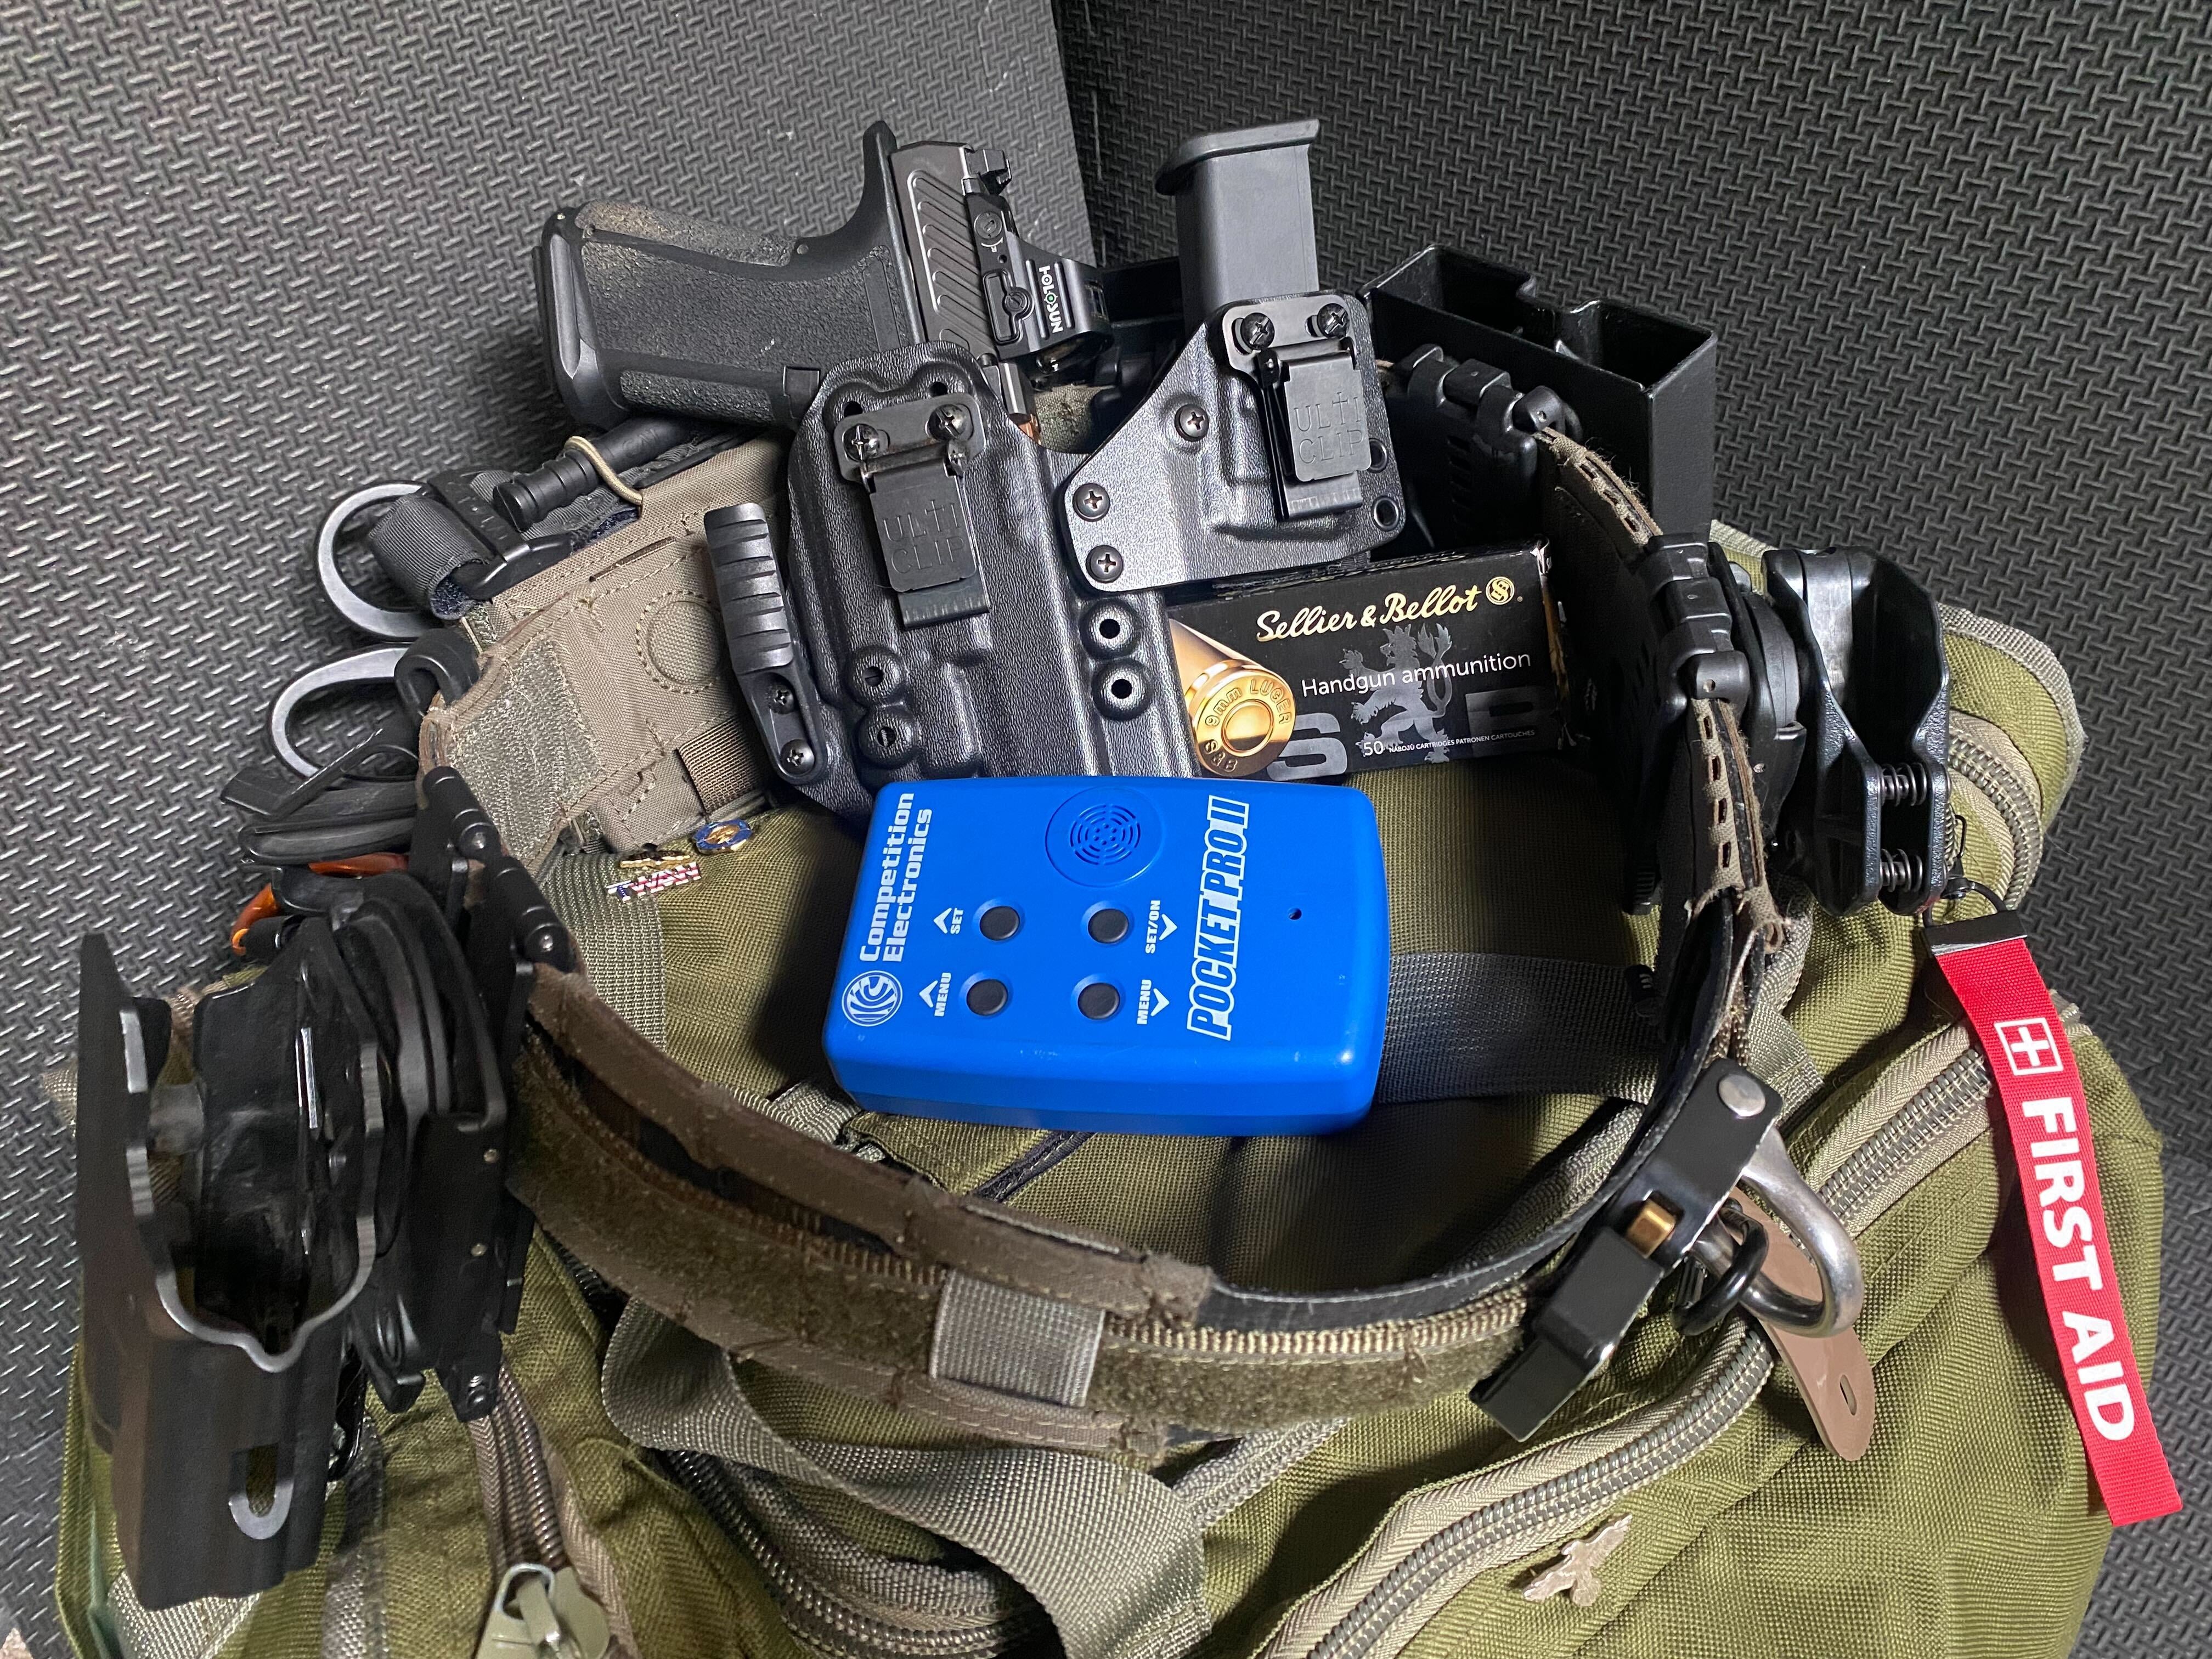
Here's the thing: a shot timer doesn't make you faster. It makes you honest. And honesty is where improvement starts. The gap between "I think my draw is about 1.5 seconds" and what the timer actually reads is usually humbling. That's the point.
Sellier and Bellot handgun ammunition Deals
Prices may change. May contain affiliate links.
This piece covers everything you need to run structured, productive shot timer sessions, at the range and in dry fire. Setup, settings, common modes, how to build a session plan, what to track, and the mistakes that turn timed practice into an ego trip instead of a training tool. If you already own a timer and just haven't figured out how to squeeze real value from it, start here.
Picking the right timer (without overthinking it)
There are three categories: dedicated hardware timers, phone apps, and smart timers that bridge the gap. Each has trade-offs, and the right choice depends on where and how you train.
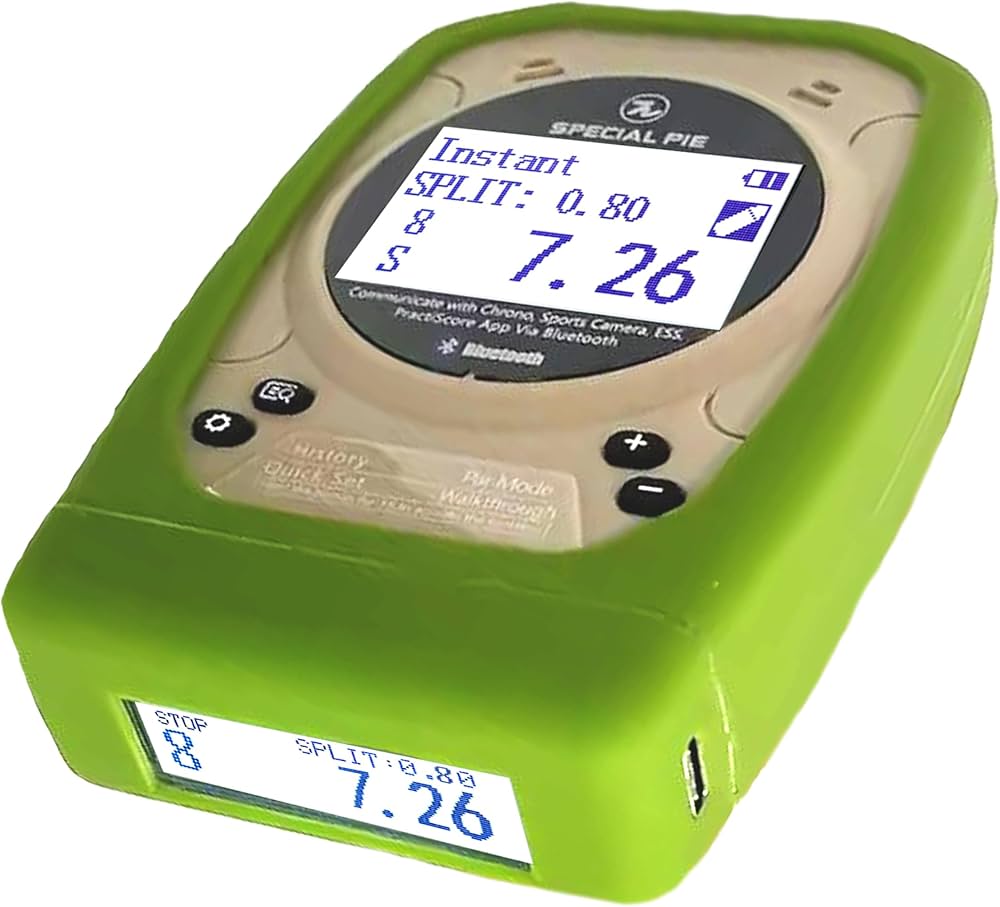
Dedicated hardware timers like the Competition Electronics Pocket Pro II, the PACT Club Timer, and the CED7000 have been the standard for decades. They're loud, they're reliable in outdoor environments, and their shot detection works consistently with live fire. The Pocket Pro II runs around $130 and handles par time, review mode, and split tracking without any learning curve. The CED7000 sits a bit higher in price but packs more memory and a bigger display. These are the timers you'll see on every competition stage and in every serious training class.
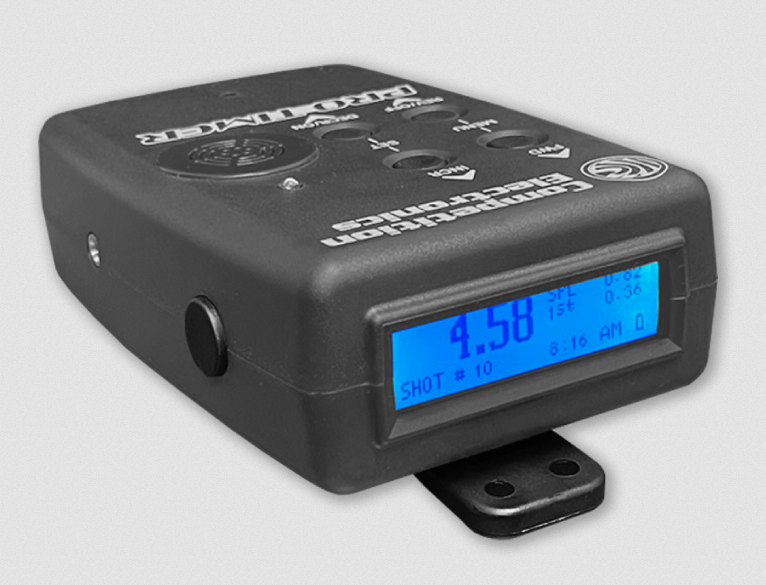
The Shooters Global SG Timer 2 is a newer option that connects to your phone via Bluetooth. It records shots, logs your session data, and handles dry fire detection, which most old-school hardware timers can't do. It runs around $150 and has earned solid reviews for both live and dry fire use. If you want one device that covers everything, it's worth a look.
Phone apps like the free Shot Timer by IPSC or PlinkPal work in a pinch. They use your phone's microphone to detect shots, which means they're sensitive to background noise and generally unreliable outdoors or on a busy range. For solo dry fire at home, though, they're surprisingly functional. Some apps can detect the click of a striker or the snap of a trigger reset if you adjust the sensitivity settings. Free is free, just understand the limitations.
Don't let the gear decision stall you. A $10 phone app running a par time beep is infinitely better than no timer at all. The beep is what matters. It creates urgency, and urgency reveals your weaknesses.
Understanding the modes
Most timers have the same core modes, even if they label them differently. You need to understand three of them.
Go mode (standard / comstock)
Hit start. The buzzer goes off after a random delay (usually adjustable between 1 and 4 seconds). The timer listens for shots and records each one with a timestamp. When you're done, you can scroll through to see your total time, individual split times (time between consecutive shots), and total number of shots detected.
This is your default mode for live fire. Draw drills, Bill Drills, transitions, anything where you want to know how long the whole string took and what happened between each shot.
Par time mode
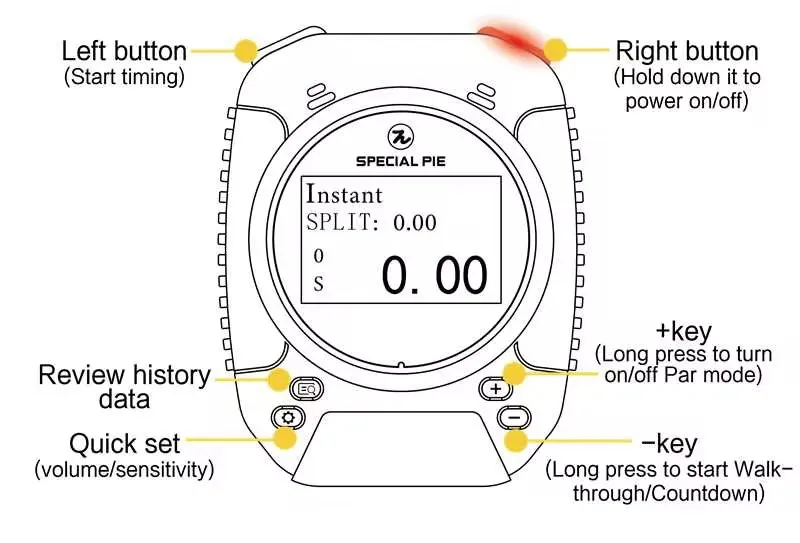
You set a specific time window. The buzzer beeps to start, then beeps again when your par time expires. The timer may or may not record shots in between, depending on the model, but the point is the second beep. You're racing the clock.
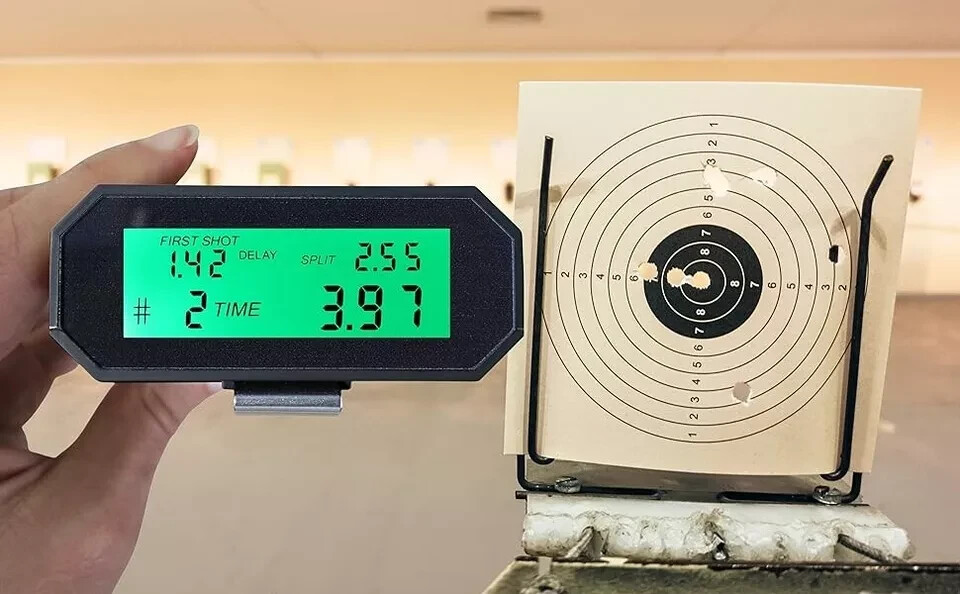
This is the money mode for skill building. Set a par time for your draw-to-first-shot, and you know instantly whether you beat it. No need to look at a screen. You either finished before the second beep or you didn't. That binary feedback, made it or didn't, is powerful. It's also the primary mode for dry fire, since many timers can't detect a dry trigger click but can still give you a start and stop signal.
Delayed start / random delay
Not a separate mode on most timers, but a setting within Go or Par mode. The delay between pressing start and hearing the buzzer is randomized within a range you set. This prevents you from anticipating the beep and gaming your own reaction time. Always use a random delay. A fixed delay teaches you to count, not to react.
Some timers also have a review mode that lets you scroll back through previous strings. Use it. Comparing your first cold string to your tenth warm string tells you something about consistency and fatigue.
Setting up for a live fire session
Sensitivity
Every hardware timer has a sensitivity dial or setting. Too high, and it picks up the shooter three bays over. Too low, and it misses your shots. The right setting depends on your caliber, your distance from the timer, and ambient noise.
Start with sensitivity at about 60-70% and fire a few shots. Check if the timer caught all of them. If it's registering extra shots from neighboring shooters, dial it down. If it's missing your shots, crank it up. Suppressed guns and .22 LR often need the sensitivity maxed out. Unsuppressed 9mm at arm's length rarely needs more than medium.
Clip the timer to your belt on your non-dominant side, or set it on the bench beside you. Closer to the muzzle means better detection. Don't put it behind you, the microphone needs to be in the path of the sound.
Random delay
Set it between 2 and 3 seconds. Some people use 1 to 4 seconds for more variation. The wider the range, the less you can anticipate the beep. Two to three seconds is enough to keep you honest without making you stand there forever on a hot range.
Par time starting point
If you don't know your baseline, don't set a par time yet. Run three to five strings in Go mode first. Look at your average. Then set your par time slightly faster than that average, maybe a tenth or two tenths of a second faster. That's your target. When you can hit it clean three out of five times, tighten it again.
Buzzer volume
Outdoor ranges are loud. Wind, other shooters, ear protection, all of it works against you hearing a timer beep. Turn the volume to maximum unless you're indoors. Even indoors with electronic ear pro, you want it loud enough that you don't have to strain. The beep should hit you like a stimulus, not a suggestion.
Setting up for dry fire
Dry fire with a timer is where most of your improvement will actually happen. The reps are free, the feedback loop is tight, and you can train every day without burning ammo or driving to the range.
The challenge is shot detection. Most hardware timers are designed to pick up gunshots, not the faint click of a striker dropping on an empty chamber. The Pocket Pro II, for example, won't reliably detect dry fire clicks. You've got a few options.
Par time mode solves most of the problem. You don't need the timer to hear your click, you just need the start beep and the par beep. Set your par time, react to the first beep, and evaluate whether you completed the action before the second beep. For draw-to-first-shot, trigger press drills, and reload drills, this works perfectly.
The Shooters Global SG Timer 2 and some phone apps can actually detect dry fire clicks if you adjust sensitivity high enough and train in a quiet room. The SG Timer 2 was specifically designed for this. If dry fire is a major part of your training (and it should be), this capability is worth paying for.
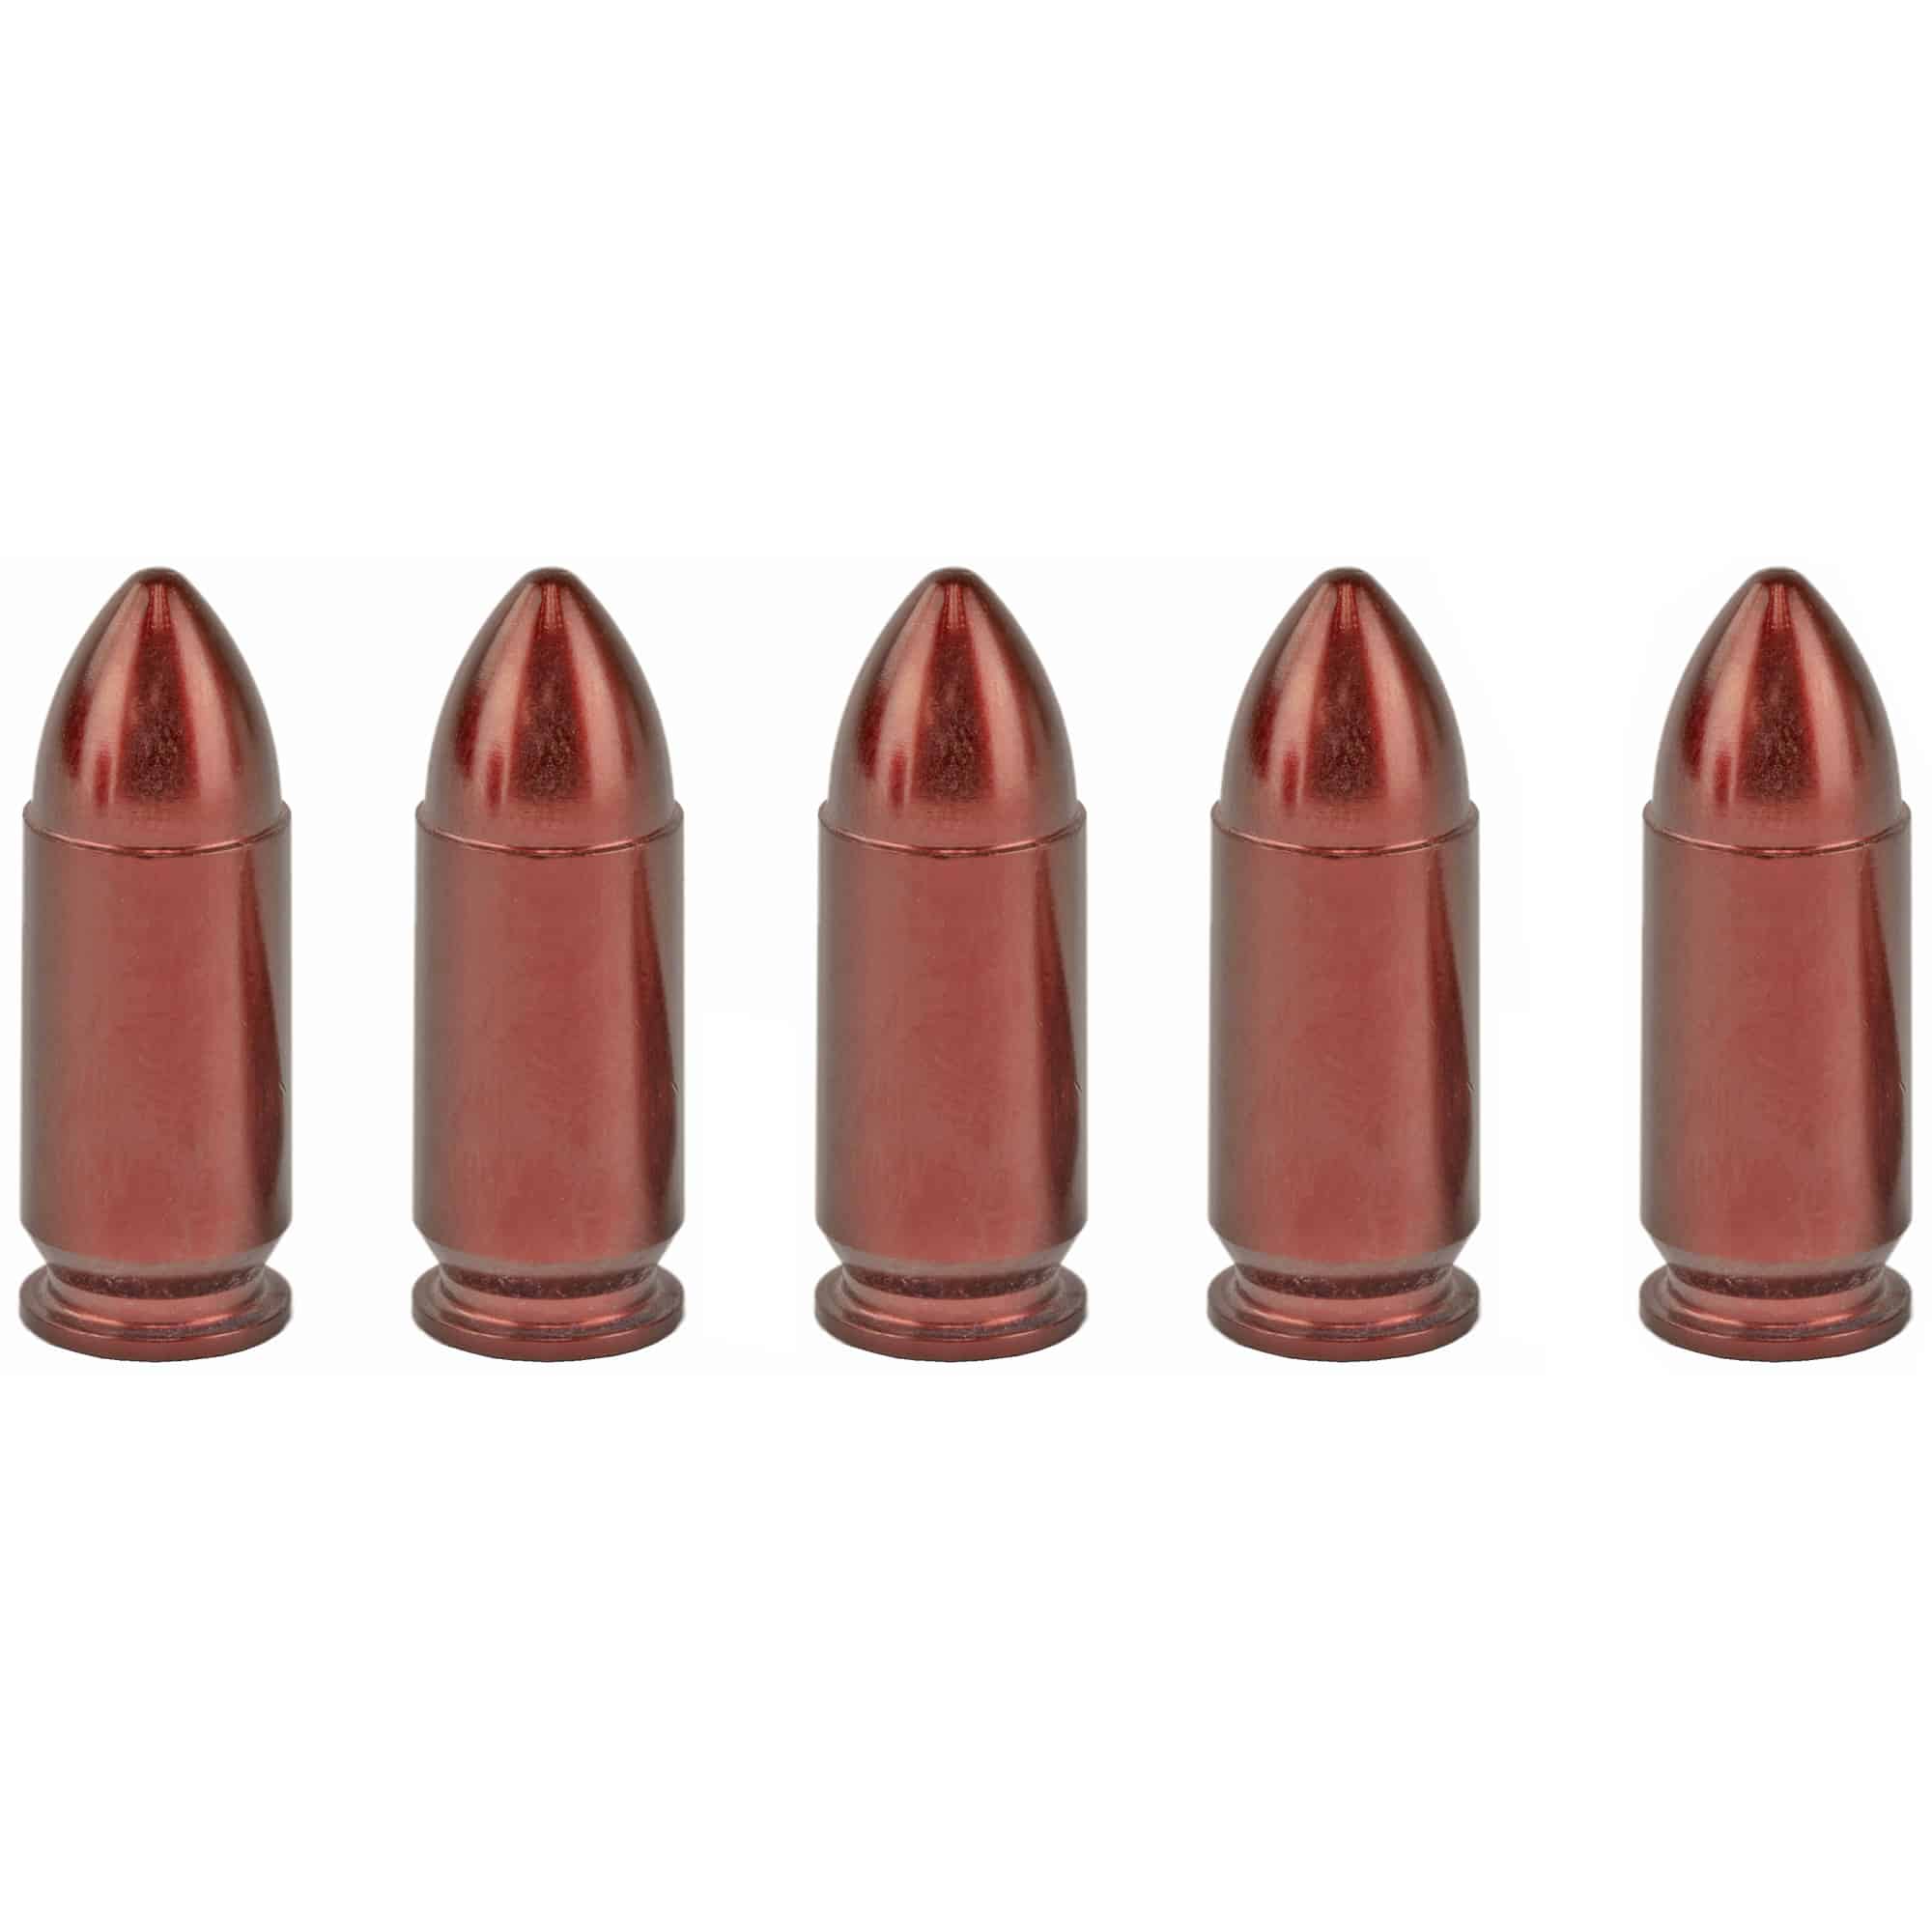
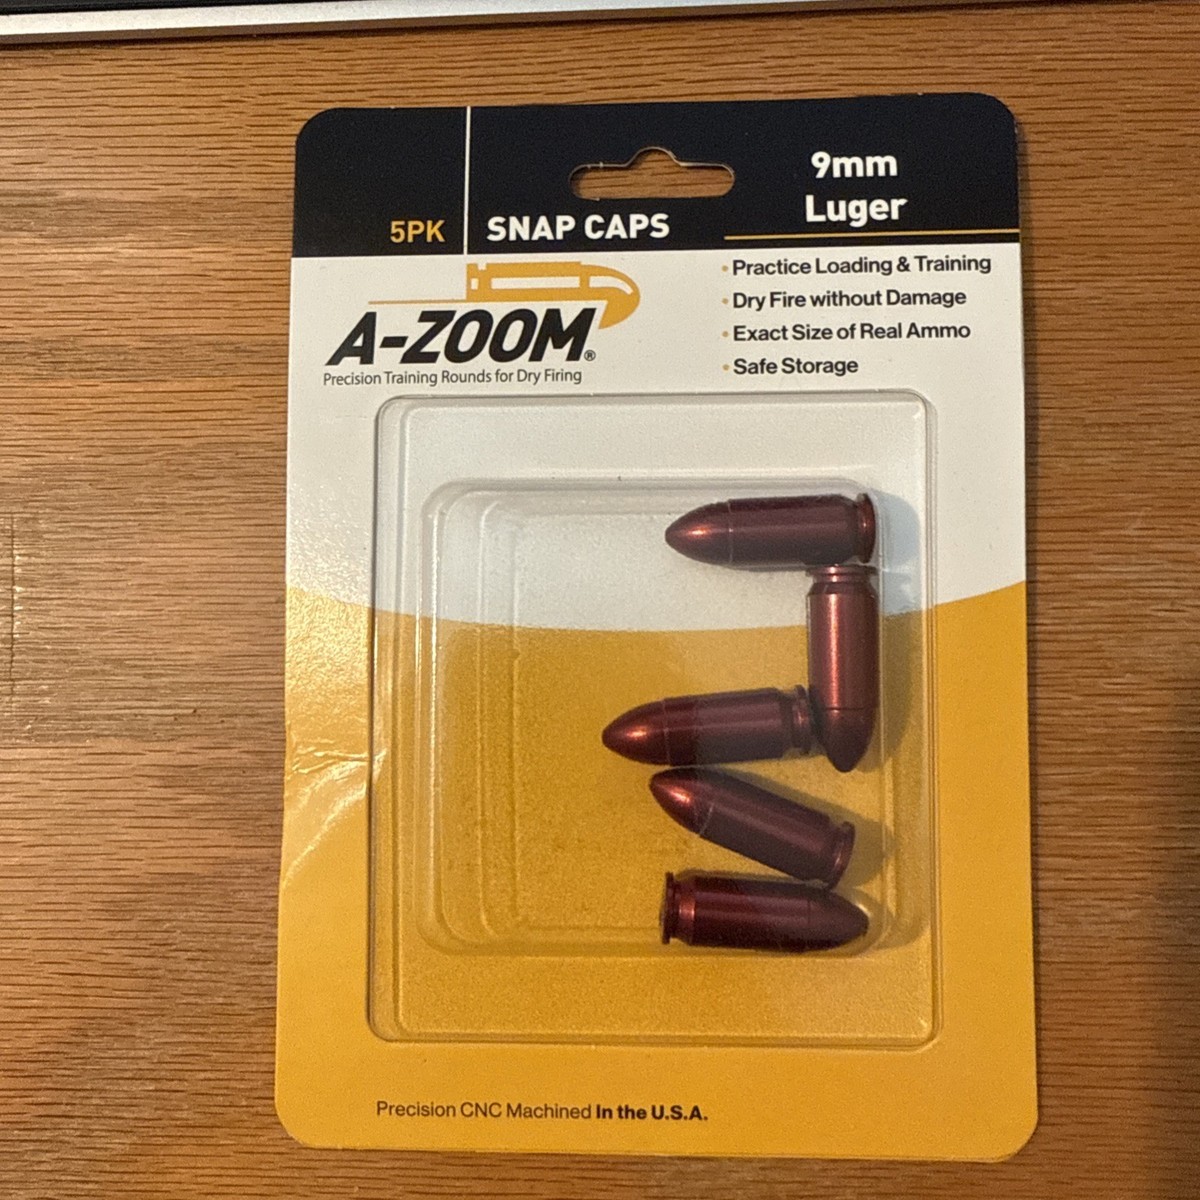
Snap caps or dummy rounds keep your firing pin healthy during extended dry fire sessions, depending on your platform. Check your manufacturer's recommendation. Most modern striker-fired pistols handle dry fire without snap caps just fine, but it's cheap insurance.
Dry fire notes
Set up a consistent dry fire station. Same spot in your house, same target on the wall (a 3x5 index card at roughly 5 yards works), same starting position. Consistency in your environment lets you isolate variables in your performance. If your draw time jumps half a second, you know it's you, not a different setup.
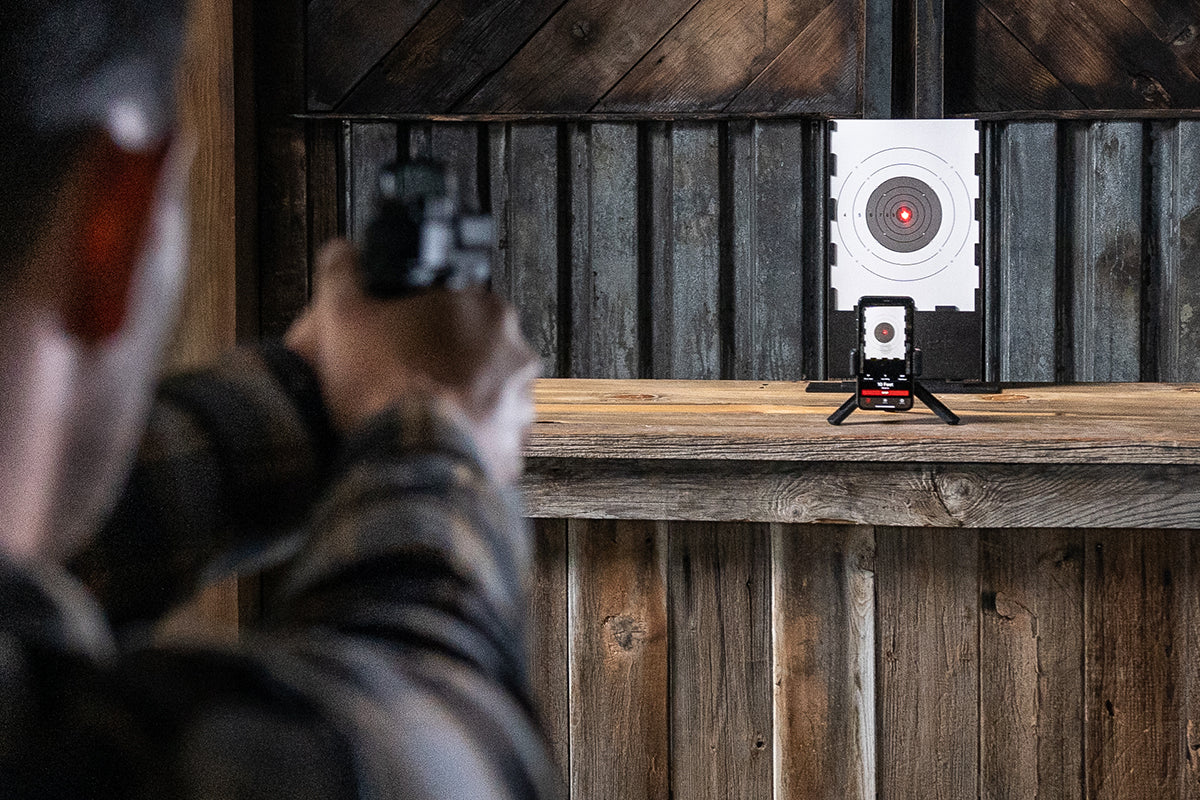
Run 10-15 minutes, not an hour. Short, focused sessions with full concentration beat long sessions where your mind wanders by minute twenty. Ben Stoeger's dry fire programming follows this principle: 15 minutes of deliberate work, every day, with specific drills and par times. That daily consistency compounds faster than a weekly marathon.
Building a session plan
This is where most people fail. They show up to the range, load magazines, and start blasting. No plan, no standards, no way to measure whether they got better or worse. The timer sits in the bag or beeps randomly with no structure behind it.
A good session plan has three elements: a specific skill to work on, a drill that isolates that skill, and a standard to measure against.
The cold start
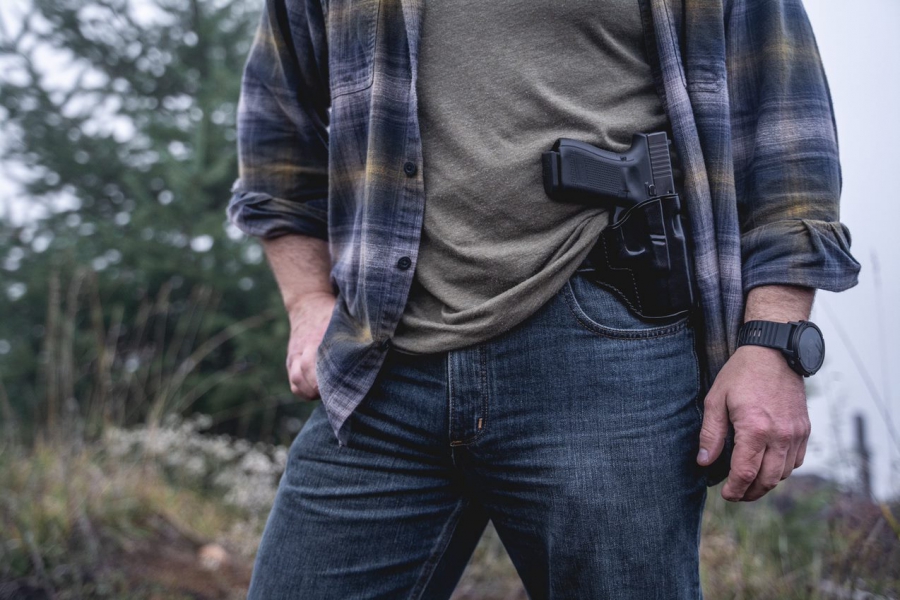
Every session, live or dry, should start with one cold rep. No warm-up. Draw and fire one shot on a target at a set distance. Record the time and note the hit. This is your most honest data point. It's the rep that simulates a real-world need: you don't get warm-up reps when it matters.
Run this on a 3x5 index card at 7 yards. The standard for a competent concealed carrier is a draw to one hit on that card under 2.0 seconds from concealment. Most shooters can't do it cold. That's fine, now you have a number to chase.
Warm-up block
After the cold rep, run 5-10 reps of the same drill at a comfortable pace. Don't push speed yet. Focus on the mechanics: grip establishment, sight acquisition, trigger press. Use par time mode set about half a second slower than your goal. Every rep should be a hit. If you're missing, slow down further.
Work block
This is the meat of the session. Pick one drill and run it 10-20 times with a par time that challenges you. You should be making about 70-80% of your reps cleanly. If you're hitting 100%, the par time is too generous. If you're below 50%, you're pushing speed past what your mechanics can support, and you're just practicing failure.
Here's a sample work block for draw-to-first-shot:
- Target: 8-inch circle (or a standard USPSA A-zone) at 7 yards
- Start: hands at sides or from concealment
- Par time: your current average minus 0.2 seconds
- Reps: 15
- Passing standard: 12 out of 15 reps completed before the par beep with hits inside the target area
A-Zoom 9mm Luger snap caps Deals
Prices may change. May contain affiliate links.
Track your hit rate and note any misses. Low and left? That's trigger jerk under time pressure. High? You're likely prepping the trigger before the sights settle. The timer doesn't just tell you how fast you are, combined with shot placement, it tells you what's breaking down.
Cool-down
End with 3-5 reps at a comfortable pace, focusing on perfect execution. This isn't about speed. It's about ending the session with clean reps so your last repetitions reinforce good mechanics rather than sloppy ones.
The drill: timed bill drill diagnostic
This is the single best live fire diagnostic you can run with a timer. It tests draw speed, recoil management, split times, and the ability to maintain accuracy under sustained fire.
Setup
- Target: USPSA paper target or an 8-inch circle at 7 yards
- Round count: 6 rounds per string
- Start position: hands relaxed at sides (or from concealment if that's your focus)
- Timer mode: Go mode with 2-3 second random delay
Execution
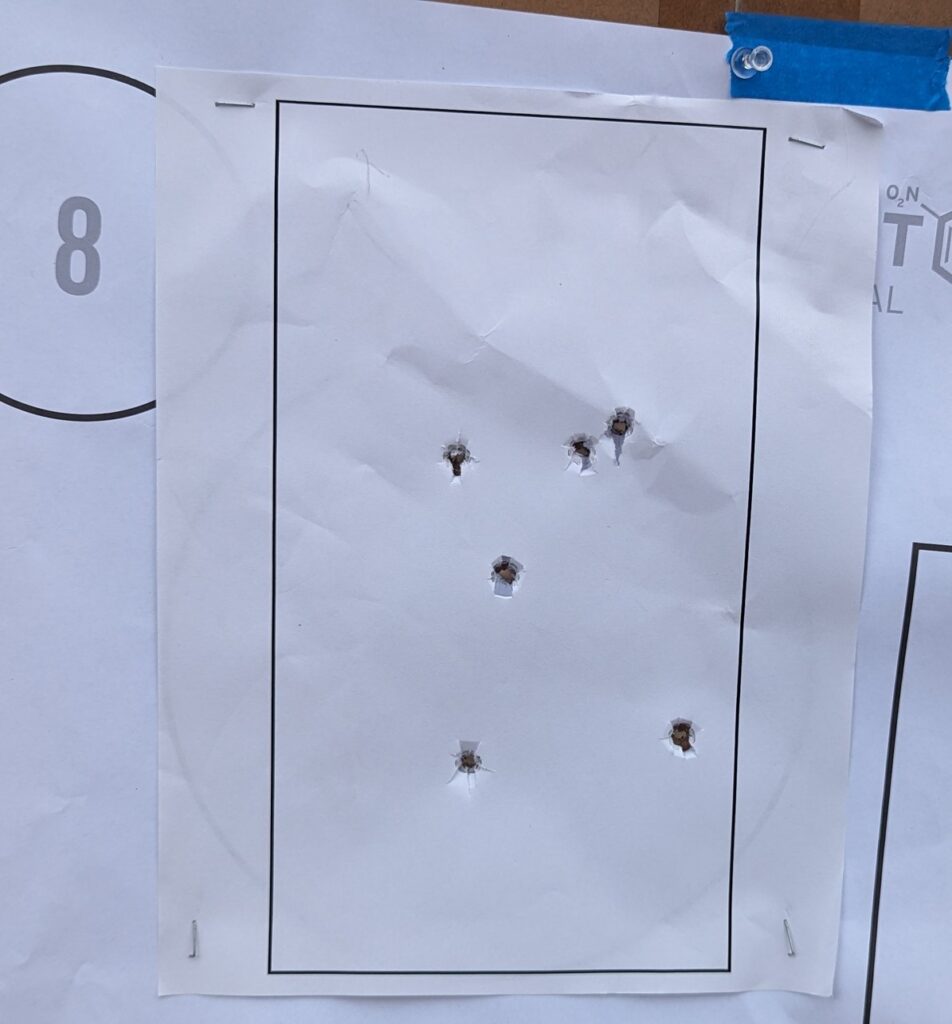
On the buzzer, draw and fire 6 rounds at the target as fast as you can keep all hits in the scoring zone. Run 5 strings. That's 30 rounds total.
What to look at
Your total time for each string tells you the headline number, but the splits tell the real story. After each string, scroll through the timer to see your draw-to-first-shot time and each split between subsequent shots.
A solid benchmark for a practiced shooter with a full-size 9mm: total time under 3.0 seconds with all hits in the A-zone. That breaks down roughly to a 1.3-1.5 second draw and splits around 0.25-0.35 seconds between shots. For shooters carrying from concealment with a compact gun, add half a second to a full second to the total.
If your draw is slow but your splits are fast, your presentation needs work, the timer just told you where to focus. If your draw is solid but your splits are wide, it's a recoil management or sight tracking issue. If your splits look great but you've got shots scattered outside the zone, you're outrunning your ability to confirm the sight picture between shots. Slow down until every round is a hit, then rebuild speed.
Passing standard by experience level
Newer shooters working on fundamentals: under 4.5 seconds, all hits on an 8-inch circle. Intermediate shooters: under 3.5 seconds, all A-zone hits. Advanced competitors: under 2.5 seconds, all A-zone. These are benchmarks, not finish lines. Track your average over multiple sessions and watch the trend.
Common mistakes
Chasing time instead of hits
The timer creates pressure, and pressure makes people rush. A 1.4-second draw means nothing if the shot misses. The standard is always time and accuracy together. If you can't make the hit, the time doesn't count. Period. Slow down, make the hit, then push the pace. Speed is a byproduct of efficiency, not effort.
Never running it cold
If you always warm up before timing yourself, you're only measuring your warmed-up performance. That's not useless, but it's incomplete. Your cold draw, your cold first shot, your cold reload, those numbers matter more because they reflect actual readiness. Run the first rep cold. Every session. Write it down.
Ignoring splits and only looking at total time
Total time is the scoreboard, but splits are the coaching. Two shooters can both run a 3.0-second Bill Drill. One has a 1.0-second draw and 0.40-second splits. The other has a 1.8-second draw and 0.24-second splits. They need completely different training plans. The timer gives you that data. Use it.
Setting the par time too aggressively
If your par time is so tight that you're failing 9 out of 10 reps, you're not training, you're just confirming you can't do it yet. Back the par time off until you're succeeding 70-80% of the time. That's the zone where you're being challenged but still reinforcing correct mechanics. Progress happens in tenths of a second, not half-second leaps.
Practicing the same drill forever
A timer makes it easy to fall into a groove. You run the same draw drill every session because you know it and you like seeing the numbers improve. But if your draw is at 1.3 seconds and your reload takes 4 seconds, you're optimizing the wrong thing. Use the timer to identify your weakest skill, then spend your training time there. Rotate drills based on what the data tells you.
Drills worth timing
You don't need fifty drills. You need five or six that you run consistently and track over time. Here's a short list that covers the core skills, with par times to chase.
Draw to first shot
One round on a 3x5 card at 7 yards. From concealment: under 2.0 seconds. From open carry or competition rig: under 1.5 seconds. Run it 10 times, record every rep. This single drill, tracked over months, will tell you more about your progress than anything else.
Reload drill
Fire one round, emergency reload (slide locked back), fire one round. Total time on a full-size target at 7 yards: under 4.0 seconds from concealment, under 3.0 seconds from a competition rig. The timer captures the whole string, your split between the two shots is essentially your reload time plus re-acquisition.
Transition drill (two targets)
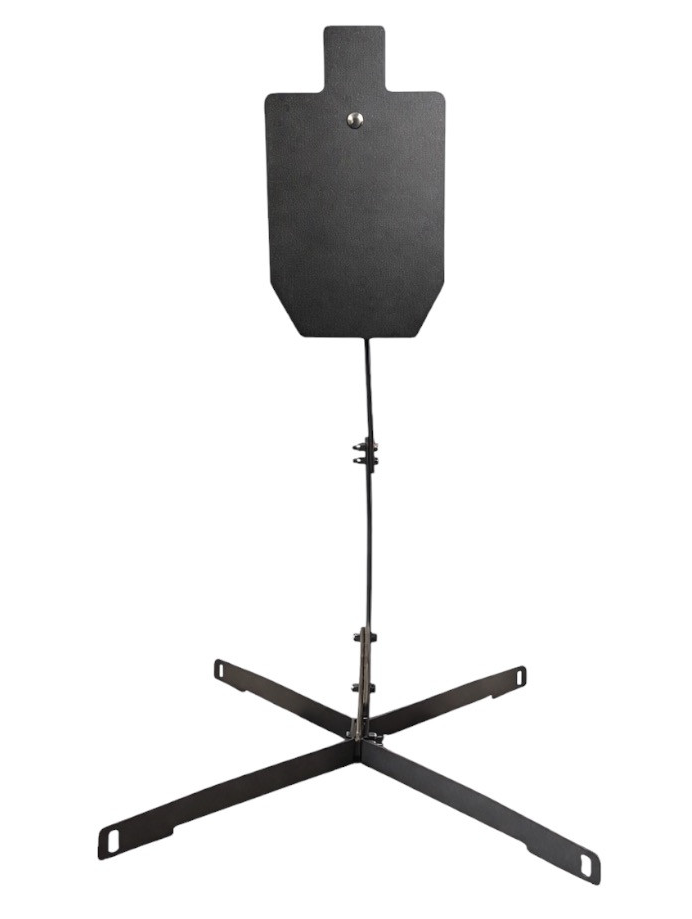
Two targets spaced 3-4 yards apart at 7 yards distance. One shot on each. Par time: under 2.0 seconds from the ready, under 3.0 seconds from concealment. This tests your ability to move the gun efficiently between targets and re-establish a sight picture. If your second shot is consistently the miss, you're transitioning the gun faster than your eyes.
5x5 drill
Five rounds on a 5-inch circle at 5 yards. From concealment. The standard is 5.0 seconds with all five hits inside the circle. It sounds easy. Run it cold and see. This drill punishes sloppy trigger control because the target is small enough to expose every flinch.
The 10-10-10
Ten rounds on a 10-inch target at 10 yards. From the holster. Under 10 seconds. All hits. This is a solid general competency check that tests draw, sustained accuracy, and basic recoil management at a distance that starts to challenge most shooters.
Tracking your data
A timer without a log is just entertainment. You need to record your results to see trends, identify plateaus, and make informed decisions about what to train next.
You don't need fancy software. A small notebook in your range bag works. For each session, write the date, the drill, the par time or total times, and your hit percentage. That's it. Over weeks and months, you'll see patterns: your cold draw hovers around 1.8 seconds, your splits tighten when you're fresh but blow up after 50 rounds, your reload gets sloppy when you rush.
Some digital timers and apps log this automatically. The Shooters Global app stores session history and lets you filter by drill type. If you prefer digital tracking, a simple spreadsheet works too. The format doesn't matter. The habit does.
Look at your data every four to six sessions. Are your cold draw times trending down? Is your hit percentage holding steady as you tighten par times? If your times are dropping but your accuracy is too, you're pushing speed past your current skill level. Back off, rebuild the accuracy, then push again.
What you'll feel when it clicks
There's a specific moment in timer-based training where the beep stops being stressful and starts being informational. You hear the buzz, you execute, and you already have a rough sense of whether you made the par time before you even look at the screen. That calibration between your internal clock and actual performance is a sign that deliberate practice is working. You're not guessing anymore. You know.
Dry fire session template
Here's a 15-minute dry fire session you can run at home with nothing but a timer (phone app is fine here), a cleared firearm, and a target on the wall.
Minutes 1-2: Draw to presentation. No trigger press. Par time 1.5 seconds from concealment. Focus on grip establishment and getting the sights on target. 10 reps.
Minutes 3-5: Draw to first "shot" (dry fire click). Par time 2.0 seconds from concealment. 15 reps. Confirm sights are on target at the moment the striker drops.
Minutes 6-8: Trigger press only. Gun already at full extension aimed at target. Par time 1.0 second. Press the trigger without disturbing the sights. 15 reps. Reset the trigger by racking the slide (or use a training device that allows reset without racking).
Minutes 9-11: Draw and press, tightening the par time. Drop to 1.8 seconds. 10 reps. Accept that some reps won't beat the beep. Focus on the ones that do, were the sights confirmed?
Minutes 12-14: Reload drill. Start with the gun at extension, slide locked. On the beep, reload and re-acquire the target. Par time 3.0 seconds. 10 reps.
Minute 15: One final cold-ish draw to first shot at your goal par time. One rep. Note whether you made it.
That's roughly 60 reps in 15 minutes. No ammo. Do it daily and you'll see measurable improvement on the live fire range within two weeks. That's not a guess, it's what the data consistently shows when shooters commit to structured dry fire.
When to progress
Progression means tightening the par time, increasing the distance, shrinking the target, or adding complexity (like movement or multiple targets). Don't progress until you're consistently meeting your current standard, meaning 80%+ success rate over at least three sessions.
If you're hitting your 2.0-second draw to first shot 8 out of 10 times across three range trips, drop to 1.9. If your Bill Drill is consistently under 3.5 with all hits, move the target to 10 yards or tighten the scoring zone to a 6-inch circle. One variable at a time. Change the distance or the par time, not both.
Plateaus are normal. You'll drop your draw time steadily for a few weeks, then stall. When that happens, don't just grind the same drill harder. Go back to the components. Is your grip slowing you down? Is your presentation inefficient? Break the draw into segments, grip acquisition to clear the holster, holster to full extension, extension to first shot, and time each segment separately. The bottleneck will reveal itself.
The gear you actually need
You need less than you think. A timer, hardware or app. A cleared firearm for dry fire. Snap caps if your platform prefers them. A 3x5 index card taped to the wall. For live fire, add your carry gun, 50 rounds, and one type of target. That's it.
Don't buy a shot timer, a laser training system, a SIRT pistol, a Mantis X, and a dry fire target all at once. Start with the timer. It's the foundation because it introduces the one element that most practice is missing: objective measurement. Everything else is a supplement. The timer is the baseline.
If you're choosing between a $130 hardware timer and a free phone app, start with the app. Use par time mode for dry fire. If you get serious, and you'll know within a month, upgrade to hardware. The Pocket Pro II and the Shooters Global SG Timer 2 are both solid choices that will last years.
Make the beep matter
Fifty rounds with a plan beats 200 without one. A 15-minute dry fire session with a timer and a target beats an hour of aimless trigger clicks in front of the TV. The timer is the plan. It gives you a start signal, a standard, and a result. Your job is to show up, run the drill, record the data, and come back tomorrow a little bit better.
Track it. Then trust the trend. The numbers don't lie, and they don't care about how the rep felt. They just tell you where you are and, if you're paying attention, exactly what to work on next.