
You've shot a few matches, you're hooked, and now you're staring at your stock pistol wondering what to change first. Maybe you've already browsed a few forums and come away more confused than when you started; everyone has an opinion, half of them contradict each other, and the parts catalogs are deep enough to drown in. Here's the thing: building a competition pistol isn't about bolting on the most expensive parts. It's about understanding which parts actually affect your performance, what order to prioritize them, and where fit matters more than brand name.
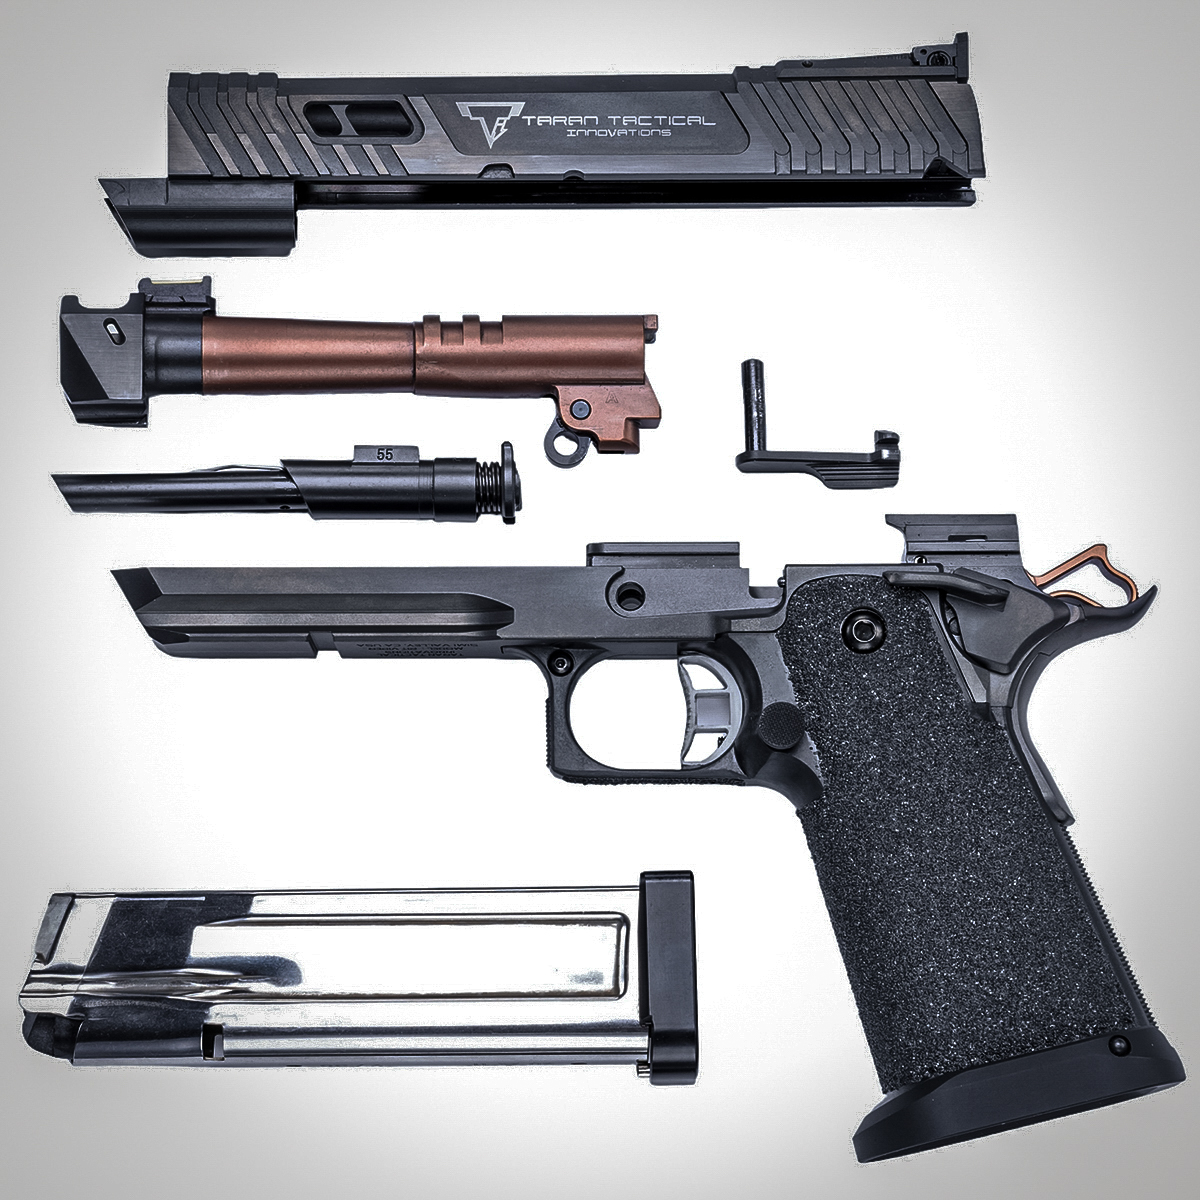
This walkthrough covers the major decision points for building or upgrading a pistol for competition use, primarily focused on the 1911/2011 platform since that's where the most hand-fitting lives, but with relevant crossover to striker-fired guns like the P320 and Glock where the aftermarket is mature enough to matter. The goal isn't to hand you a shopping list. It's to help you understand why certain parts get prioritized, what "fit" actually means at each step, and where you can do the work yourself versus where you need a competent gunsmith.
Decide what you're building before you buy anything
This sounds obvious. It isn't, based on how many half-finished project guns end up on forum classifieds. The division you plan to shoot dictates almost every parts decision downstream. USPSA Limited, Carry Optics, Open, Production, each has equipment rules that constrain barrel length, optics mounting, compensators, magazine capacity, and weight. If you don't nail this down first, you'll buy parts you can't use or build a gun that doesn't fit any division cleanly.
For USPSA Limited, you're typically looking at a 2011-pattern gun in .40 S&W (or 9mm major if you're running an Open-adjacent setup, though that's a separate conversation about comp rules). Carry Optics means a slide-mounted red dot on a gun that fits in a standard holster without a frame-mounted optic or compensator. Production is the most restrictive, largely stock guns from an approved list with minimal modifications.
The platform choice flows from the division. If you're building for Limited or Open, the 2011 double-stack frame is the dominant platform for good reason: high capacity, excellent trigger geometry, and a grip angle that indexes naturally for most shooters. If you're in Carry Optics, the Staccato P or XL, the CZ/Tanfoglio family, or a tuned P320 are all viable starting points. The point is: pick your division, then pick your platform, then pick your parts. Reversing that order is how project guns become money pits.
The frame and slide: where fit starts
On a 1911/2011 platform, the relationship between frame and slide is the foundation everything else builds on. A sloppy frame-to-slide fit means the barrel can't lock up consistently, which means accuracy suffers regardless of how nice your barrel is. This is the single biggest reason why dropping expensive parts into a cheap gun rarely produces the results people expect.
Frame rails matter more than you think
The slide rides on rails machined into the frame. On a production 1911, there's typically some play, you can feel the slide shift laterally if you push on it with the action locked back. On a competition gun, that play should be minimal. Not zero, because the gun still needs to cycle reliably, but tight enough that the barrel returns to the same lockup position every time.
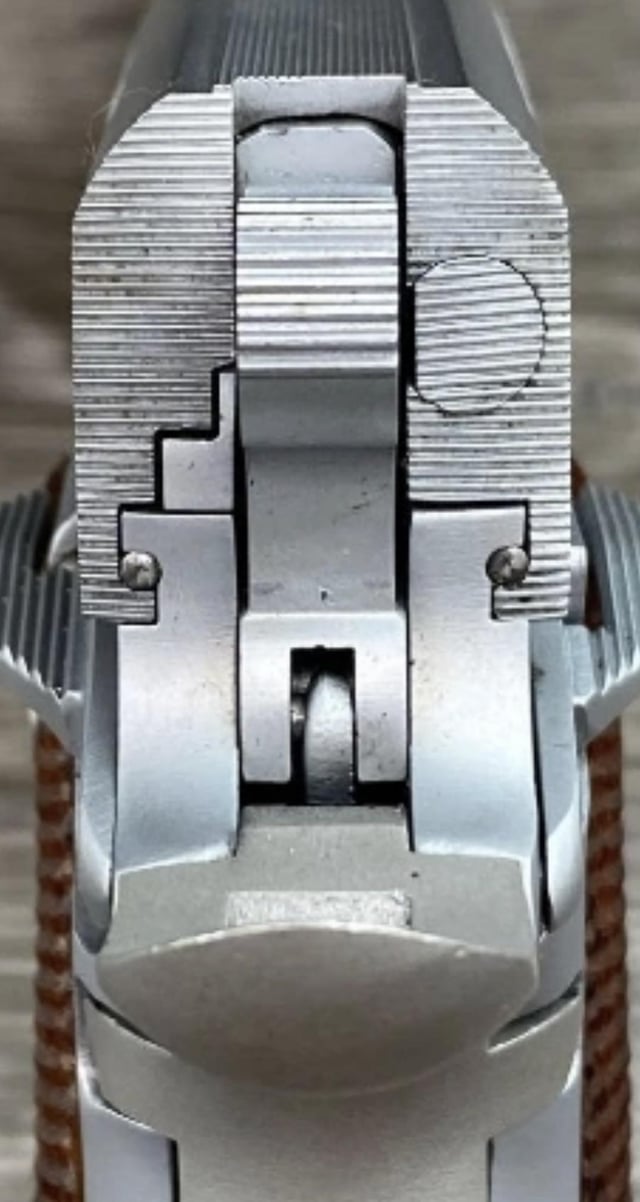
A SIG Sauer P320 seated in a Kydex holster mounted to a blue aluminum competition draw block, this image has no apparent connection to bull barrel fitting or 2011 competition builds.If you're building from parts, STI/Staccato frames, SVI (now Infinity/SVI) frames, and Atlas Gunworks frames are the common high-end options. The critical dimension is the rail width and the consistency of that width along the full length of the frame. Cheap frames often have rails that vary by a few thousandths over their length, which means the slide binds in spots or wobbles in others. A good gunsmith will lap the rails, removing material gradually with abrasive compound until the slide-to-frame fit is uniform and smooth. This is not a DIY job unless you have measuring tools (a good set of calipers at minimum, ideally a micrometer) and understand that removing too much material is a one-way trip.
Slide selection
The slide needs to match the frame rail geometry, obviously, but the other major consideration is weight. A lighter slide cycles faster, which reduces the time the dot (or sights) spend off-target during recoil. For Open guns, this is why you see slides with aggressive lightening cuts, windows, and reduced-profile profiles. For Limited, there's a balance, too light and the gun feels snappy; too heavy and split times suffer.
Material matters here. Most competition slides are steel or stainless steel. Some builders offer titanium slides for Open guns, which saves significant weight but costs accordingly. The practical difference between a 17-4 stainless slide and a 416 stainless slide is mostly about ease of machining and corrosion resistance, not something you'll feel in competition.
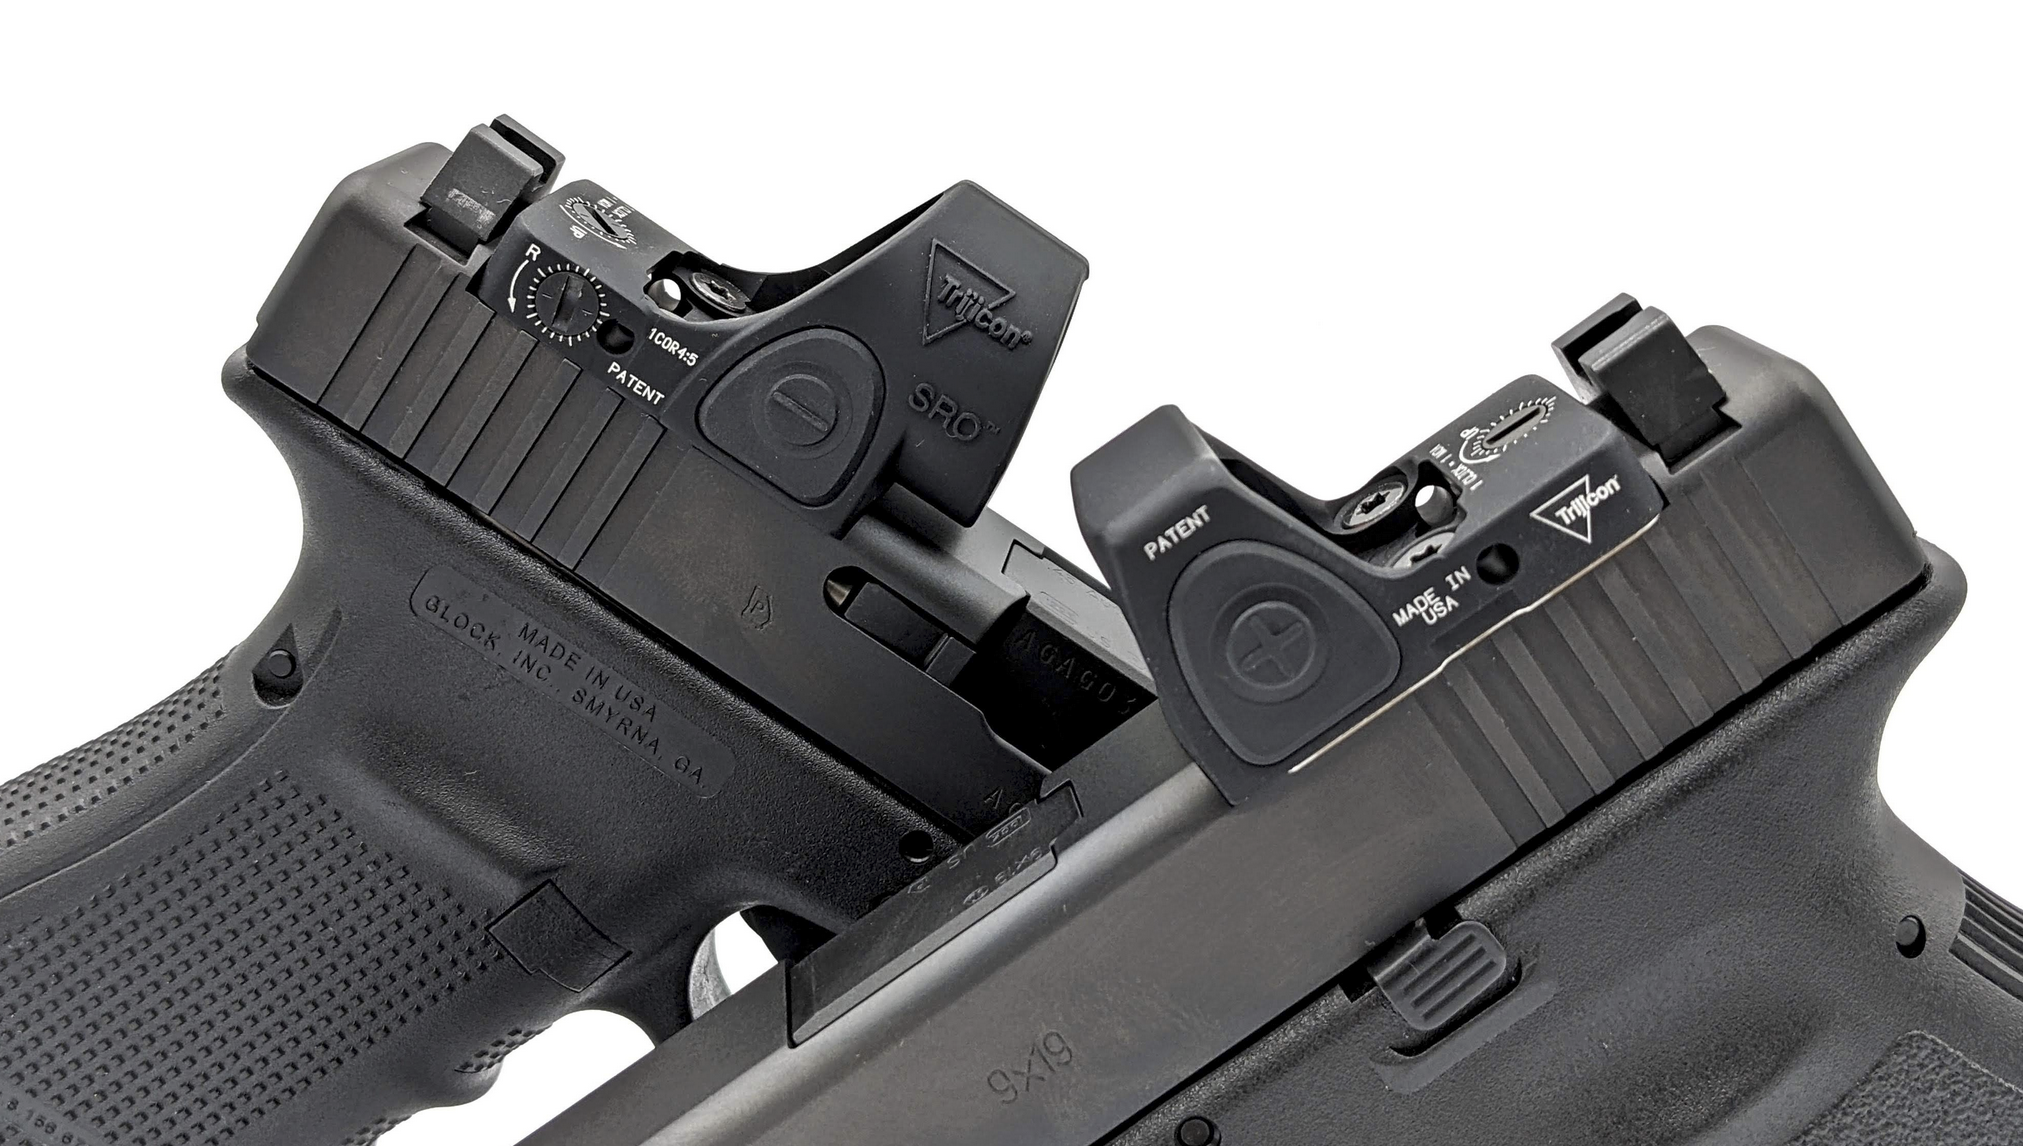
The optic cut is the other major slide consideration. If you're running a dot, the cut needs to be precise for your specific optic, a Trijicon SRO cut is different from a Leupold DeltaPoint Pro cut, and a sloppy fit means the optic can shift under recoil. Some builders like Atlas and Limcat machine their own proprietary cuts. If you're having a slide milled aftermarket, use a shop that specializes in competition pistol work, not a general machine shop that "can probably do it."
The barrel: where accuracy lives
The barrel is the single part most directly responsible for mechanical accuracy. But here's what people get wrong: a match-grade barrel in a gun with poor lockup won't shoot any better than the barrel it replaced. The barrel has to fit the gun, specifically, it has to lock up consistently into the slide and be supported properly by the frame or barrel bushing.
Barrel fit on a 1911/2011
There are two main barrel systems on these platforms: bushing barrels and bull barrels. Bushing barrels use a separate bushing at the muzzle end that centers the barrel in the slide. Bull barrels are thicker at the muzzle and fit directly into the slide without a bushing, typically using a reverse plug or the slide itself for centering.
Bull barrels are dominant in competition 2011s because they eliminate one variable (the bushing) and tend to be easier to fit consistently. A properly fit bull barrel should have slight resistance when you push the barrel into lockup by hand, you should feel it seat positively, not rattle into place. The hood of the barrel (the rear top surface) locks into a corresponding recess in the slide, and the lower lugs engage the slide stop pin. Both contact surfaces need to be fit.
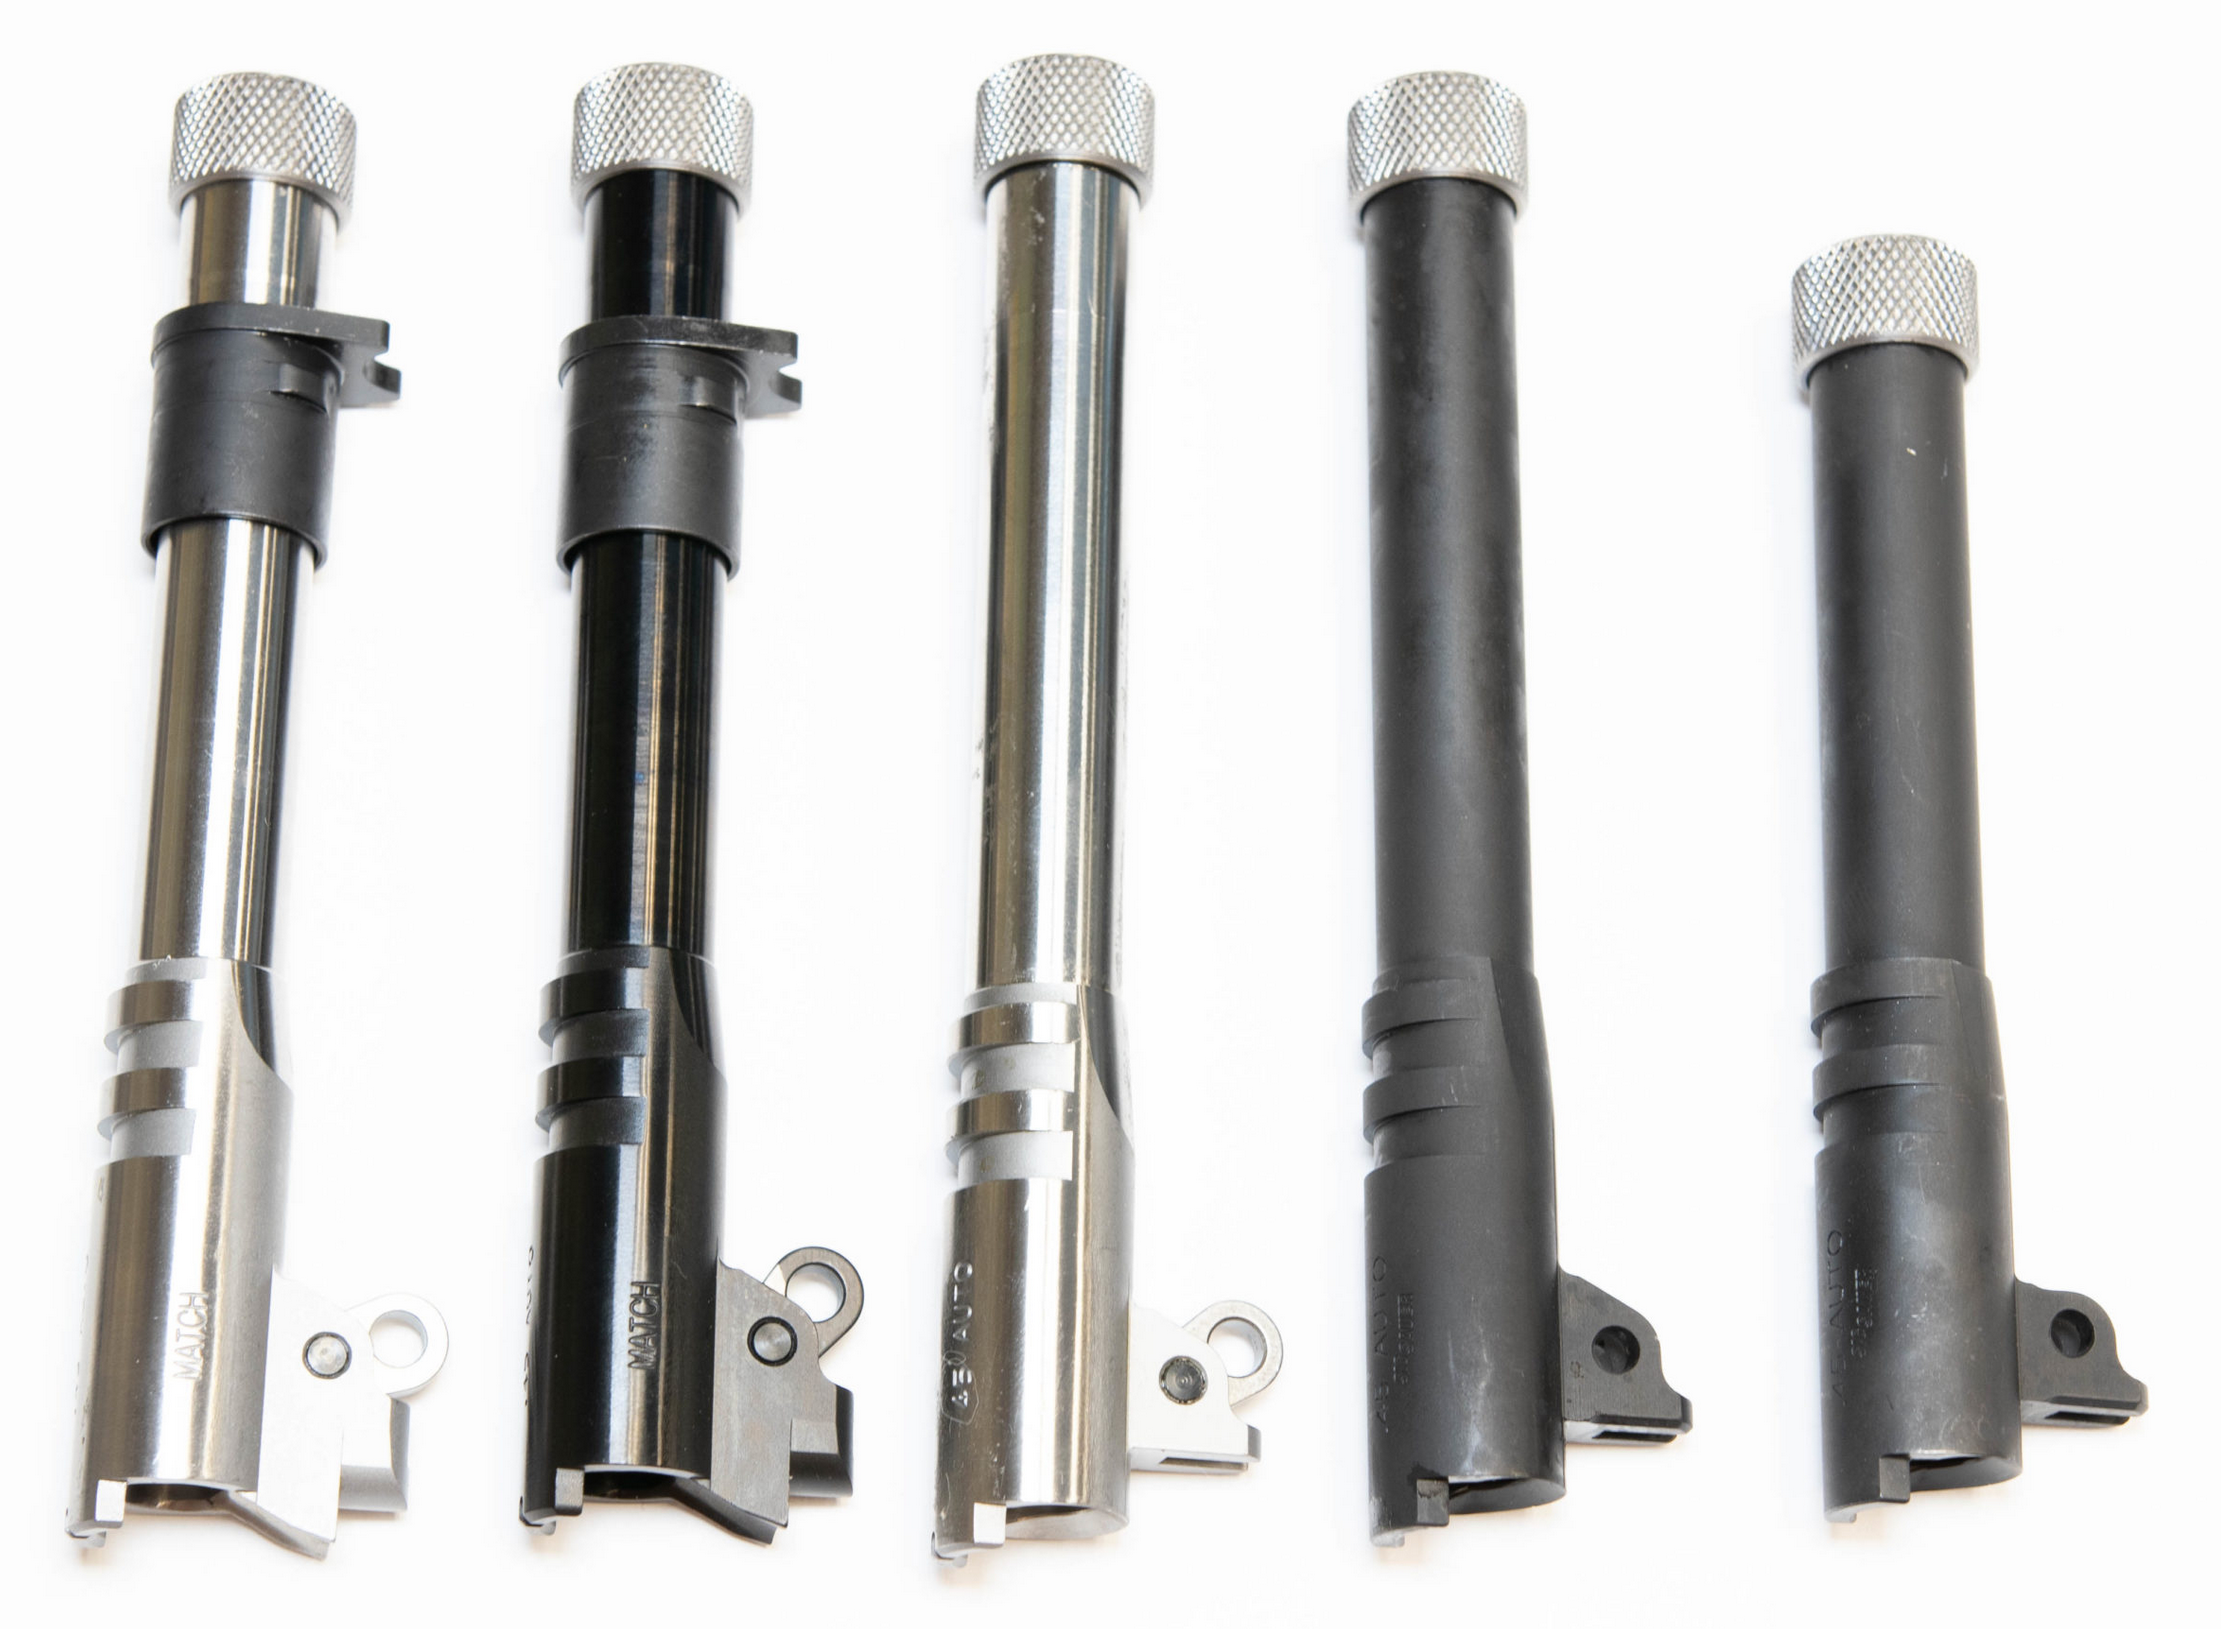
Match-grade barrels from Kart, Bar-Sto, KKM, and Nowlin are the common choices. They're intentionally oversized and require hand-fitting. This means a gunsmith removes material from the hood, lower lugs, and sometimes the outer diameter until the barrel locks up with the right amount of tension. Too loose and accuracy degrades. Too tight and the gun won't cycle reliably, especially when dirty.
This is where you need to be honest about your skill level. Fitting a barrel requires understanding headspace (the distance from the breech face to the chamber that controls how the cartridge is supported), and getting headspace wrong has safety implications. A barrel that's been fit too short in the hood can cause excessive headspace, which means the case isn't fully supported at the moment of firing. If you haven't done this before, pay a gunsmith. The barrel itself might cost $200-350, but the fitting is where the value lives.
Barrel length and profile
For most competition divisions, a 5-inch barrel is standard. Some Open guns run 5.4-inch or 6-inch barrels with compensators threaded on. Longer barrels give a slight velocity increase and a longer sight radius if you're running irons, but the main reason for extra length in Open is to support the compensator.
Bull barrel profiles add weight forward of the trigger, which can help with muzzle flip. It's a minor effect compared to compensator design or slide weight, but it's there. Some shooters prefer a tapered bull barrel as a compromise between weight and balance.
The trigger: what your finger talks to
The trigger is where most shooters feel the biggest subjective difference, and it's also where the most mythology lives. A "good" competition trigger isn't just light, it's predictable. You need to know exactly where the break is, every time, without creep or mush before it. Reset needs to be short and tactile so you can prep the trigger during recoil without short-stroking it.
1911/2011 triggers
The 1911 trigger system is mechanically simple: the trigger moves a stirrup that pushes the disconnector, which trips the sear, which releases the hammer. The quality of the trigger pull depends on the sear-to-hammer engagement geometry, the sear spring tension, and how cleanly all the surfaces are finished.
A good competition trigger pull on a 2011 is typically 2 to 2.5 pounds with a clean, glass-rod break. Getting there requires fitting the sear and hammer, specifically, stoning the engagement surfaces to a precise angle (usually around 18-20 degrees of primary engagement) with a mirror finish. The depth of engagement matters too: too deep and the pull is heavy and creepy, too shallow and the gun can follow (fire when the slide closes) or double.
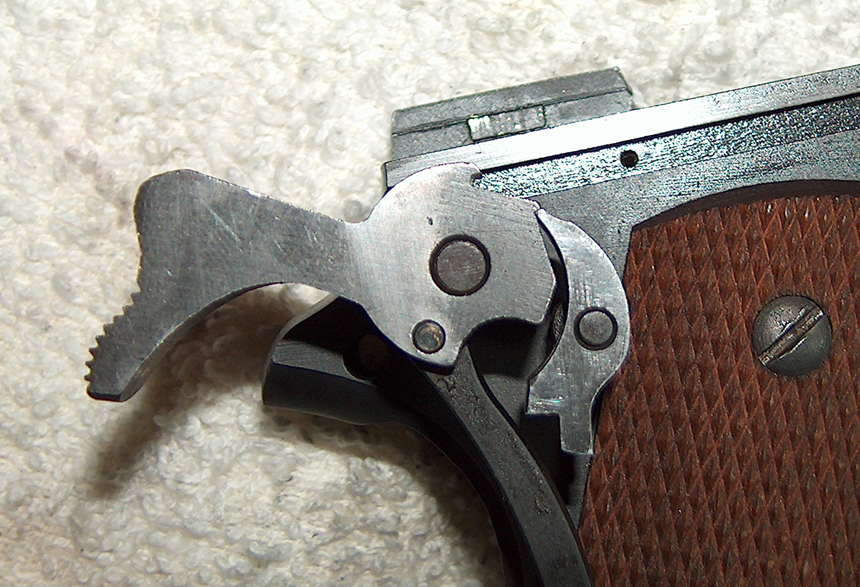
Sear and hammer sets from EGW, Cylinder & Slide, Brazos Custom, and Infinity are common starting points. They come hardened and semi-finished, meaning they still need final fitting. The disconnector also needs to be fit, it has to be the right length to reset the sear reliably without adding drag to the trigger pull.
Here's where it goes wrong: people stone the sear engagement too shallow trying to get a lighter pull, and the gun starts doubling or following. A 2011 that doubles isn't just a competition problem, it's a safety problem. If you're fitting a trigger, you need a sear jig (the Power Custom or Yavapai jigs are the standard) and you need to understand what you're looking at under magnification. If you stone the sear and the hammer hooks at the same angle, you get zero engagement and a gun that fires when the slide drops. Don't guess.
The trigger shoe itself (the part your finger touches) is more about ergonomics. Flat triggers are popular because they give a more consistent finger placement across different shooters. Width and reach matter, a trigger that's too far forward forces you to use the tip of your finger, which reduces control. Most competition 2011 triggers are adjustable for overtravel and pre-travel. Set pre-travel to the minimum that still allows reliable disconnector function, and overtravel to the minimum that doesn't interfere with sear reset.
Striker-fired triggers (P320, Glock, CZ P-10)
The aftermarket for striker-fired competition triggers has matured significantly. The Grayguns adjustable competition trigger for the P320 is one of the better-regarded options, it reduces pre-travel and overtravel and gives a crisper break than the factory unit. Pull weight drops to around 3-3.5 pounds, which is about as light as you want to go on a striker gun that doesn't have a manual safety.
For Glocks, the aftermarket is enormous but quality varies wildly. Overwatch Precision, Agency Arms, and Timney all make drop-in trigger systems. The Timney Alpha is a true drop-in with a pull weight around 3 pounds. The risk with light Glock triggers is that the firing pin safety can become marginal, if the trigger bar doesn't fully disengage the firing pin safety plunger, you get light strikes. Any aftermarket Glock trigger should be function-checked extensively before match use.
The Langdon Tactical "Trigger Job in a Bag" for Beretta 92 series guns is worth mentioning because it's a genuinely well-thought-out kit: reduced-weight hammer spring, match hammer, competition trigger bar, and optimized disconnector, all designed to work together. Pull weight drops from the factory 10+ pounds DA / 4.5 pounds SA to roughly 7 pounds DA / 3.5 pounds SA. It's about as close to a true drop-in trigger job as exists for a DA/SA gun, and the instructions are clear enough for a home install.
The guide rod and recoil spring: tuning the cycle
This is one of the most overlooked areas and also one of the easiest to get wrong. The recoil spring weight controls how fast the slide returns to battery and how much the muzzle dips during the return stroke. Too heavy and the gun is sluggish to cycle, beats up your hands, and the dot dips below the target during the return. Too light and the slide slams back hard enough to batter the frame, and the gun may not return to battery reliably with weaker ammo.
Matching spring weight to your load
The correct spring weight depends on your ammunition's power factor. In USPSA, power factor is bullet weight (in grains) multiplied by velocity (in feet per second), divided by 1000. Minor power factor is 125 minimum; major is 165 minimum. A gun loaded to minor 9mm (say, 135 PF) needs a lighter recoil spring than the same gun loaded to major .40 (say, 170 PF) because there's less slide energy to manage.
For a 5-inch 2011 shooting minor 9mm, most shooters end up somewhere between 8 and 12 pounds on the recoil spring. For major .40, 12 to 16 pounds is more typical. These are starting points, you tune from there based on how the gun tracks.
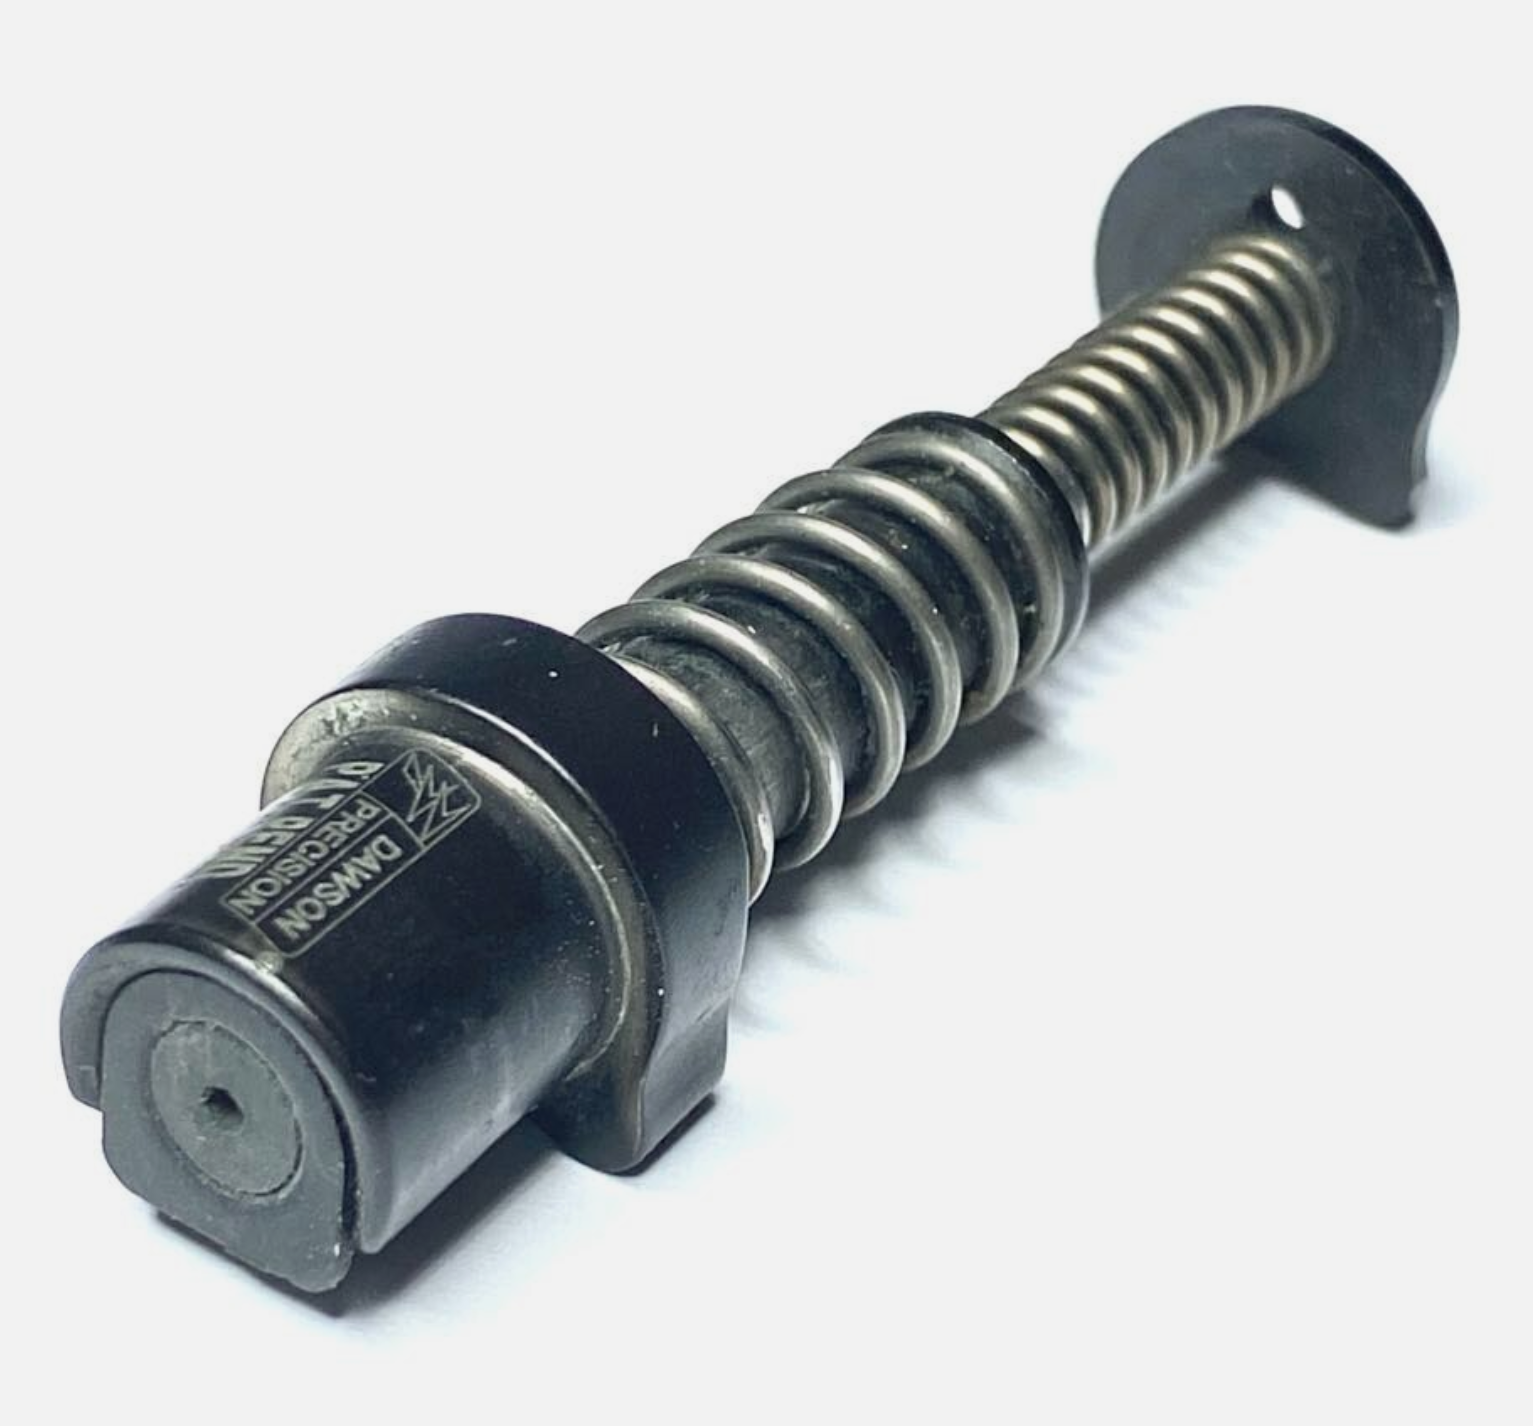
Dawson Precision makes a toolless guide rod for 1911/2011 bull barrel guns that lets you swap recoil springs without tools. This is genuinely useful during the tuning process because you'll likely try three or four spring weights before you find the right one. ISMI and Wolff are the standard spring manufacturers. Buy a few weights in 1-pound increments around your estimated starting point.
What to look for during tuning
Load a magazine with your match ammo, shoot a few rounds, and watch the brass. If it's ejecting 15+ feet to the right and the slide is hitting the stop hard enough to bounce, the spring is too light. If brass is dribbling out weakly and the slide feels sluggish returning, the spring is too heavy. The sweet spot is brass ejecting 4-8 feet consistently, the slide returning to battery crisply, and the dot tracking in a relatively flat arc, up during recoil, back down to roughly where it started, without a dramatic dip below the original point of aim.
The grip: where the gun meets your hands
Grip texture, angle, and circumference have an outsized effect on recoil control, especially in competition where you're shooting fast splits and transitions. On a 2011, the grip is the frame itself (or grip panels attached to it), so changes here are somewhat permanent.
Stippling or grip tape on a polymer-framed gun is straightforward. On a 2011 with a metal or polymer grip module, most competitive shooters run aggressive grip tape (Talon Grips Pro or similar) or have the grip stippled/textured. The goal is a surface that locks the gun in your hand without tearing up your skin over a 200-round match. Skateboard tape works but wears out fast and can be inconsistent.
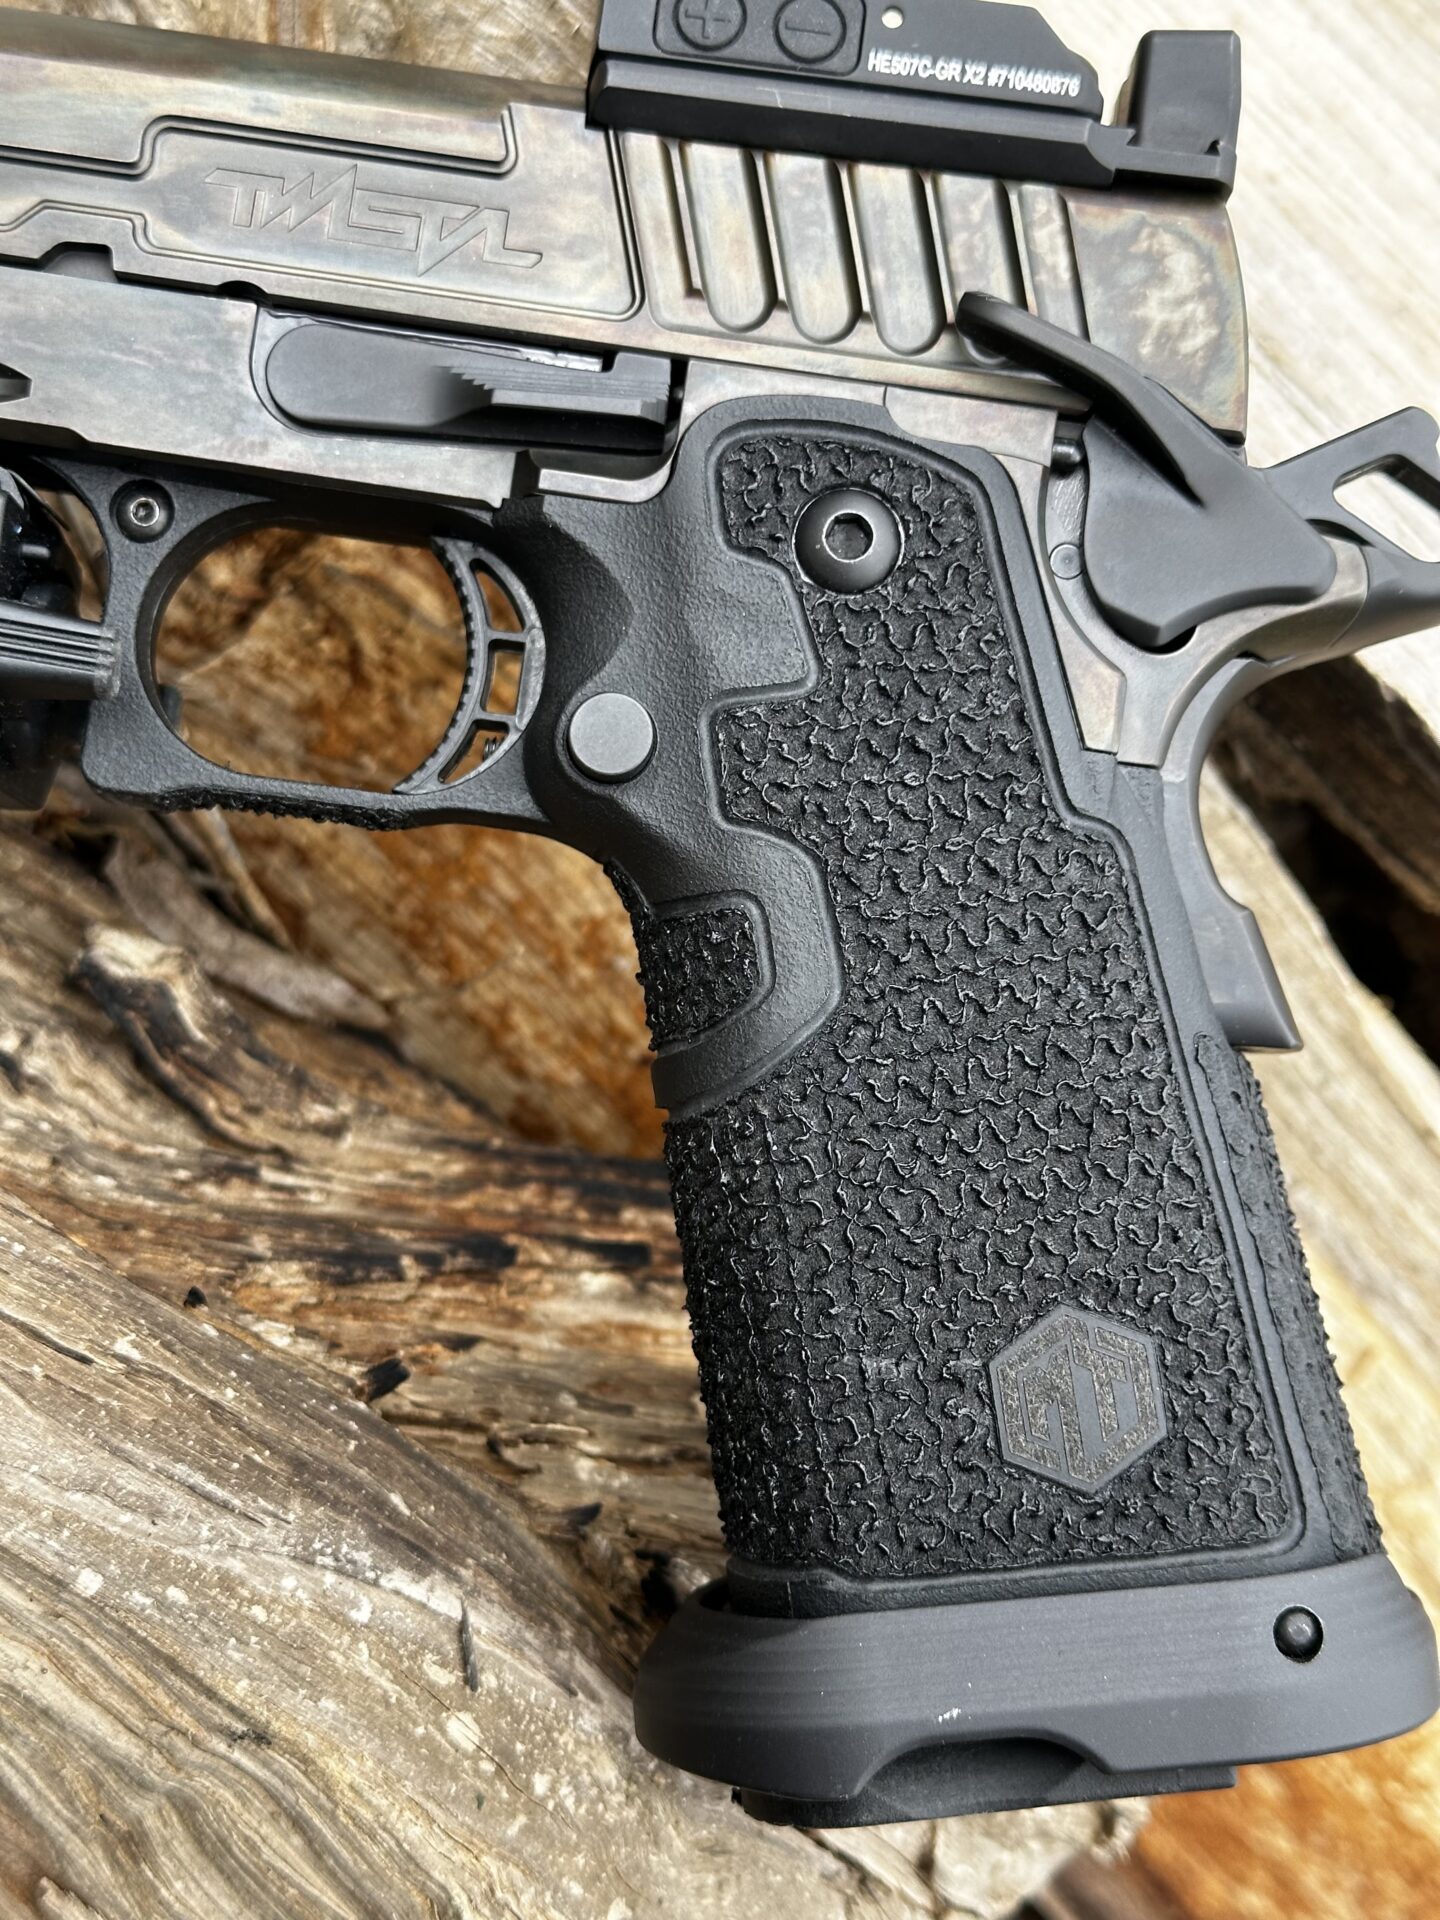
Grip circumference matters more than people realize. If the grip is too large, your trigger finger has to reach further, which changes the leverage angle on the trigger and can introduce lateral movement during the press. If it's too small, you can't get a full purchase and the gun shifts in your hand under recoil. On a 2011, grip size is largely determined by the frame width and the grip panels. Thin aluminum grips from Cheely Custom or PT Evo can reduce circumference noticeably compared to thick polymer panels.
The magwell is technically part of the grip system. A flared magwell makes reloads faster and more forgiving, but it also adds weight low on the gun, which shifts the balance point. For Limited and Open, a magwell is essentially mandatory. Dawson, SV/Infinity, and Atlas all make magwells for their respective frames. Fit matters, a magwell that's slightly off-center will funnel magazines into a bind instead of guiding them home.
The magazine: the part people cheap out on
Magazines are the number one cause of malfunctions in competition pistols. Not triggers, not extractors, not recoil springs, magazines. And yet people will spend $400 on a trigger job and then run $20 magazines they found in a bin at a gun show.
For 2011s, MBX magazines have become the standard at the top levels of competition. They're CNC-machined from aluminum, the feed lips hold their geometry over thousands of rounds, and the followers are designed to present the round at a consistent angle. They're expensive, roughly $100-130 per magazine depending on capacity, and you need at least six for a match (more for longer stages or if you want backups). Dawson Precision magazines are another solid option and slightly less expensive.
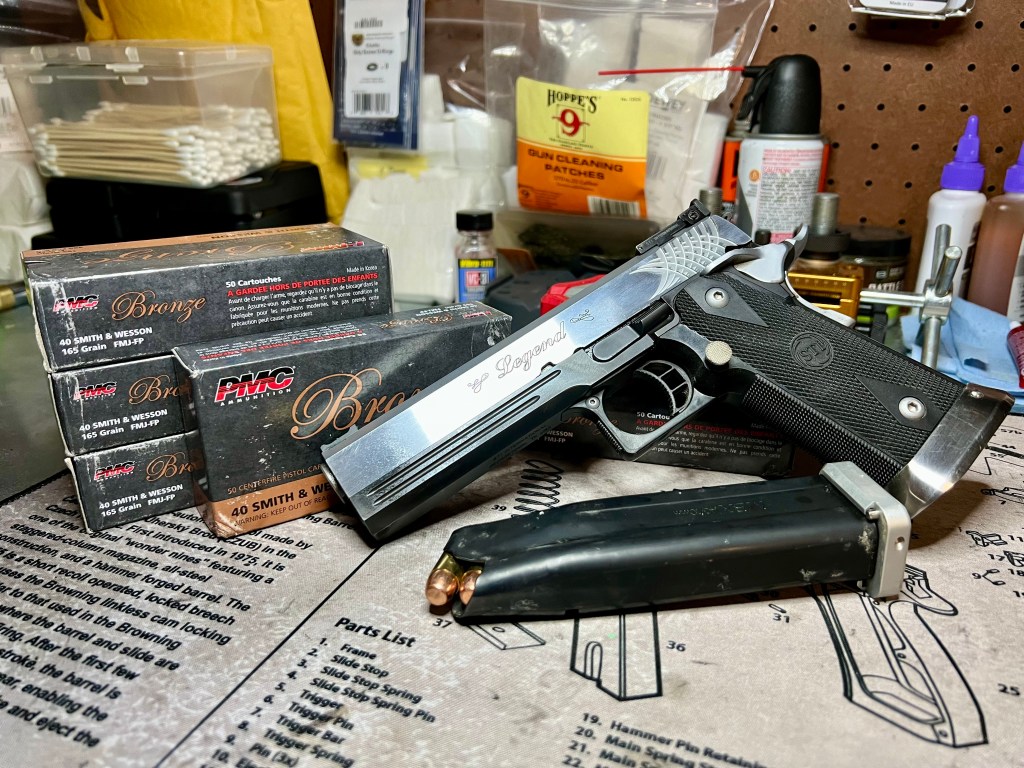
STI/Staccato factory magazines are adequate for recreational shooting but can develop feed lip spread over time, which causes nose-dive malfunctions. If you're running Staccato factory mags in competition, check the feed lips with calipers periodically. The distance between the lips should be consistent from magazine to magazine.
For the P320, factory Sig 21-round magazines are fine for Carry Optics. For Glocks, OEM magazines are reliable but the aftermarket basepads from Taran Tactical, Springer Precision, and others add 2-5 rounds of capacity depending on the model. The basepads need to be installed correctly, a basepad that's slightly loose can shift under recoil and cause the spring to bind.
Bench notes: testing your magazines
Before any match, load each magazine to full capacity and let them sit loaded for at least 24 hours. Then run them through the gun. Any magazine that causes a malfunction gets marked and retested. If it malfunctions twice, it becomes a practice-only magazine or gets retired. Label your magazines (numbered tape on the basepad works) so you can track which ones are causing problems. This sounds tedious. It will save you a stage at some point.
Sights and optics: seeing what you need to see
Iron sights on a competition gun should be high-visibility and snag-free. Dawson Precision fiber optic sights are the default choice for a reason, the fiber rod is bright enough to pick up quickly, and they make them in enough heights to get your point of aim/point of impact matched to your load at a specific distance (usually 15-25 yards depending on preference).
Sight height matters because different loads impact at different points. If you switch from a 147-grain load to a 124-grain load, your point of impact will shift. You can compensate by changing the rear sight height (taller rear = lower impact) or front sight height (taller front = lower impact). Dawson sells sights in .001-inch height increments for this reason.
Red dots for competition
If you're running a dot in Carry Optics or Open, the optic choice and mounting method are critical. The Trijicon SRO is the most popular competition dot right now because of its large window and clean glass. The Leupold DeltaPoint Pro and the C-More (on Open guns) are also common. Holosun's SCS series has gained traction for Carry Optics due to the solar/battery hybrid power system, running out of battery mid-match is a real concern with any electronic sight.
Mounting the optic directly to the slide (via a milled cut) is always more secure than an adapter plate. Plates add height, which raises the bore-to-sight offset and can require a different holster. They also add a potential failure point, if the plate screws loosen, the zero shifts. If you're serious about competition, get the slide milled.
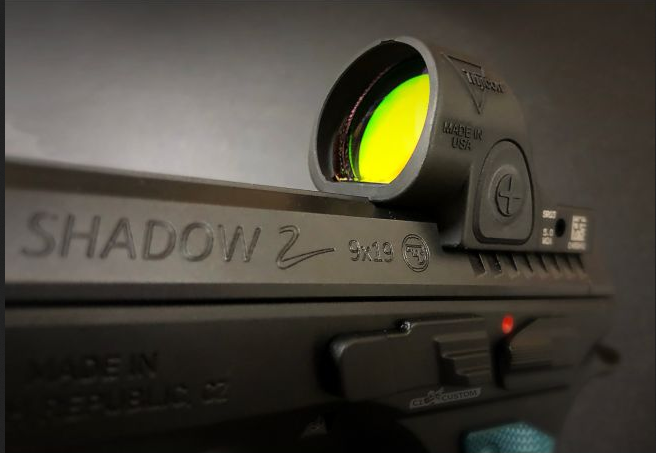
Zero your dot at 15 or 25 yards (pick one and be consistent) with your match load. Then verify at 7 and 50 yards to understand your holdover/holdunder at common stage distances. A 25-yard zero typically gives you about a 1-inch-high impact at 7 yards and 2-3 inches low at 50 yards, depending on the load and sight height.
The extractor and ejector: reliability details
These aren't glamorous parts, but they determine whether your gun runs. The extractor hooks the rim of the case as the round feeds, and holds it against the breech face until the ejector kicks it out of the gun. If either one is marginal, you get erratic ejection, stovepipes, or failures to extract.
On a 1911/2011, the extractor is a tensioned piece of spring steel that fits into a channel in the slide. Correct extractor tension is typically checked by sliding a round under the extractor hook, it should hold the round against the breech face firmly enough that the round doesn't fall out when you turn the slide upside down, but not so tight that it's difficult to snap the round in. If you have to force the round under the extractor, the tension is too high and it'll cause feeding problems. If the round falls out easily, the tension is too low and you'll get extraction failures.
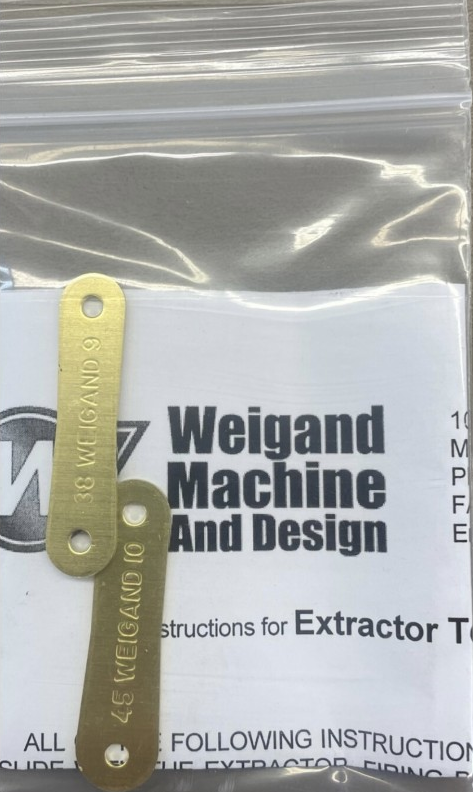
Aftec and EGW make replacement extractors for the 1911/2011 platform. The Aftec uses a spring-loaded plunger design instead of the traditional flex-bar, which gives more consistent tension over the extractor's life. Some shooters swear by them; others prefer the traditional design because it's simpler and easier to tune. Either works if it's set up correctly.
The ejector on a 2011 is a fixed part pinned into the frame. It rarely needs replacement unless it's been damaged, but the length and angle of the ejector affect where the brass goes. If your brass is hitting you in the face or going straight up and landing back in the ejection port, the ejector may need to be reshaped. This is a file-and-test process, remove a tiny amount of material, reassemble, fire a few rounds, check the ejection pattern, repeat.
Common mistakes when building a competition pistol
Spending on parts before spending on practice
A $5,000 race gun in the hands of a C-class shooter won't beat a B-class shooter with a stock Glock. The gun matters, but it matters less than trigger time, draw speed, transitions, and stage planning. If you're shooting fewer than 500 rounds a month in practice, you'll get more improvement from a case of ammo and a shot timer than from any single part upgrade. Dry fire practice with a system like the MantisX or even just a timer and a par time drill will do more for your classification than a new barrel.

Fitting parts without measuring
"I'll just stone it until it feels right" is how people ruin sears, hammers, and barrel hoods. If you don't own calipers, a sear jig, and headspace gauges appropriate to your cartridge, you're guessing. Guessing with trigger parts means a potentially unsafe gun. Guessing with barrel fit means poor accuracy at best and a kaboom at worst.
Ignoring the magazine
Already covered this above, but it bears repeating: the magazine is a wear part. Springs weaken, feed lips spread, followers wear. Budget for replacement magazines and replacement springs as part of your ongoing costs. A set of MBX or Dawson magazines isn't a one-time purchase, it's a recurring expense.
Chasing someone else's setup
The fact that your favorite pro shooter runs a specific trigger pull weight, recoil spring, and load combination doesn't mean that combination works for you. Hand size, grip strength, shooting style, and recoil sensitivity all vary. Use published setups as starting points, then tune to your own preferences through testing.
Skipping the function check
After any parts change, any, run a complete function check before loading live ammunition. On a 1911/2011, that means: verify the safety blocks the sear in the engaged position, verify the grip safety (if present) prevents firing when not depressed, verify the hammer doesn't follow the slide forward when you rack it briskly, verify the disconnector resets the trigger when you cycle the slide, and verify the slide locks back on an empty magazine. If any of these fail, stop and diagnose before going to the range.
Tools you'll actually need
You don't need a full machine shop, but you do need more than a screwdriver set. For basic 2011 work, swapping grip panels, changing recoil springs, installing sights, and swapping magazines, you need a set of pin punches (1/16 through 5/32), a nylon/brass hammer, a sight pusher (or a brass punch and patience), and a bench block. The MGW sight pusher is the standard for 1911 sights if you don't want to risk marring the slide with a punch.
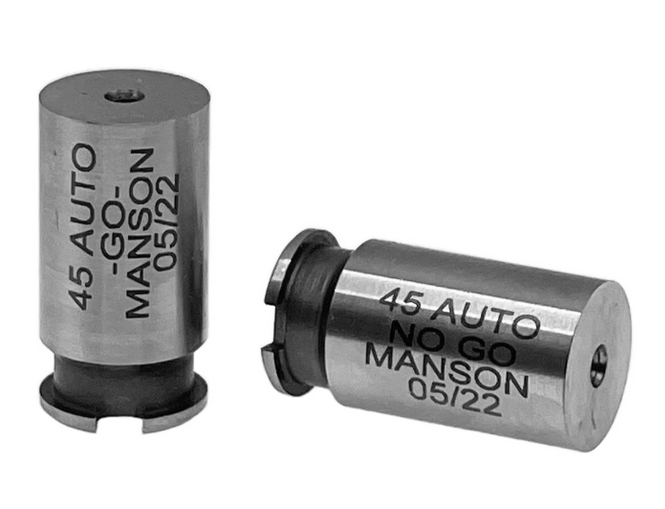
For more involved work, trigger fitting, extractor tuning, barrel fitting, add a set of needle files (fine cut), India and ceramic stones, a sear jig, a headspace gauge set for your cartridge, a torque wrench (for optic mounting screws, typically 15-18 inch-pounds for most red dots), and a good light source with magnification. A 10x loupe is enough to inspect sear engagement surfaces.
Thread-locking compound (Vibra-Tite VC3 or Loctite 242) is necessary for any screw that's subject to recoil, optic screws, grip screws, and any set screws in the trigger assembly. Don't use red Loctite (271) unless you want to heat the part to remove it later.
When to buy a complete gun versus building from parts
There's a persistent idea that building from parts saves money. It almost never does, and the result is often worse than a factory gun from a reputable competition builder. Here's why: companies like Atlas Gunworks, Limcat, Nighthawk, and Akai Custom have fixtures, jigs, and experience that let them fit parts to tolerances that are difficult to replicate on a home bench. A complete Atlas Titan or Nemesis comes with a frame-to-slide fit, barrel fit, trigger job, and reliability testing that would cost more in gunsmith labor than the price difference if you tried to replicate it from parts.
The exception is if you're starting with a solid base gun, like a Staccato P or XL, and making targeted upgrades. Swapping the trigger for a tuned unit, upgrading the recoil spring system, adding better sights or an optic, and running quality magazines can turn a factory Staccato into a genuinely competitive gun for Limited or Carry Optics without a full custom build. The Springfield Prodigy occupies a lower price point and can be improved with similar upgrades, though the base gun's fit and finish isn't at the Staccato level, and some Prodigy owners report needing more work to get reliable function with a wider variety of loads.
The Dan Wesson DWX is another interesting option, it combines a CZ-pattern trigger system with a 1911-style frame, and several competitive shooters have been tuning them for minor power factor competition. The trigger system is different enough from a standard 1911 that not all 1911 gunsmithing knowledge transfers directly, so make sure any smith you use has DWX-specific experience.
If you want a true top-tier Open or Limited gun and you're not a trained gunsmith, buy a complete gun from a builder. The wait times can be long (6-18 months for some builders), but the result is a gun that's been test-fired, tuned, and guaranteed to run. Building from parts makes sense primarily as a learning exercise or if you have specific requirements that no builder offers as a standard configuration.
The first range trip after the build
Load three magazines with five rounds each of your match ammunition. Shoot them slow-fire at 15 yards, focusing on group size rather than speed. You're checking two things: mechanical accuracy (group size) and point of aim/point of impact (where the group lands relative to your aiming point). If the group is larger than 2 inches at 15 yards from a rest, something in the barrel fit or lockup needs attention. If the group is well-centered but offset from your point of aim, adjust your sights or zero your dot.
After the accuracy check, load full magazines and run the gun at speed. Do a bill drill (six shots on one target as fast as you can get acceptable hits) and a few El Presidente runs (start facing away from targets, turn, draw, engage three targets with two shots each, reload, engage again). You're looking for malfunctions, ejection pattern consistency, and whether the dot tracks the way you expect. Any malfunction gets investigated, note which magazine it happened with, what the malfunction looked like (failure to feed, failure to eject, failure to return to battery), and whether it repeats.
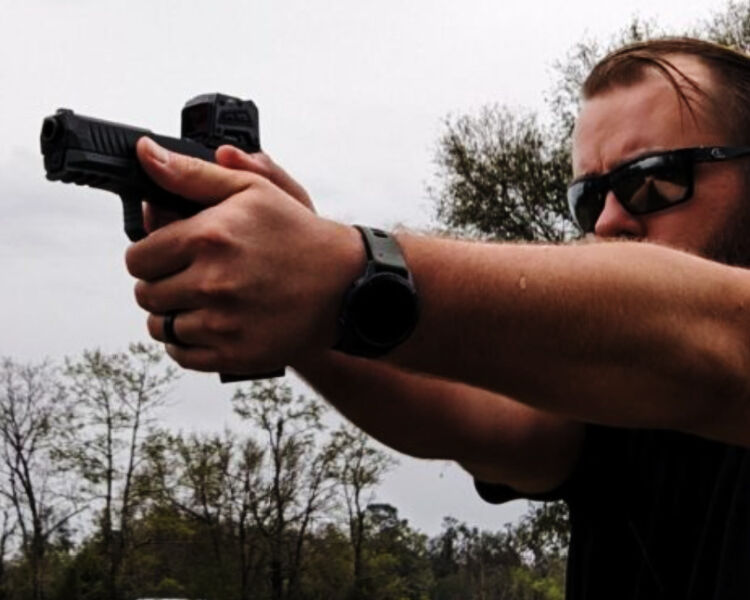
Run at least 300 rounds through the gun before trusting it in a match. If you get through 300 rounds with zero malfunctions, you've got a good starting point. If you're seeing intermittent issues, diagnose them now, not during the classifier stage you've been waiting three months to shoot.
The gun will also tell you if your recoil spring weight is right during this session. Watch the dot during recoil. If it rises sharply and then dips well below your original aiming point before settling, the spring is too light. If the dot barely moves but the gun feels harsh and the slide sounds like it's slamming, the spring may be too heavy. Adjust in 1-pound increments and retest.
A competition pistol is never truly "done." You'll tune the load, adjust the spring, swap the dot, try different grip tape, and probably rebuild the trigger at least once. That's normal. The goal of the initial build is a reliable, accurate platform that you can refine over time based on what you learn in matches and practice. Get the foundation right, frame fit, barrel lockup, reliable magazines, and a trigger you trust, and the rest is tuning. Get the foundation wrong, and no amount of parts-swapping fixes it.
Know when to call a smith. If something doesn't feel right, if the gun is doubling, if you can't get consistent lockup, if the extractor tension won't hold, stop. A qualified competition gunsmith will diagnose the problem faster and cheaper than you can fix the damage from guessing. There's no shame in knowing where your skills end. The shame is in a negligent discharge because you stoned the sear one stroke too many.