
On November 5, 2017, a gunman walked up to the First Baptist Church in Sutherland Springs, Texas, and opened fire on the congregation during Sunday morning service. Twenty-six people were killed. Twenty others were wounded. The attack lasted roughly eleven minutes before a local resident, Stephen Willeford, engaged the shooter with his own AR-15 from across the street.
Willeford wasn't law enforcement. He wasn't a tactical instructor or a competitive shooter. He was a former NRA instructor who lived near the church, heard the gunfire, grabbed his rifle, loaded a magazine, and ran barefoot toward the sound of shooting. He hit the attacker through a gap in the shooter's body armor, ending the attack. The gunman fled in his vehicle, and Willeford flagged down a passing truck driven by Johnnie Langendorff. The two men pursued the shooter at speeds over 90 mph until the attacker's vehicle ran off the road. The gunman was found dead from a combination of Willeford's hits and a self-inflicted wound.
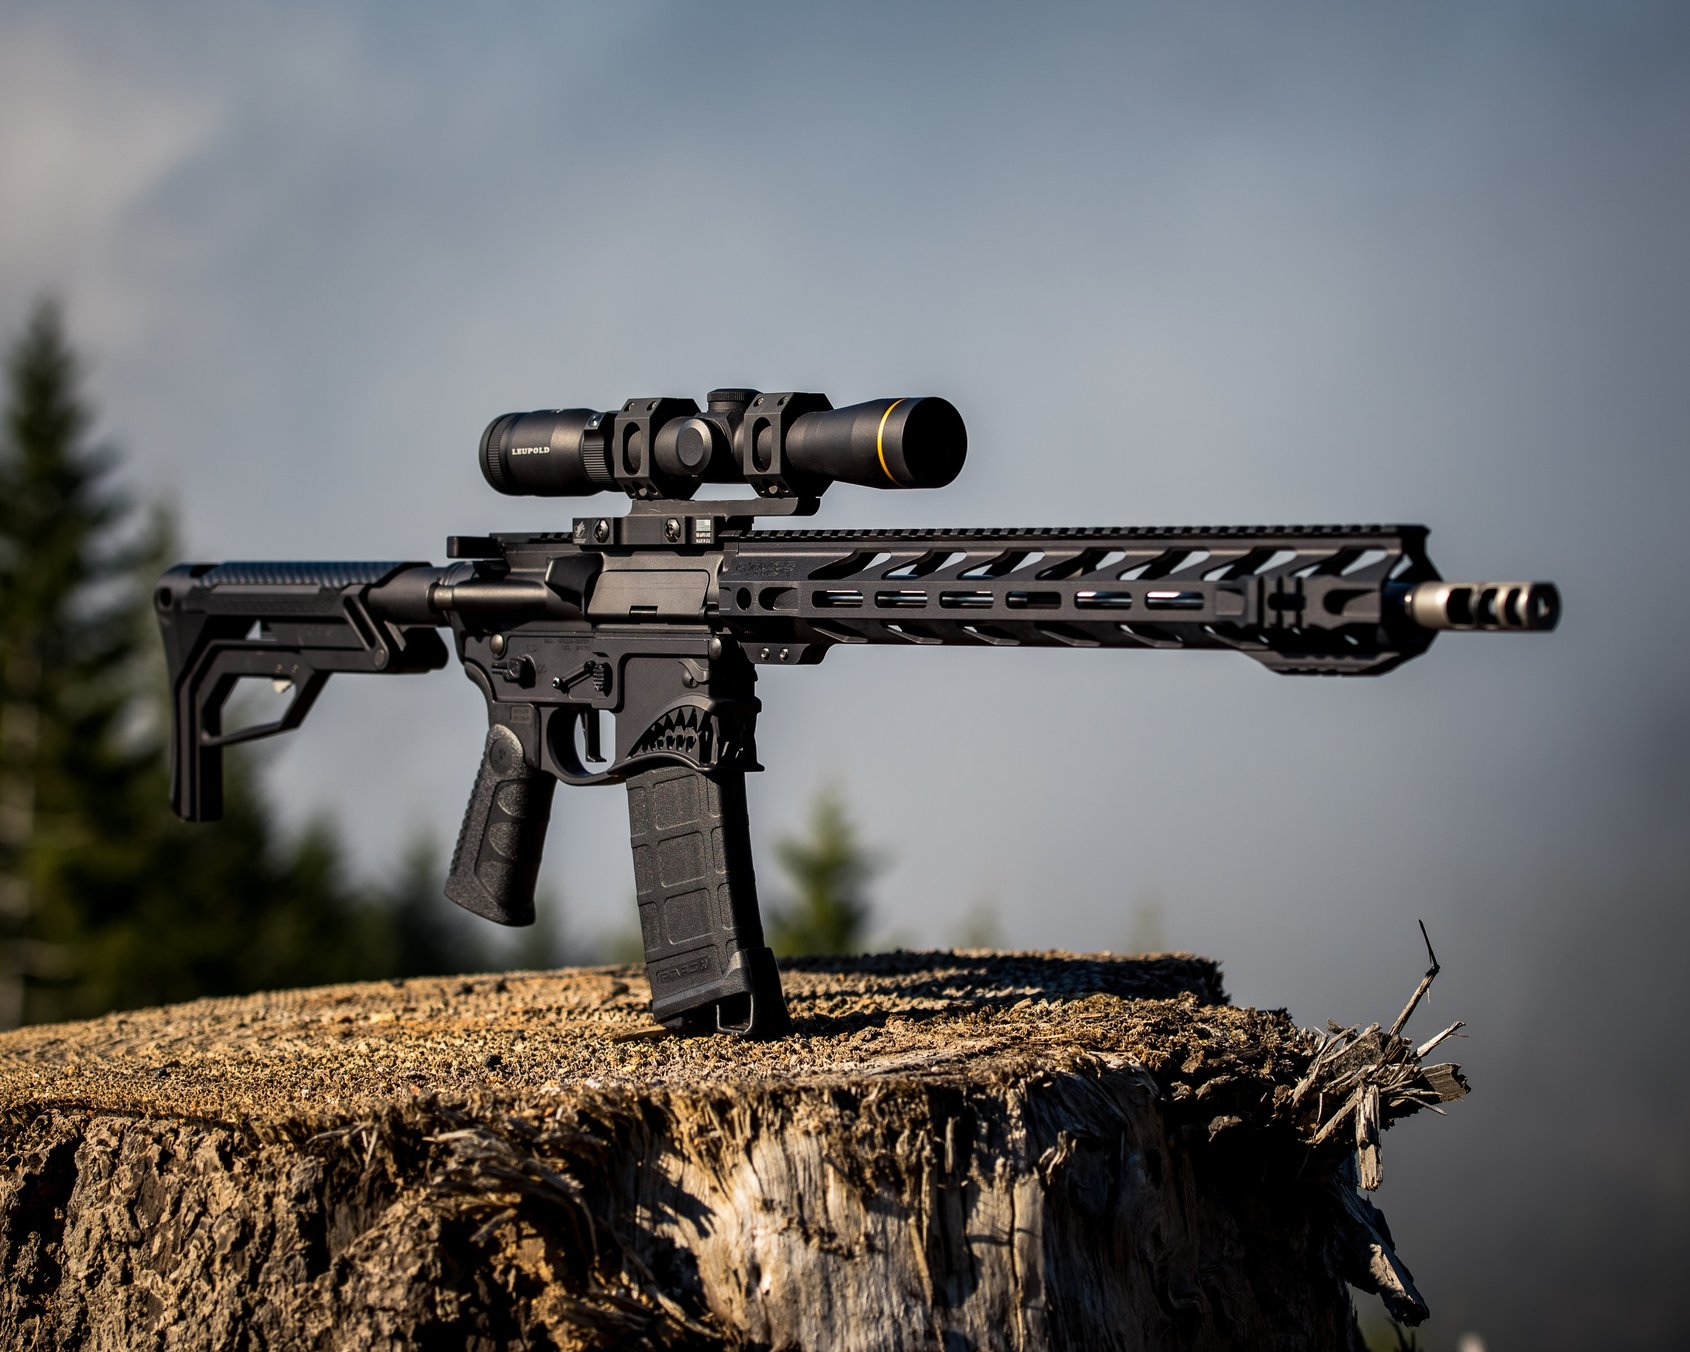
This isn't a political argument. It's a case study. What Willeford did under pressure; retrieve a firearm, load it, move to a position, make hits on a moving and partially armored target at roughly 50 yards, and then pursue; represents a set of skills that can be isolated, practiced, and benchmarked. The goal here is to break down the specific physical and decision-making tasks that mattered in this event and give you concrete drills to pressure-test those skills in your own training.
What actually happened, stripped to the skills
Before building practice blocks, you need to understand the timeline and the specific actions that mattered. Most retellings focus on the narrative. We're going to focus on the task list.
Willeford was at home when his daughter told him she'd heard gunfire from the direction of the church. He went to his gun safe, retrieved his AR-15, and loaded a magazine. He didn't have shoes on. He didn't have a plate carrier. He ran across the street to the church with one rifle and one magazine.
The shooter was outside the church at that point, moving between the building and his vehicle. Willeford took a position behind a truck and engaged. The distance was approximately 50 yards; some accounts say slightly less. The shooter was wearing a ballistic vest, which means center-mass hits alone weren't enough to stop the fight. Willeford hit the attacker in the side, in a gap in the armor, and also hit him in the leg. The shooter dropped his rifle and got into his SUV.
Here's the task list, distilled:
Recognize a lethal threat from auditory cues alone (gunfire, not visual confirmation)
Retrieve a stored firearm and load it under stress
Move to the fight, not away from it
Establish a shooting position behind available cover at roughly 50 yards
Make precision rifle hits on a partially armored, moving target
Transition from static engagement to a mobile pursuit
Maintain readiness during the pursuit and after the vehicle stopped
Not every one of those tasks is something you can drill on a square range. But most of them are. And the ones you can't replicate exactly; like the decision to move toward gunfire; are informed by how much confidence you have in the skills you can practice.
Practice block 1: cold rifle retrieval and load
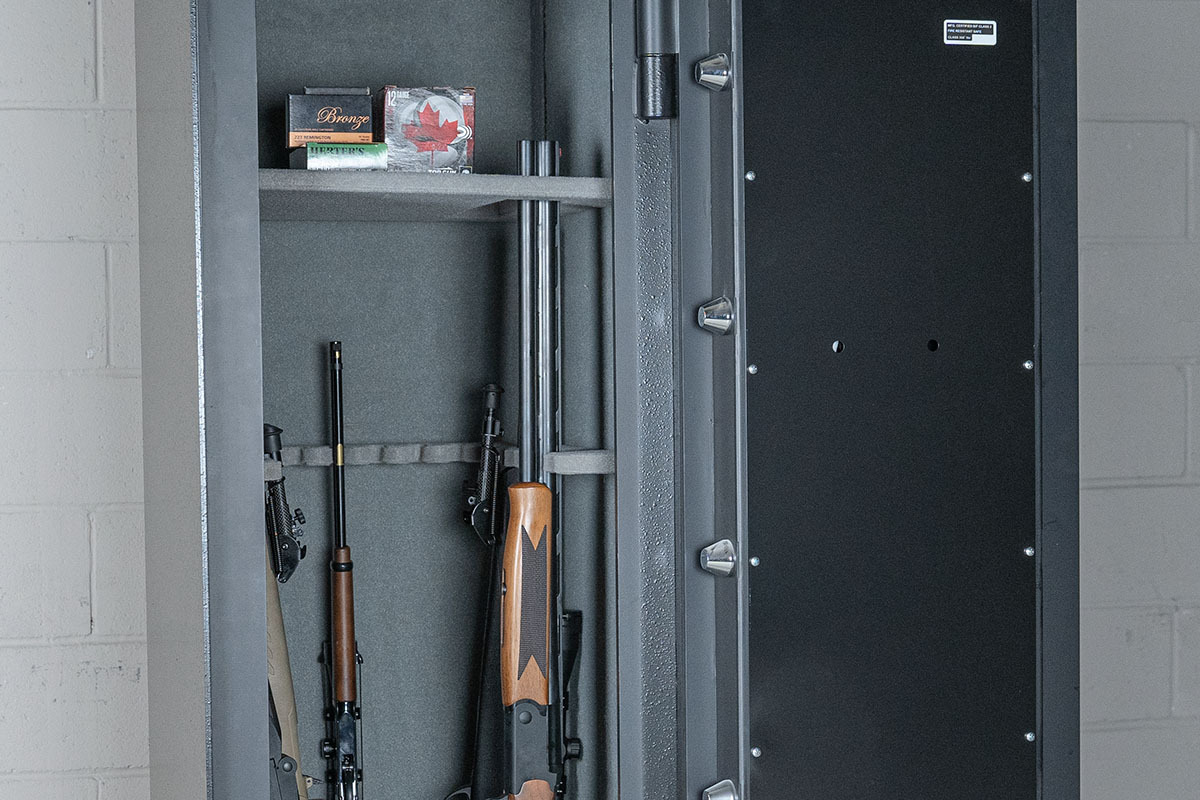
Most people who keep a home defense rifle store it in a safe or a closet. That's smart. But how fast can you actually get to it, get a magazine seated, charge the weapon, and be ready to fire? Most people have never timed this. Willeford had to open a safe, retrieve his AR-15, and load a magazine; all while processing the reality that someone was killing people a few hundred feet away.
The drill
Start with your rifle in whatever storage condition you actually keep it in. Unloaded, in the safe, magazine stored separately; whatever your real setup is. On a start signal (or just a timer beep), retrieve the rifle, load a magazine, charge the weapon, and assume a standing ready position. Time it.
The first time you do this, you'll fumble. You'll drop the magazine, or you'll forget the combination under the minor stress of a timer. That's the point.
Run it five times. Track each time. Your goal is consistency, not just speed. A reasonable benchmark for retrieving a rifle from a locked safe, loading, and charging is under 30 seconds. If your storage setup makes that physically impossible; if you're running upstairs, unlocking two locks, and digging through a shelf; that's diagnostic information about your storage plan, not just your speed.
Dry fire notes
You can run this drill completely dry. Use a dummy magazine or an empty mag. The physical actions are identical: open safe, grab rifle, seat magazine, charge. The timer still works. The fumble factor is still real. Run it once a week for a month and watch the times compress.
What people get wrong
The biggest mistake is never timing it at all. The second biggest is storing the rifle in a configuration that's fast to access but not secure, or secure but takes two minutes to deploy. There's a balance, and you won't find it without a timer.
Some people also practice this drill in a calm, methodical way and assume they'll perform the same under stress. They won't. Even the minor pressure of a beeping timer degrades fine motor skills. A shot timer or a phone app with a par time is enough to introduce that pressure.
Practice block 2: precision rifle at 50 yards from behind cover
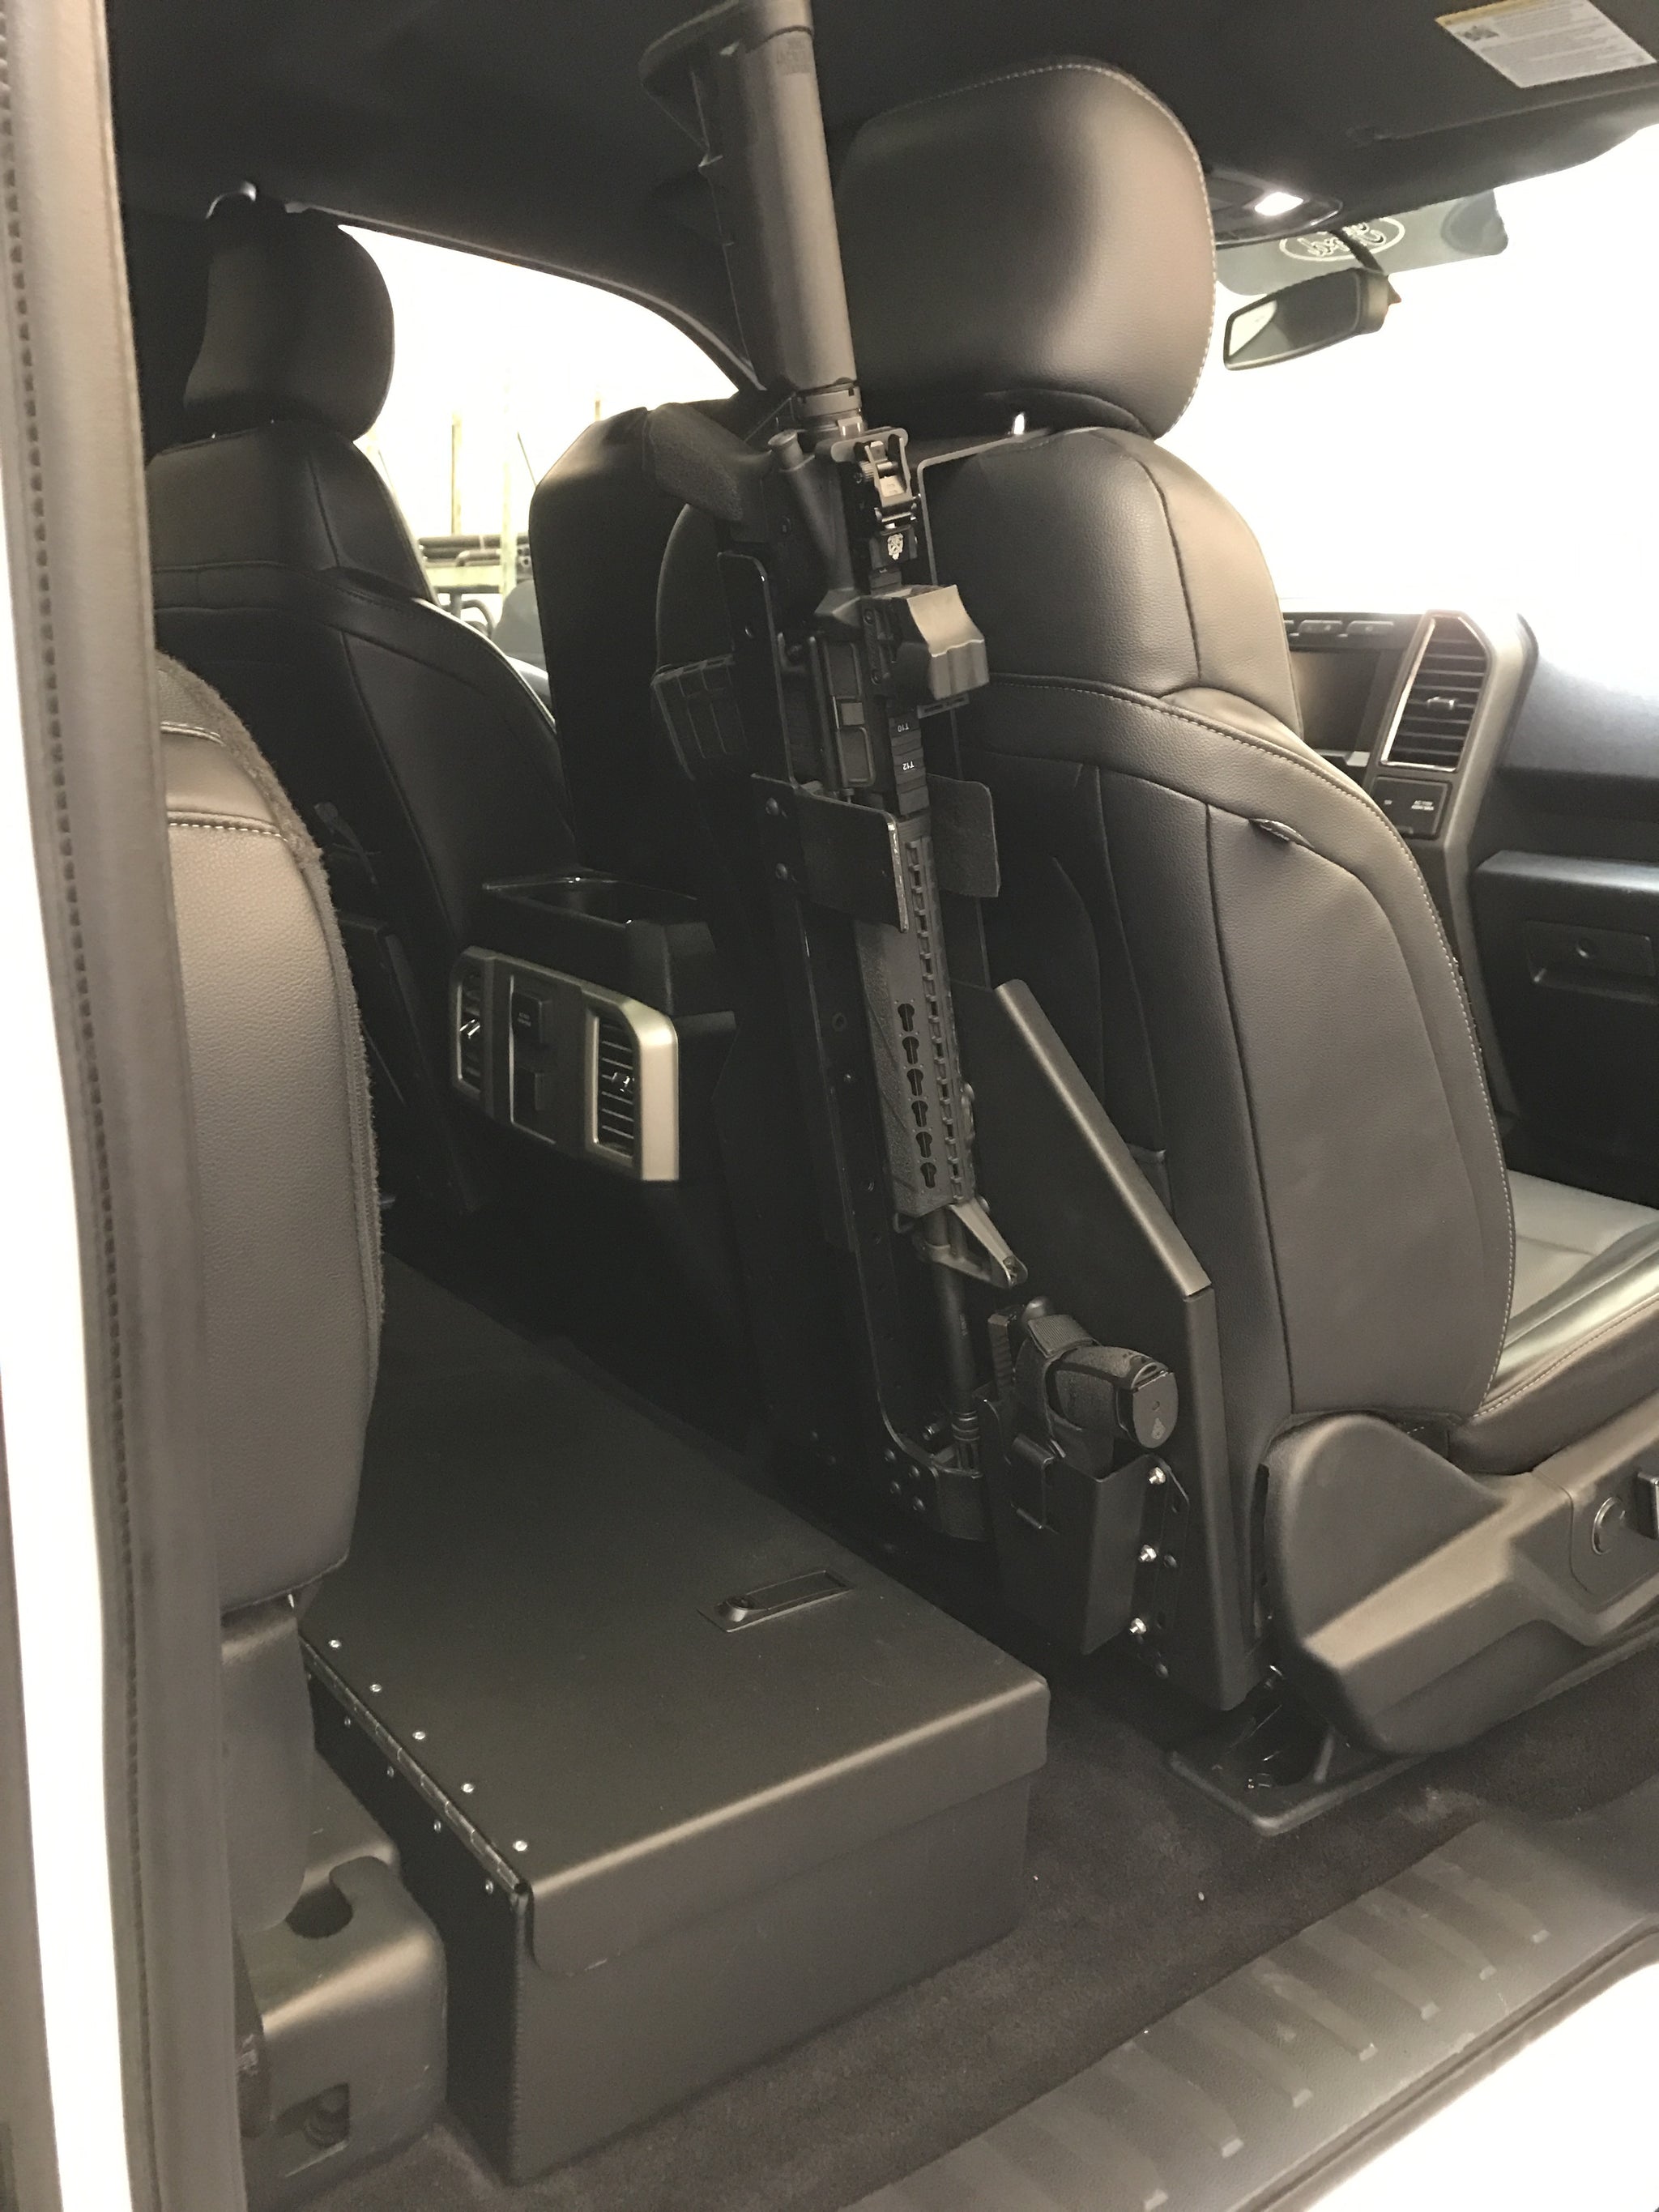
This is the core shooting task of the Sutherland Springs engagement. Willeford took a position behind a truck and made hits on a human-sized target at approximately 50 yards. That's not a long shot for a rifle. But it's not a gimme, either; especially when you're barefoot, breathing hard from sprinting, and shooting at someone who's shooting back.
Most recreational rifle shooters bench their AR at 100 yards and call it training. That's zeroing, not fighting. The difference is position, stress, and time pressure. Willeford wasn't prone on a bench. He was crouched or kneeling behind a vehicle, using the engine block and wheel well as cover, and he had to place shots precisely enough to find gaps in body armor.
The drill: 50-yard precision from cover
Set up an IPSC or IDPA silhouette target at 50 yards. If you have access to an anatomy-zone target that marks the high chest, side torso, and pelvic region separately, use that. If not, tape a 6-inch circle on the upper chest area and a second 6-inch circle on the hip/pelvic area.
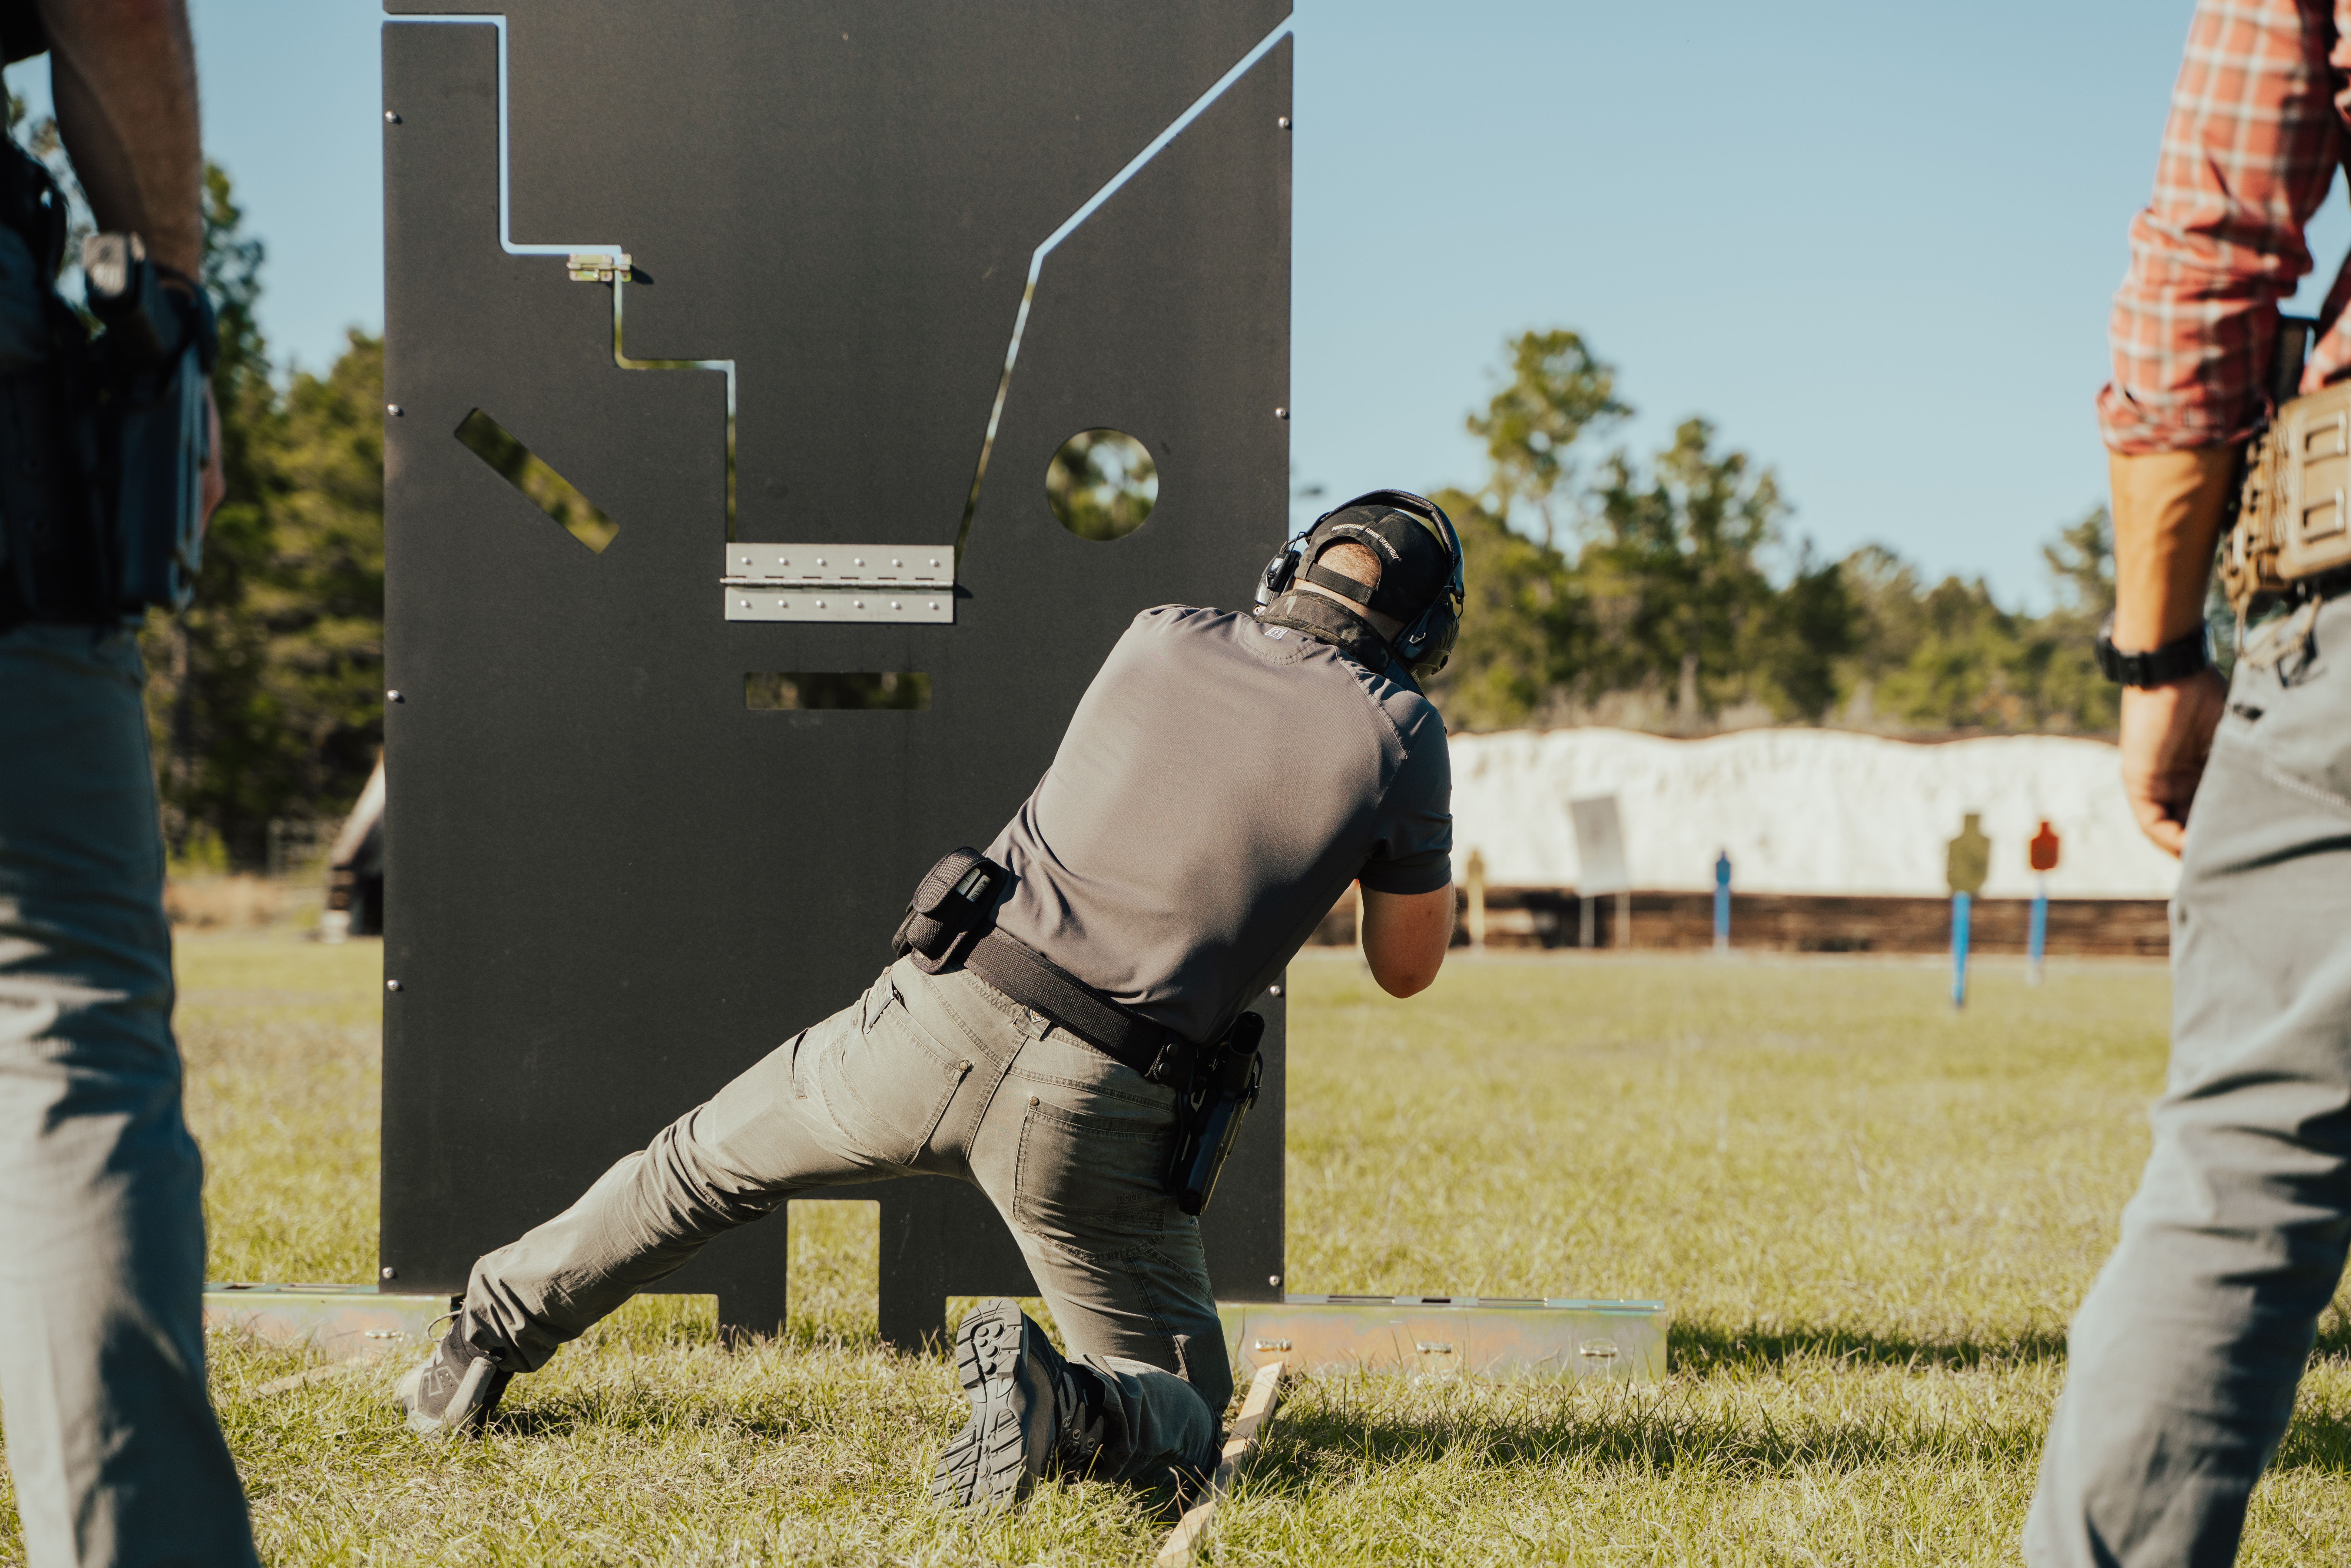
Start standing behind a barricade, vehicle, or any solid object that simulates cover. On the buzzer, assume a kneeling or crouched position behind cover and fire five rounds at the upper circle, then five rounds at the lower circle. Par time: 20 seconds for all ten rounds.
The standard: 8 out of 10 hits inside the 6-inch circles. If you're getting 10 out of 10 with time to spare, shrink the circles to 4 inches or cut the par time to 15 seconds.
What you'll feel when it clicks
The temptation is to rush the first shot. You just sprinted to cover, you're amped up, and you want to start putting rounds on target immediately. But the first shot from behind cover is the most important one; it tells the threat that someone is shooting back. If that first shot misses wide, you've announced your position without changing the fight. When this drill starts clicking, you'll notice that you're taking an extra half-second to settle the reticle or irons before breaking the first shot, and your split times after that are faster because you've established a stable position.
Simulating the stress component
If your range allows it, run 50 yards to the firing line before shooting this drill. Sprint, not jog. Arrive at the barricade breathing hard, heart rate elevated, and then try to make those same precise hits. This is closer to what Willeford actually experienced. Most shooters lose 30-50% of their precision when their heart rate is above 140 bpm. Knowing where your accuracy degrades; and training at that threshold; is how you push the degradation curve.
If your range doesn't allow running, do 20 burpees before stepping to the line. It's not the same, but it gets your heart rate up enough to feel the wobble in your sight picture.
Practice block 3: shooting around and through vehicles
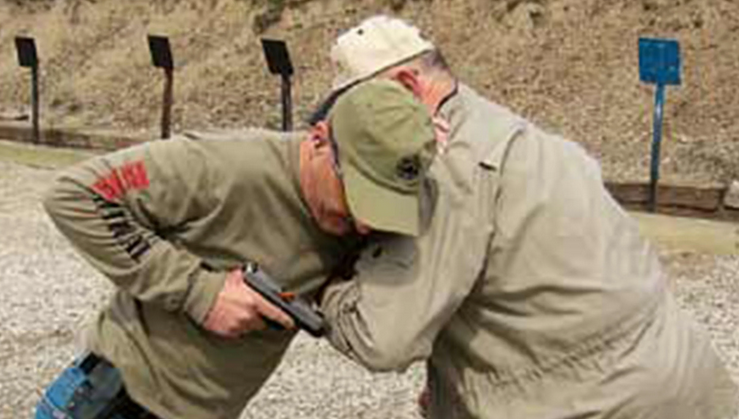
Willeford used a truck as cover. Most shooters have never practiced shooting from behind a vehicle, and the mechanics are different from shooting around a flat barricade. Vehicles have wheel wells, engine blocks, pillars, and odd angles. They also have parts that won't stop bullets; doors, for instance, are not cover against rifle rounds. The engine block and the wheels are the only parts of a standard passenger vehicle that reliably stop rifle fire.
The drill
If you have access to a range with a vehicle prop (some tactical ranges and outdoor facilities have decommissioned cars), use it. If not, simulate with a barricade and two traffic cones placed to represent the front and rear wheel wells; these are your "cover" zones.
Set a silhouette at 30-50 yards. Start standing behind the "vehicle." On the buzzer, move to the driver-side front wheel area, assume a kneeling position, and fire three rounds. Then transition to the rear wheel area and fire three more rounds. Par time: 12 seconds.
The standard: all six rounds in the upper A-zone (roughly 8 inches wide on an IPSC target). Any miss outside the A-zone means you're rushing the transition or losing your position behind cover during the move.
Common mistakes
Exposing too much of your body is the number one error. When you move from front cover to rear cover on a vehicle, your natural tendency is to stand up and walk. That silhouettes your entire torso. Practice staying low during the transition; duck walk, combat crouch, whatever keeps your head below the hood line.
The second mistake is crowding the cover. If you're pressed right against the vehicle, you have almost no angle to engage a target that's offset. Give yourself 12-18 inches of standoff from the cover object so you can work angles without exposing your whole body to do it.
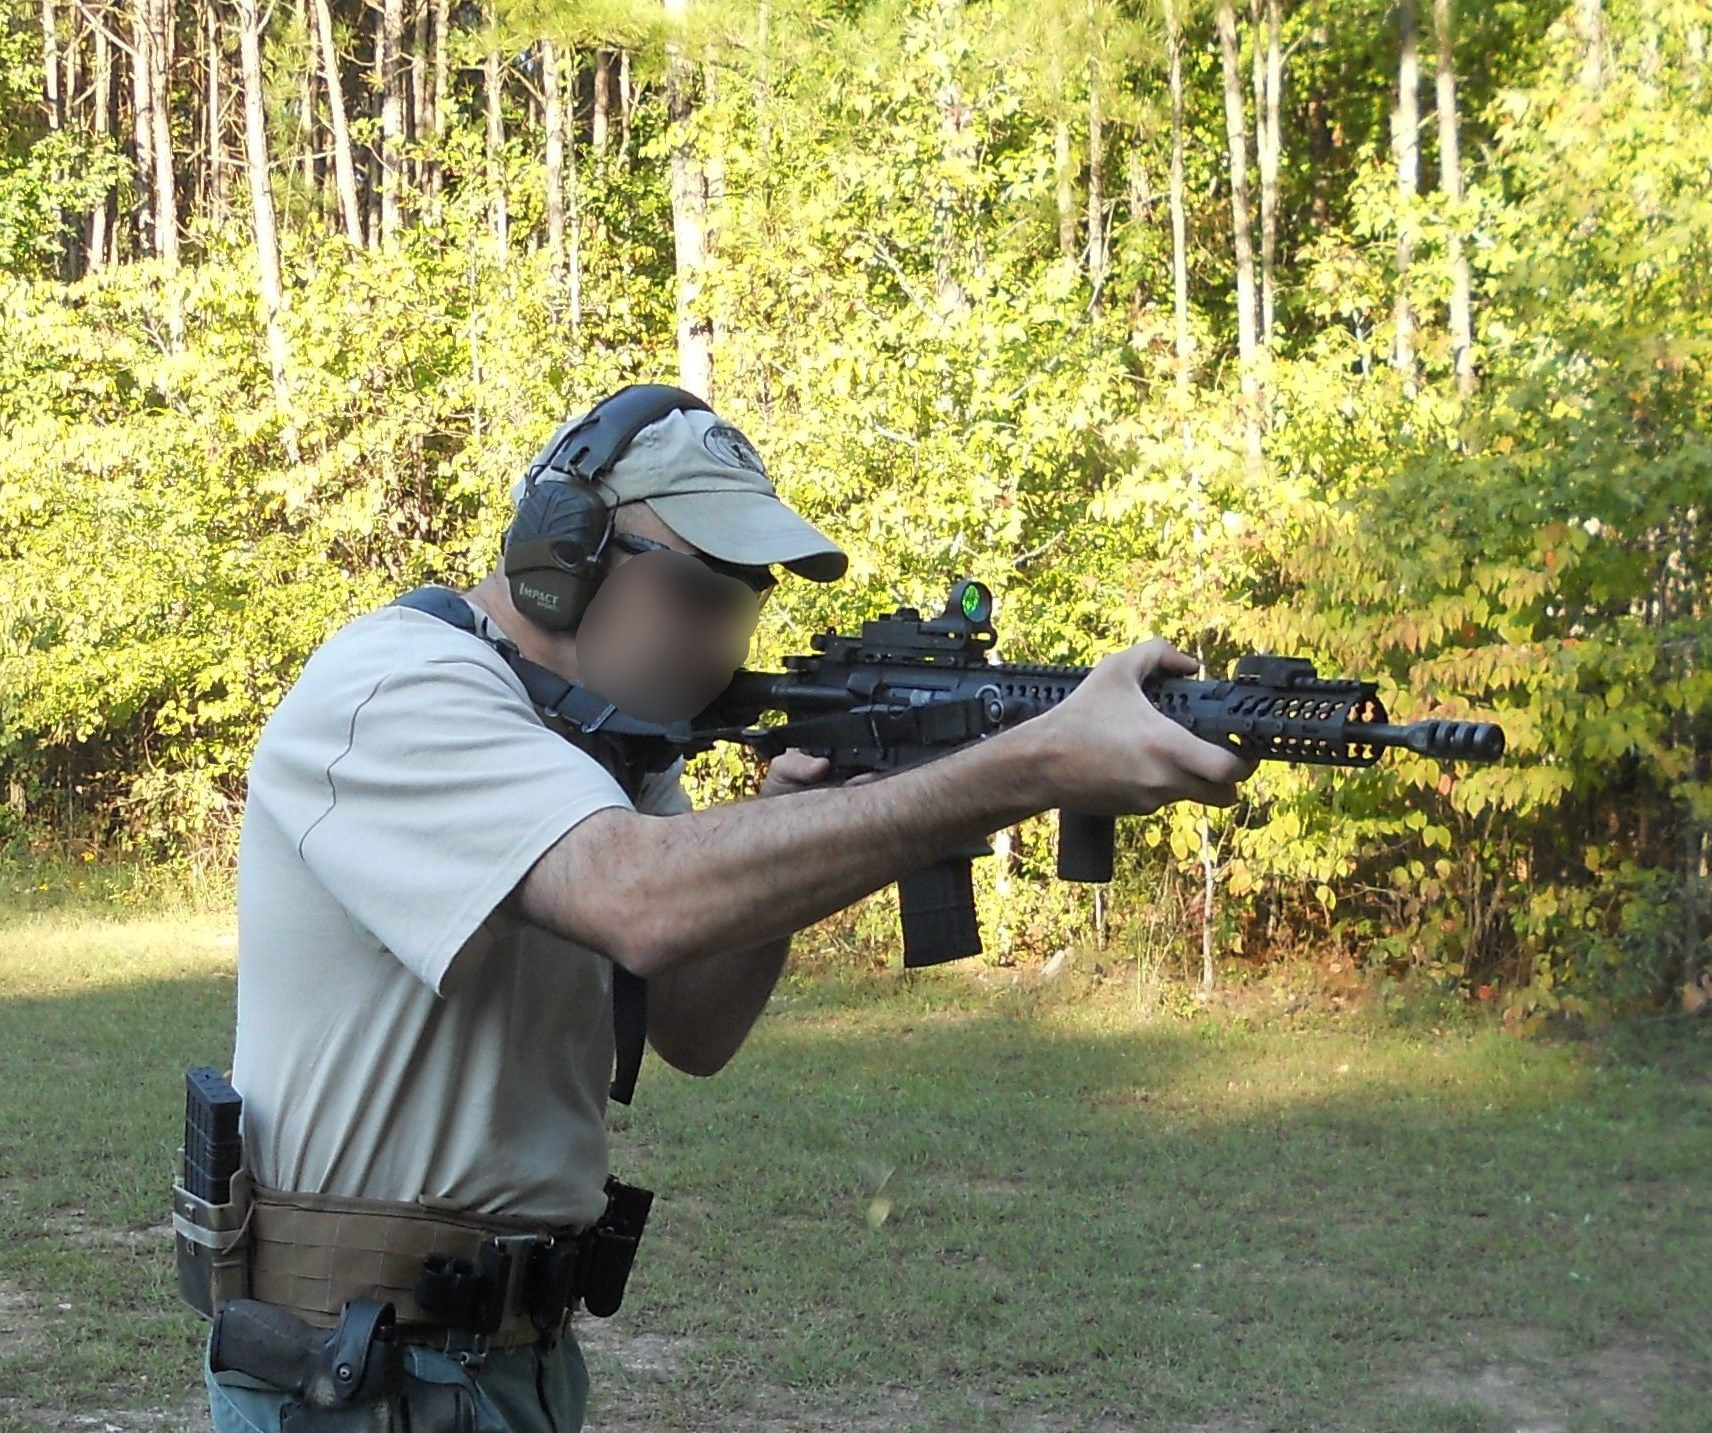
Third, people forget to switch shoulders. If you're shooting around the left side of a vehicle, you need to shoot left-handed (or at minimum, switch the rifle to your left shoulder) to minimize exposure. If you've never shot your rifle from your support side, that's a skill gap, and this is the drill that exposes it.
Practice block 4: support-side shooting
This gets its own section because it mattered in Sutherland Springs and it matters in any engagement around cover. Willeford was working around a vehicle, which means at some point he was almost certainly presenting the rifle from his support side. Even if he wasn't, any realistic cover-based engagement requires it.
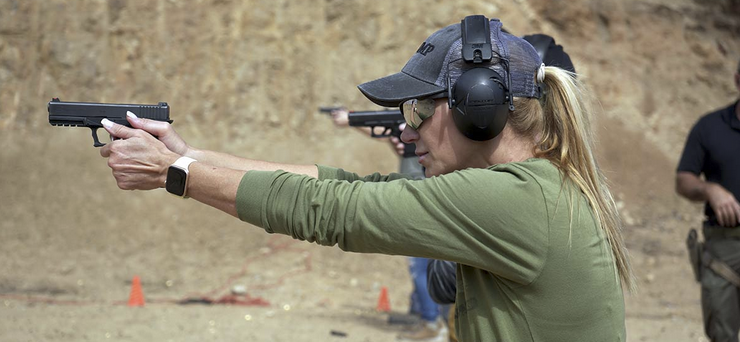
Most right-handed shooters have never fired their rifle left-handed. The first time they try, the results are ugly; shots scatter, the cheek weld feels wrong, the trigger finger is uncoordinated, and the whole experience feels like learning to write with your off hand.
The drill: support-side fundamentals
Distance: 25 yards. Target: 8-inch paper plate or circle. Start from a low ready position with the rifle on your support-side shoulder. Fire five rounds. No par time for the first session; just get hits.
Once you can keep five out of five on the plate at 25 yards, add a par time of 10 seconds. Then shrink it to 8. Then move the target to 50 yards.
The benchmark for competence: keeping all rounds inside an 8-inch circle at 25 yards in under 8 seconds, from your support side. That's not fast. It's not impressive. But it means you can make fight-relevant hits from behind cover without exposing your whole body to do it.
Dry fire notes
This is one of the highest-value dry fire skills you can practice. Mount the rifle on your support shoulder, acquire a sight picture on a small target across the room, and practice pressing the trigger without disturbing the sights. Do this for five minutes, three times a week. Within a month, your support-side shooting will feel 70% as natural as your strong side. That's enough.
Practice block 5: the decision to move toward the threat
This isn't a marksmanship drill. It's a mindset and decision-making exercise, and it's arguably the most important practice block on this list.
FBI data on active shooter incidents from 2000 to 2018 shows that in cases where citizens intervened to stop the attack, the majority of those interventions happened before law enforcement arrived. In Sutherland Springs, the nearest law enforcement response was minutes away. The church was in a rural community of about 600 people. Willeford's intervention was the only thing that stopped the killing when it stopped.
The decision to move toward gunfire is not something you can drill on a timer. But you can prepare for it by having a pre-made decision framework; essentially, thinking through scenarios in advance so that the decision isn't novel when it matters.
The exercise
Sit down with a notebook. Pick three locations you frequent: your home, your workplace, your place of worship or a regular gathering spot. For each one, answer these questions:
Where is my firearm? How long does it take to retrieve and load? What is the most likely direction of a threat? Where is the nearest hard cover between me and that threat? What is my first move; toward the threat, toward my family, toward an exit? Who else is in the building, and what is their most likely location?
This isn't paranoia. It's the same thing you do when you check where the emergency exits are on an airplane. You're not expecting a crash. You're making sure the decision is pre-loaded so you don't freeze.
Willeford has said in interviews that he didn't hesitate because he'd already thought about what he would do if something like this happened. The decision was made before the event. The event just triggered the execution.
What people get wrong
The biggest error is assuming you'll rise to the occasion. You won't. You'll default to your level of preparation. If you've never thought about what you'd do, you'll stand in your living room trying to process what's happening while seconds burn. If you've thought about it; even just on paper; the first few seconds of response are faster because the decision tree has already been partially walked.
The second error is assuming that moving toward the threat is always the right answer. It's not. If you have family members to protect and the threat is not in your immediate area, your first job might be to consolidate your family, arm yourself, and hold a defensive position. Context matters. The pre-planning exercise forces you to think through that context before you're under stress.
Practice block 6: shooting on the move and from unconventional positions
After Willeford hit the shooter and the attacker fled in his vehicle, Willeford ran to the road and flagged down Johnnie Langendorff's truck. The two men pursued the shooter at high speed. Willeford was in the passenger seat of an unfamiliar vehicle, rifle in hand, maintaining readiness to re-engage if the shooter stopped and presented a threat.
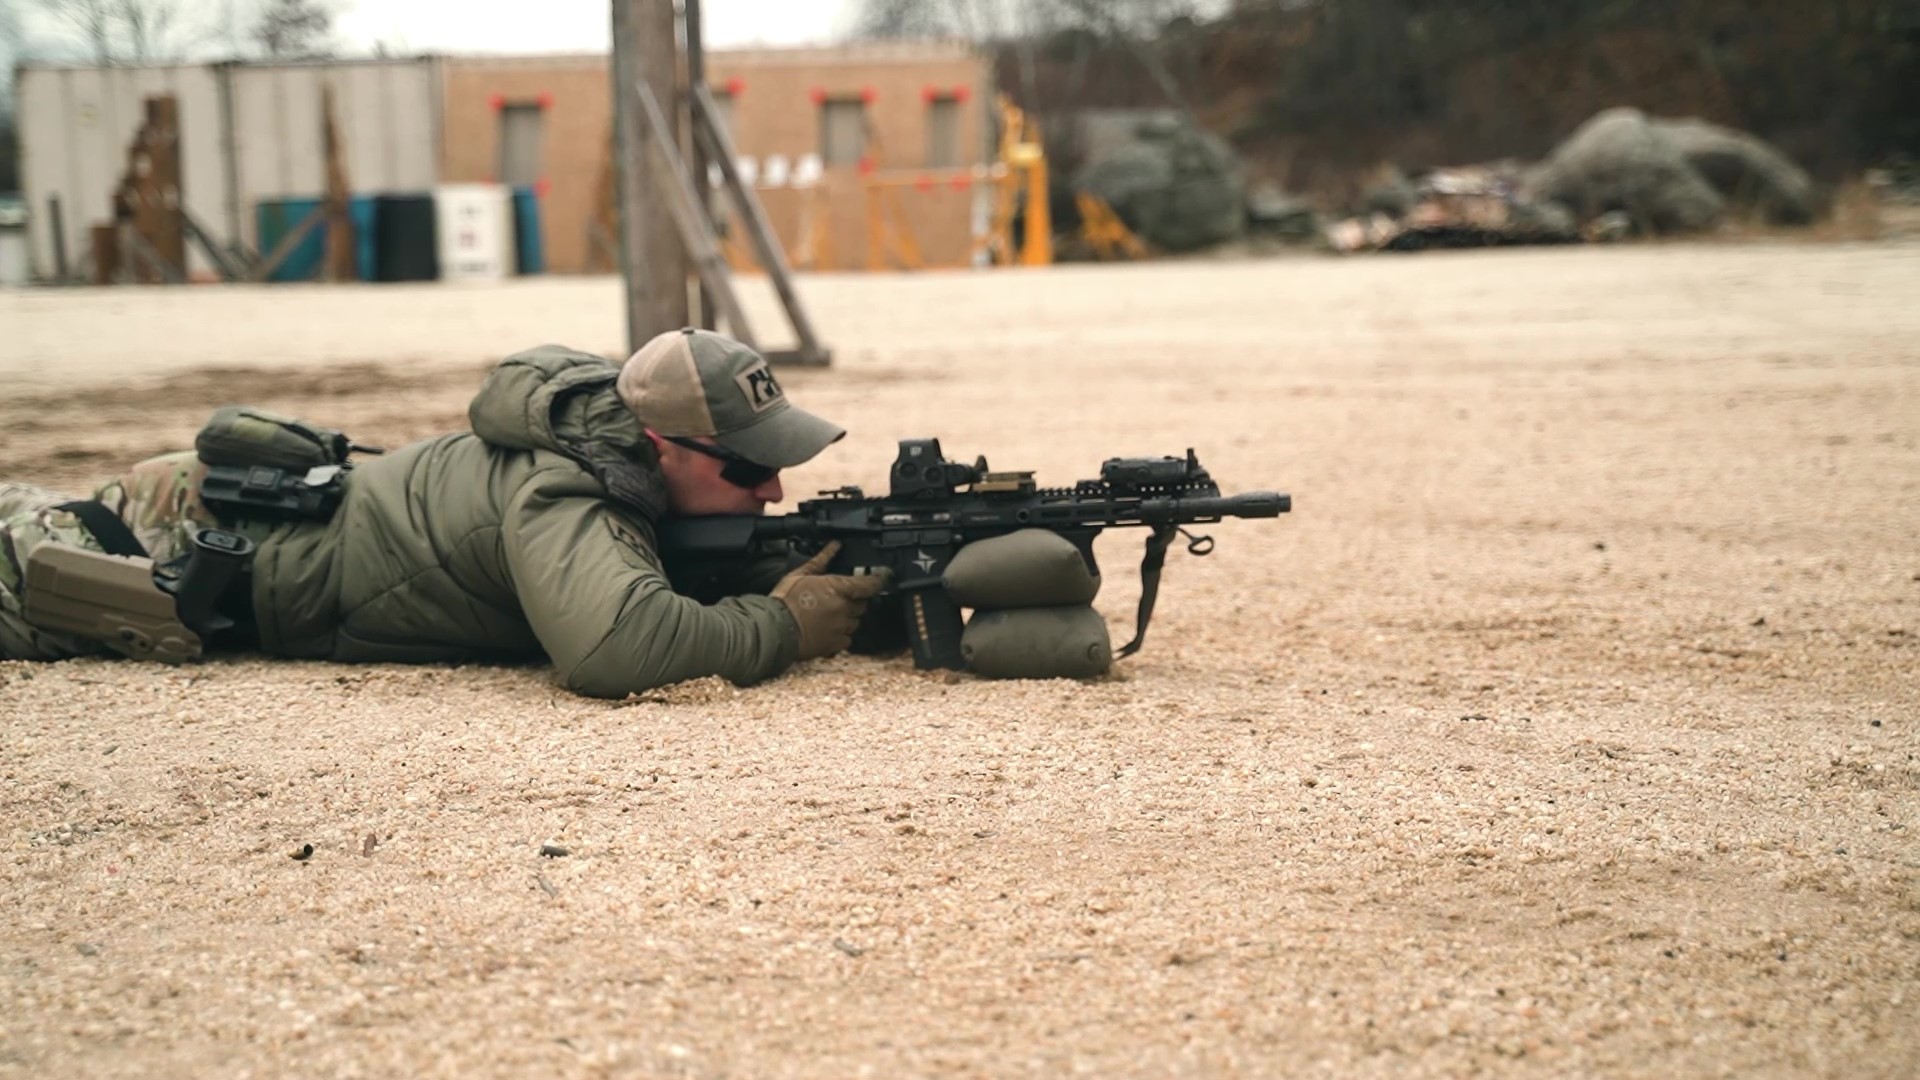
Shooting from inside a vehicle is a specialized skill that most ranges won't let you practice. But the underlying components; maintaining muzzle discipline in a confined space, being ready to deploy from an awkward position, and transitioning from a mobile platform to a shooting position; can be approximated.
The drill: rapid deployment from seated
Sit in a chair (simulating a vehicle seat) with your rifle across your lap, muzzle oriented safely. On the buzzer, stand, move two steps to a barricade, assume a shooting position, and fire three rounds at a silhouette at 25 yards.
Par time: 5 seconds. Standard: all three rounds in the upper A-zone.
This isn't a perfect simulation of exiting a vehicle, but it trains the transition from seated-with-rifle to fighting position. The chair forces you to deal with the rifle in a confined space, and the two-step movement to the barricade simulates getting to cover after dismounting.
Range notes
If you train at an outdoor range that allows vehicle access to the firing line, you can run this drill from an actual vehicle. Start seated in the passenger seat, door closed, rifle across your lap (unloaded, action open, until you're at the firing point). On the signal, open the door, exit, move to cover, load, and engage. This is as close as you'll get to replicating the end of the Sutherland Springs pursuit without a dedicated tactical facility.
Always clear this with your range officer first. Most public ranges won't allow it. But if you have access to private land or a tactical training facility, it's worth running at least once to feel how different it is from standing at a bench.
Practice block 7: one magazine, make it count
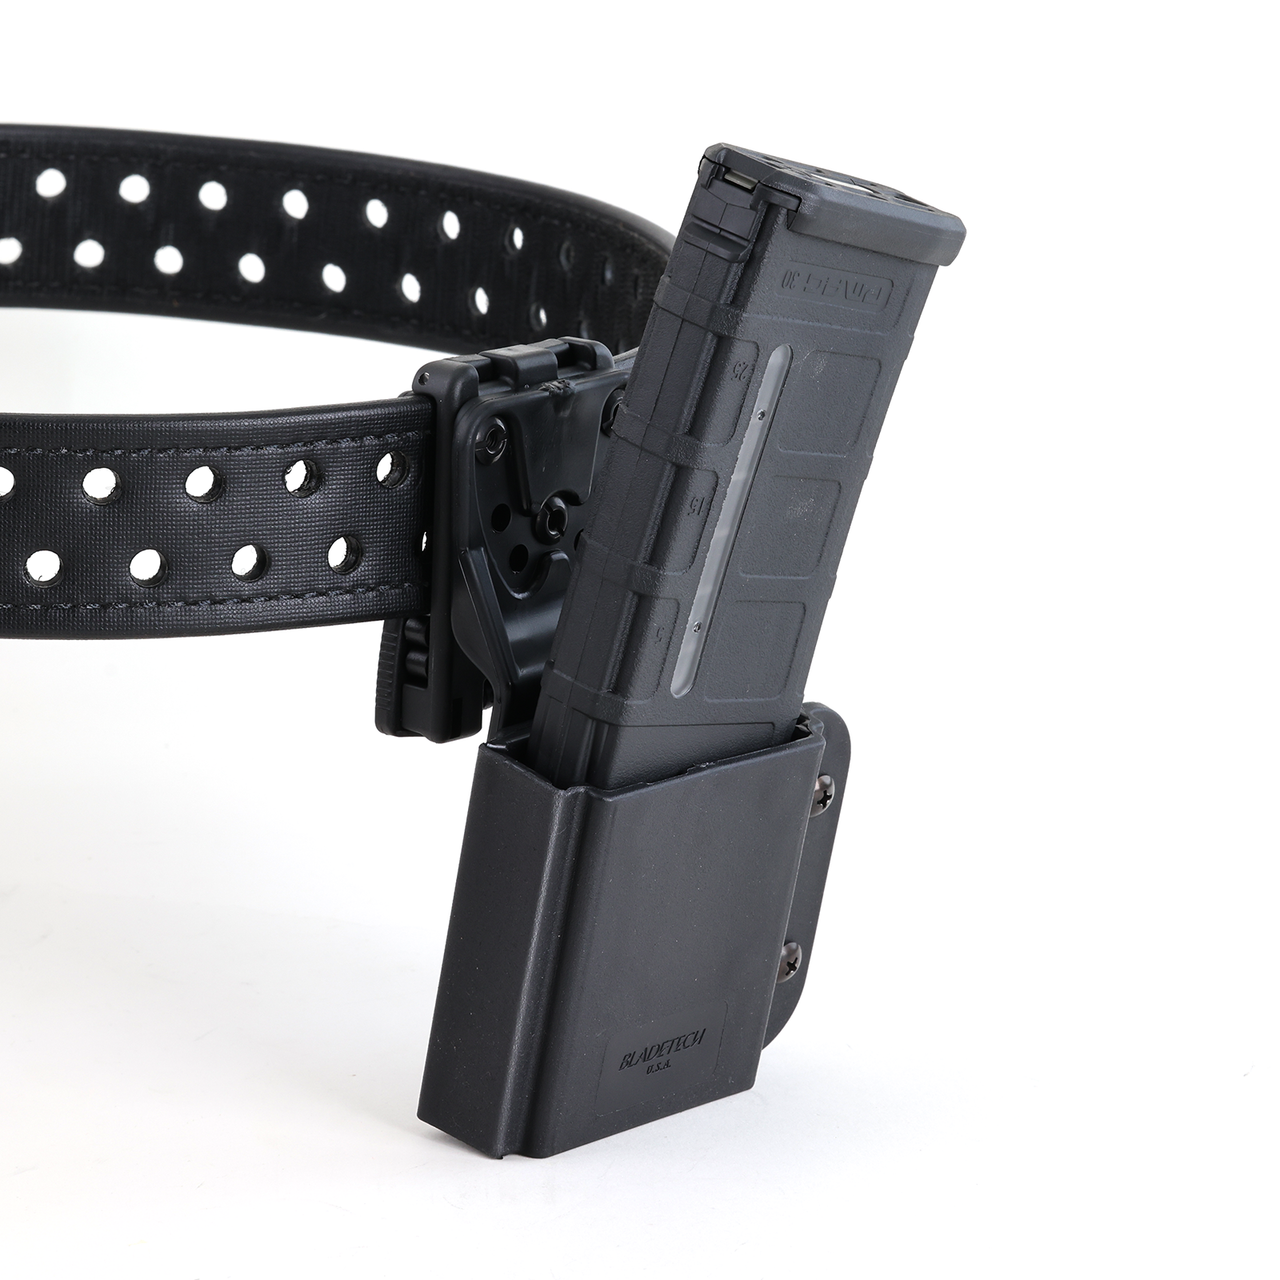
Willeford grabbed one magazine. He's described loading it by hand from loose rounds before running to the church. He didn't have a chest rig full of mags. He had one rifle and one magazine; likely 30 rounds, possibly fewer depending on how many he was able to load under stress.
This is a reality check for the "just bring more ammo" mindset. In an actual emergency, you might have what you can grab in 15 seconds. Every round matters. Every miss is a round you don't get back.
The drill: the 20-round diagnostic
Load one magazine with exactly 20 rounds. Set up four targets at 25 yards: two IPSC silhouettes and two 8-inch circles (or paper plates). Engage each target with five rounds, transitioning between targets. Par time: 40 seconds for all 20 rounds.
Scoring: count only hits inside the A-zone on the silhouettes and inside the circles on the plates. Your score is hits divided by 20. Ninety percent (18/20) is the standard. Below 80% means you're rushing transitions or losing sight picture between targets.
The constraint of 20 rounds forces economy. You can't hose a target and hope for the best. Every trigger press has to be deliberate. This is the mindset Willeford was operating under; limited ammunition, no resupply, every shot needs to count.
Track it
Run this drill at the start of every range session, cold, before you've warmed up. Write down your score and your time. Over ten sessions, you'll see a trend. If your score improves but your time stays flat, you're getting more efficient. If your time drops but your score drops with it, you're chasing speed at the expense of accuracy. The trend is the teacher.
Practice block 8: armor awareness and shot placement
The Sutherland Springs shooter was wearing a ballistic vest. Standard soft body armor (Level IIIA) stops most handgun rounds. Even some rifle-rated plates won't cover the entire torso; they protect the heart and lungs in front and back, but leave the sides, lower abdomen, pelvis, and extremities exposed.
Willeford's effective hits were reportedly to the attacker's side (in the gap between front and back armor panels) and to the leg. This wasn't luck; it was the result of aiming at what was available, not just defaulting to center mass.
The drill: failure to stop, expanded
The classic failure-to-stop drill is two to the body, one to the head. That's fine for an unarmored threat. Against a target wearing visible armor, the calculus changes. You need to be able to identify and hit the areas that armor doesn't cover: the high neck/head, the sides of the torso below the armpit, the pelvis, and the upper legs.
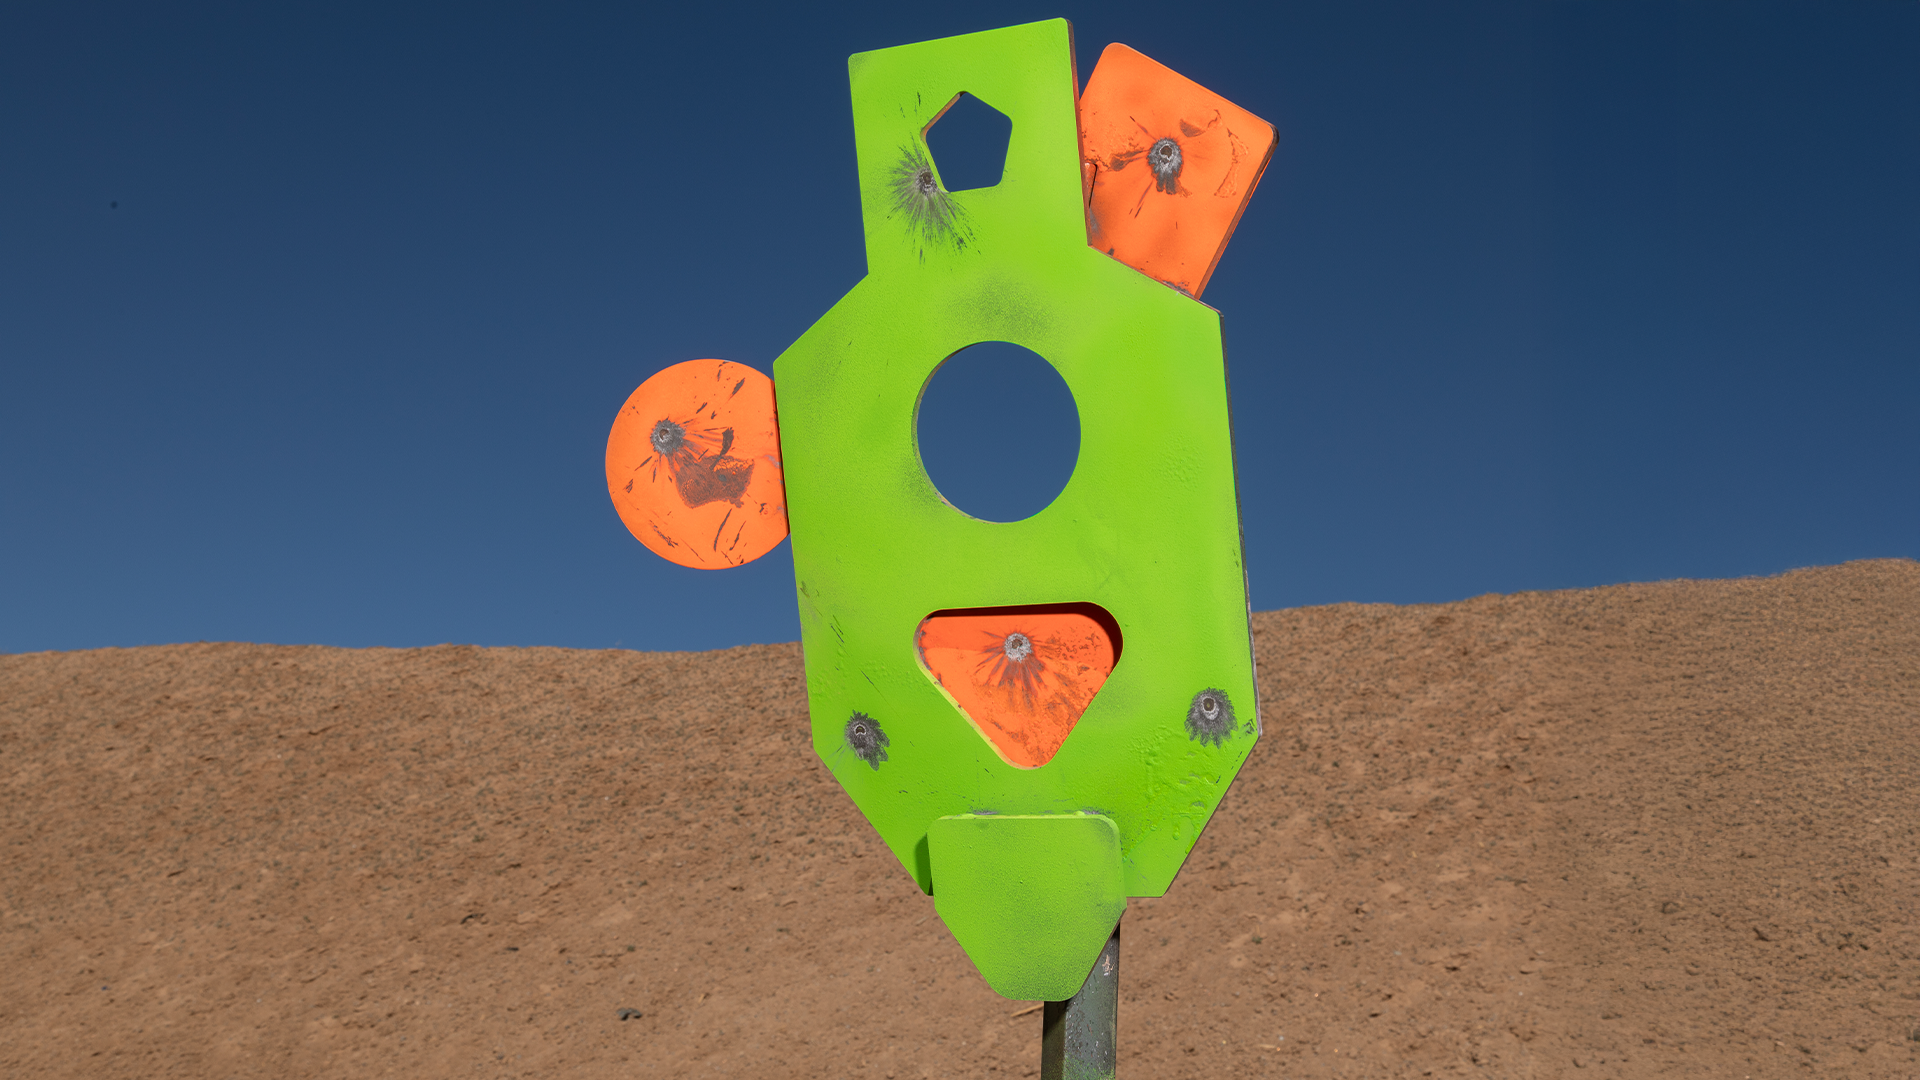
Set up a silhouette at 15 yards. Mark the following zones with tape or a marker: a 4-inch circle on the head, two 4-inch circles on the sides of the torso (armpit level), and a 6-inch circle on the pelvic region. These are your "armor gap" targets.
Fire two rounds at the chest (simulating your initial engagement before you realize the target is armored). Then transition to any of the marked zones and fire two more rounds. Par time: 4 seconds for all four rounds.
The standard: both follow-up rounds must be inside the marked zone. If you're hitting the chest fine but missing the transition shots, you're not adjusting your point of aim quickly enough. Slow down the transition by half a second and see if your hits improve.
Why this matters
Body armor is more common than it used to be. Multiple mass casualty attackers in recent years have worn some form of ballistic protection. If your entire shooting practice is built around center-mass hits on an unarmored silhouette, you have a significant gap in your skill set. You don't need to be a trauma surgeon to understand where armor doesn't cover. You just need to practice putting rounds in those places.
Putting it together: a 100-round range session
Here's how to run all of this in a single range session with 100 rounds of rifle ammunition. This assumes you have access to barricades or cover props and can set targets at 15-50 yards.
Warm-up (0 rounds): Run the cold retrieval drill from Practice Block 1 twice, dry. Time both reps.
Drill 1, 50-yard precision from cover (10 rounds): Practice Block 2. Five rounds at each 6-inch circle from behind a barricade at 50 yards. Record hits.
Drill 2, Vehicle cover transitions (12 rounds): Practice Block 3. Two reps of the front-to-rear cover transition drill. Six rounds per rep. Record hits and times.
Drill 3, Support-side shooting (10 rounds): Practice Block 4. Two sets of five rounds at an 8-inch circle at 25 yards, support side only. Record hits.
Drill 4, Seated deployment (12 rounds): Practice Block 6. Four reps of the seated-to-barricade drill. Three rounds per rep at 25 yards. Record times and hits.
Drill 5, 20-round diagnostic (20 rounds): Practice Block 7. One magazine, four targets, 25 yards. Record score and time.
Drill 6, Armor gap transitions (16 rounds): Practice Block 8. Four reps of the expanded failure-to-stop drill at 15 yards. Four rounds per rep. Record hits on marked zones.
Drill 7, Repeat 50-yard precision (10 rounds): Same as Drill 1, but now you're 70+ rounds into the session. Your arms are tired, your focus is fading. This is where you find out if your fundamentals hold up under fatigue.
Cool-down (10 rounds): Shooter's choice. Slow fire at 50 yards, one round at a time, focusing on the cleanest trigger press and sight picture you can manage. No timer. Just fundamentals. These last ten rounds are about resetting your standard before you leave the range.
Total: 100 rounds. Every round had a purpose. Every drill has a measurable standard. You'll leave with a notebook full of data instead of a pile of brass and a vague feeling that you "practiced."
The skills that don't live on the range
Some of what Willeford did can't be replicated with drills. Running barefoot toward gunfire. Making the decision to engage another human being. Pursuing a fleeing attacker at 95 mph in a stranger's truck while maintaining readiness to shoot again. These are decisions and actions that live in the space between training and character.
But here's what training does: it compresses the gap between decision and execution. Willeford didn't have to think about how to load his rifle. He didn't have to think about how to use cover. He didn't have to think about where to aim when center mass wasn't working. Those skills were already loaded. That freed up his cognitive bandwidth for the decisions that actually required judgment; when to shoot, when to pursue, when to hold.
That's what deliberate practice buys you. Not the decision itself, but the bandwidth to make it.
Common mistakes across all these drills
There are recurring errors that show up regardless of which specific drill you're running. Recognizing them early saves you weeks of reinforcing bad habits.
First, people practice from their strong side only and never touch support-side shooting until they're in a class that forces it. By then, they're trying to learn a new motor pattern under the social pressure of a group, which isn't ideal. Build support-side work into your regular rotation now, when the stakes are low.
Second, people skip the physical stress component. Every drill in this article gets harder when your heart rate is elevated. If you never train with an elevated heart rate, you're training for a reality that doesn't exist. Run, do burpees, carry something heavy to the line; whatever your range allows. Get uncomfortable before you shoot.
Third, people don't track their results. A drill without a score is just shooting. Write down your hits, your times, and your misses. Note the conditions; was it cold, were you tired, did you skip breakfast? Over time, patterns emerge. Maybe you always shoot worse on the first drill of the day (cold performance anxiety) or always lose accuracy after 60 rounds (fatigue). Those patterns are your training plan writing itself.
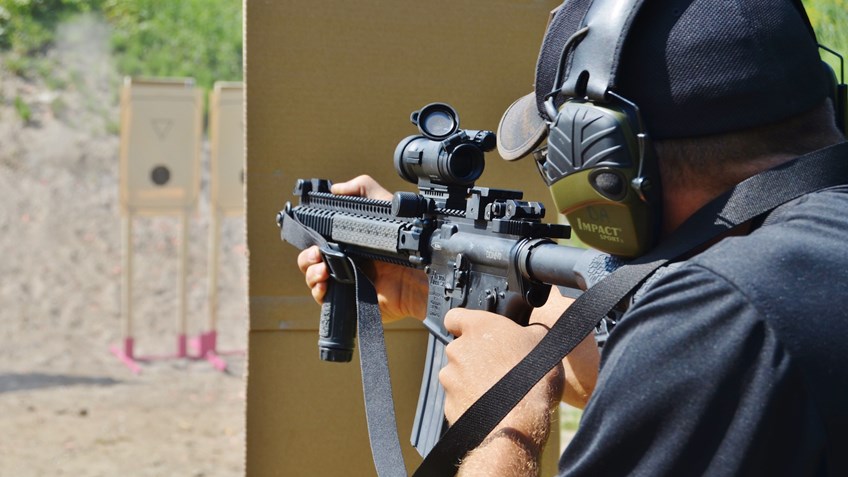
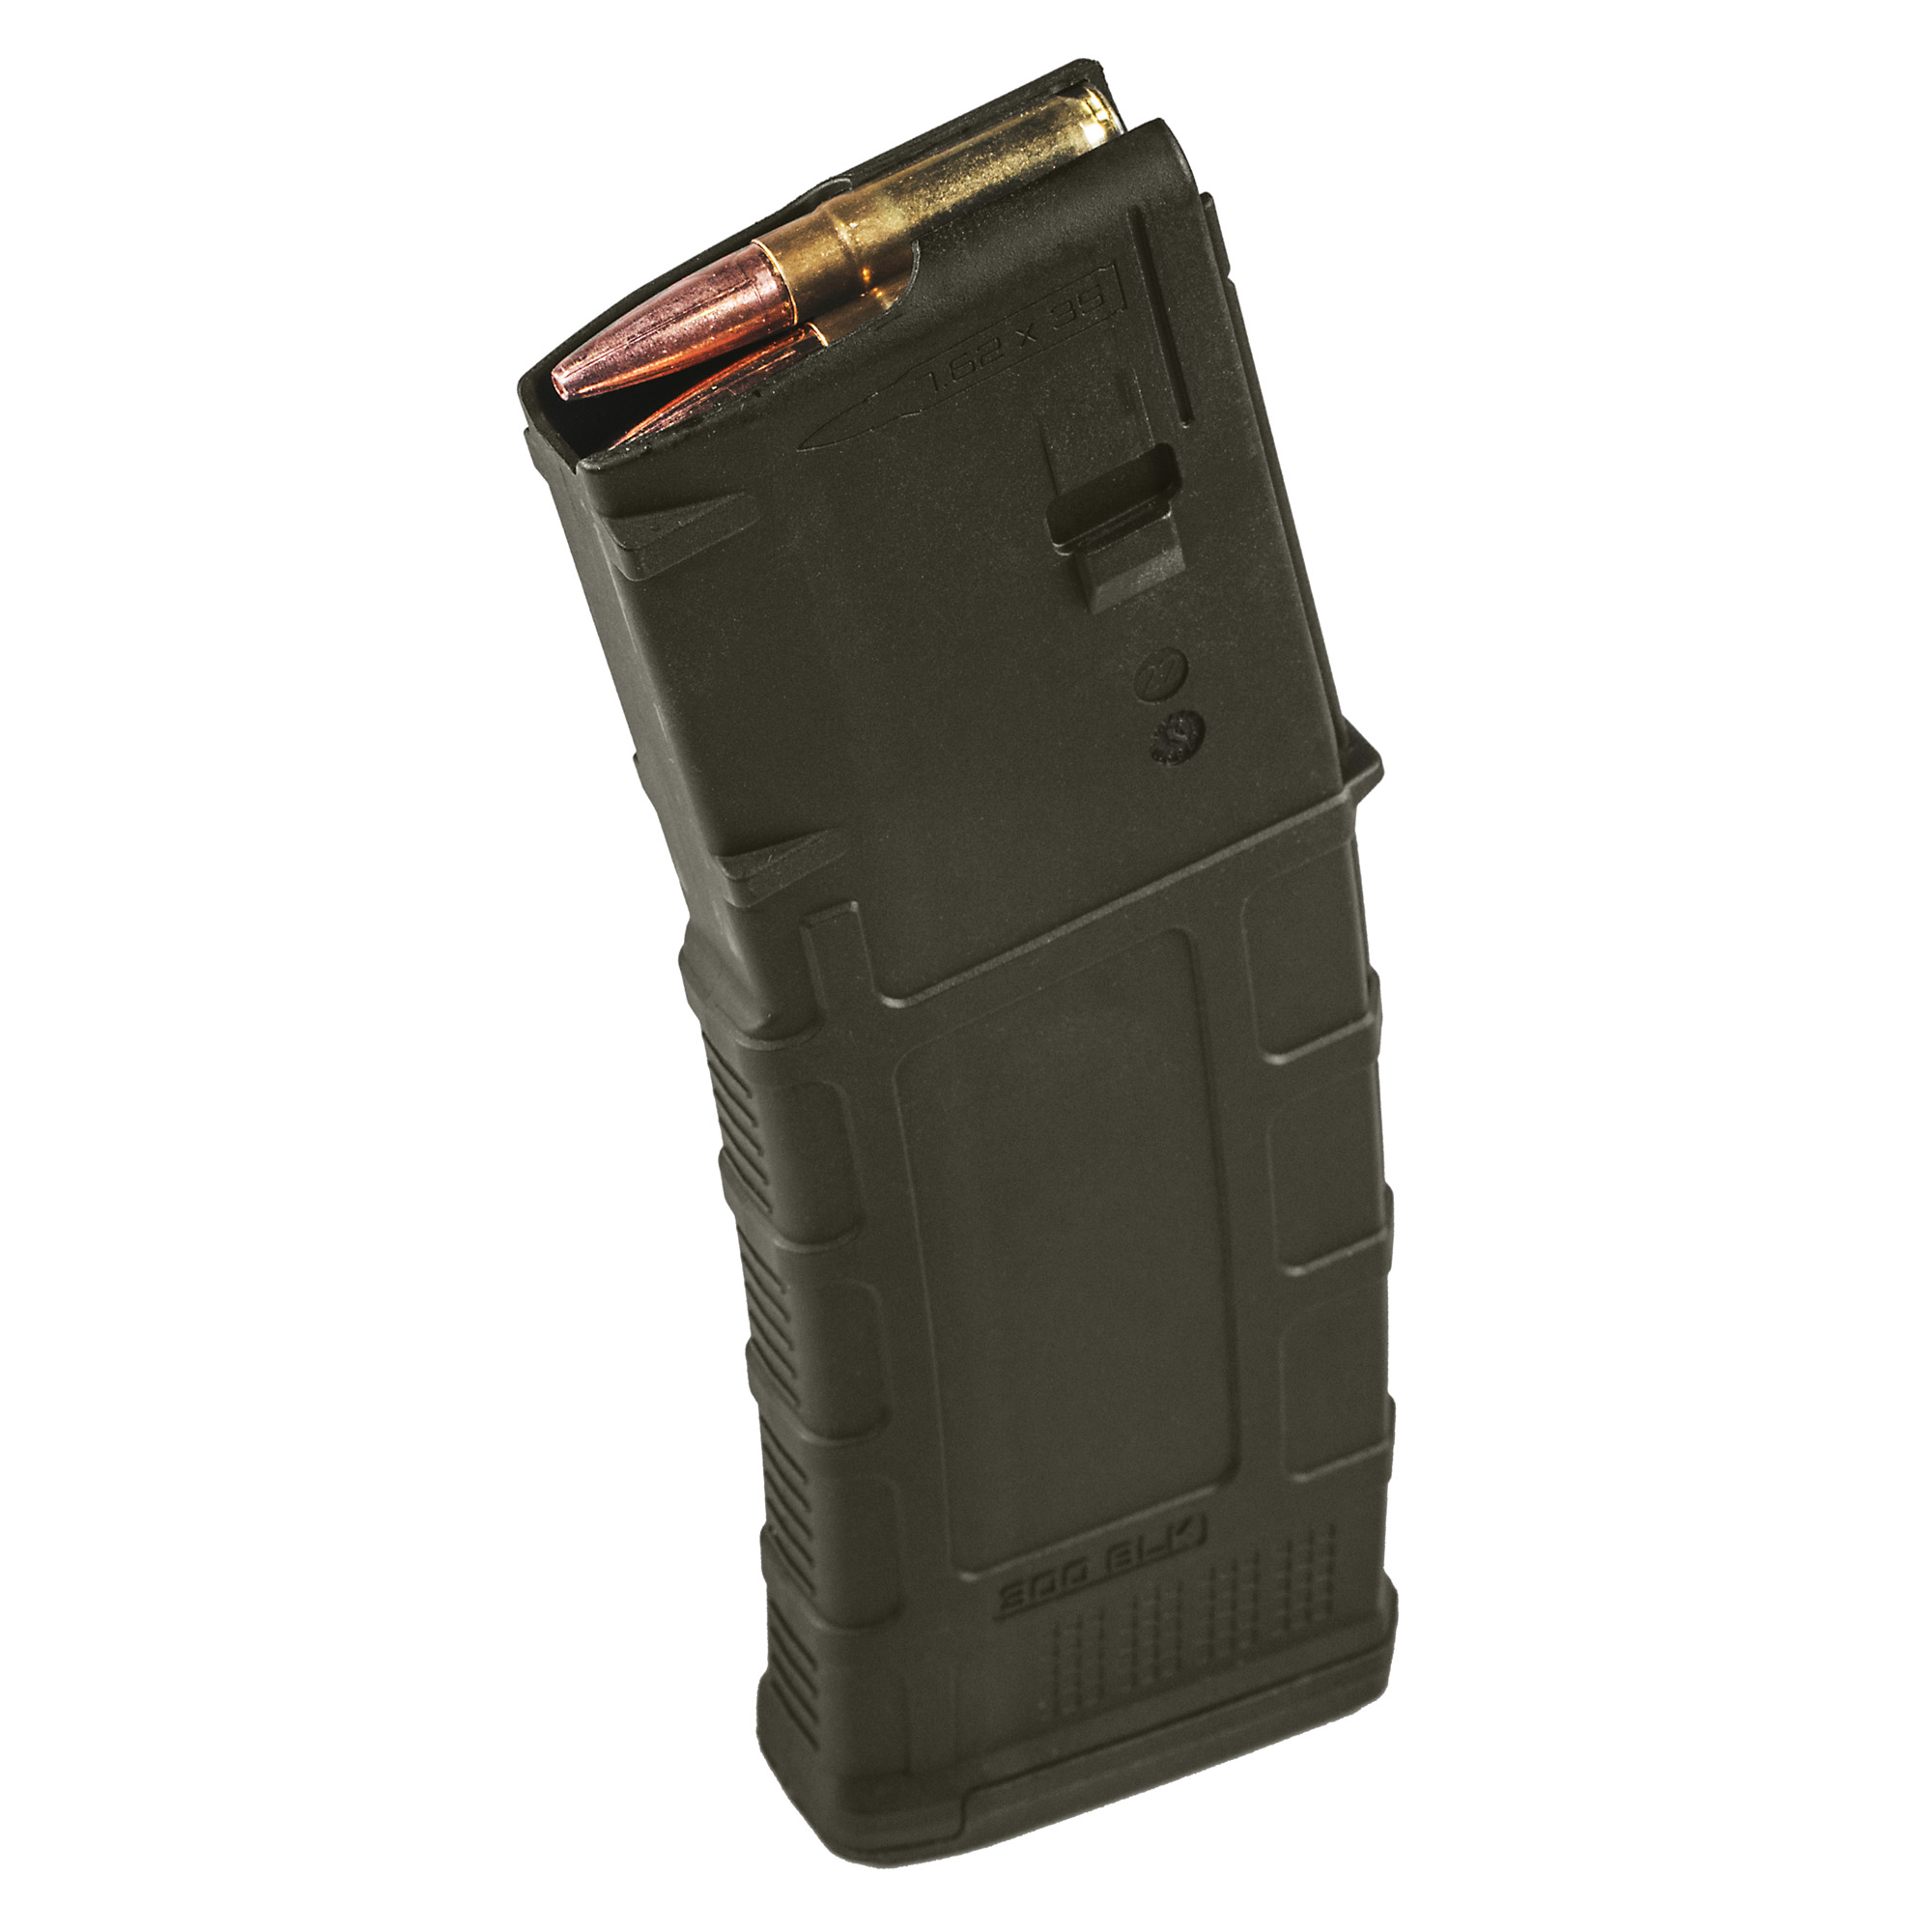
Magpul PMAG 30-round Magazine Deals
Prices may change. May contain affiliate links.
Fourth, people over-focus on gear and under-focus on fundamentals. Willeford used a standard AR-15. He didn't have a red dot, a suppressor, a weapons light, or a sling (by some accounts). He had iron sights, one magazine, and the ability to make hits under pressure. Your gear is not your limiting factor. Your skills are.
Fifth, people never practice the retrieval. Your rifle in the safe is not the same as your rifle in your hands. The transition from stored to deployed is a skill, and it degrades under stress just like everything else. Time it. Practice it. Shave seconds off it.
Where to go from here
Pick two drills from this article and run them at your next range session. Just two. Don't try to cram all eight practice blocks into one outing; you'll rush everything and learn nothing. Pick the two that address your biggest gaps. If you've never shot support-side, start there. If you've never timed your retrieval from storage, start there.
Run those two drills for a month. Track your scores. When you hit the standard consistently, swap one out for a new drill from the list. Build a rotation. Over six months, you'll have cycled through everything here multiple times, and you'll have hard data showing where you've improved and where you still need work.
The Sutherland Springs shooting lasted about eleven minutes. Willeford's engagement with the shooter lasted a fraction of that. The skills that mattered were built over years of practice before that day. You don't get to choose when the test comes. You only get to choose how prepared you are when it does.
Fifty rounds with a plan beats 200 without one. Run the drills. Track the data. Trust the trend.