
You bought a sub-MOA rifle and you're wondering if it'll hold up past 1,000 yards. That's a different question than whether it shoots tight groups at 100. The Tikka T3x TAC A1 has earned a reputation as one of the strongest factory precision rifle values on the market, and the data backs that up; but "sub-MOA factory rifle" and "reliable platform at 1,200 yards" aren't the same claim. One is about the barrel and chamber. The other is about the entire system: turret tracking, chassis rigidity under positional stress, cold bore consistency, and how the whole package behaves after 500 rounds of hard use.
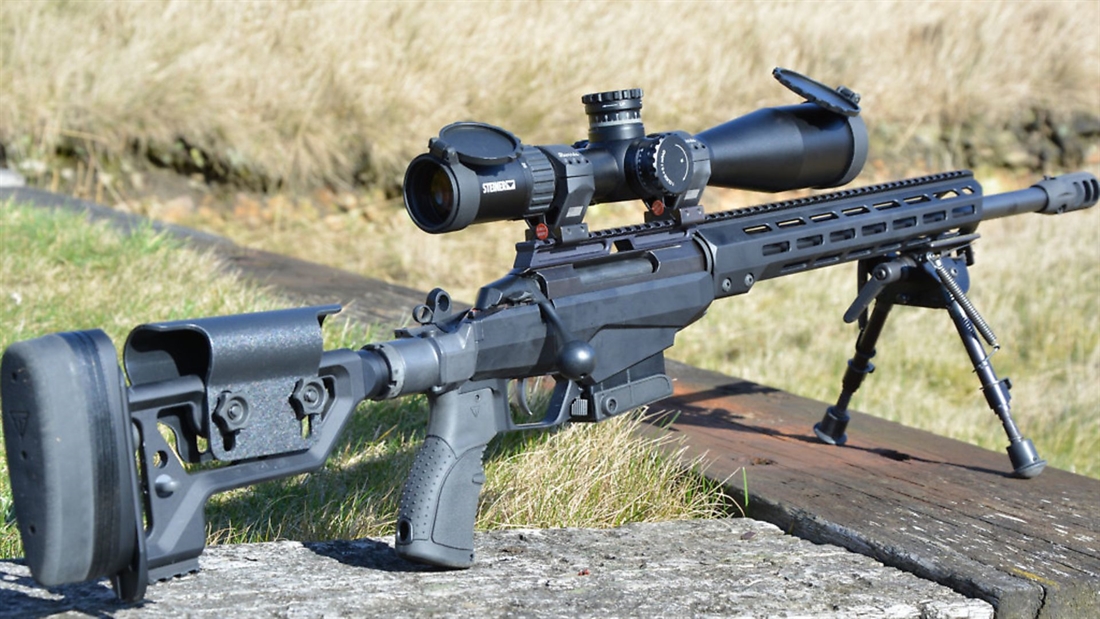
This is a deep look at the TAC A1 as a system for shooting at distance, real distance, not 300-yard groups extrapolated with a ballistic calculator. The focus is on what happens when you dial 10+ mils of elevation, shoot from barricades and tripods, and ask the rifle to repeat shots in conditions that expose every weakness. If you're deciding between this and a Bergara B-14 HMR, a Ruger Precision Rifle, or stepping up to a custom action, this should give you the data points that matter.
The action: what Tikka got right and where it shows
The T3x action is a two-lug, push-feed design with a 70-degree bolt throw. That shorter throw compared to a Remington 700's 90 degrees matters more than most people think, not because of cycling speed, but because of scope clearance with large objective bells and because it reduces the gross motor movement needed to work the bolt from behind the rifle in positional stages. You stay on the gun better.
The bolt itself runs smooth out of the box. This is one of the most consistent observations across the platform: the T3x bolt feel is better than rifles costing significantly more. It's not a custom action, there's no spring-loaded ejector plunger tuning, no lapped lugs from the factory, but the tolerances Tikka holds at their Riihimäki plant in Finland are tight enough that most shooters won't feel the difference between this and an action that costs $1,200 by itself.
The single-stage trigger deserves attention. Factory spec is adjustable from roughly 2 to 4 pounds, and most examples break clean at around 2.5 pounds with minimal creep and a short, positive reset. For a factory trigger, this is genuinely good. You can run it at a PRS match without replacing it. Some shooters will still swap to a Timney or TriggerTech for a flatter break, but the factory unit isn't holding anyone back at 1,200 yards. The trigger isn't the variable at that distance, the wind call is.
One area where the action shows its factory roots: the recoil lug is integral to the action, not a separate pinned piece. This isn't a problem for accuracy, Tikka's headspacing and lug engagement are consistent enough that it doesn't introduce meaningful error. But it does mean you're more limited if you want to true the action later. For most shooters running factory or semi-custom barrels, this never becomes an issue. If you're planning to rebarrel three times, a Bighorn TL3 or similar might be a better long-term investment.
The chassis and how it handles positional stress
The TAC A1 ships in an aluminum chassis with a side-folding stock, adjustable cheek riser, adjustable length of pull via spacers, and an AICS-pattern magazine well. The chassis is made by Tikka (not a third-party drop-in), and it's built around the T3x footprint specifically.
Here's where it matters at distance: chassis rigidity directly affects point-of-impact shift under different shooting positions. When you load the rifle from a barricade, pressing the forend into a hard surface, or pulling the rifle into your shoulder from an awkward angle, a chassis that flexes will shift POI. The TAC A1 chassis is stiff enough that POI shift from positional loading is minimal. Not zero. No chassis is zero. But the shift is consistent, which means you can account for it.
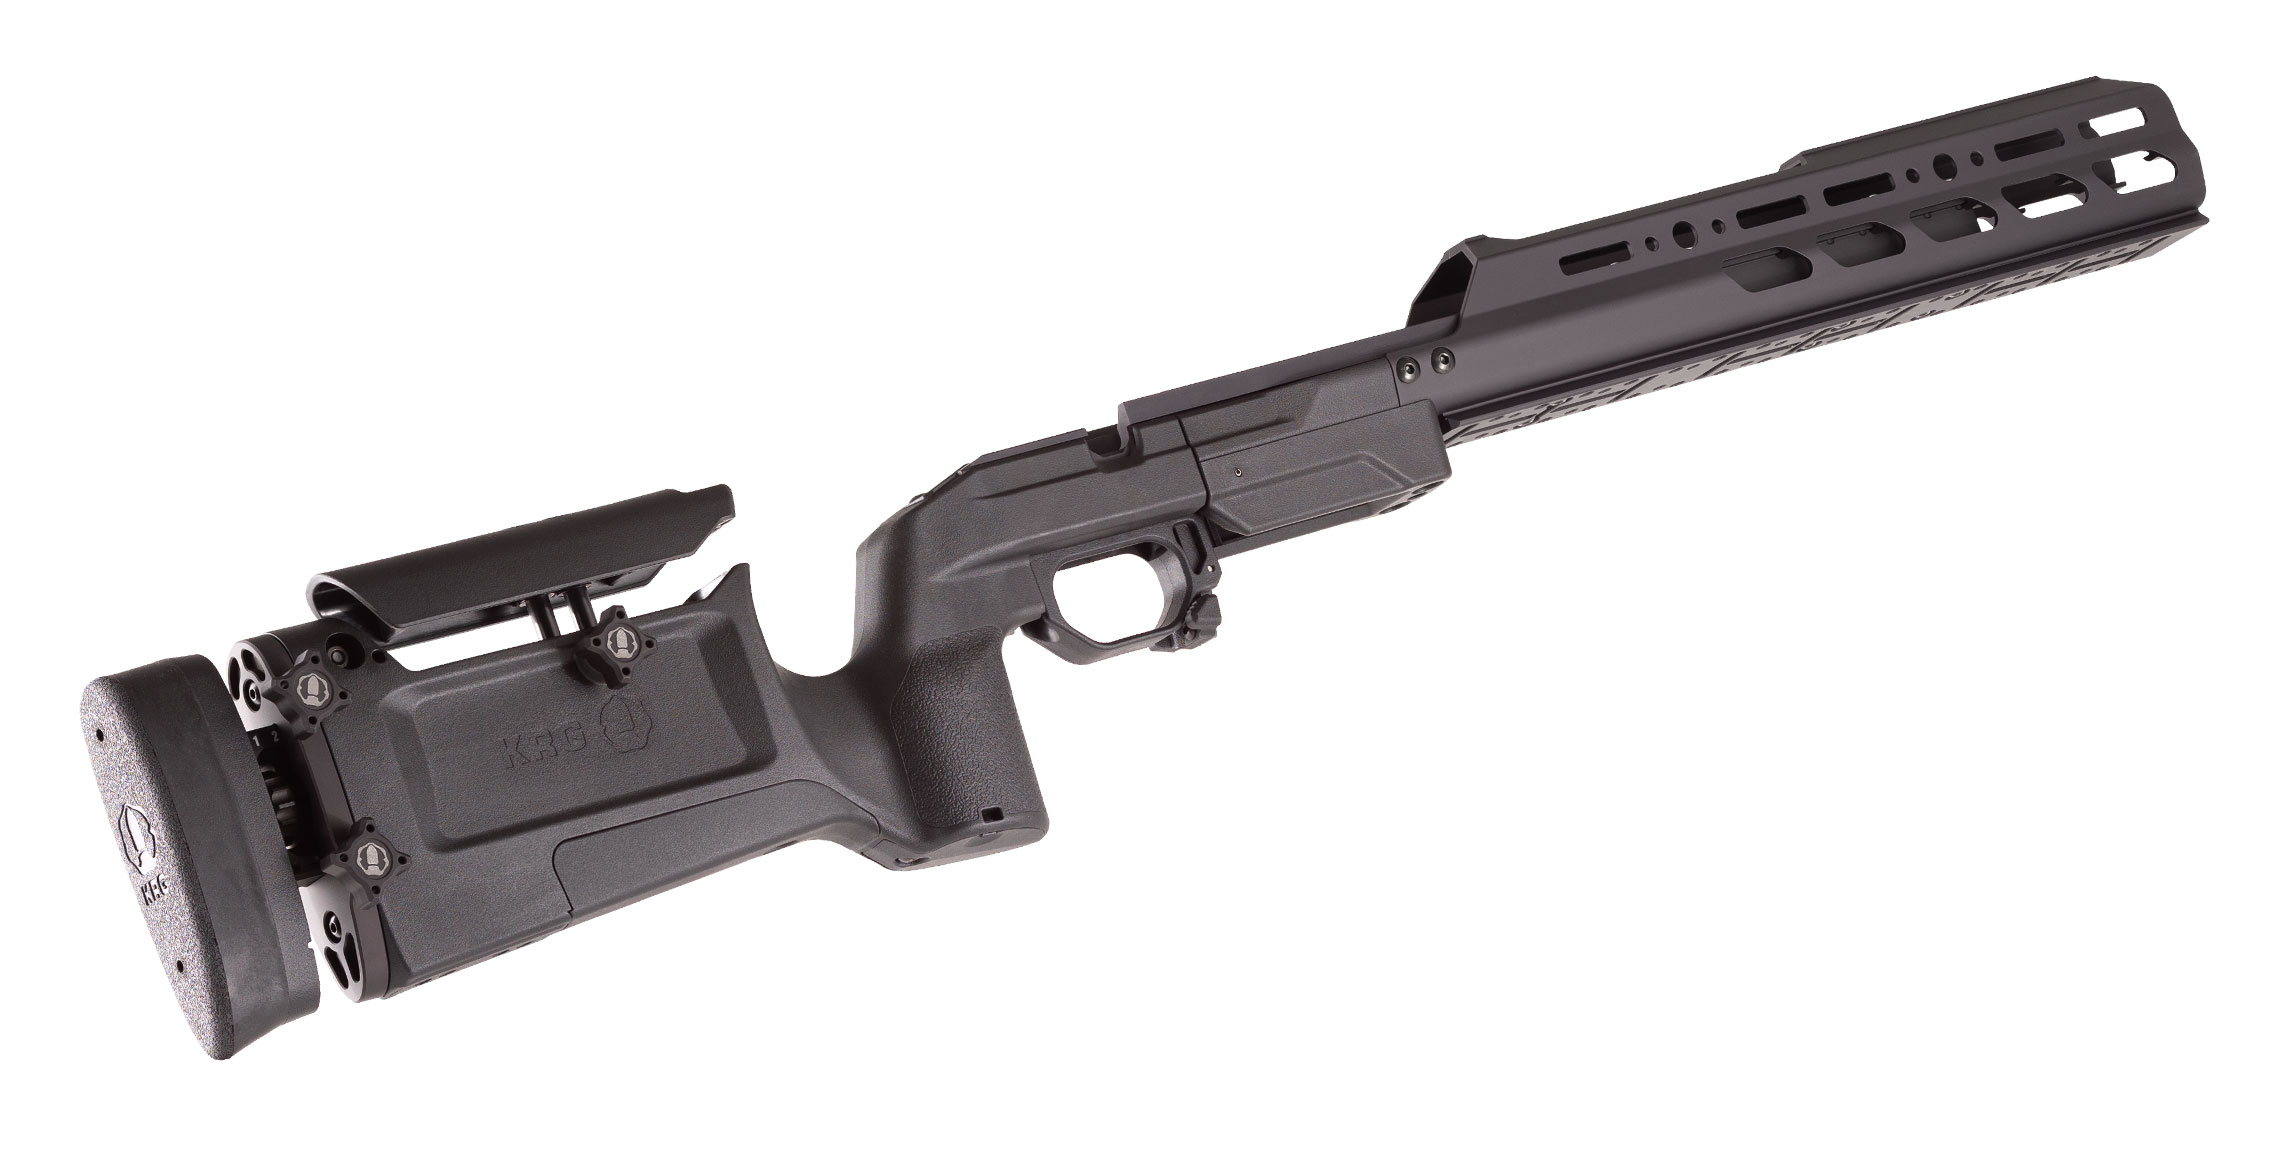
The forend is flat-bottomed and wide enough to sit stable on a bag or barricade without rolling. There's a full-length Picatinny rail on the bottom of the forend for mounting accessories, bipod, barricade stop, whatever your stage requires. The M-LOK slots on the sides give you additional mounting options.
Range notes: positional shooting
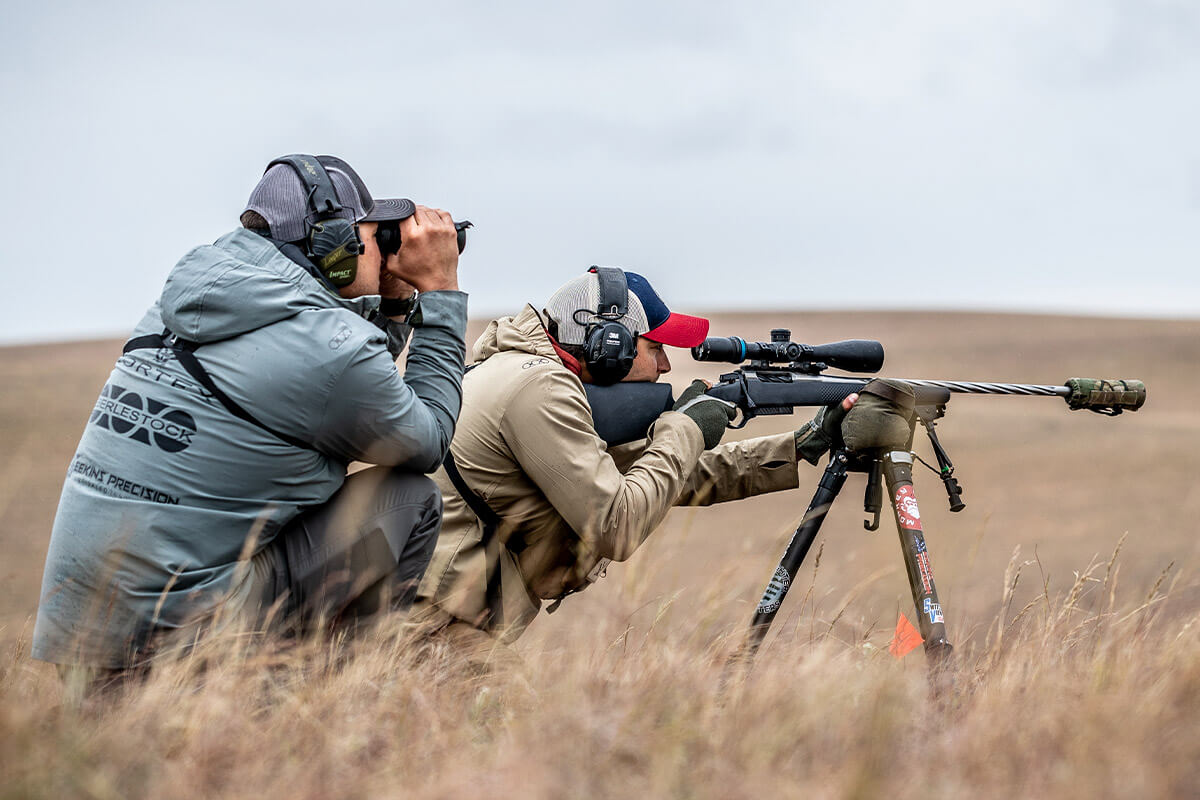
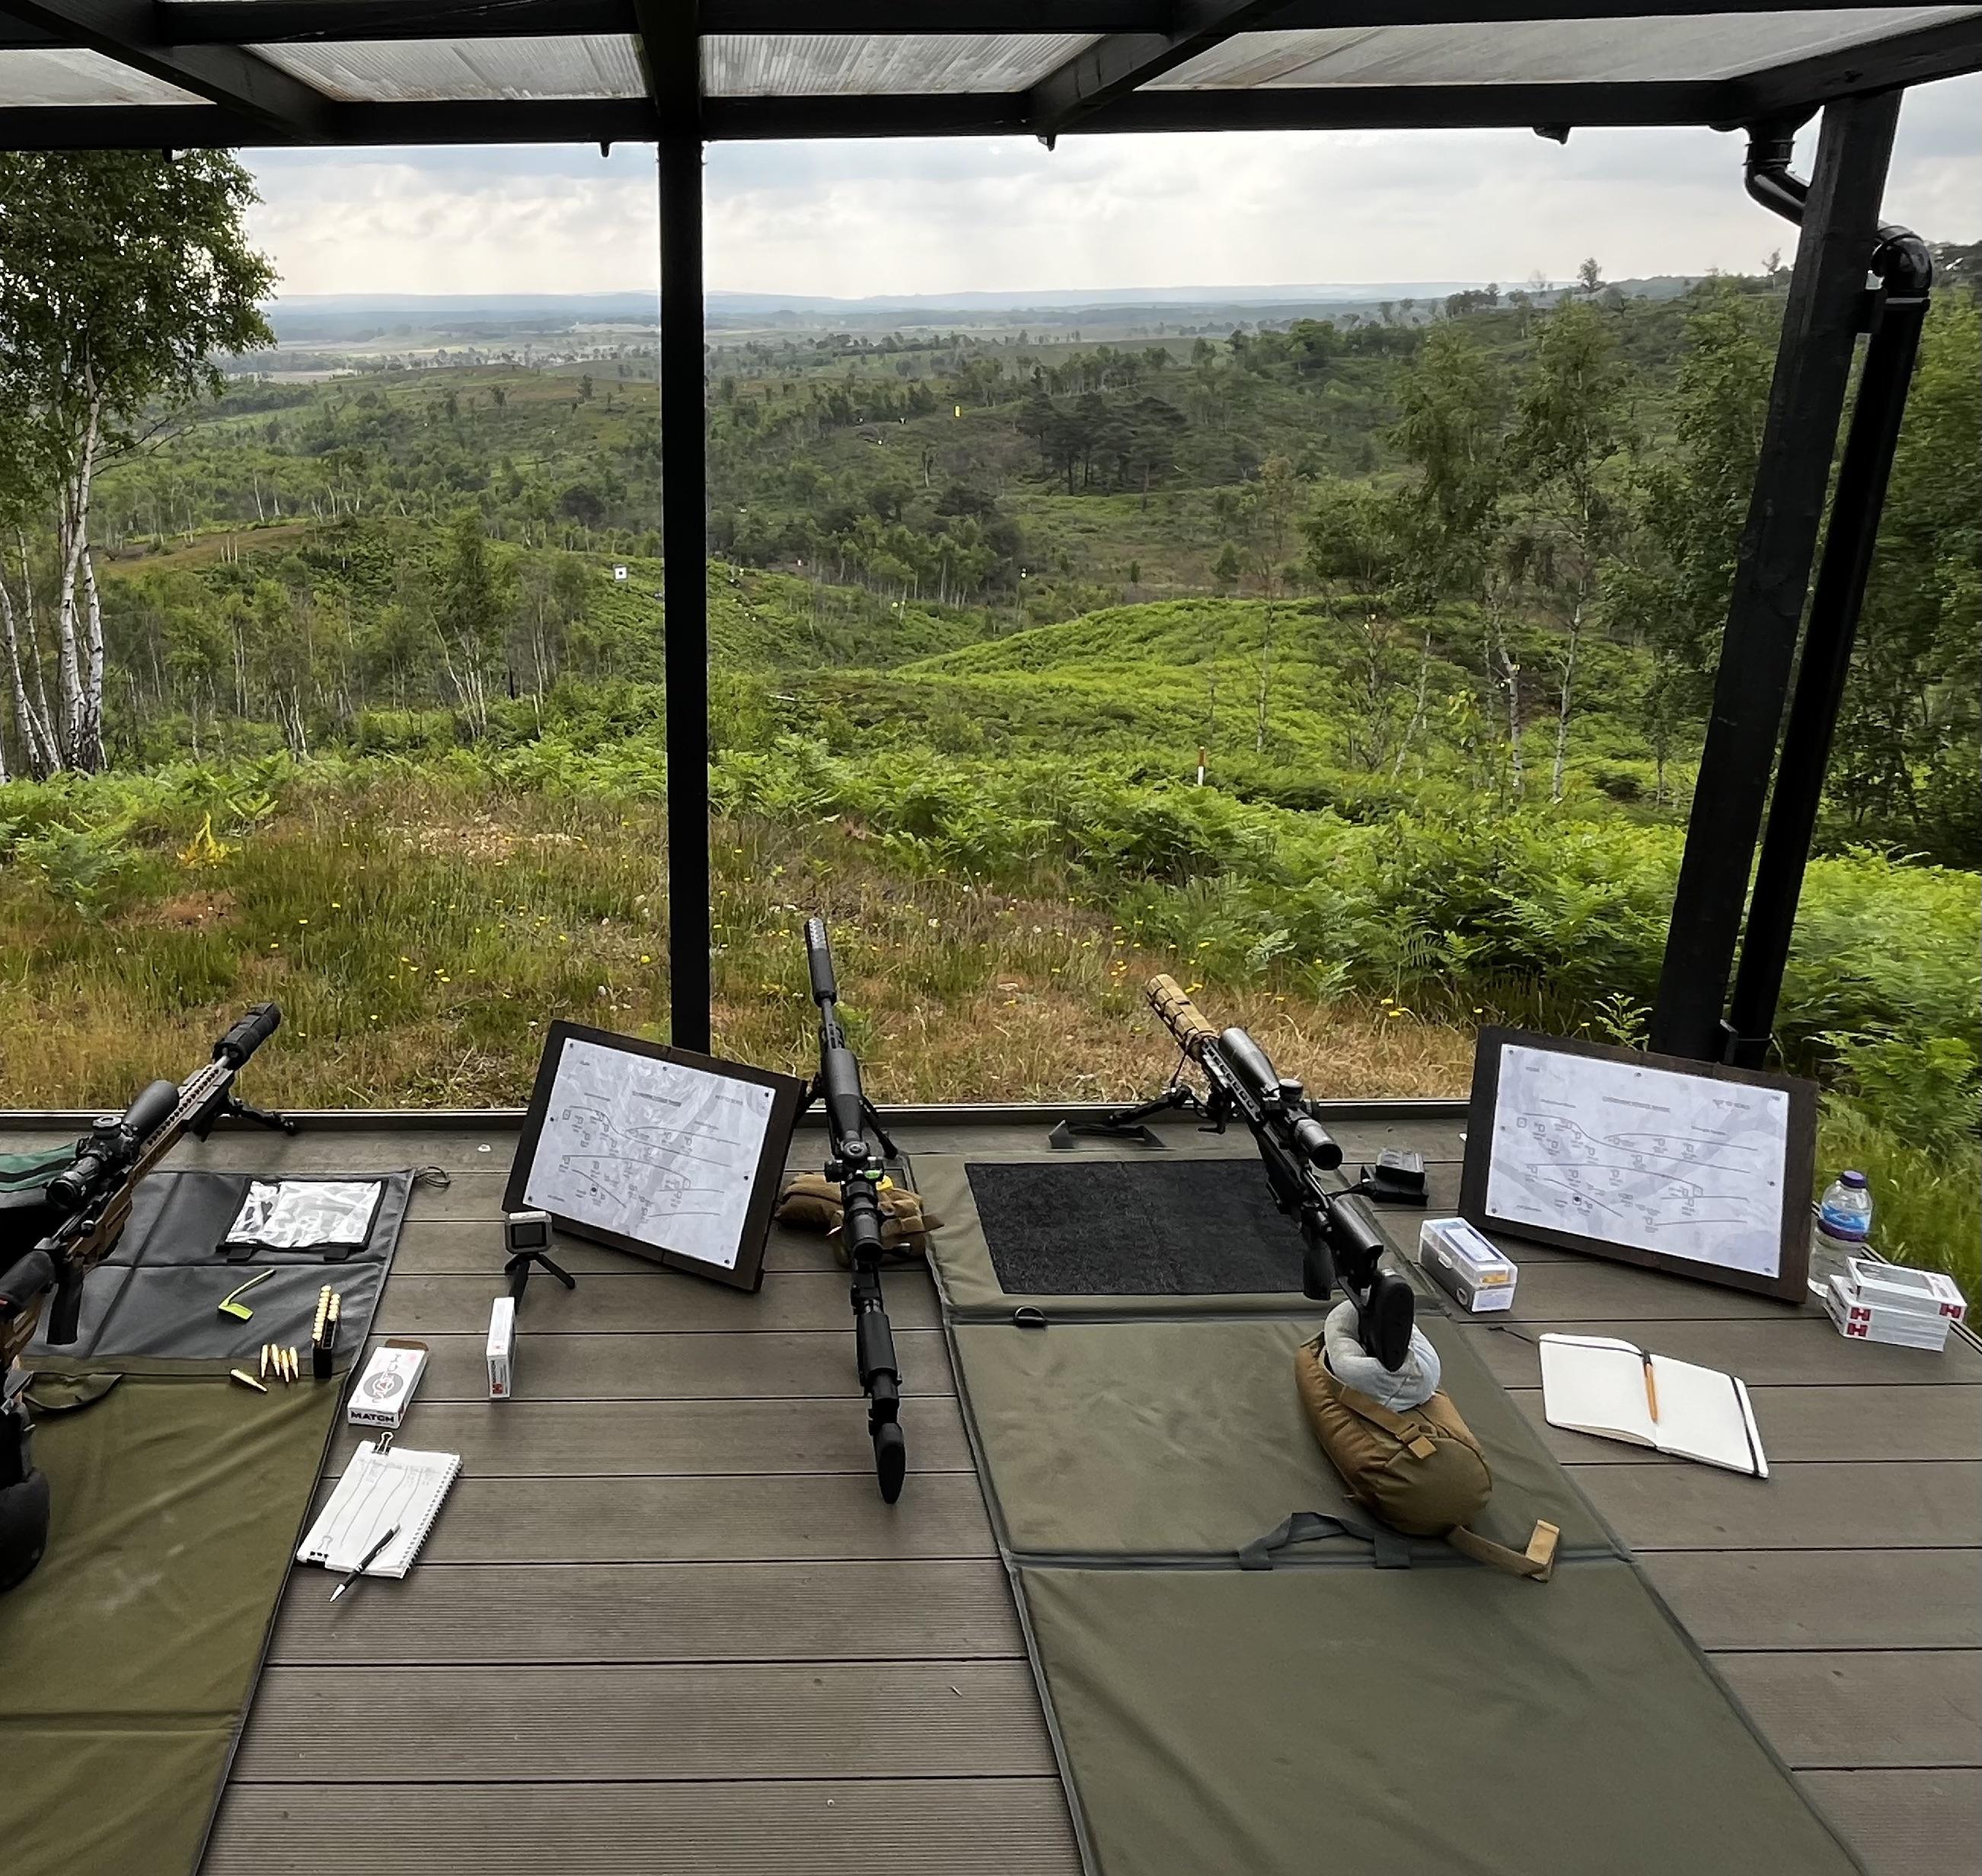
Shooting the TAC A1 off a tripod at 800 yards, the rifle loads well into the ball head. The chassis balance point sits just forward of the magazine well, which means you get natural muzzle-heavy balance that settles into a tripod or bag without fighting you. Off a barricade, the flat forend and the aggressive texture on the chassis sides give you purchase. The folding stock doesn't introduce any play when locked open, the lockup is solid, and there's no detectable shift from the hinge under recoil.
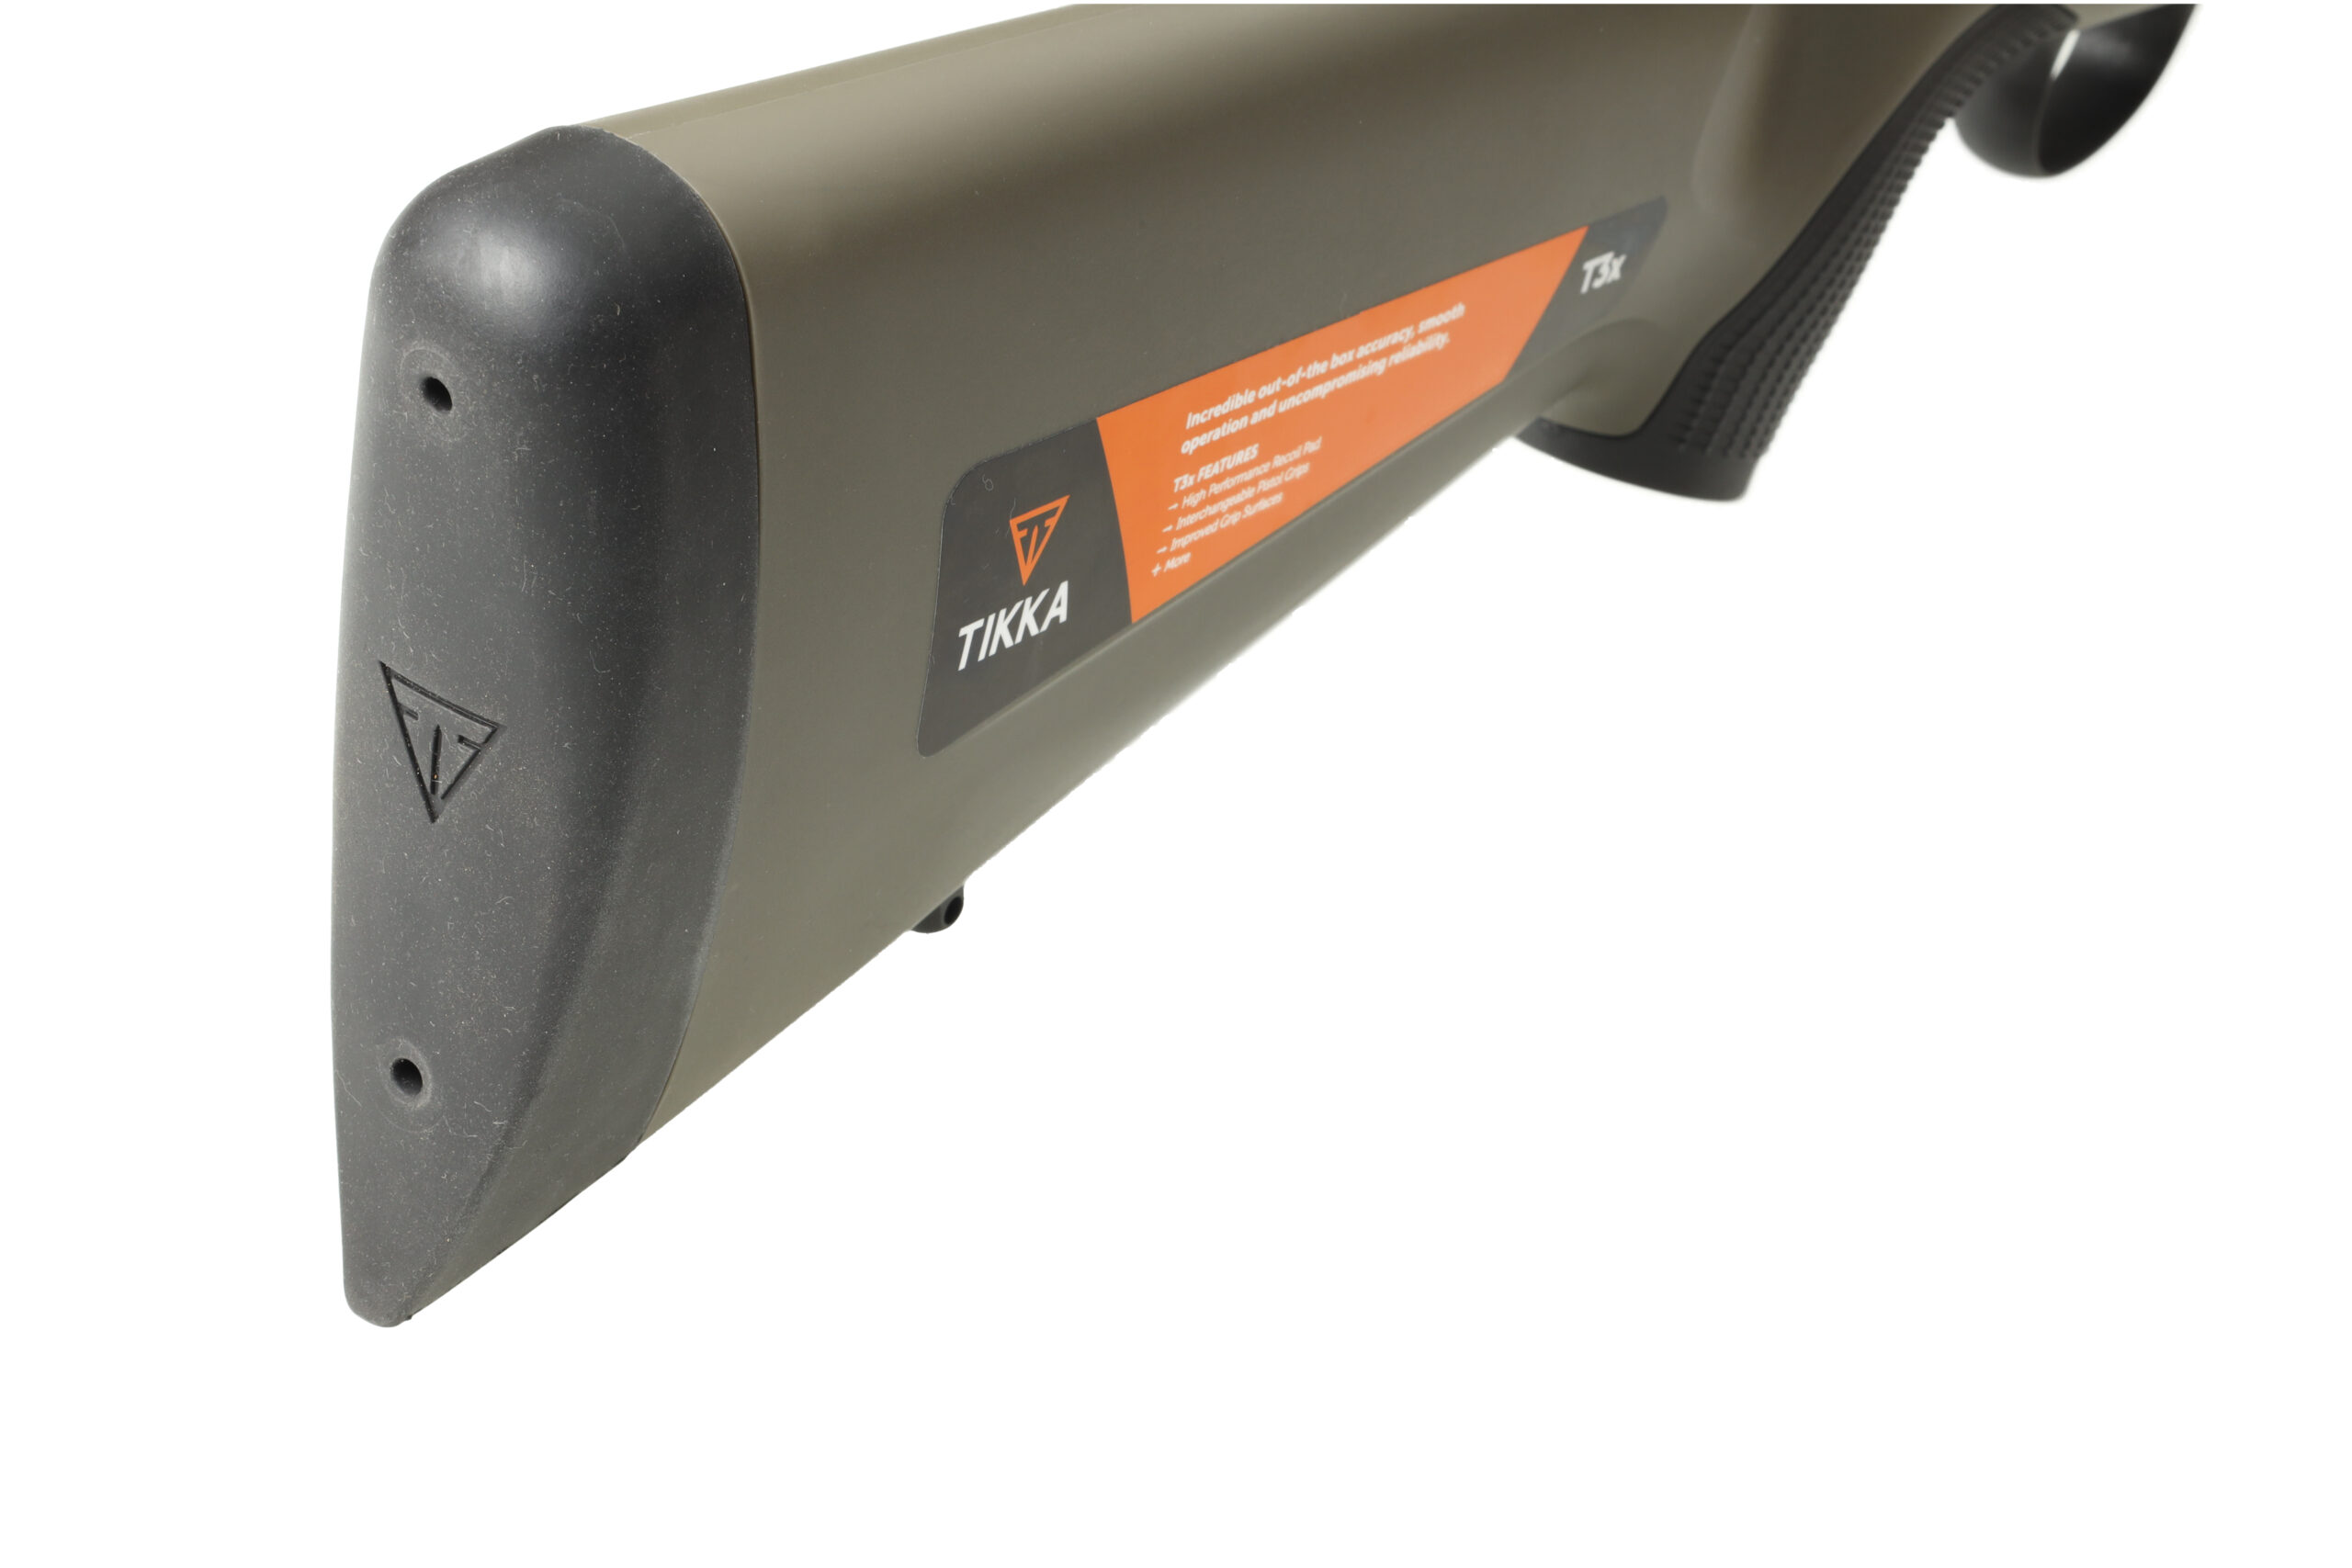
One thing to watch: the factory buttpad is adequate but slick on some barricade surfaces. A lot of TAC A1 shooters add a more aggressive pad or a hook-style buttstock accessory for positional stages. That's a $30-50 fix, not a design flaw.
The adjustable cheek riser uses a thumbwheel system that's positive and repeatable. You set it, it stays. This matters because cheek weld consistency directly drives your ability to maintain a consistent sight picture through the scope, and at 1,200 yards, even a millimeter of cheek position change can shift your perceived reticle position enough to miss a target.
Barrel and accuracy: 100-yard groups vs. 1,200-yard hits
The TAC A1 comes with a 24-inch barrel (in 6.5 Creedmoor, the .308 Win version is also 24 inches, and the .260 Rem variant runs the same). The barrel is cold hammer-forged by Tikka, with a 1:8 twist in 6.5 Creedmoor. The profile is medium-heavy, not a full bull barrel, but heavy enough to resist heat-induced stringing for a reasonable round count.
Out of the box, most TAC A1s in 6.5 Creedmoor will shoot between 0.5 and 0.8 MOA five-shot groups at 100 yards with match ammunition. That's not cherry-picked three-shot groups, that's five rounds, which is the minimum that tells you anything statistically meaningful about a rifle's mechanical accuracy. Some examples do better. Very few do worse.
But here's the thing about 100-yard groups: they tell you about the barrel and chamber. They don't tell you about what happens at 1,200 yards. At that distance in 6.5 Creedmoor, you're dealing with roughly 10-11 mils of drop (depending on altitude, temperature, and the specific load), the bullet has been in flight for about 1.7 seconds, and even a 5 mph wind is pushing the bullet 2+ mils laterally. A 0.5 MOA rifle and a 0.8 MOA rifle are both hitting a 2 MOA target at that distance, if the shooter reads the wind right. The rifle's mechanical accuracy is rarely the limiting factor past 800 yards. The atmosphere is.
What does matter at distance is extreme spread (ES) and standard deviation (SD) of muzzle velocity. A rifle that shoots 0.5 MOA groups but has an ES of 40 fps will have significantly more vertical dispersion at 1,200 yards than a rifle shooting 0.8 MOA groups with an ES of 15 fps. The TAC A1's chamber is cut to SAAMI spec, which means it's slightly more generous than a custom match chamber. This doesn't hurt accuracy with factory match ammo, but handloaders will find they need to work up loads carefully to get SD numbers below 10 fps. The chamber will accept a wider range of brass dimensions, which is actually an advantage for reliability but means you're not getting the tight neck tension of a no-turn custom chamber.
The ES/SD tells the story
With Hornady 140gr ELD Match factory ammunition, most TAC A1s produce SD numbers in the 12-18 fps range. That's good for factory ammo and perfectly adequate for hits on a 2 MOA target at 1,200 yards. The vertical dispersion from that SD at 1,200 yards works out to roughly 0.3-0.5 mils, noticeable, but not the reason you're missing.
Handloaders running Lapua brass, CCI BR2 primers, and 140gr Berger Hybrids or Hornady ELD-Ms over H4350 can typically get SD into single digits with this rifle. At that point, vertical dispersion from velocity variation essentially disappears as a variable at 1,200 yards, and you're left with wind as the dominant challenge. Which is how it should be.
The cold hammer-forged barrel has a reputation for longevity. Tikka barrels in 6.5 Creedmoor typically hold their accuracy past 3,000 rounds, with some examples going to 4,000+ before showing measurable degradation. That's better than most cut-rifled match barrels in the same caliber, and it's one of the underappreciated advantages of the platform. You're not replacing the barrel after two seasons of match shooting.
Turret tracking: the test that matters most
This is where a lot of factory rifles fall apart, and it's the single most important mechanical test for a precision rifle system intended for use past 600 yards. Turret tracking means: when you dial 10 mils of elevation, does the point of impact actually move 10 mils? And when you dial back to zero, does it return to zero?
The rifle doesn't have turrets, the scope does. But the rifle's role in turret reliability is real: the action needs to hold the scope base flat and maintain consistent torque on the ring screws through recoil cycles. The TAC A1's integrated Picatinny rail on the receiver is machined into the action body, not a separate bolt-on piece. This gives you a consistent, flat mounting surface that doesn't shift.
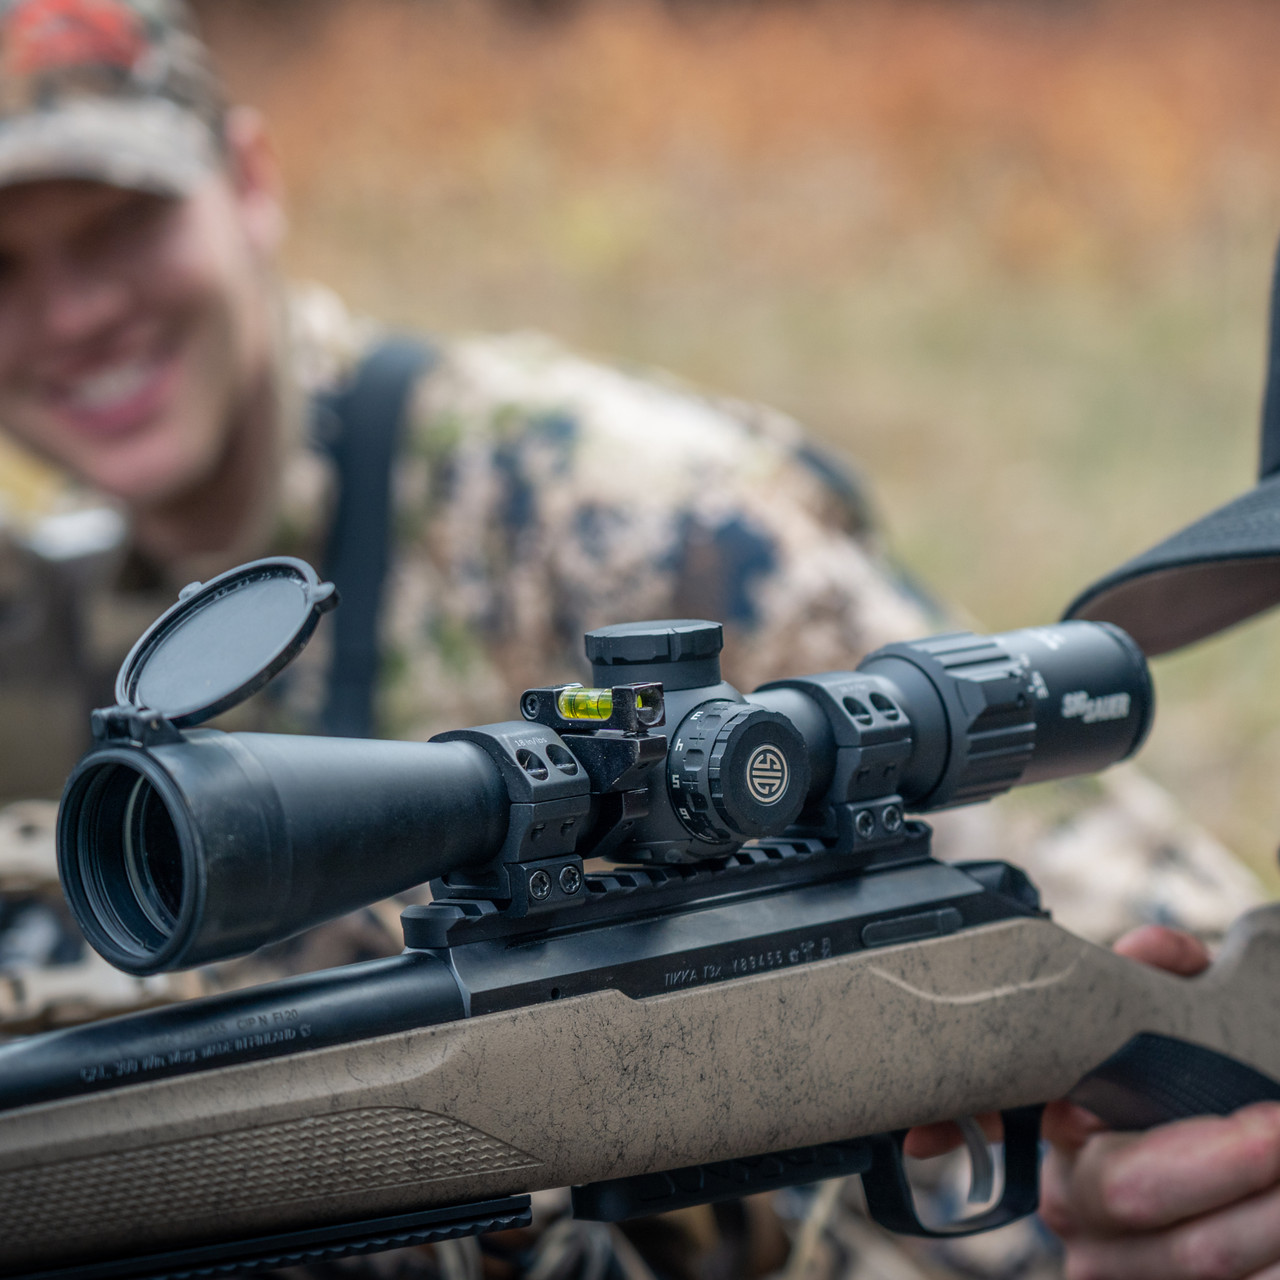
The actual turret tracking test depends entirely on your scope choice. But the TAC A1's action and rail don't introduce error into the system. There's no rail flex, no screw loosening after 200 rounds, no base shift. This is one of the areas where the Tikka action's tight manufacturing tolerances pay dividends that you can't see at 100 yards but absolutely feel at 1,200.
Scope pairing and what the data shows
For shooting at 1,200 yards in 6.5 Creedmoor, you need roughly 10-11 mils of elevation from a 100-yard zero. That means your scope needs at least 22-24 mils of total elevation travel to give you enough adjustment range while keeping the erector tube near the center of its travel range (where tracking is most reliable). A 20 MOA base helps, it cants the scope to use more of the available adjustment range for elevation, which is exactly what you need for long-range work.
Popular scope pairings for the TAC A1 include the Vortex Razor HD Gen II 4.5-27x56, the Nightforce ATACR 5-25x56, and the Steiner T6Xi 5-30x56. Budget-conscious shooters have had solid results with the Athlon Ares ETR and the Bushnell XRS3. The key specs to watch: total elevation travel, turret repeatability (does it return to zero after a full revolution), and optical clarity at high magnification. At 1,200 yards, you're often shooting at targets that subtend less than 1 mil, and being able to clearly see splash or trace through the scope is what lets you correct.
A scope with poor tracking will ruin the TAC A1's potential. A $500 scope mistake at 100 yards is a $500 miss at 600. At 1,200, it's a complete waste of ammunition and range time. The rifle is capable. Don't bottleneck it with glass.
Common mistakes TAC A1 shooters make
1. Over-torquing ring screws
The TAC A1's integrated rail is strong, but the scope rings are where most mounting errors happen. Over-torquing ring screws can deform the scope tube, causing internal erector tube binding that shows up as tracking error. Use a torque wrench. Follow the ring manufacturer's spec, typically 15-18 inch-pounds for most quality rings. This isn't optional.
2. Ignoring the break-in period for the bolt
The T3x bolt runs smooth out of the box, but it gets noticeably smoother after 200-300 cycles. Some shooters feel initial stiffness and assume something is wrong. It's not. Run it. The bolt will break in. Don't lubricate it with heavy grease, a light coat of a quality gun oil on the lugs and body is all it needs. Heavy grease attracts grit and slows the bolt in cold weather.
3. Blaming the rifle for wind-reading failures
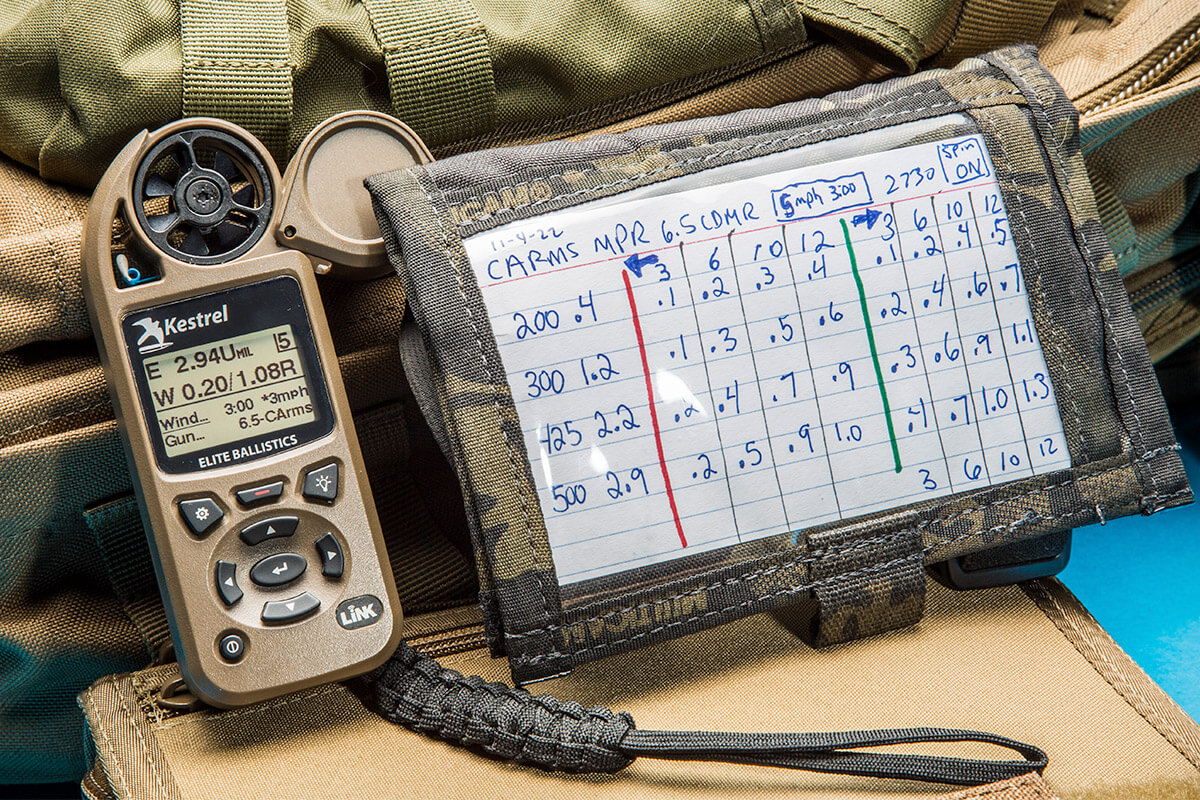
At 1,200 yards, a 6.5 Creedmoor 140gr ELD Match bullet drifts approximately 4.5 mils in a full-value 10 mph wind. That's over 19 feet of lateral movement. If you're missing left and right at distance, the rifle isn't the problem. The wind call is the skill. Spend more time with a Kestrel and a wind flag than you spend worrying about whether your groups are 0.5 or 0.7 MOA at 100.
4. Running the factory magazine without testing it
The AICS-pattern magazines that ship with the TAC A1 work fine for most shooters, but some examples have tight feed lips that can cause the cartridge to nosedive on feeding, especially with longer, more aggressive OAL handloads. If you're loading long, seating bullets out to chase the lands, test your feeding before you show up to a match. Aftermarket AICS magazines from Accurate-Mag or MDT are a proven alternative if the factory mags give you trouble.
5. Skipping the cold bore log
Your first shot from a cold barrel on a cold rifle will likely hit differently than shots 3-10. This is true of every rifle, not just the TAC A1. But the TAC A1's medium-heavy barrel profile means it heats up at a moderate rate, and the POI shift from cold to warm can be 0.3-0.5 mils vertically. Log your cold bore shot every range session. After 20 data points, you'll know exactly what your cold bore offset is, and you can apply it. Log it. Then trust the log.
The TAC A1 vs. the competition: real differences
Three rifles come up in every TAC A1 conversation: the Bergara B-14 HMR, the Ruger Precision Rifle, and the step up to a custom build on a Bighorn or Defiance action. Here's where they actually differ in ways that matter at distance.
Tikka T3x TAC A1 vs. Bergara B-14 HMR
The Bergara B-14 HMR uses a Remington 700-pattern action with Bergara's own barrel. The barrel quality is excellent, Bergara's hammer-forged barrels are among the best factory options available. Accuracy at 100 yards is comparable to the TAC A1; both rifles consistently produce sub-MOA groups with match ammunition.
The meaningful differences are in the chassis and the action. The TAC A1 ships in a rigid aluminum chassis with a folding stock. The B-14 HMR comes in a molded synthetic stock with an aluminum mini-chassis bedding system. The Bergara stock is good for its category, but it's not as rigid as the TAC A1's full chassis under positional loading. If you're shooting from a bench or prone only, you may never notice the difference. From barricades and tripods, you will.
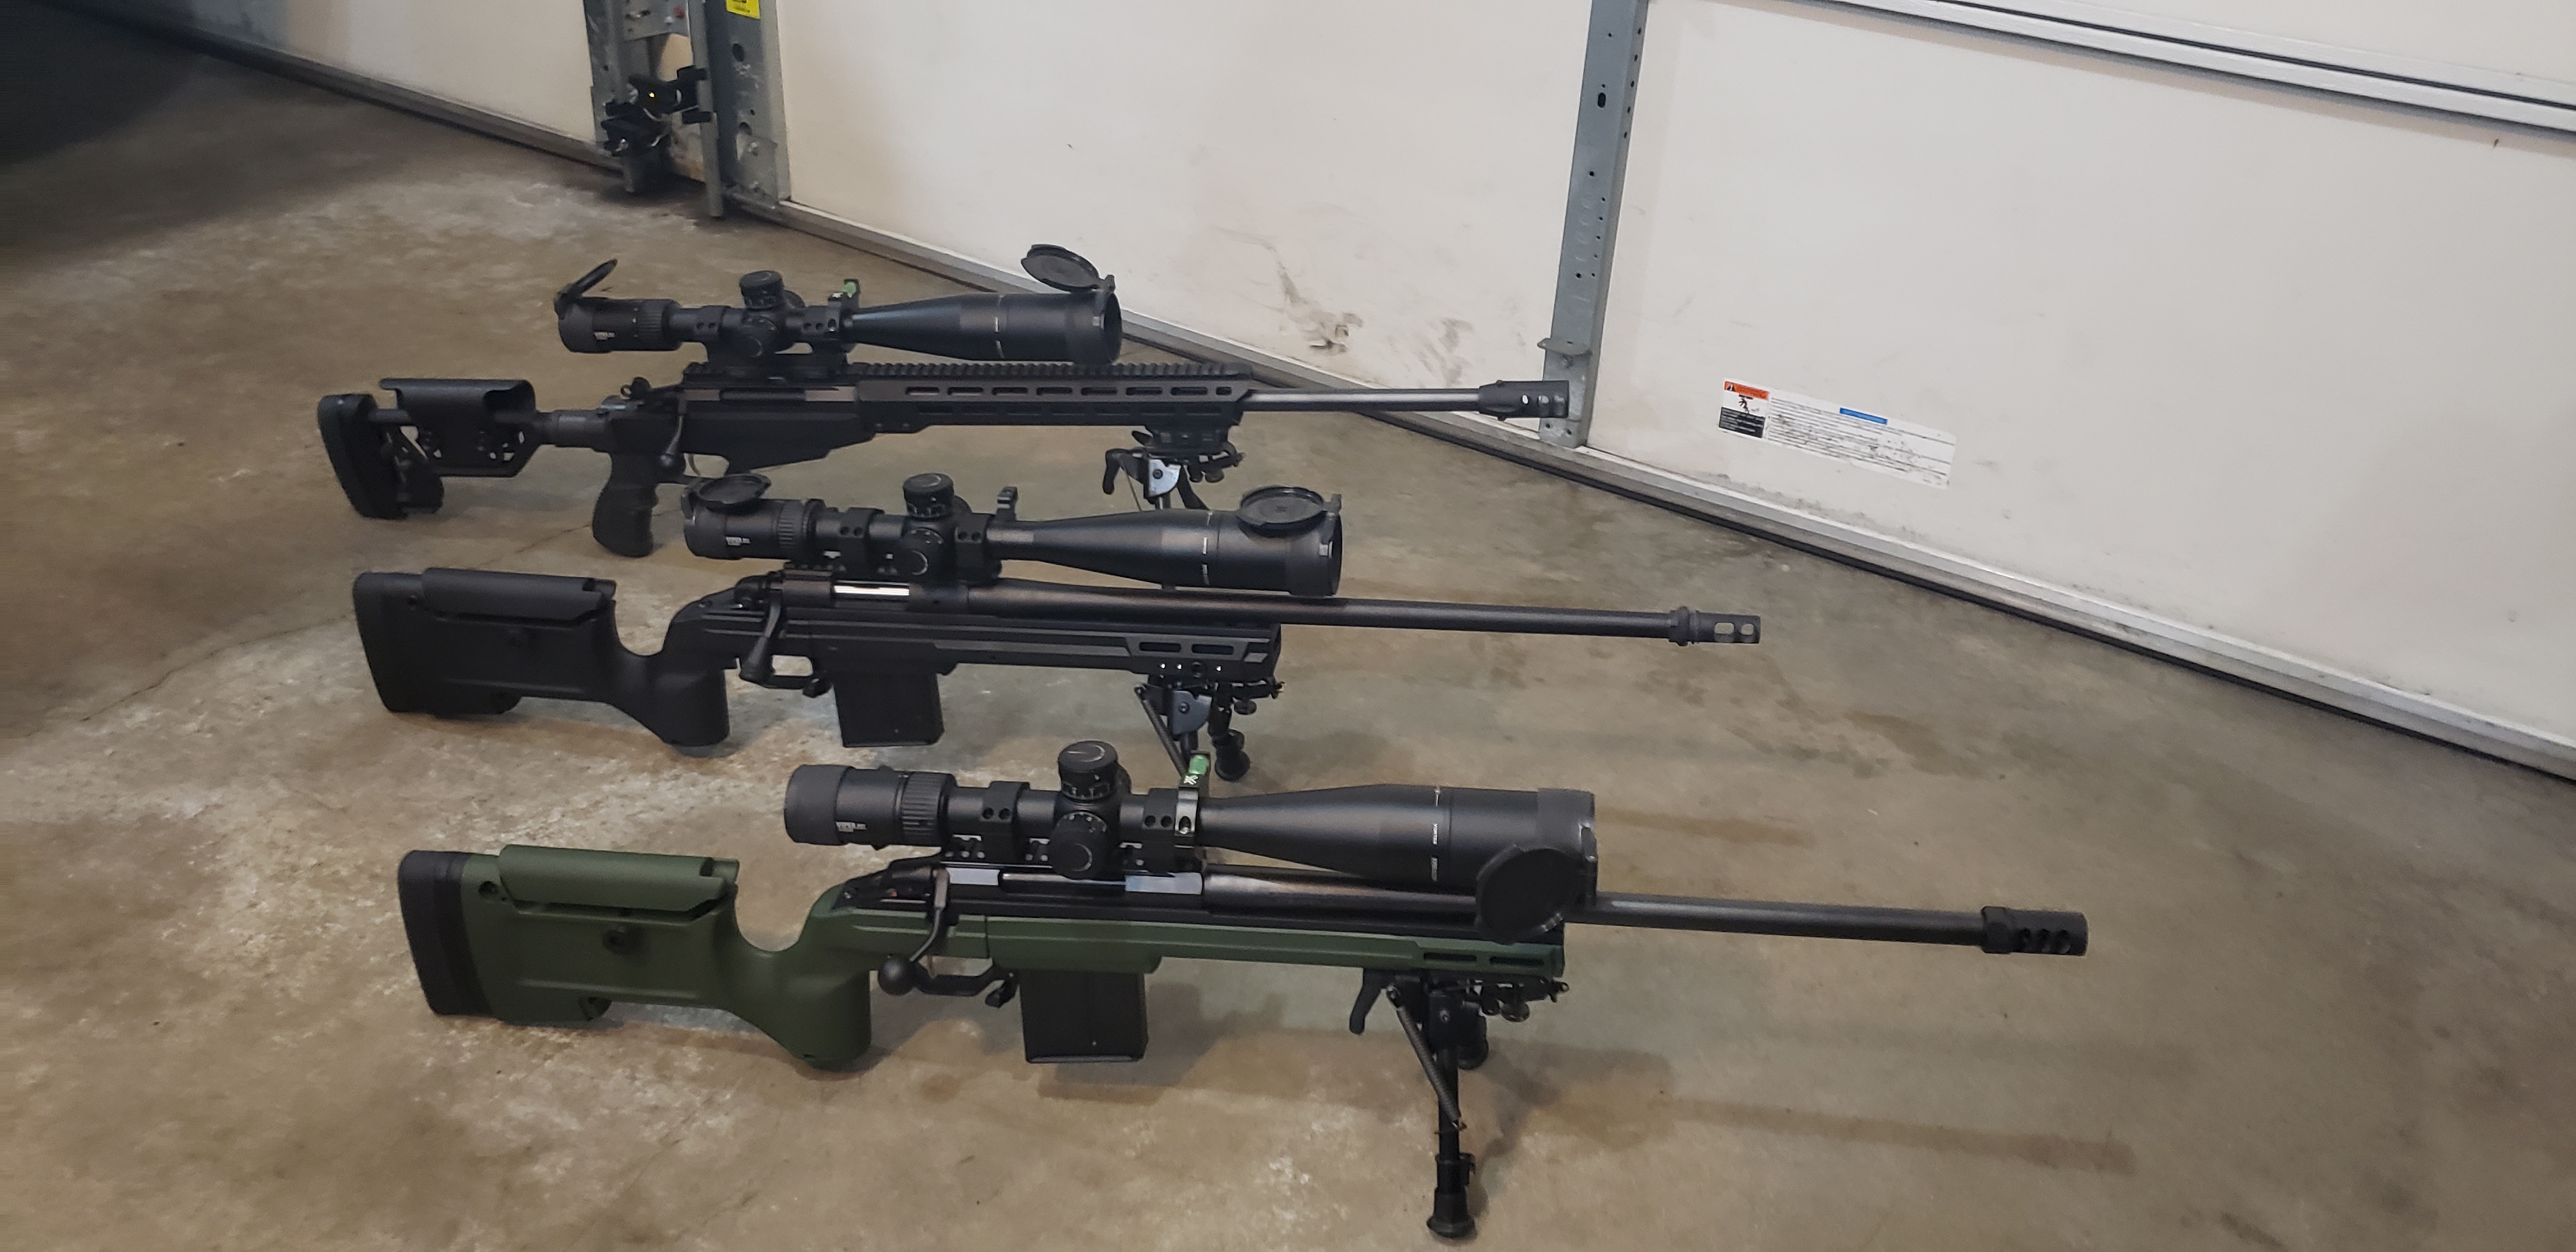
The Bergara's Rem 700 footprint gives you access to the largest aftermarket ecosystem in precision rifles, triggers, stocks, chassis, bottom metal, everything. The Tikka's proprietary footprint is more limited, though it's grown significantly in recent years with options from KRG, MDT, and others. If you plan to drop the barreled action into a different chassis eventually, the Bergara's compatibility advantage is real.
Bolt feel goes to the Tikka. The T3x action is smoother and shorter-throw than the Bergara's Rem 700-pattern bolt. At a match, cycling speed and staying on the gun matter. The Tikka has an edge here.
Tikka T3x TAC A1 vs. Ruger Precision Rifle
The RPR changed the precision rifle market by making a chassis rifle with an adjustable stock, AICS magazine compatibility, and a decent trigger available at a lower price point than anything else on the market. It earned its place. But the TAC A1 is a step up in several measurable ways.
Barrel quality: the Tikka's cold hammer-forged barrel is more consistent than the RPR's barrel across a sample of rifles. Individual RPRs can shoot very well, but the floor is lower, you're more likely to get an RPR that shoots 1.0-1.2 MOA than a TAC A1 that does. The ceiling is similar; both can produce 0.5 MOA groups in their best examples.
Action smoothness isn't close. The RPR's bolt is functional but noticeably rougher than the T3x. It improves with use, but it never reaches the same level. The RPR's trigger is good, adjustable down to about 2.25 pounds, but the Tikka's factory trigger has a cleaner break.
The RPR's chassis has more flex than the TAC A1's, particularly in the forend. Under heavy barricade loading, this can introduce POI shift. The RPR is heavier overall, which helps with recoil management but hurts in positional stages where you're moving the rifle between positions quickly.
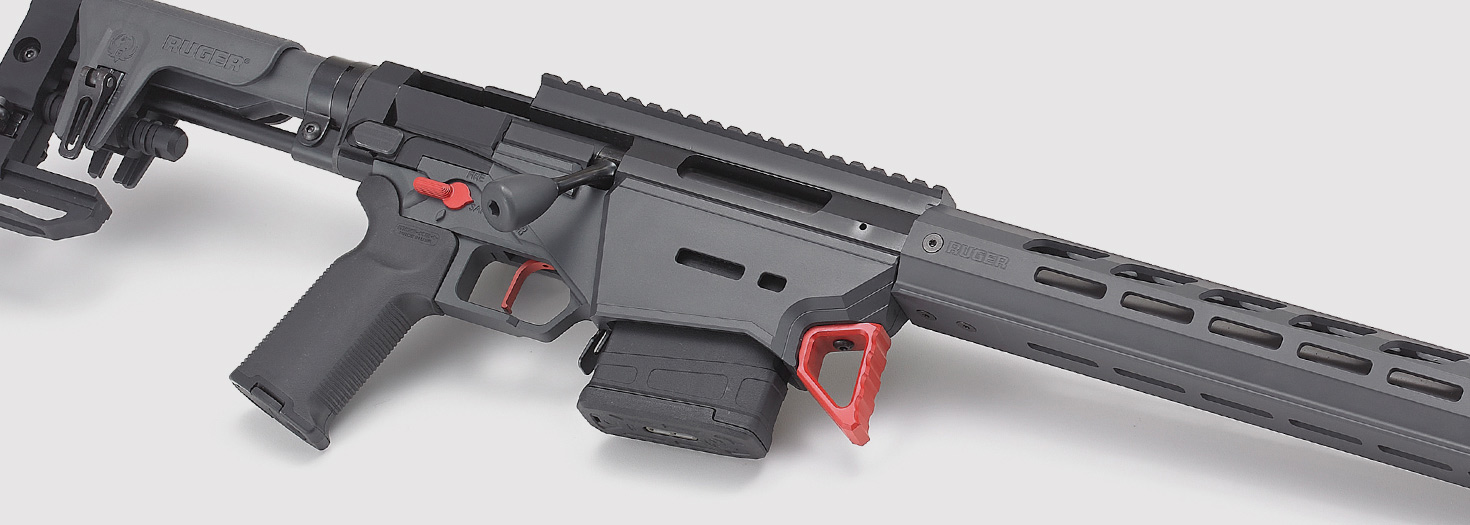
Where the RPR wins: the Rem 700-compatible scope base pattern and AR-style grip and stock interface mean you can customize everything. The RPR is a better platform to build on if you plan to replace most of the components. The TAC A1 is a better platform to shoot as-is.
Tikka T3x TAC A1 vs. custom builds
A custom rifle on a Bighorn TL3, Impact 737, or Defiance Tenacity action with a Bartlein or Krieger barrel and an ARCA-compatible chassis will outperform the TAC A1 in mechanical accuracy, turret-tracking support (trued actions with lapped lugs), and barrel life (premium cut-rifled barrels in optimal twist rates). The custom build will also cost two to three times as much before glass.
The honest question is whether you need that performance. At 1,200 yards, the TAC A1 is mechanically capable of hitting a 2 MOA target on every shot if the shooter does their job. The custom build might shrink that to 1.2 MOA consistency, but the wind is still a 4+ mil variable. The diminishing returns start here: if you're not already reading wind well enough to consistently hit at 1,000 with a factory rifle, a custom build won't fix that. The custom rifle becomes worth it when your skills have outgrown the equipment, when you can genuinely tell the difference between 0.5 and 0.3 MOA mechanical accuracy at distance because your wind calls are that good.
Most shooters reach that point after two to three years of serious match shooting. If you're in your first year, the TAC A1 is more rifle than you need. That's not an insult. That's the data.
Caliber considerations for the TAC A1 at distance
The TAC A1 is available in 6.5 Creedmoor, .308 Winchester, and .260 Remington. For shooting at 1,200 yards, the caliber choice matters more than at 600.
The 6.5 Creedmoor with a 140gr bullet (BC around .646 G1 for the Hornady ELD Match) arrives at 1,200 yards at roughly 1,450 fps with about 8.5 mils of wind drift in a 10 mph full-value crosswind. It stays supersonic past 1,400 yards at sea level.
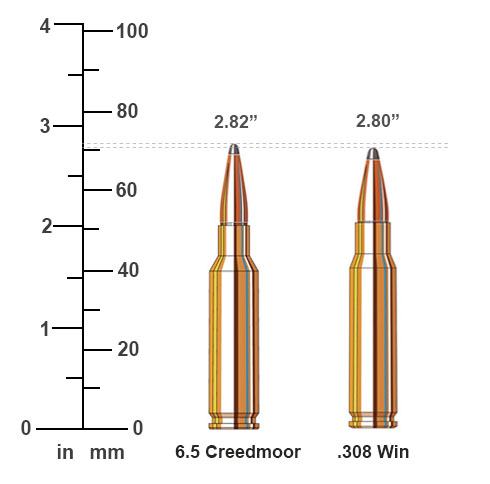
The .308 Winchester with a 175gr SMK (BC around .505 G1) arrives at 1,200 yards at roughly 1,150 fps with about 12 mils of wind drift in the same 10 mph wind. It goes transonic around 1,000-1,050 yards at sea level, which means at 1,200 yards you're shooting through the transonic zone, the region where the bullet decelerates through the speed of sound and aerodynamic stability becomes unpredictable. Vertical dispersion increases dramatically. Hits become inconsistent regardless of how good the rifle is.
The .260 Remington splits the difference ballistically, it's essentially the same case as the 6.5 Creedmoor with slightly different chamber dimensions and brass availability. Performance at 1,200 yards is nearly identical to the 6.5 Creedmoor. The practical difference is ammunition and component availability: 6.5 Creedmoor has more factory match options and more load data available. The .260 Rem has a small but dedicated following, and shooters who handload won't notice a meaningful performance gap.
For 1,200-yard work, the 6.5 Creedmoor is the obvious choice. The .308 is a fine cartridge, it teaches you to read wind because it punishes bad calls harder, but it's not the right tool for consistent hits past 1,000 yards. That's not an opinion. That's ballistics.
Field impressions: what 500+ rounds reveal
After extended use, the TAC A1 shows its strengths and its compromises more clearly.
The folding stock mechanism remains tight. No play develops in the hinge, and the lockup doesn't degrade. This is a common concern with folding-stock chassis rifles, and Tikka's implementation holds up. The stock folds to the left side, which makes the rifle more compact for transport, it fits in cases and packs that a fixed-stock rifle of the same barrel length won't.
The chassis finish wears. The black Cerakote-style coating on the aluminum chassis shows handling marks within the first few range sessions, and barricade work accelerates this. It's cosmetic, not functional, but if you care about appearance, know that this rifle will look used quickly. Some shooters consider that a feature.
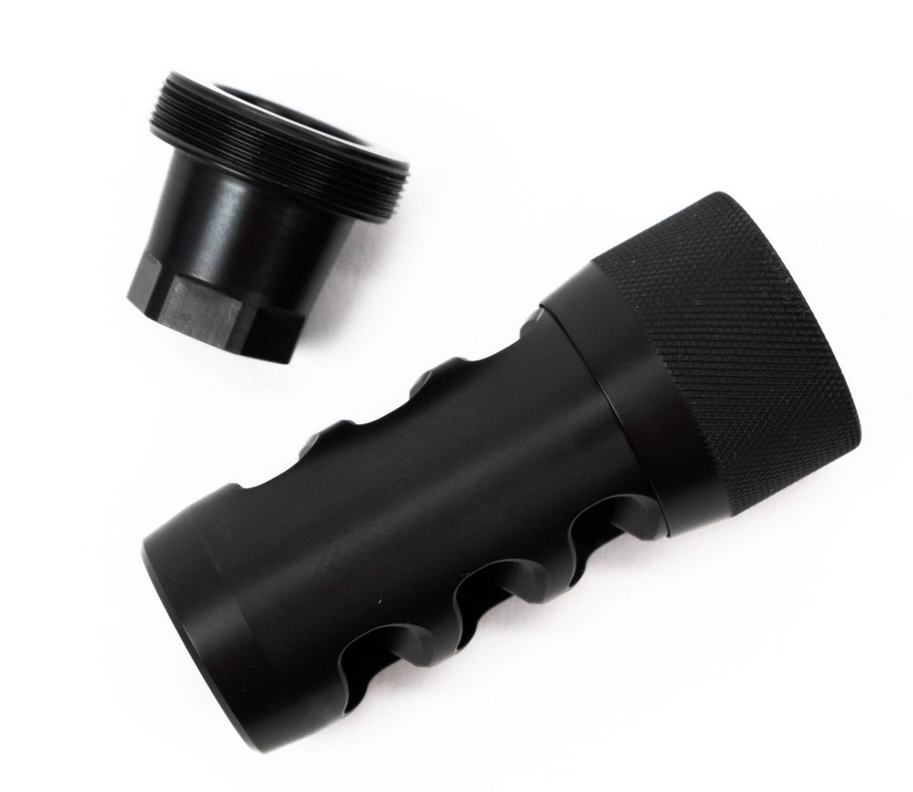
The factory muzzle brake is effective. Recoil in 6.5 Creedmoor is already mild, and the brake reduces it further to the point where you can spot your own impacts through the scope at 10x magnification. The brake is loud, significantly louder than shooting unsuppressed without a brake, and side blast is noticeable for anyone next to you on the line. A suppressor is a better solution if your local laws allow it, and the 5/8x24 threaded muzzle accepts most .30-caliber-and-under suppressors directly.
Match notes: PRS-style stages
The TAC A1 handles PRS-format stages well for a factory rifle. The 10-round AICS magazines feed reliably, the bolt cycles fast enough for time-limited stages, and the chassis is rigid enough for barricade and positional work. Where it gives up ground to purpose-built PRS rifles: weight distribution. The TAC A1 is slightly muzzle-heavy, which is great for prone but can make it harder to balance on a tripod in certain orientations. A rear bag helps, and most competitive shooters add an ARCA rail to the forend for faster tripod transitions.
The trigger, as mentioned, is good enough. On a stage where you're managing heart rate, reading wind, and running a timer, the difference between the factory Tikka trigger and a $250 aftermarket unit is negligible for most shooters. Fundamentals first. Always.
Getting the most out of the platform
The TAC A1 rewards methodical load development more than most factory rifles because the action and chassis are good enough that the ammunition becomes the limiting variable early. If you handload, start with H4350 and 140gr bullets in 6.5 Creedmoor. Run an OCW (Optimal Charge Weight) test, then a seating depth test. You're looking for the charge weight that produces the lowest SD, not necessarily the smallest group. At distance, low SD beats small groups every time.
If you shoot factory ammunition, Hornady 140gr ELD Match and Federal 130gr Gold Medal Berger Hybrid are the two most consistent options in the TAC A1's SAAMI chamber. Buy a case lot from the same lot number if you can, lot-to-lot variation in factory ammo is real, and switching lots mid-match can shift your zero by 0.2-0.3 mils.
Invest in a quality scope mount. The TAC A1's integrated rail is flat and true, but a poor-quality ring set will introduce cant, uneven pressure on the scope tube, and potential tracking errors. Seekins, Spuhr, Badger Ordnance, and Nightforce all make rings that are worth the money. A $50 ring set on a $1,500 rifle with a $2,000 scope is the definition of a false economy.
What to do next
Take the rifle to the range with 60 rounds of your chosen match ammunition, a rear bag, and a notepad. Shoot a five-round group at 100 yards to confirm zero and baseline accuracy. Then move to 600 yards. Dial your come-up from your ballistic calculator, shoot five rounds, and record the actual impact location versus predicted. Do the same at 800 and 1,000 if your range allows. The difference between predicted and actual impact is your true-up data, it tells you whether your muzzle velocity input and BC are correct in your solver.
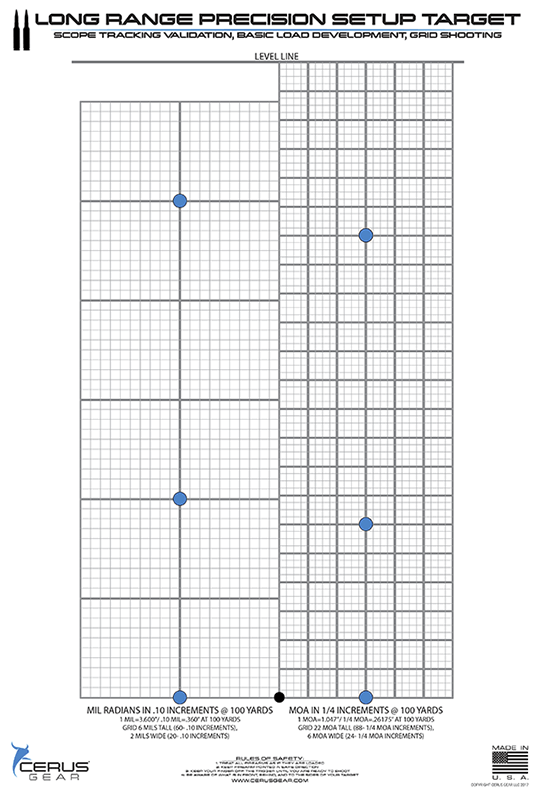
After that, run a tall target test or a box test with your scope to verify tracking. Dial 5 mils up, shoot a group. Dial 5 mils right, shoot a group. Dial 5 mils down, shoot a group. Dial 5 mils left, shoot a group. You should be back at your original POI. If you're not, the problem is the scope, not the rifle. Fix it before you waste rounds at 1,200 yards chasing a zero that doesn't exist.
Then start logging cold bore shots. Every session, first round, cold rifle, recorded conditions. After 20 sessions, you'll have a cold bore profile that you can trust. That first-round hit at 1,200 yards starts with data collected at 100. The TAC A1 will give you the mechanical consistency to build that data. The rest is on you.