
Your rifle shoots sub-half-MOA off a lead sled. Then you get behind it on a barricade stage, load the bipod on a 2x4, and watch the crosshair bounce like a seismograph. The bipod is the interface between your rifle and every surface you'll shoot from in competition. It's also the piece of gear most shooters under-think and over-spend on; or worse, under-spend on for the wrong reasons.
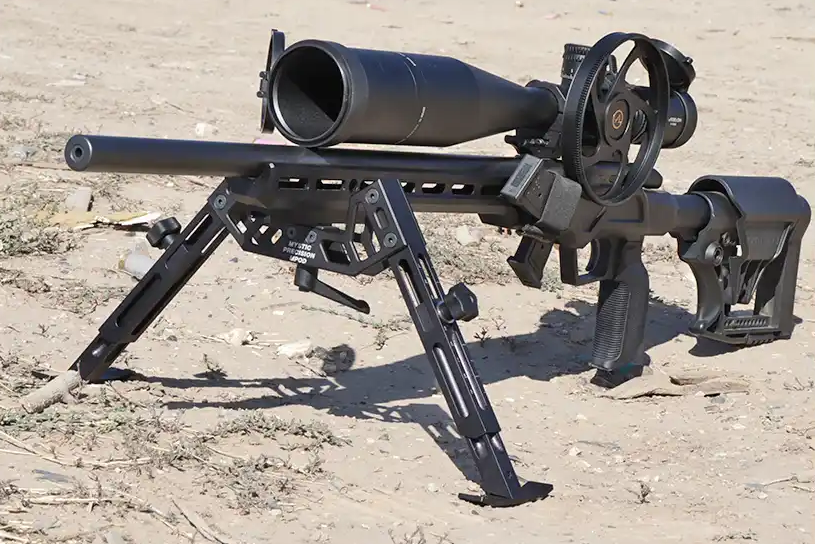
A bipod for PRS and NRL isn't the same tool as a bipod for prone hunting or bench shooting. Competition stages demand rapid deployment, aggressive loading, cant adjustment on uneven surfaces, and the ability to transition from flat ground to barricades to rooftops in under two minutes. The bipod has to track with you, not fight you. And the differences between a $90 Harris and a $330 MDT Ckye-Pod aren't just about materials; they're about how much time you lose per stage and how much stability you actually get under the clock.
Here's what separates the bipods that show up at major matches from the ones that stay in gun safes, and which ones are worth the money under $350.
What actually matters in a competition bipod
Before comparing specific models, it helps to nail down the features that move scores. Not all bipod specs matter equally, and the marketing language around bipods can obscure what's actually relevant on a stage.
Loading behavior
Loading a bipod means pushing the rifle forward into the bipod legs to create tension against your shoulder. This preload stabilizes the system and reduces the tendency for the rifle to bounce off target during recoil. A bipod that loads well will compress slightly under forward pressure and hold that tension consistently. A bipod that loads poorly will skip, slide, or collapse under the same pressure.
The leg design, foot type, and pivot mechanism all affect loading. Stiff, non-canting bipods can feel stable on a flat bench but become a nightmare on angled surfaces where you need the rifle to settle into the terrain. Canting; the ability to tilt the rifle left or right at the bipod; is non-negotiable for competition. You'll encounter uneven surfaces on nearly every stage.
Pan and tilt
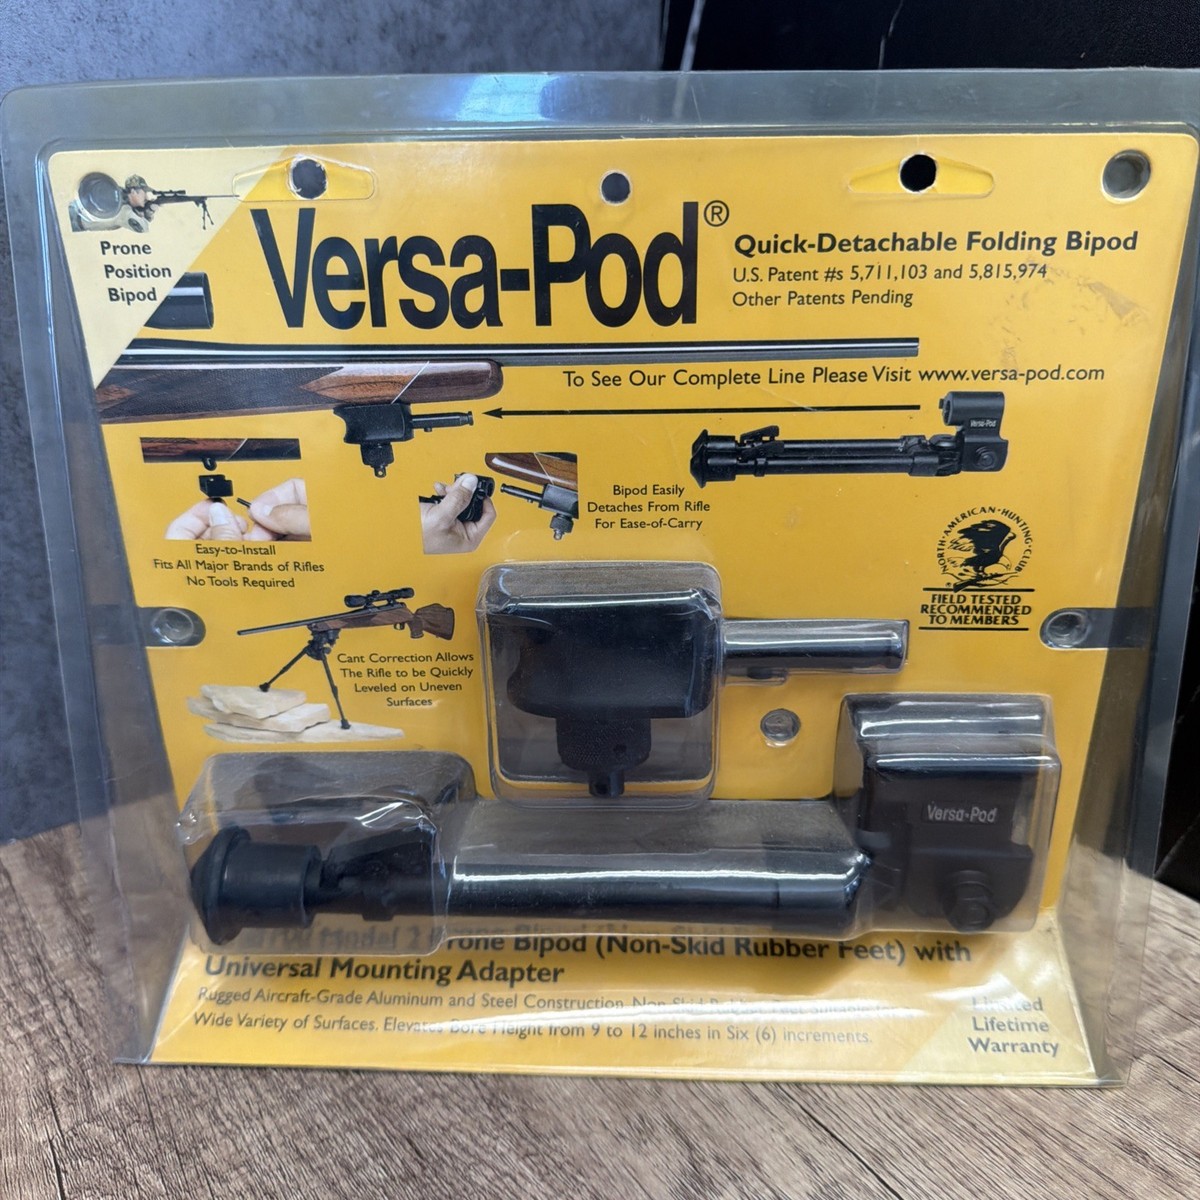
Pan refers to side-to-side movement at the bipod head. Some bipods lock this out entirely; others allow a few degrees of free travel. In PRS, where you might need to engage targets across a 30-degree arc without repositioning the bipod, some pan is useful. Too much pan and the rifle feels sloppy. The sweet spot is a controlled, tensioned pan; enough to track between targets, firm enough that recoil doesn't throw you off your hold.
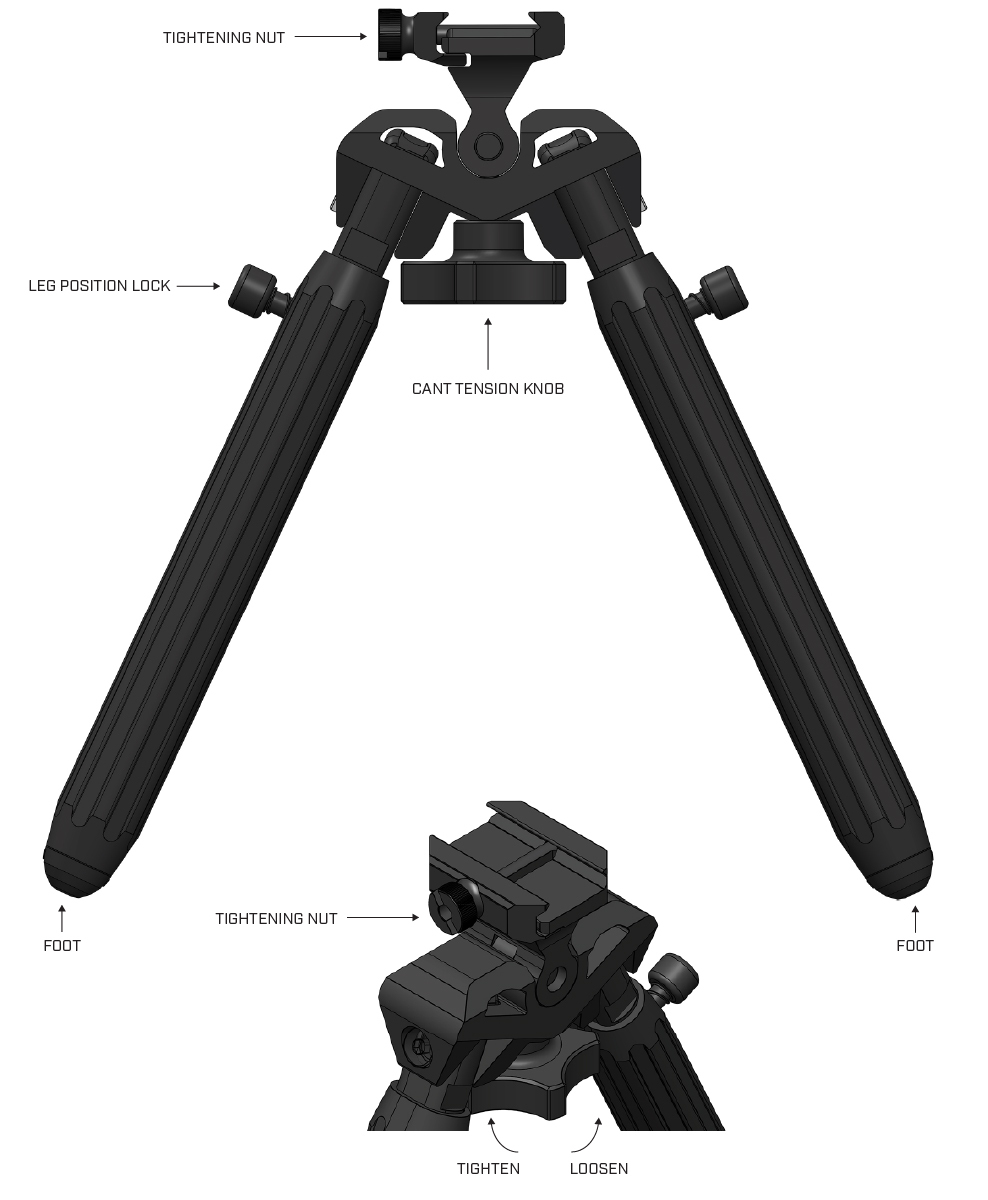
Tilt (or cant) is the left-right lean. Most competition bipods offer 20 to 30 degrees of cant in each direction. That's usually enough. What matters more than total range is how smooth the cant is and whether it locks positively or relies on friction alone.
Leg deployment and height
PRS stages vary wildly. One stage you're prone on flat dirt. The next you're loading the bipod on a tank trap or a windowsill. Leg extension speed matters; not in a tactical-fantasy way, but in a "you have 90 seconds for five targets" way. Notched legs are slower but more positive. Smooth-travel legs are faster but can slip under load if the clamp isn't solid.
Leg height range also matters. Most shooters want a bipod that goes low enough for true prone (around 5 to 6 inches from the rail to the ground) and tall enough for elevated positions (9 to 13 inches). Some bipods accomplish this with swappable leg extensions. Others have enough built-in travel. Either way, you need to know the range before you buy.
Weight
A competition rifle already runs heavy; 15 to 18 pounds with scope, loaded magazine, and accessories is normal. The bipod adds 7 to 16 ounces depending on model. That weight lives at the front of the rifle, which affects balance. A heavier bipod can actually help with recoil management on prone stages, but it'll wear you out on positional stages where you're muscling the rifle into position repeatedly. There's no universal right answer here, but anything over a pound should be justified by real performance gains.
Attachment method
Arca-Swiss rail compatibility has taken over PRS. The ability to slide the bipod forward or backward along an Arca rail; adjusting the balance point and the effective height; is a genuine competitive advantage. Most serious competition bipods now come in Arca-compatible versions or have Arca adapter options. If your rifle runs an Arca forend (and it should, for competition), make sure the bipod interfaces directly. Adapters add height, weight, and potential slop.
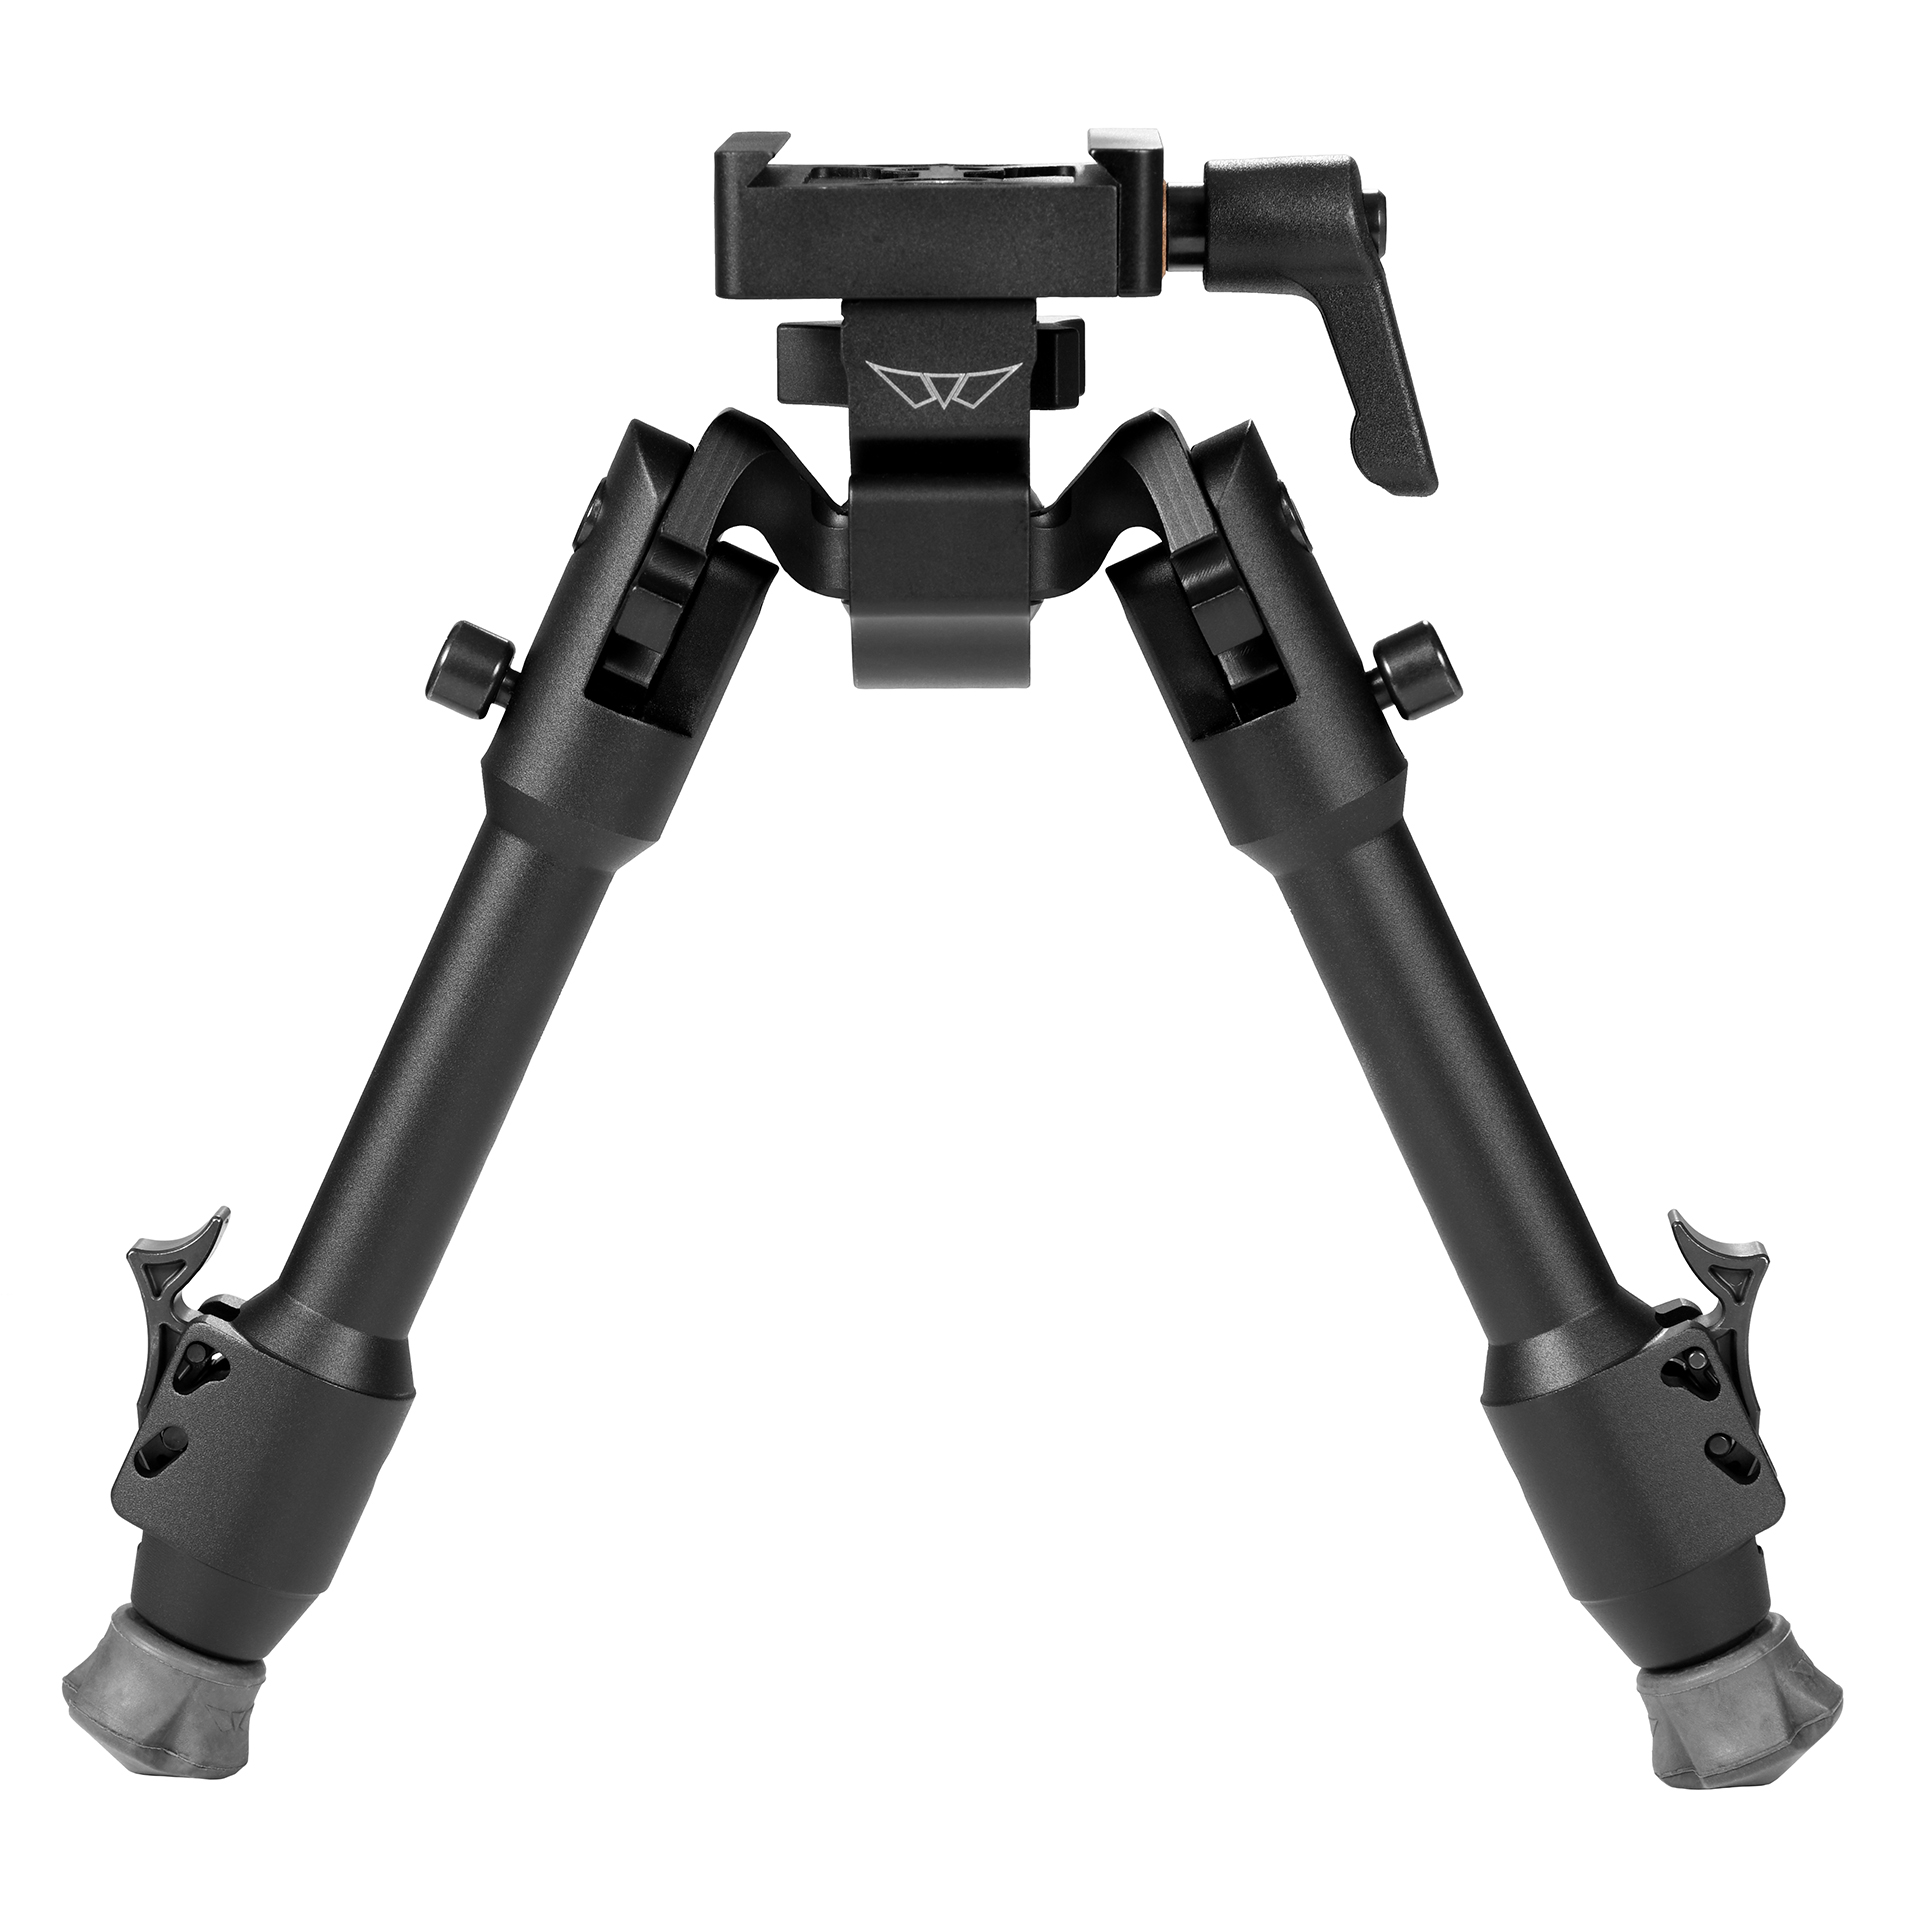
Picatinny and stud-mount bipods still exist, and they work, but they lock you into a single mounting position. For PRS, that's a limitation you'll feel on positional stages.
The bipods PRS and NRL shooters actually use
Survey data from PrecisionRifleBlog.com's equipment surveys consistently shows a handful of brands dominating the top 100 in PRS. The market has consolidated around a few designs that solve the competition-specific problems described above. Here's how the major players under $350 stack up.
Atlas BT46-LW17 PSR (and variants)
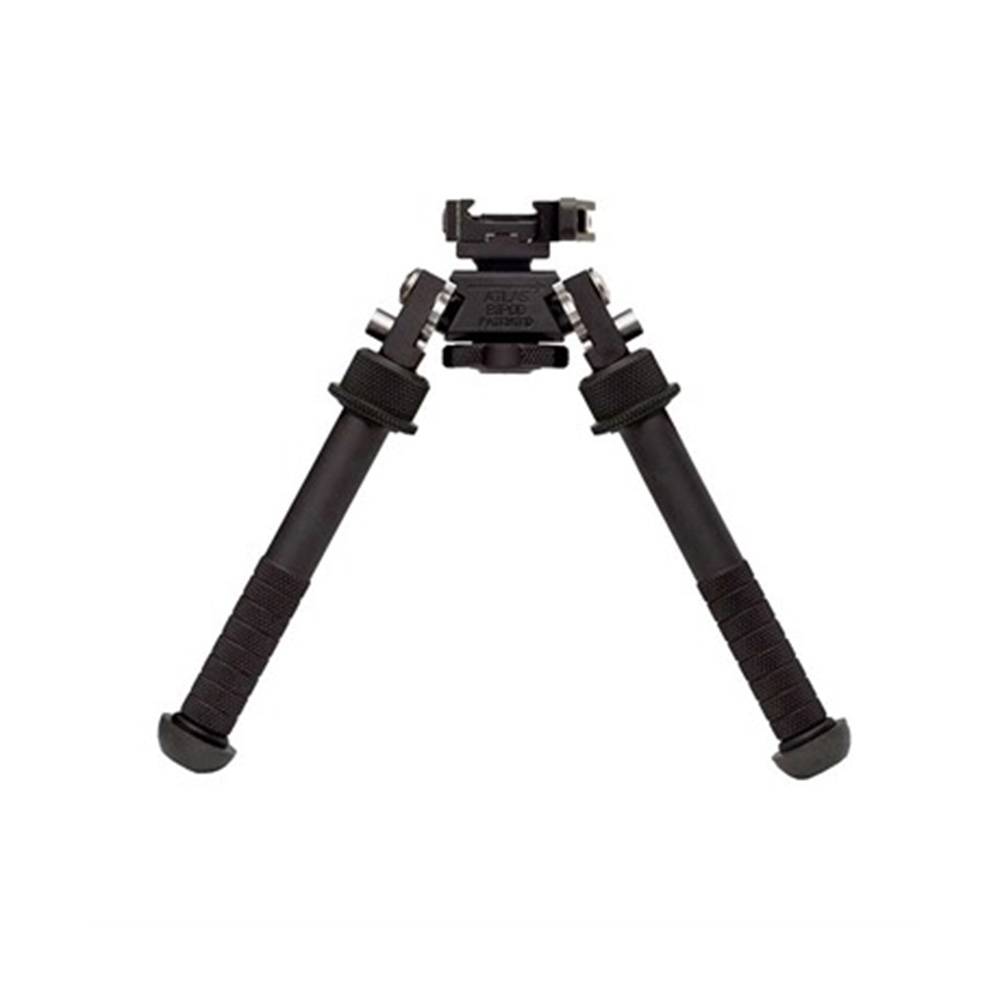
Atlas bipods from B&T Industries have been the default competition bipod for over a decade. The BT46 PSR is the most common variant seen at matches. It uses a universal head that accepts Picatinny, ARMS 17S, or ADM 170-S lever mounts. The newer Atlas CAL (BT65) and Atlas V8 (BT10) round out the lineup, but the PSR remains the workhorse.
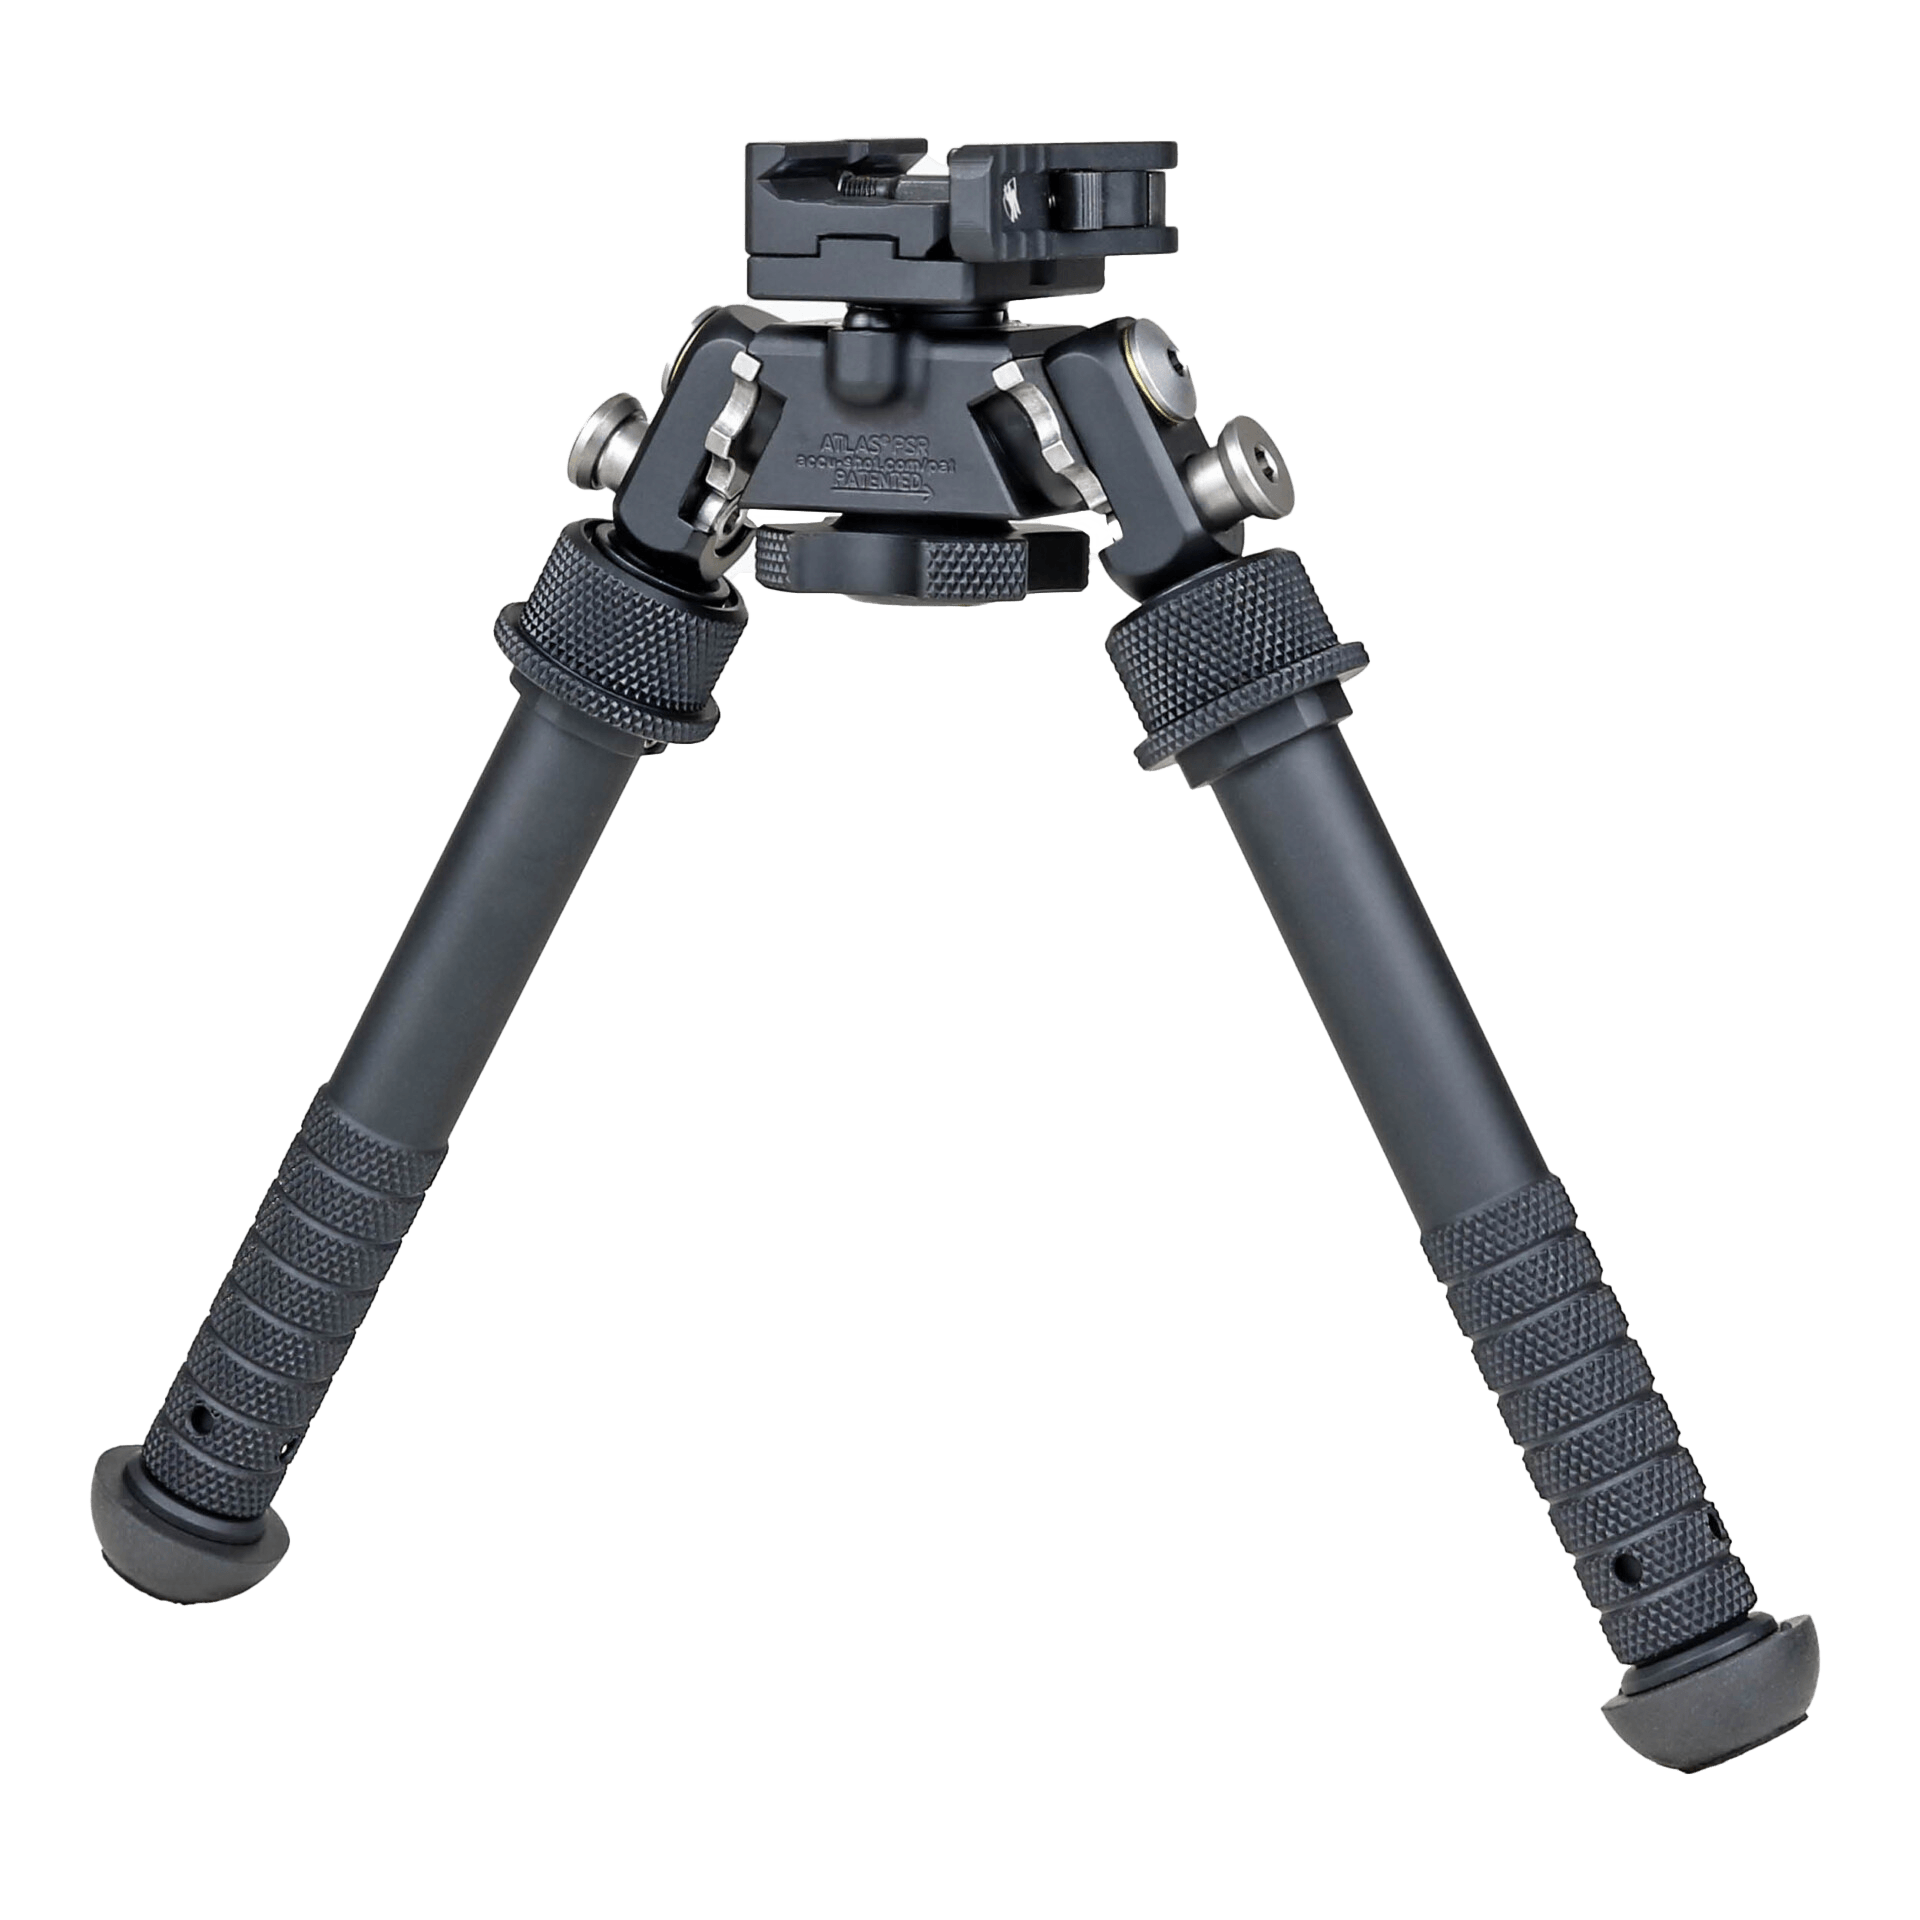
The Atlas design uses independently deployable legs with five positions each (0, 45, 90, 135, and 180 degrees). Leg extension is smooth with a clamp lock, not notched. Cant is built into the head with a locking lever. Pan isn't standard on most Atlas models; you get it by adding the Atlas Accu-Shot monopod or using a separate pan head; though the newer CAL model incorporates a tensioned pan feature.
Weight runs around 10.5 to 11 ounces for the standard models. That's middle of the pack. Height range on the BT46 is roughly 5.5 to 9 inches without extensions, extendable to about 13 inches with optional leg extensions.
What makes the Atlas work for competition is predictability. The leg deployment is positive and repeatable. Loading behavior is solid; the rubber feet grip well on most surfaces, and the bipod doesn't skip under moderate preload. The cant mechanism is smooth enough for quick adjustments between targets on uneven surfaces.
The downsides: no built-in pan on the base PSR model is a real limitation for stages with wide target arrays. The leg clamps can loosen over time and need periodic re-tensioning. And the Atlas mounting system, while versatile, adds a step if you're running Arca; you'll need an Arca clamp adapter, which adds height and a potential failure point.
Street price for the BT46-LW17 PSR runs in the $250 to $300 range depending on the mount. That puts it squarely in budget for most competitors.
MDT Ckye-Pod Gen 2
The Ckye-Pod has been gaining ground in PRS at a remarkable rate. Survey data shows it climbing into the top three among the top 50 shooters. The Gen 2 version addressed most of the complaints about the original; it's lighter, the leg deployment is faster, and the cant/pan mechanisms are more refined.
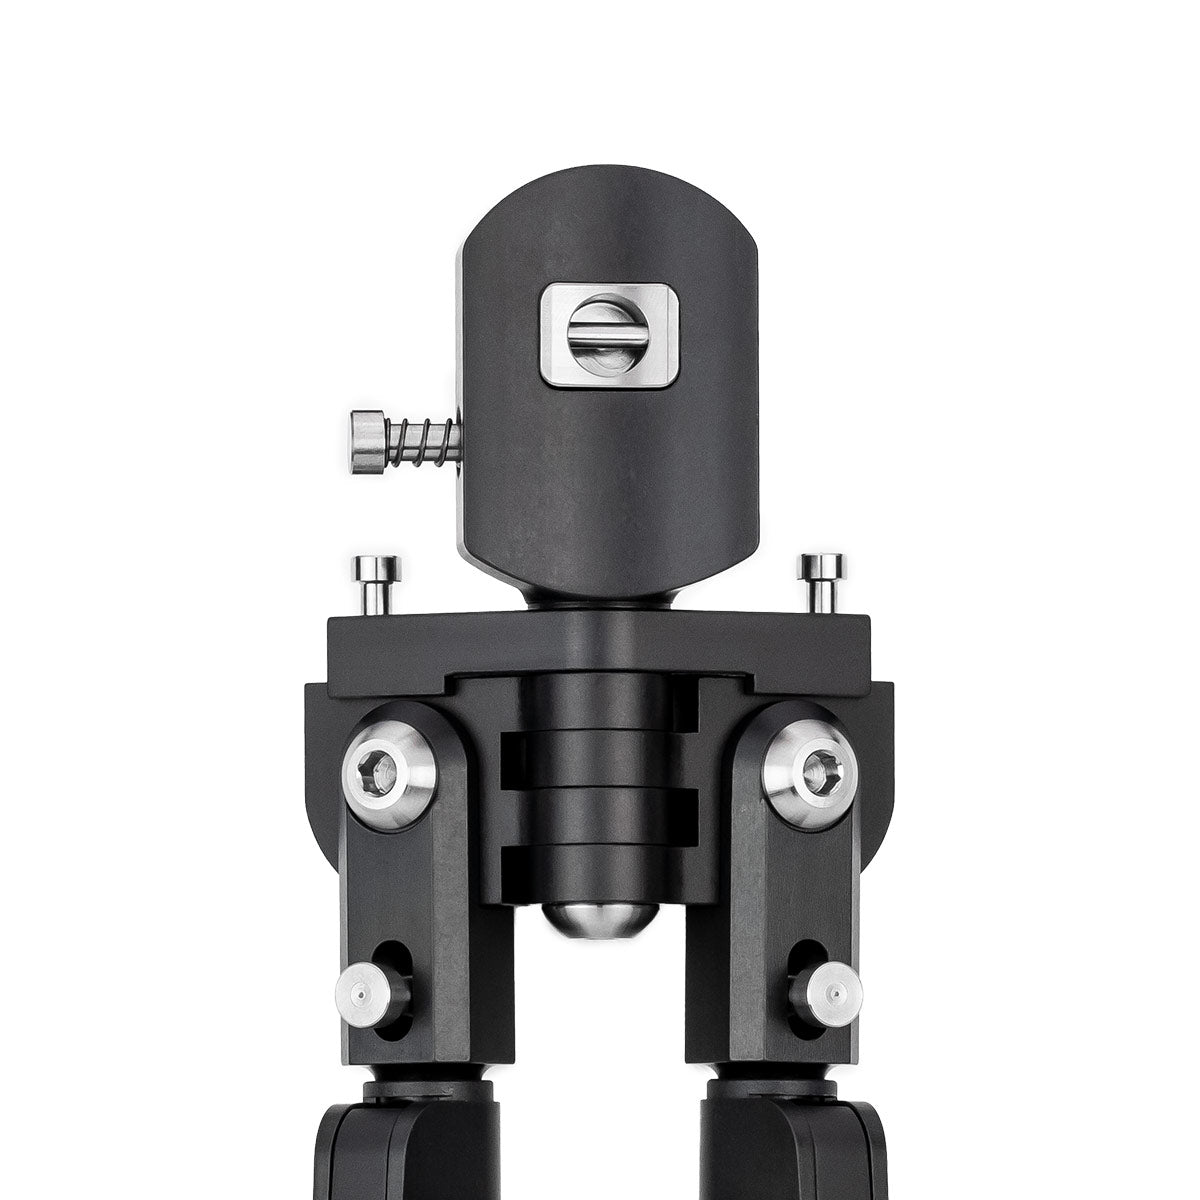
The defining feature of the Ckye-Pod is its ball-joint head, which allows simultaneous cant and pan with adjustable tension. You set the tension once, and the bipod moves freely within that friction range. This is a fundamentally different approach than the Atlas's separate cant lock. On stages where you need to transition quickly between targets at different elevations and lateral positions, the Ckye-Pod's head lets you flow rather than unlock-adjust-relock.
Atlas V8 (BT10) Deals
Prices may change. May contain affiliate links.
Leg deployment uses a quick-release button system; press and swing. It's fast. Leg extension is smooth with a twist lock. Height range is approximately 4.5 to 11 inches depending on the model (the Ckye-Pod comes in multiple sizes). Weight varies by size but the competition-relevant models run 12 to 15 ounces; heavier than the Atlas.
The Ckye-Pod comes in direct Arca-mount versions, which is a significant advantage. No adapter needed. The clamp is integrated into the bipod foot, and it slides directly onto any Arca-spec rail. This keeps the overall height lower and eliminates adapter slop.
Loading behavior is excellent. The ball-joint head, when properly tensioned, absorbs loading force smoothly without skipping. The feet are replaceable and come in several profiles for different surfaces.
Downsides: the Ckye-Pod is more complex mechanically than an Atlas. More moving parts means more potential maintenance. The tension adjustment on the ball head takes some experimentation to dial in; too loose and the rifle wanders, too tight and you can't transition. Some shooters also find the leg deployment buttons fiddly with gloves. And the Gen 2 models at the competition-relevant sizes push right up against the $350 ceiling.
MDT also announced the Ckye-Pod Gen 3 in late 2025, designed specifically with NRL Hunter and PRS in mind. It features updated leg locks and a refined head mechanism. Early reports suggest it addresses the tension-adjustment learning curve of the Gen 2, but availability and final pricing may push some configurations above $350.
Accu-Tac BR-4 G2 and FC-5 G2
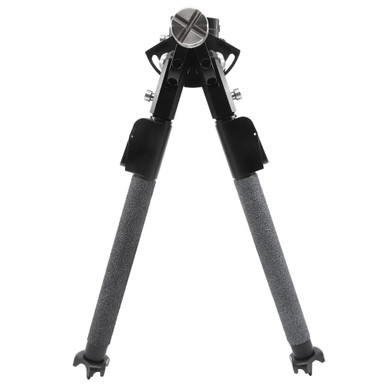
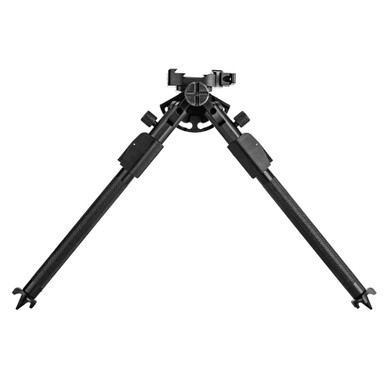
Accu-Tac has carved out a niche with shooters who prioritize rock-solid stability over speed of adjustment. The BR-4 G2 is their competition-oriented model, and the FC-5 G2 is the wider-stance variant favored by F-class and heavy tactical shooters.
MDT Ckye-Pod Gen 2 Deals
Prices may change. May contain affiliate links.
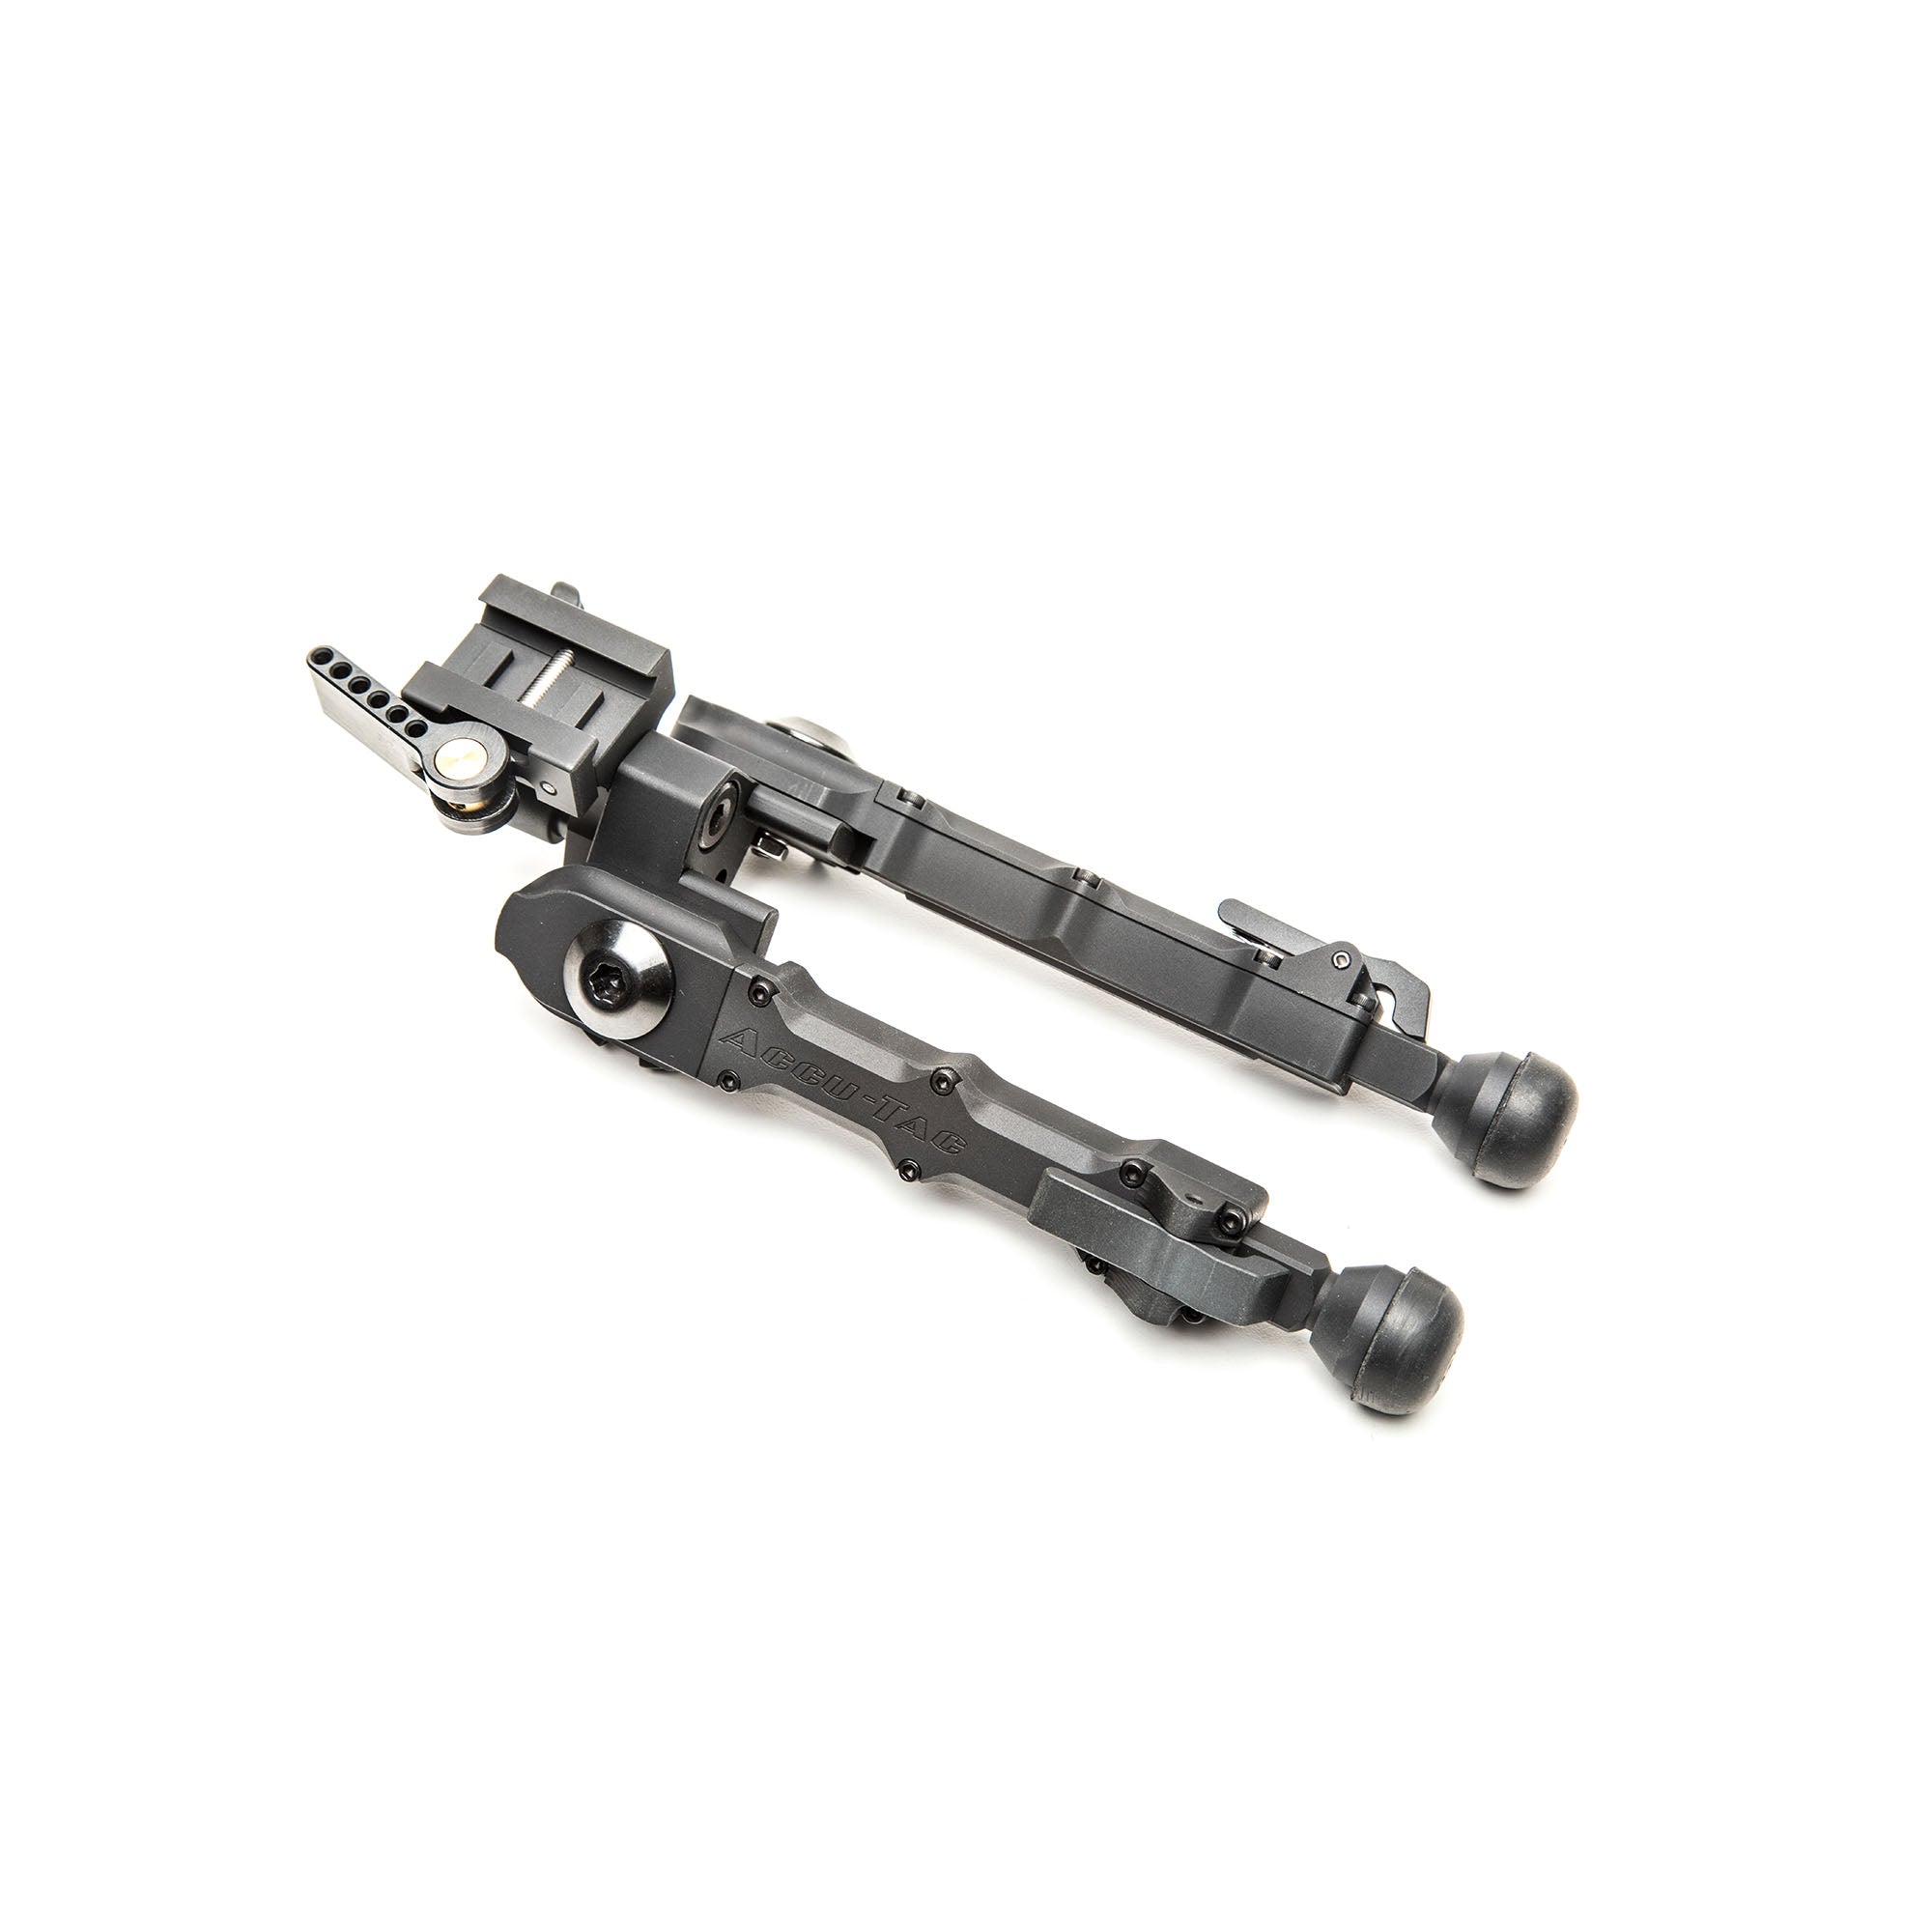
The G2 generation brought significant improvements: the legs are stiffer, the locking mechanisms are more positive, and the overall fit and finish is tighter than the originals. The BR-4 G2 uses notched leg positions rather than smooth travel; each leg clicks into discrete height settings. This is slower to adjust but eliminates any chance of the legs slipping under load.
Cant is handled by a locking lever at the head. Pan isn't standard. The feet are rubber with a spike option. Weight on the BR-4 G2 is around 12 to 13 ounces. Height range runs about 5.75 to 9 inches.
Accu-Tac makes Arca-spec versions of both the BR-4 and FC-5 in the G2 generation, which simplifies mounting on competition rifles.
The Accu-Tac's strength is pure stability. When locked down on a flat surface, these bipods feel like they're bolted to the earth. Loading behavior is extremely consistent; the stiff legs and positive locks don't give under pressure. For prone-heavy match formats or F-class, this is arguably the most stable platform under $350.
The trade-off is speed. Those notched legs are slow to adjust compared to the Atlas or Ckye-Pod. The lack of built-in pan means repositioning between widely spaced targets requires lifting and replanting the bipod. On timed PRS stages with multiple positions, those seconds add up. Shooters who run Accu-Tac in PRS tend to be the ones who've optimized their stage planning to minimize bipod adjustments.
Street price on the BR-4 G2 runs $200 to $260 depending on the mount configuration. The FC-5 G2 is similar. Both are well under the $350 ceiling, leaving budget for accessories.
Harris S-BRM (and HBRMS)
The Harris needs to be mentioned because it's still the most common bipod in the broader shooting world, and plenty of newer PRS shooters show up to their first match with one. The S-BRM (Sling Swivel, Bench Rest, M for M-Lok compatible) is the most competition-relevant Harris model, with notched legs and a spring-loaded cant mechanism.
At $70 to $110 street price, the Harris is the budget king. It's been around for decades. It works. The notched legs are positive and simple. The cant mechanism is functional if basic. Height range on the S-BRM is about 6 to 9 inches.
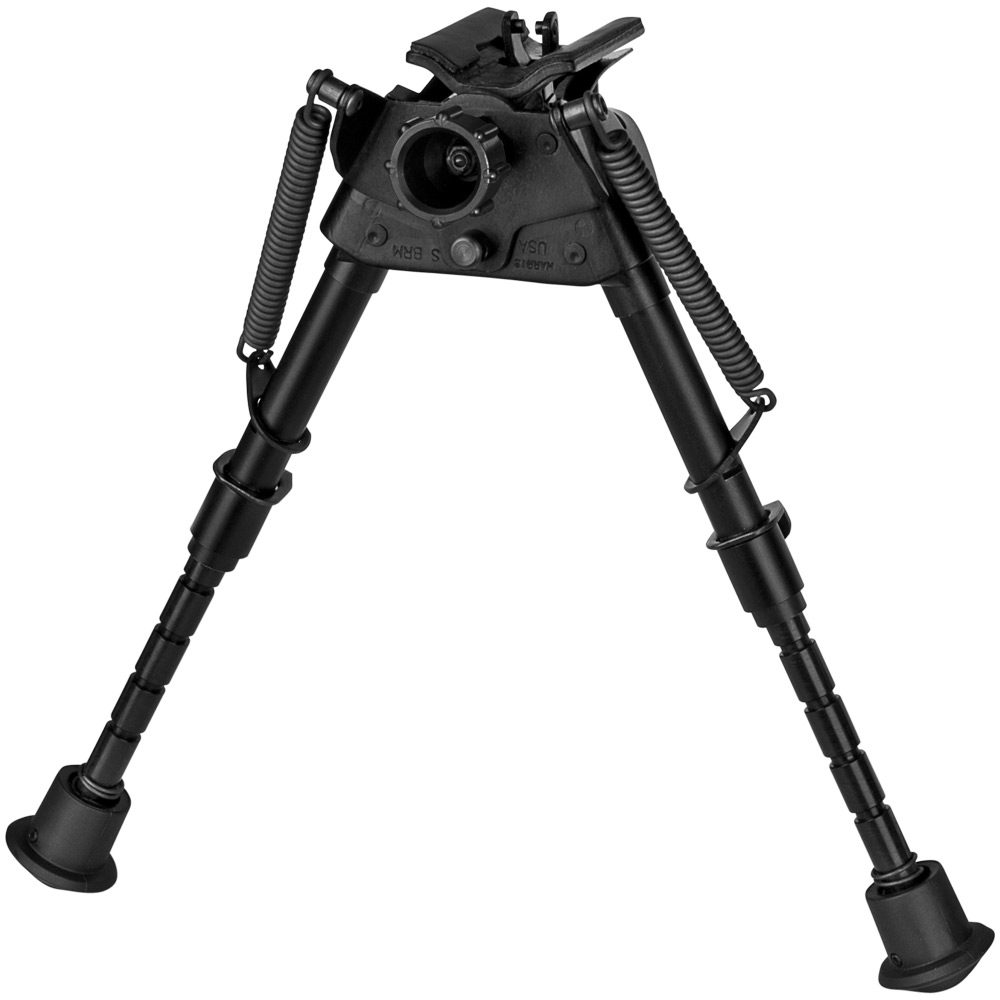
Here's the reality: a Harris will get you through your first few matches. It will not keep up as you progress. The cant mechanism has too much play for precise positional work. There's no pan. The sling-stud mount limits your options. Loading behavior is mediocre; the legs flex more than stiffer designs, and the feet tend to skip on hard surfaces. Weight is low (around 10 ounces), which is nice, but the trade-offs in stability and adjustability are real.
If you're deciding between a Harris and spending more on ammo and match fees, get the Harris and shoot matches. You'll outgrow it, but match experience matters more than gear at the beginning. If you're already shooting matches and looking to upgrade, skip the Harris entirely.
Tricer RP
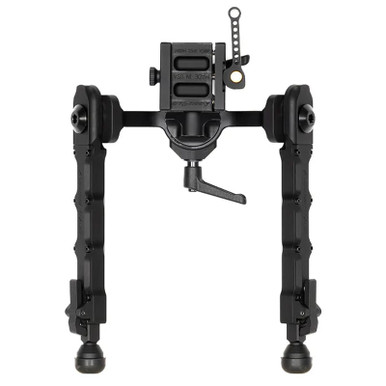
The Tricer RP is a newer entry that's generated buzz in the long-range community. It takes a different design approach; the legs use a unique hinge system that allows very rapid deployment and a wide stance. The head incorporates both cant and pan with a friction-based tension system.
Early reviews from Rokslide and Reddit's r/longrange community are generally positive, with shooters praising the loading behavior and the speed of the leg deployment. The wide stance creates a stable platform, and the friction-tensioned head allows smooth transitions between targets.
Accu-Tac FC-5 G2 Deals
Prices may change. May contain affiliate links.
The Tricer RP runs in the $250 to $300 range. It's newer to the market, which means less long-term durability data compared to the Atlas or Accu-Tac. Some shooters have reported that the friction tension on the head can drift over extended shooting sessions, requiring occasional re-adjustment. The mounting options are still catching up; Arca compatibility is available but the ecosystem of accessories (replacement feet, leg extensions) is smaller than what Atlas or MDT offer.
Worth watching, but it's harder to recommend with the same confidence as designs with five-plus years of match data behind them.
Range notes: what you'll see at a match
Walk the firing line at any PRS regional or club match and count bipods. The data from PrecisionRifleBlog.com's surveys of top-ranked shooters tells the story clearly: Atlas and MDT Ckye-Pod dominate, with Accu-Tac holding a smaller but consistent share. Harris bipods appear occasionally, almost always on newer shooters' rifles.
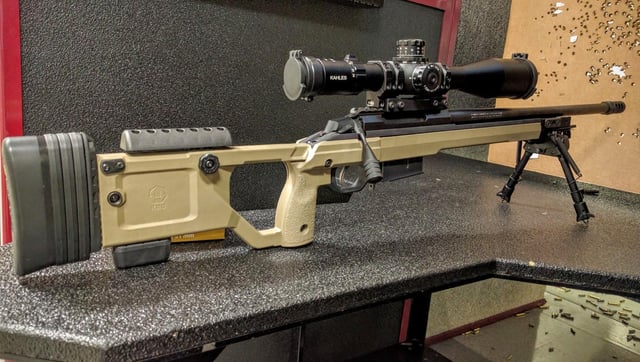
What's more interesting than the brand count is how the top shooters have their bipods set up. Almost universally, you'll see Arca-mount bipods on Arca-rail forends. The bipod position on the rail varies by stage; pushed forward for maximum stability on prone stages, pulled back for better balance on barricade stages. Some shooters adjust bipod position between stages. That's only possible with Arca.
You'll also notice that the top shooters preload their bipods aggressively. Watch their shoulders; they're driving forward into the rifle, compressing the bipod into the surface. The rifle barely moves during recoil. That's not just technique; it's a bipod that responds well to loading. A bipod that skips or slides under that pressure costs points.
Foot selection is another detail you'll spot. Rubber feet for most surfaces, but some shooters swap to spiked feet for stages shot on soft ground or wooden platforms. The ability to swap feet quickly; or have feet that work across surface types; is a small advantage that compounds over a two-day match.
Common mistakes with competition bipods
Running too much cant tension
Shooters new to canting bipods often crank the tension way up because a loose rifle feels wrong. The problem is that on uneven surfaces, you need the rifle to settle into its natural cant angle quickly. If the tension is too high, you're fighting the bipod to level the rifle, and that fight shows up as wobble in the scope. Set the cant tension just firm enough that the rifle holds its position when you let go. If it slowly drifts, that's about right. You'll level it with your body, not the bipod lock.
Ignoring bipod height for the stage
A bipod set at one height for the whole match is a bipod set wrong for most stages. Prone on flat ground wants the lowest setting; your body should be as flat as possible, with the scope at natural eye height. A barricade stage might need the bipod taller to clear the obstacle. Adjusting leg height between stages takes five seconds and can mean the difference between a natural position and one where you're craning your neck or hunching your shoulders. Both of those kill stability.
Not practicing bipod loading
Loading a bipod is a skill, not an instinct. Too little preload and the rifle bounces off the surface during recoil, losing your sight picture. Too much and you're muscling the rifle, introducing tension tremor. The right amount feels like the bipod feet are glued to the surface; firm, consistent pressure that you can maintain for 10 to 15 seconds without fatigue. Practice this at home with dry fire. Get behind the rifle, load the bipod into the carpet, and hold your crosshair on a target on the wall. If the crosshair drifts, your loading isn't consistent.
Buying based on weight alone
A 7-ounce bipod sounds great until you're trying to load it on a concrete barricade and it's flexing like a wet noodle. Lighter bipods use thinner materials and simpler mechanisms, and both of those compromise stability under load. The weight penalty of a 14-ounce bipod versus a 9-ounce one is 5 ounces; a third of a pound. On a 16-pound rifle, that's a 2% increase in total weight. The stability difference can be 20% or more. Do the math.
Skipping Arca compatibility
If your competition rifle doesn't have an Arca rail and an Arca-compatible bipod, you're leaving adjustability on the table. The ability to slide the bipod position forward or back changes the effective height, the balance point, and the loading characteristics. On a stage where you're shooting off a prop that's slightly too tall for your bipod's max height, sliding the bipod back an inch on the rail can drop the muzzle just enough. That kind of micro-adjustment wins stages.
Head-to-head: five bipods for PRS under $350
Here's how the main contenders compare on the features that actually matter for competition. No invented specs; these are based on manufacturer data and community-reported measurements.
Atlas BT46-LW17 PSR
The Atlas runs about 10.6 ounces. Height range is approximately 5.5 to 9 inches, extendable to 13 with optional extensions. Five discrete leg positions per side. Smooth-travel leg extension with clamp lock. Cant via locking lever, approximately 30 degrees each direction. No built-in pan on the base model. Mounts via Picatinny with ARMS or ADM lever; Arca requires an adapter. Street price is $250 to $300.
Best for: shooters who want a proven, lightweight platform and don't need built-in pan. The most data behind it in competition. Huge accessory ecosystem; replacement feet, leg extensions, aftermarket Arca adapters.
MDT Ckye-Pod Gen 2
Weight varies by size, roughly 12 to 15 ounces for competition-relevant models. Height range approximately 4.5 to 11 inches depending on model. Quick-release leg deployment with twist-lock extension. Ball-joint head with adjustable-tension cant and pan. Direct Arca-mount versions available. Street price is $300 to $350 depending on size and mount.
Best for: shooters who prioritize speed of adjustment and seamless transitions between targets. The ball-joint head is a genuine advantage on stages with wide target arrays or uneven surfaces. The direct Arca mount keeps the system low and tight.
Accu-Tac BR-4 G2
Weight is approximately 12.5 ounces. Height range roughly 5.75 to 9 inches. Notched leg positions; discrete, positive clicks. Cant via locking lever. No built-in pan. Arca-spec versions available in the G2 line. Street price is $200 to $260.
Best for: shooters who value maximum stability and don't mind slower adjustments. Excellent loading behavior. The notched legs are slower but inspire confidence; they will not slip. Strong choice for prone-heavy formats or shooters transitioning from F-class.
Harris S-BRM
Weight is approximately 10 ounces. Height range roughly 6 to 9 inches. Notched legs with spring-return. Basic spring-loaded cant. No pan. Sling-stud mount (Picatinny adapters available). Street price is $70 to $110.
Best for: new competitors on a budget who need to get to matches now. Functional but limited. Plan to upgrade within a season if you're serious about PRS.
Tricer RP
Weight is approximately 12 to 14 ounces (varies by configuration). Height range roughly 5 to 10 inches. Rapid-deploy hinge legs. Friction-tensioned head with cant and pan. Arca mounting available. Street price is $250 to $300.
Best for: shooters interested in a newer design with fast deployment and integrated pan. Less long-term match data than Atlas or Ckye-Pod, but early reports are promising. The wide-stance leg geometry creates a notably stable platform.
The Arca question
It's worth spending a moment on Arca-Swiss compatibility because it affects bipod choice more than most shooters realize.
An Arca rail on your forend; whether it's a dedicated chassis like an MDT ACC or XRS, a KRG Bravo, or a Manners stock with an inletted Arca rail; turns your bipod into a sliding, adjustable platform. The bipod clamp grabs the dovetail rail and can be positioned anywhere along its length. Loosen, slide, tighten. Three seconds.
This matters because bipod position relative to the rifle's center of gravity changes how the system handles recoil. Bipod forward means more leverage against muzzle rise but a longer moment arm that can amplify any instability in the bipod itself. Bipod back means less leverage but a more compact, controllable package. Different stages favor different positions.
Bipods with integrated Arca clamps; like the Ckye-Pod's Arca-mount version or the Accu-Tac G2 Arca-spec models; keep the stack height as low as possible. An Atlas on a Picatinny mount with an aftermarket Arca-to-Picatinny adapter adds roughly 0.5 to 0.75 inches of height between the rail and the bipod head. That doesn't sound like much, but it raises your prone position, changes your cheek weld, and can put your scope height in an awkward spot.
If you're building a PRS rifle from scratch, plan for Arca from the start. If you're retrofitting, check whether your forend or chassis can accept an Arca rail before choosing a bipod mount.
Bipod feet and surface interaction
This gets overlooked constantly. The feet on your bipod are the contact patch between your entire rifle system and whatever surface you're shooting from. On a PRS stage, that surface might be concrete, wood, rubber matting, gravel, grass, or bare dirt; sometimes within the same stage.
Rubber feet are the default and work on most surfaces. They grip well on hard, flat surfaces and provide some vibration damping. The downside is that rubber can skip on smooth, painted, or wet surfaces, especially under aggressive loading.
Spiked feet dig into soft surfaces; dirt, grass, wooden platforms; and resist any tendency to slide. They're terrible on concrete or metal, where they just scratch and skip.
Some bipods offer hybrid feet with a rubber pad and a retractable spike. These are a reasonable compromise but tend to be bulkier and can accumulate dirt in the retraction mechanism.
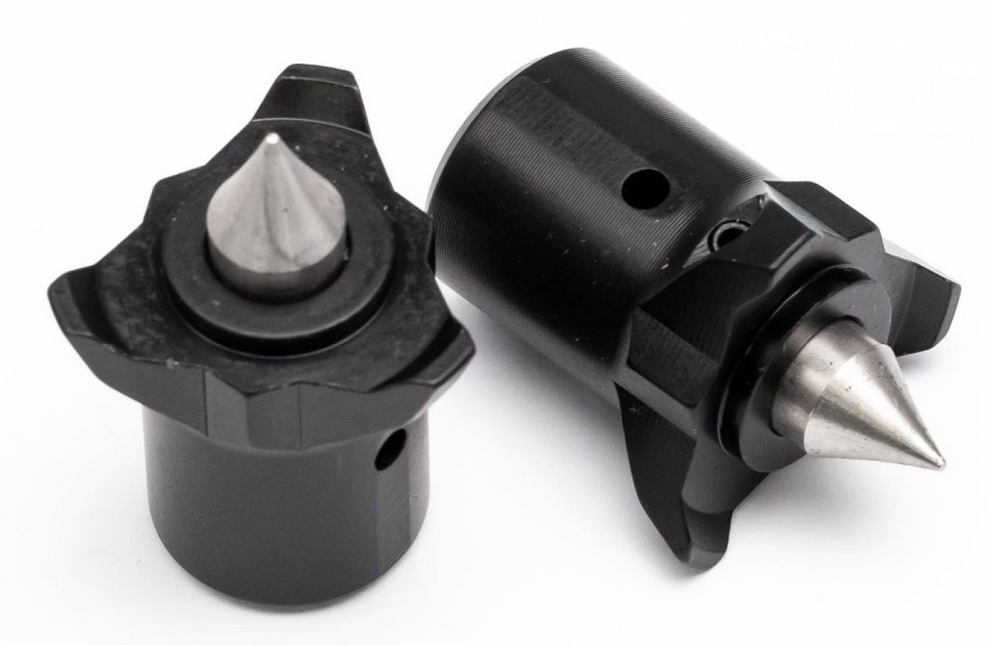
The practical solution for most PRS shooters is to run rubber feet as the default and carry a set of spiked feet for stages that clearly need them. Swapping feet takes 30 seconds between stages. Atlas, Ckye-Pod, and Accu-Tac all sell replacement feet in multiple profiles.
Cant vs. level: working together
A canting bipod and a rifle-mounted level are complementary tools, not redundant ones. The bipod cant lets the rifle settle onto uneven surfaces without the shooter fighting the terrain. The level tells you whether the rifle is actually level after it's settled; because your perception of level is unreliable, especially under time pressure.
Here's the sequence that works: plant the bipod, let the rifle cant naturally into the surface, check the level, make a small cant adjustment if needed, then load and shoot. The bipod provides coarse adjustment. The level provides fine verification. Trying to use the bipod cant alone; eyeballing level through the scope; will cost you. At 600 yards, a 5-degree cant error on a 10 MRAD elevation hold shifts your impact roughly 5 inches laterally. That's the difference between a center hit and an edge hit, or an edge hit and a miss.
MDT's SEND iT level and similar electronic levels that mount to the scope or rail are common in PRS for exactly this reason. The bipod gets you close. The level gets you right.
Match notes: stage planning and bipod management
Experienced PRS shooters plan their bipod setup for each stage during the walkthrough. They're looking at the shooting positions, the surface materials, the target array width, and the available time. All of these influence bipod settings.
On a prone stage with targets in a narrow arc (less than 10 degrees), the bipod can be locked down tight; no pan needed, cant set for the specific surface angle, legs at minimum height. Preload hard and drive through the targets.
On a barricade stage where you're shooting off the top of a wall, the bipod needs to be tall enough to clear the surface, and the feet need to grip whatever material the barricade is made from. If the targets span a wide arc, you need pan; either built into the bipod or you're lifting and replanting between shots, which costs time.
On a stage that transitions from prone to a barricade, you might need to adjust leg height between positions. This is where quick-adjust legs pay for themselves. Notched legs that require you to pull, extend, and re-seat each leg independently can eat 5 to 8 seconds per transition. Smooth-travel legs with a twist lock can do it in 2 to 3 seconds.
These are small numbers that add up. Over a 12-stage match, shaving 3 seconds per stage is 36 seconds; enough time for an extra shot or two on stages where you're running the clock.
What the data says about diminishing returns
The performance gap between a $100 bipod and a $250 bipod is enormous. The gap between a $250 bipod and a $350 bipod is real but smaller. The gap between a $350 bipod and a $500+ tripod-bipod hybrid system is smaller still, and it's mostly about edge-case versatility rather than core stability.
For most PRS shooters; regional competitors, club-level shooters, even many national-level competitors; a well-chosen bipod in the $200 to $350 range is the right tool. The Atlas and Ckye-Pod dominate at the top of the sport not because they're the most expensive options available, but because they hit the performance-to-cost sweet spot for competition use.
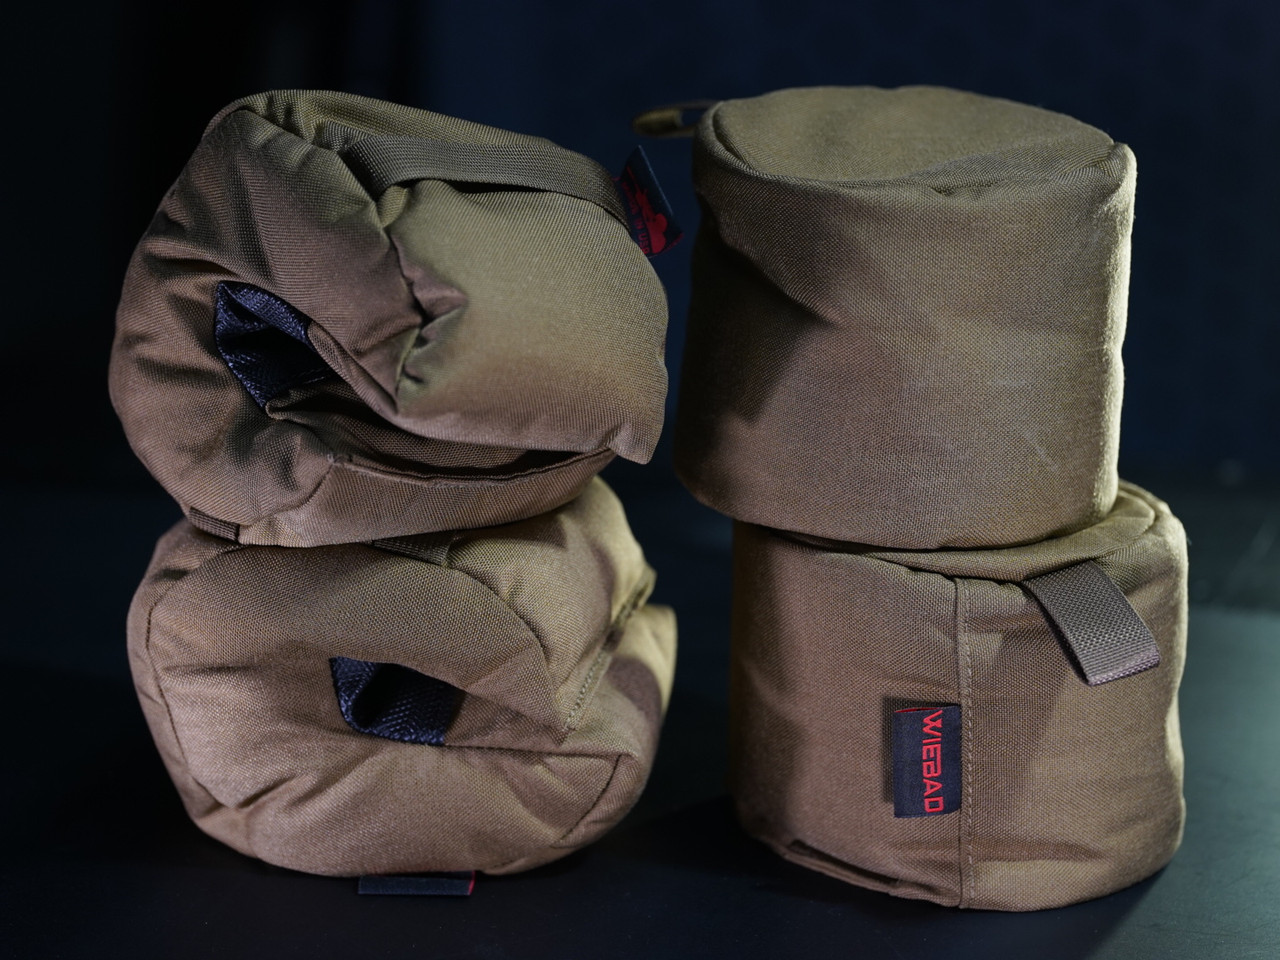
Where the money is better spent after you've got a solid bipod: a quality rear bag (a Wiebad or Armageddon Gear bag makes a bigger difference than most bipod upgrades), match fees and ammo for practice, and a good rifle-mounted level if you don't have one.
The bipod is the foundation. But the foundation only needs to be good enough; after that, the returns come from the shooter, not the gear.
What to do next
Pick one of the bipods above that matches your budget and your match format. If you're shooting PRS with wide target arrays and lots of positional work, the Ckye-Pod Gen 2's ball-joint head is hard to beat under $350. If you want the broadest accessory ecosystem and the most proven track record, the Atlas BT46 PSR is still the safe bet. If you're budget-conscious and shoot a lot of prone, the Accu-Tac BR-4 G2 punches above its price.
Then run this drill: set up five targets at 300 to 600 yards across a 20-degree arc. Shoot them from prone with your bipod, recording your time and hit rate. Then shoot them from a barricade; a sawhorse, a truck hood, whatever you have. Note where the bipod helps and where it fights you. Adjust your cant tension, your loading pressure, your leg height. Log everything.
The bipod you trust is the one you've tested under conditions that actually resemble a match. Not the one with the best reviews. Not the one the top 10 shooters use. The one that disappears under your rifle and lets you focus on the wind call. That's the whole job.