
You've been shooting irons for years. Your draw is clean, your splits are consistent, and you can call your shots. Then you mount a red dot on your pistol and suddenly you can't find the dot, your presentation feels broken, and you're slower than you were six months ago. Sound familiar?
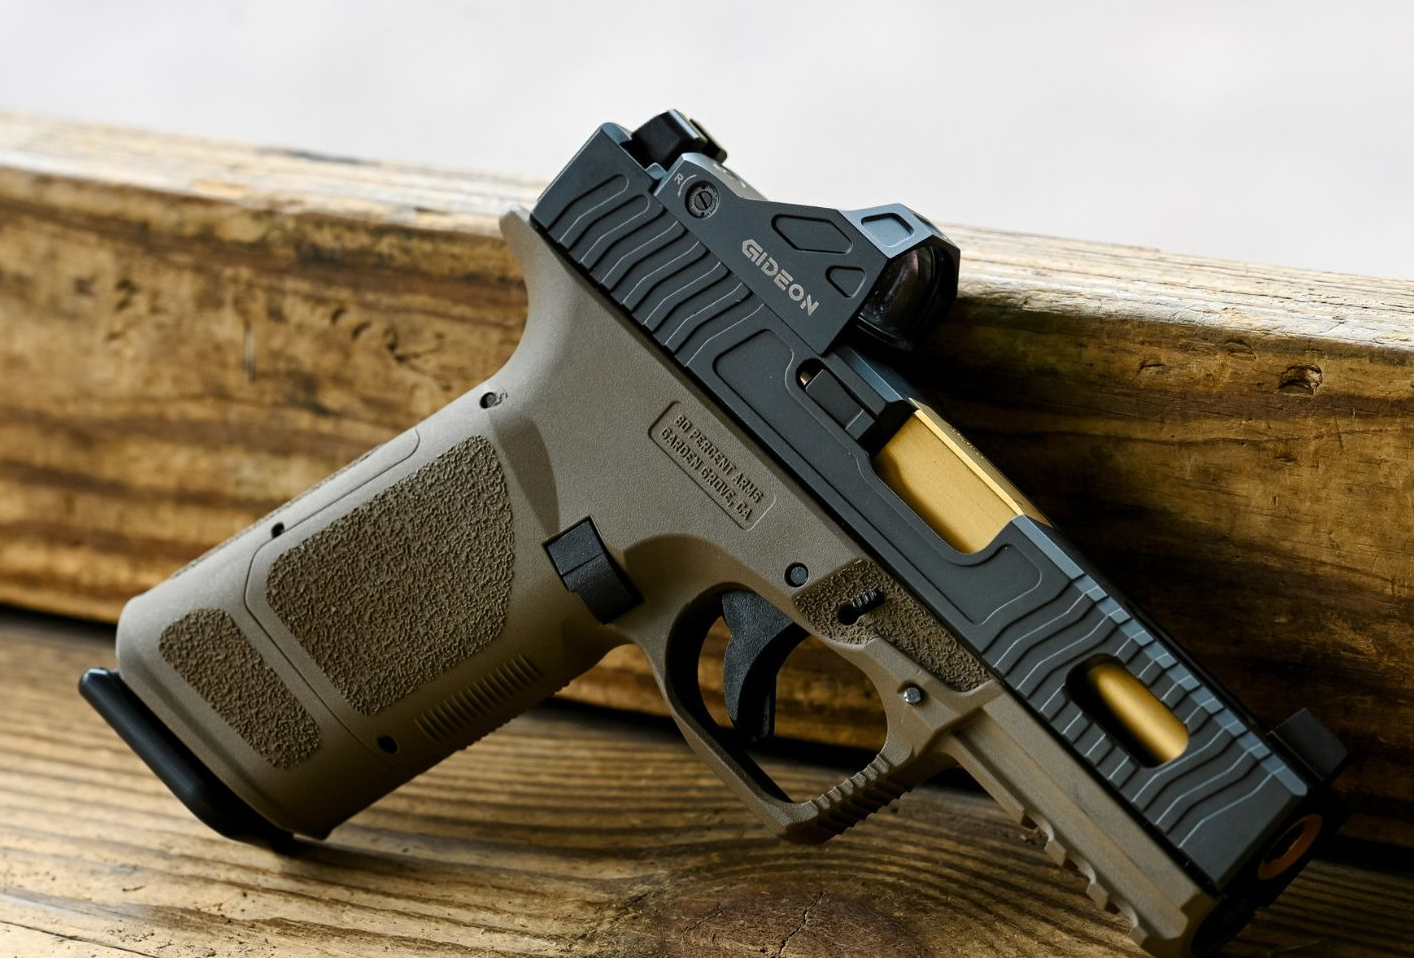
This isn't a gear problem. It's a training problem; specifically, a presentation problem. The mechanics that made you fast with irons don't automatically transfer to a dot. Some of them actually work against you. The good news: the transition doesn't take as long as most people fear, and the payoff on the other side is real. Faster target acquisition at distance, better accountability for every round, and a sight picture that doesn't degrade as your eyes age.
Here are the questions that come up most often from iron-sight shooters making the switch, answered with specific drills, standards, and fixes instead of vague encouragement.
"Why can't I find the dot?"
This is the number-one frustration, and it has a simple mechanical explanation. With irons, you can get away with a slightly inconsistent presentation because the front sight post is always there, it's physically attached to the slide, and your eye picks it up even if your grip or wrist angle is a little off. A red dot window is small, typically between 20mm and 32mm depending on the optic. If your presentation brings the gun to a slightly different spot each time, the dot disappears outside the window. You end up fishing for it, tilting the gun, and burning time.
The fix isn't "practice more." The fix is making your presentation mechanically identical every single rep. That means your grip has to index the same way every time, your wrists have to lock at the same angle, and the gun has to arrive at the same spot in your visual field. Dry fire fixes this faster than live fire because you can run fifty presentations in ten minutes without the distraction of recoil.
The drill
Stand at whatever distance you like, this is a presentation drill, not an accuracy drill. From a ready position (or from the holster if you carry), present the gun to your eye line and focus on seeing the dot immediately when the gun arrives. Don't look for it. Present the gun and let the dot appear. If it's not there, freeze, don't adjust. Note which direction the dot is off (usually high or to one side) and correct your index on the next rep.
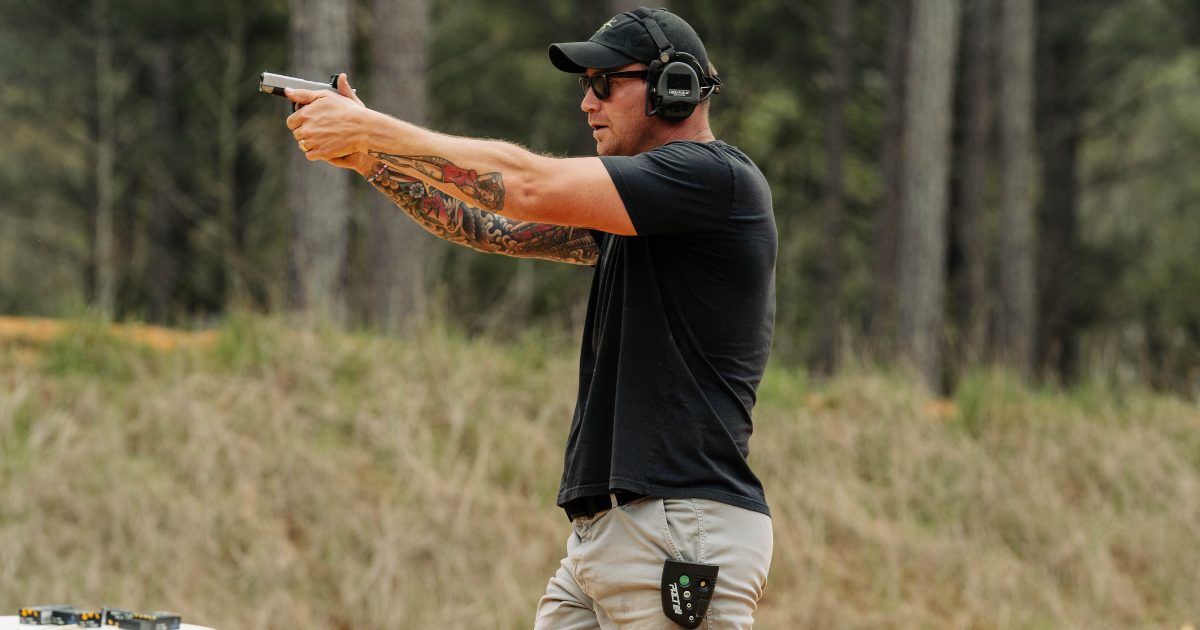
Run 25 dry reps. Track how many times the dot appears instantly versus how many times you have to hunt. When you're hitting 90% instant dot pickup, start adding a par time. A clean presentation from ready to dot-on-target should land around 0.8 to 1.0 seconds. From concealment, 1.3 to 1.6 seconds is a solid benchmark for most shooters.
Range notes
If you're fishing for the dot during live fire, stop shooting and go back to dry reps. Every round you fire while hunting for the dot is reinforcing bad mechanics. Fifty dry reps with focus beat a hundred live rounds of fumbling.
"Should I co-witness my irons?"
Short answer: yes, at least initially. Longer answer: it depends on what you mean by co-witness and what you're trying to accomplish.
Co-witnessing means your iron sights are visible through the red dot window. There are two common setups. Absolute co-witness puts the iron sights right in the middle of the window, so the dot sits on top of the front sight post. Lower-third co-witness pushes the irons down to the bottom third of the window, keeping the center of the glass clear.
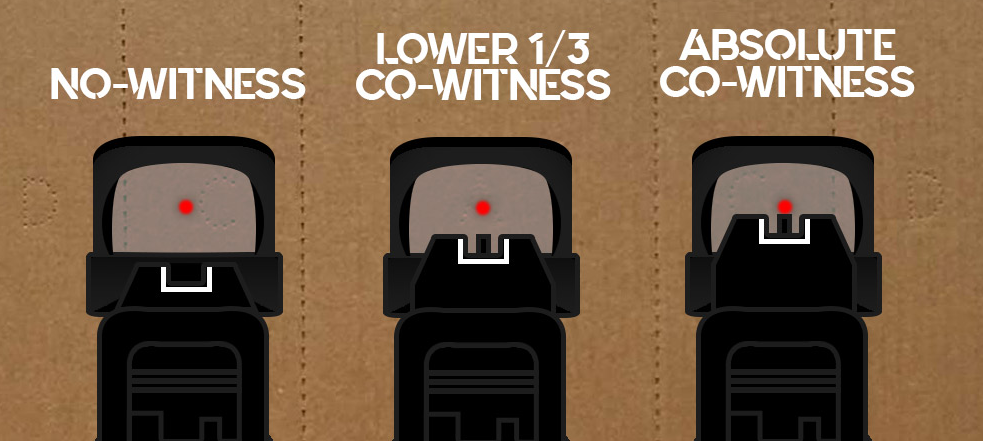
For a pistol transitioning from irons, absolute co-witness gives you a familiar reference point. You can use the irons to guide your presentation until your dot pickup becomes consistent, and they're right there as a backup if the optic dies. The downside is visual clutter, the irons can distract from the dot, and some shooters find themselves defaulting back to iron-sight focus instead of trusting the dot.
Lower-third co-witness cleans up the window but still gives you backup irons if you need them. Most purpose-built optics-ready suppressor-height sights from companies like Ameriglo and Night Fision are designed for this setup. They clear the optic housing so you can see them through the window, but they sit low enough that they don't dominate your sight picture.
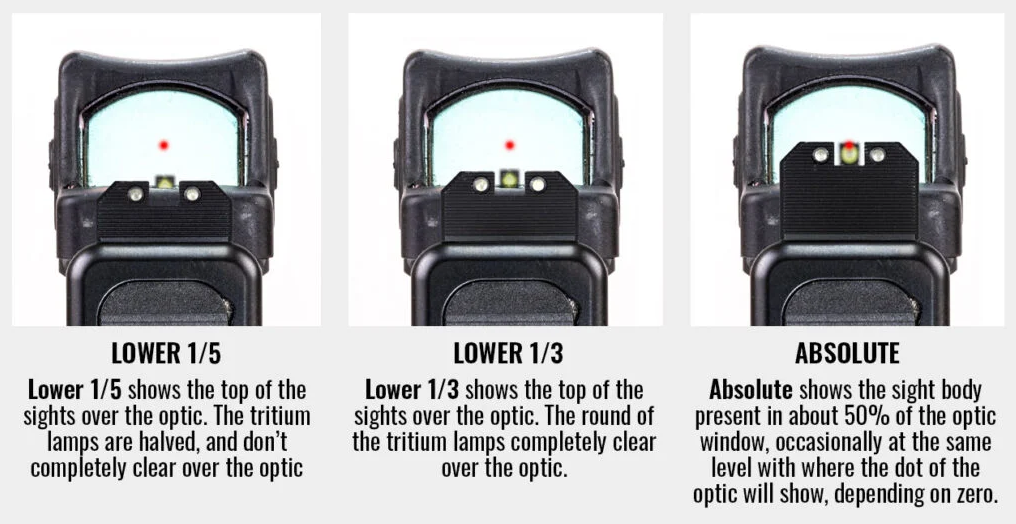
Here's the practical recommendation: if you're new to pistol dots, start with suppressor-height irons that give you some form of co-witness. Use them as training wheels. As your dot pickup improves, you'll naturally stop looking at the irons and focus on the dot. Some experienced dot shooters eventually remove the backup irons entirely, but that's a personal call based on how much you trust your optic and how you've trained for failure.
One thing to understand, co-witness on a pistol is not the same animal as co-witness on a rifle. On an AR, you've got a long sight radius and the irons are genuinely usable as a primary sighting system. On a pistol, suppressor-height sights through a tiny window give you a very short sight radius and a cluttered picture. They're an emergency backup, not a precision sighting system. Train with them, but don't treat them as equivalent to your old iron setup.
"How do I zero a pistol red dot?"
Most people overcomplicate this. Here's the straightforward process.
Start at 10 yards. Use a bench rest or sandbags if you have them, the goal is to eliminate as much human error as possible so you're zeroing the optic, not chasing your own wobble. Fire a three-round group, aiming at the same precise point of aim for all three. If your group is tight but off-center, adjust the dot to move the point of impact to the point of aim. Most pistol dots adjust in 1 MOA clicks, which means each click moves the impact roughly a quarter-inch at 25 yards, or about a tenth of an inch at 10 yards.
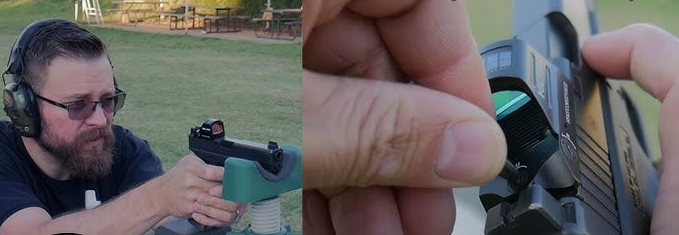
The common mistake is adjusting after every single shot. Don't do that. Shoot groups. A three-round group tells you where the gun is actually hitting. A single shot tells you almost nothing because your own variation is mixed in with the optic's offset.
Once you're centered at 10 yards, confirm at 25 yards. A 10-yard zero will typically be very close at 25, maybe an inch or two off depending on your load. Some shooters prefer a 15-yard zero as a split-the-difference approach that keeps impacts close from 5 to 25 yards. For defensive use, a 10- or 15-yard zero is practical. For competition, you might want to fine-tune at the distance where you're doing the most precision work.
After zeroing, put a witness mark on your optic's adjustment turrets with a paint pen or nail polish. If the optic gets bumped or you accidentally spin a turret, you'll be able to see it moved. Then confirm zero periodically, once a month or every few range sessions. Five rounds at 15 yards from a stable position is enough to verify.
What about point-of-aim, point-of-impact shift at close range?
At distances inside 5 yards, the mechanical offset between your bore and the optic (which sits above the bore) means your impacts will be slightly low, usually around half an inch to an inch. This is negligible for defensive shooting but worth knowing if you're doing precision work at close range. At 3 yards, aim at the top of a headbox rather than dead center and you'll be fine.
"How long does the transition take?"
Depends on how much dry fire you're willing to do. Most shooters report that consistent dot pickup, meaning the dot appears in the window immediately on presentation at least 90% of the time, takes two to four weeks of daily dry fire practice, around 15 to 20 minutes per session.
Getting back to your previous iron-sight speed on draws and transitions typically takes four to eight weeks. Getting faster than your iron-sight baseline, which is the whole point, usually happens around the two- to three-month mark for shooters who are putting in regular dry fire and running a structured live-fire session once a week.
The trap is impatience. Shooters mount a dot, go to the range, shoot worse than they did with irons, and either rip the dot off or start developing bad habits like fishing for the dot with head movement. The first two weeks will feel like regression. That's normal. Trust the process and track your times.
What to track
Pick one benchmark drill and run it at the start of every range session. The Bill Drill works well: six rounds on an IPSC A-zone at 7 yards, from the holster, on a timer. Track your time and your hits. Your first session with a dot might be 3.5 to 4.0 seconds with a couple misses. Within a month, you should be back to your iron-sight baseline. Within three months, you should be beating it.
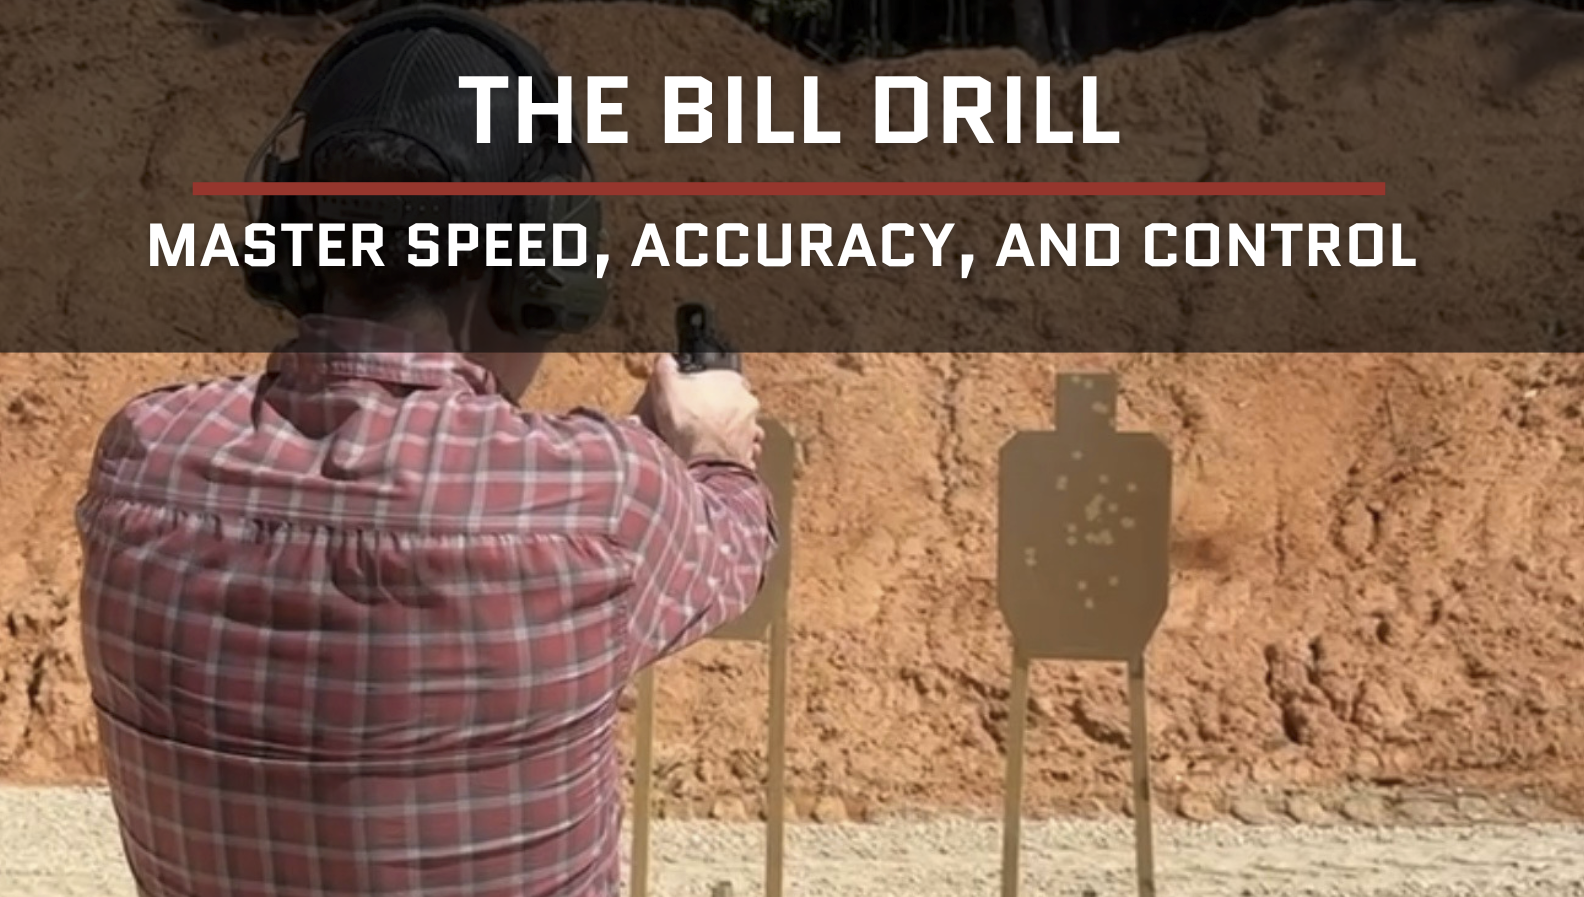
Write down every session. Time, hits, misses, and one note about what felt off. The trend matters more than any single session.
"Do I need to change my grip?"
Probably not dramatically, but you might need to refine it. The grip that works for irons generally works for a dot, with one critical difference: consistency matters more.
With irons, a slightly loose or shifted grip might cost you a tenth of a second while you reacquire the front sight. With a dot, that same inconsistency might mean the dot isn't in the window at all when the gun arrives. So the answer isn't a different grip, it's a more repeatable one.
The specific thing to check is wrist angle. A lot of iron-sight shooters have a slight upward cant in their wrists that puts the front sight right in their line of vision. That same cant might point the optic window slightly high, which means you present the gun and see nothing but the top edge of the housing. Flatten your wrists slightly and see if dot pickup improves.
The other grip issue is pressure. Inconsistent grip pressure changes how the gun settles after recoil, which changes where the dot reappears for follow-up shots. A firm, consistent grip, thumbs forward, high on the backstrap, equal pressure from both hands, gives you a dot that returns to roughly the same spot after every shot. If your dot is bouncing wildly during recoil and taking forever to settle, the grip is the first place to look.
"What dot size should I pick?"
The two common options are 3.25 MOA and 6 MOA. Smaller dots also exist (1 or 2 MOA) but they're generally too small for pistol use, hard to find quickly and not much benefit at handgun distances.
A 6 MOA dot is easier to find, faster to pick up on presentation, and perfectly accurate for defensive distances. At 25 yards, a 6 MOA dot covers about 1.5 inches of the target. That's bigger than the mechanical accuracy of most service pistols, but it's well within the precision needed for defensive or practical shooting. For competition shooters working at 25 to 50 yards, that coverage can start to feel imprecise.
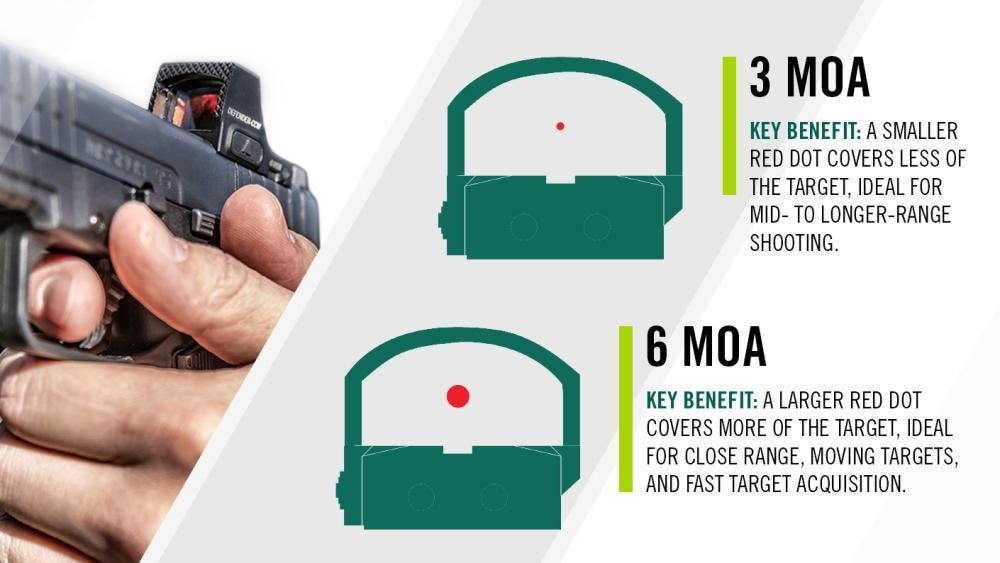
A 3.25 MOA dot is slightly harder to pick up initially but covers less of the target at distance. At 25 yards, it covers about 0.8 inches. Most competition-oriented shooters prefer this size. The tradeoff is a slightly longer acquisition time, especially during the transition period.
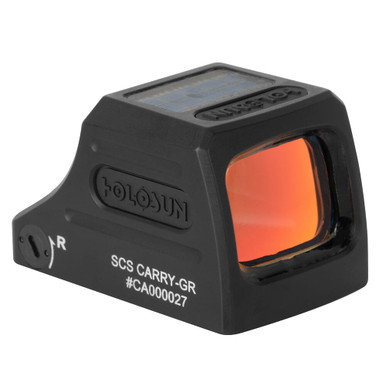
The practical recommendation for someone transitioning from irons: start with a 6 MOA dot. It's more forgiving while you're building consistent presentation mechanics. You can always switch to a smaller dot later once your pickup is dialed. Some optics, like certain Holosun models, let you choose between a dot, a circle, or both, the circle-dot reticle can help with fast acquisition while still giving you a precise aiming point.
"What about the optic itself, what should I look for?"
This isn't a gear review, but a few things matter specifically for the iron-sight-to-dot transition.
Window size affects how forgiving the optic is during your transition. A larger window (like the Holosun 509T or Aimpoint Acro P-2) gives you more margin for error on presentation. A smaller window (like the Trijicon RMR or RCR) demands more precise mechanics. Both work. The larger window is more forgiving while you're learning.
Enclosed emitter versus open emitter matters for reliability. Open-emitter dots (RMR, Holosun 507C) can get debris, lint, or moisture on the emitter, which degrades or kills the dot. Enclosed-emitter designs (509T, Acro, RCR) seal the emitter inside the housing. If you're carrying the gun daily, enclosed emitter is worth the slight size and weight increase. The Trijicon RCR has earned solid marks after a year of hard use from multiple reviewers, and the Holosun 509T remains popular for its combination of window size and enclosed design.
Battery life and battery access are practical concerns. A dot that requires slide removal to change the battery (like the original Aimpoint Acro) means you need to re-zero every time you swap batteries. Side-loading or top-loading battery trays (Holosun, Trijicon RCR) let you change batteries without disturbing the zero. Set a calendar reminder to swap batteries annually regardless of whether the dot still works. A dead optic at the wrong moment is a problem you can prevent entirely.
Auto-brightness versus manual brightness is mostly preference, but auto-brightness sensors can sometimes be fooled by lighting conditions, a bright overhead light might crank the dot brightness up while you're aiming into a dark area. Manual brightness with a "last setting" memory is the most predictable option.
"My dot moves all over the place, is that normal?"
Yes. And it's actually giving you better information than your irons were.
Here's what's happening: with iron sights, you were focused on the front sight, and the target was blurry. Your natural wobble was always there, but you couldn't see it as clearly because the sight picture was less precise. A red dot superimposes a precise aiming point on a clear target, so you see every tiny movement of the gun. That wobble isn't new, you're just seeing it for the first time.
The mistake is trying to eliminate the wobble entirely. You can't. Every human has a natural arc of movement. The goal is to let the dot wobble within an acceptable zone and press the trigger without disturbing that zone. If the dot is wobbling inside the A-zone, press the shot. Don't wait for the dot to freeze on the exact center, it won't, and waiting leads to trigger jerks as you try to snatch the shot at the perfect moment.
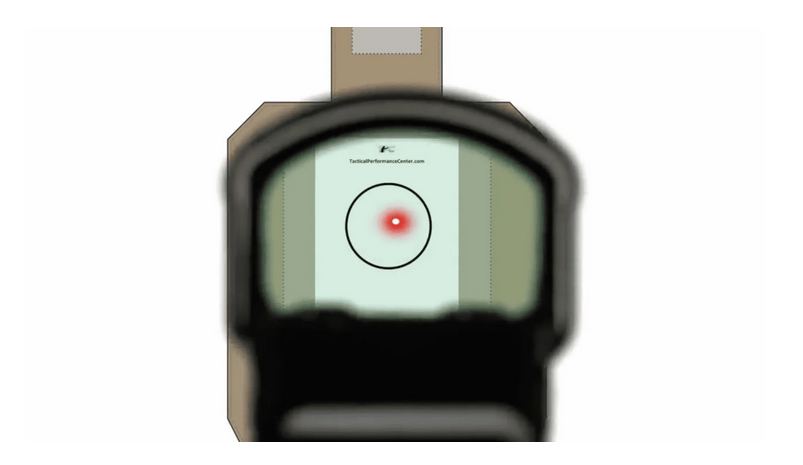
This is actually one of the biggest long-term benefits of a red dot. It teaches you to accept wobble and press through it smoothly. Shooters who train with a dot often see their trigger control improve even when they go back to irons, because the dot forced them to confront and manage their natural movement instead of hiding from it.
Dry fire note
Put a piece of tape on the wall as a target. Present the gun and watch the dot's movement pattern. Don't try to hold it still, just observe. After a few reps, you'll start to see your natural wobble zone. Now dry-fire a press while watching the dot. If the dot dives or jumps at the moment of the click, that's a trigger control issue, not a wobble issue. The diagnostic is immediate and honest. Irons can hide a flinch. A dot cannot.
"Should I train with both eyes open?"
Yes. This is actually easier with a dot than with irons, and it's one of the reasons dots are faster for target acquisition.
With irons, shooting both eyes open can create a confusing double image of the front sight, especially for cross-dominant shooters. With a dot, both eyes stay focused at the same focal plane, the target, and the dot is superimposed on that image. Your brain merges the views naturally. You get full peripheral vision and depth perception, which matters for situational awareness and target transitions.
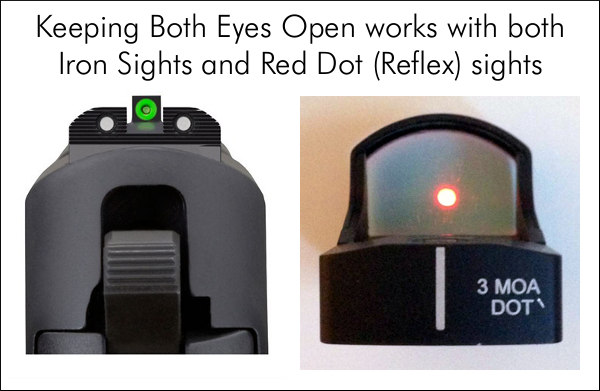
If you've been squinting one eye shut for years with irons, this might feel strange at first. Start in dry fire. Present the gun with both eyes open and just look at the target. The dot should appear on the target without you having to shift focus. If you see two dots, you might be cross-dominant, your non-dominant eye is projecting a second image. The fix is usually to slightly dim the dot or place a small piece of translucent tape on your non-dominant eye's lens (if you wear glasses) to suppress the ghost image without closing the eye entirely.
Common mistakes during the transition
These are the errors that slow people down or build bad habits. If you're in the first month of running a dot, check yourself against this list.
Fishing with your head
When the dot doesn't appear immediately, the instinct is to move your head around to find it. This breaks your natural point of aim and your cheek-to-stock index (which doesn't exist on a pistol, but the principle of consistent head position applies). The gun should come to your eye, not your eye to the gun. If the dot isn't there, the fix is in your presentation mechanics, not your head position.
Defaulting back to irons
If you have co-witness irons, you might catch yourself focusing on the front sight post instead of the dot, especially under stress or time pressure. This defeats the purpose of the dot. During the transition, some coaches recommend blacking out the rear sight entirely so you can't fall back on the old habit. The front sight post is fine as a gross index, but your focus should be on the dot.
Trying to go fast too soon
Your draw-to-first-shot time will be slower with a dot for the first few weeks. Accept it. If you push speed before your presentation is consistent, you'll develop a sloppy, fishing presentation that's fast but unreliable. Build the mechanics first at 70% speed, then add pace. Fundamentals first. Speed comes from fundamentals.
Ignoring dry fire
Live fire is expensive and time-limited. Dry fire is free and you can do it every day. The presentation mechanics that make a dot work are built in dry fire, not at the range. Ten minutes a day of focused dry-fire presentations will do more for your transition than a weekly range session of live fire without a plan.
Not zeroing properly
Shooting a dot that isn't zeroed, or that you haven't confirmed zero on, means every miss is ambiguous. Is it you or the optic? Zero the dot first, confirm it, mark it, and then you know every miss is information about your mechanics.
The benchmark drill: dot transition diagnostic
Here's a single drill that tells you exactly where you are in the transition. Run it cold, first rounds of the session, no warmup.
Setup
IPSC or USPSA target (or an 8-inch paper plate as a substitute). Distance: 7 yards. From concealment or open holster, your call, but be consistent session to session.
String 1: single draw
On the buzzer, draw and fire one round. Repeat five times. Record each time and whether the hit was in the A-zone (or on the plate).
The standard: all five hits in the zone, average time under 1.8 seconds from concealment or 1.5 seconds from open holster.
String 2: draw and split
On the buzzer, draw and fire two rounds. Repeat five times (ten rounds total). Record draw-to-first-shot time, split time, and hits.
The standard: first shot under 1.8 seconds, split under 0.4 seconds, all hits in the zone.
String 3: transition
Set up two targets 3 yards apart at 7 yards. On the buzzer, draw and fire one round on each target. Repeat five times (ten rounds total). Record total time and hits.
The standard: both hits in the zone, total time under 2.5 seconds from concealment.
Total round count: 25 rounds
That's it. Twenty-five rounds with a timer and a notebook gives you a clear snapshot of your draw speed, dot acquisition, recoil management, and transitions. Run this same drill every session and track the trend.
What the numbers tell you
If your draw time is slow but your hits are good, your presentation needs more dry-fire reps, the mechanics are sound but not yet automatic. If your draw time is fast but you're missing, you're outrunning your dot pickup and need to slow down until the presentation is consistent. If your splits are slow, your grip and recoil management need work, the dot is bouncing too much and you're waiting for it to settle. If your transitions are slow, you're likely hunting for the dot on the second target, which means your presentation index isn't consistent across different visual references.
"What if my optic fails?"
This is a legitimate concern, and it's the main argument for keeping backup irons on the gun. Modern pistol optics from reputable manufacturers have gotten very reliable, battery life measured in years, not months, and enclosed emitters that resist environmental fouling. But electronics can fail, and glass can break.
The practical approach has three layers. First, prevent failure: use a quality optic, change batteries on a schedule (annually is the standard recommendation), and use an enclosed emitter if you carry the gun. Second, have a backup: suppressor-height irons give you a usable (if imprecise) sighting option through or alongside the optic window. Third, train the backup: once a quarter, turn off your dot and run a few drills with just the backup irons so the skill doesn't atrophy completely.
Some shooters also practice using the optic housing itself as a gross aiming reference. If the dot dies, you can use the top edge of the optic window as a rough "front sight" for close-range defensive distances. It's not precise, but at 5 yards into a torso-sized target, it's adequate. This is a last-resort technique, not a primary plan.
The honest truth is that a well-maintained optic from Trijicon, Aimpoint, or Holosun is unlikely to fail during the window when you need it. The battery is the weakest link, and that's entirely within your control. Change it every year on a date you'll remember, your birthday, New Year's Day, whenever, and stop worrying about it.
"Is a dot actually better than irons, or is it just different?"
Both. It's different in how it works, and it's better in measurable ways, but only after you've put in the transition work.
A red dot puts the aiming point and the target on the same focal plane. With irons, you're managing three focal planes: rear sight, front sight, target. Your eye can only focus on one at a time, so you're always making a compromise. As eyes age and near-focus deteriorates, that compromise gets worse. A dot eliminates it. Focus on the target, superimpose the dot, press the trigger. Two focal planes instead of three, and the one that matters most, the target, is the one you're focused on.
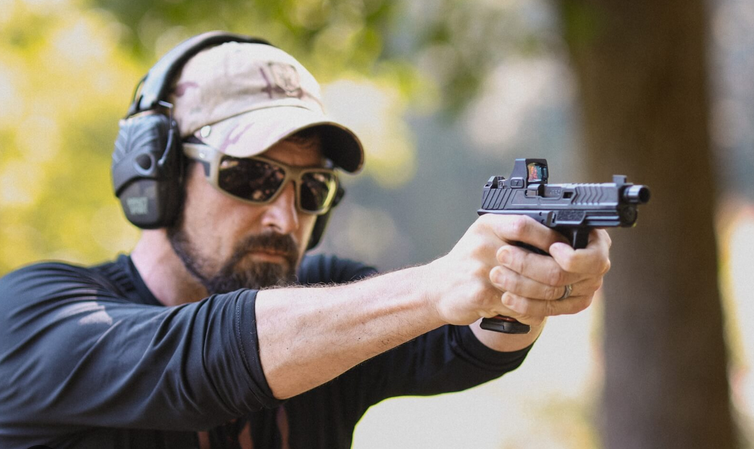
The measurable advantages show up most clearly at distance. Inside 7 yards, a skilled iron-sight shooter and a skilled dot shooter will perform similarly on speed and accuracy. At 15 to 25 yards, the dot shooter pulls ahead because the precise aiming point on a clear target allows tighter groups and faster confident shots. At 25 yards and beyond, the gap widens significantly.
For target transitions, moving between multiple targets, the dot is faster because you don't have to reacquire a front sight focus between targets. You stay target-focused, move the gun, and the dot appears on the new target.
The one area where irons can still win is extreme close range under time pressure, and only during the transition period when dot pickup isn't yet automatic. Once presentation mechanics are dialed, the dot is at least equal and usually faster even at close range.
Putting it all together
The transition from irons to a dot is a skill-building project, not a gear swap. Mount the optic, zero it properly, and then commit to two to four weeks of daily dry fire focused on presentation consistency. Run the diagnostic drill at the range weekly and track your numbers. Expect to be slower for the first couple weeks. Don't chase speed until your dot pickup is at 90% or better.
Keep your backup irons on the gun during the transition. Use them as a gross reference if you need to, but actively work on weaning yourself off them. Your goal is to present the gun and see the dot immediately, every time, without thinking about the irons at all.
The milestone that tells you the transition is complete: you run your standard benchmark drill cold and your times are equal to or faster than your iron-sight baseline, with equal or better hits. For most shooters putting in the dry-fire work, that's six to eight weeks out. After that, the dot just keeps paying dividends, faster transitions, better accountability at distance, and a sight picture that works with your eyes instead of against them. Track it. Trust the trend.