
You mounted a red dot on your carry gun, ran a box of ammo at the range, and came home feeling like the future had arrived. Two weeks later, you're chasing shots around the target at seven yards. The dot's still there, the battery's fine, but your zero has walked off somewhere and you can't figure out why.
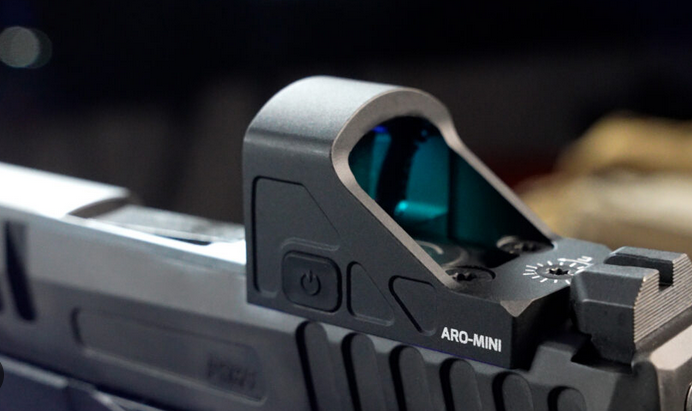
This is the single most common complaint with micro red dots on subcompact pistols, and it's almost never a defective optic. The problem lives in the space between the optic and the slide; sometimes literally. Subcompact slides create a uniquely hostile environment for maintaining zero, and most shooters don't realize how many variables are working against them until they've already lost confidence in the setup.
Here's what's actually going on, and how to fix it.
The physics working against you
A full-size pistol slide weighs somewhere around 14 to 18 ounces depending on the platform. A subcompact slide, think P365, Hellcat, or Shield Plus, runs closer to 9 to 12 ounces. That's a massive difference in mass, and mass is what absorbs and distributes recoil forces.
When you fire a round, the slide slams rearward and then gets driven forward again by the recoil spring. Every component bolted to that slide experiences those G-forces. On a compact or full-size gun, the heavier slide dampens those forces somewhat. On a subcompact, the lighter slide means higher peak acceleration, the optic is getting slammed harder per cycle, even with identical ammunition.

Now consider the optic itself. A micro red dot like the Holosun 407K, Shield RMSc, SIG Romeo Zero, or Trijicon RMRcc weighs between half an ounce and just over an ounce. That's a tiny mass being subjected to violent, repetitive shock loading. The screws holding it to the slide are typically M3 or M4 machine screws, threading into holes that may only engage three or four threads deep in a subcompact's thinner slide. That's not a lot of thread engagement to resist the cumulative force of hundreds or thousands of firing cycles.
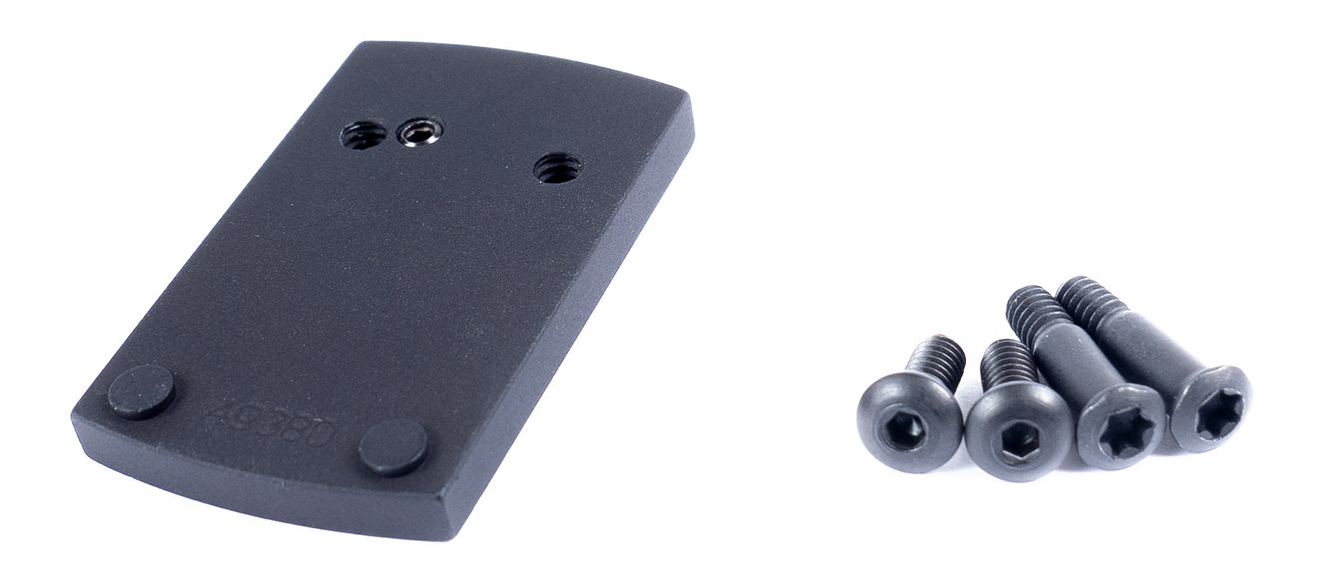
The real question is whether your specific setup has enough mechanical integrity to handle that abuse. A lot of them don't, not because the parts are bad, but because the assembly was sloppy.
The mounting interface is where zero dies
Most zero loss on subcompact slides traces back to one place: the interface between the optic and the slide. This is where everything either works or doesn't, and there are several ways it can fail.
Plate-based systems vs. direct milling
Many subcompacts ship with some kind of optic-ready system that uses an adapter plate. The SIG P365 series, for example, uses a proprietary mounting system where you remove a cover plate and bolt the optic to a recessed area on the slide. Some guns come with adapter plates to bridge between the slide's footprint and the optic's footprint.

Springfield armory Hellcat Deals
Prices may change. May contain affiliate links.
Every adapter plate is an additional failure point. You've now got screws holding the plate to the slide, and screws holding the optic to the plate. That's two mechanical joints instead of one, and each joint can loosen independently. Worse, adapter plates introduce another flat surface that needs to be perfectly mated, any gap, any debris, any surface irregularity means the optic is sitting on an unstable platform.
Direct milling, where a gunsmith cuts the optic footprint directly into the slide, eliminates the plate entirely. The optic sits in a precisely machined pocket with full contact across its mounting surface, held by screws threading directly into the slide steel. This is the gold standard, but it's not always practical on subcompact slides because there's less material to work with. A good shop will tell you if your slide is too thin to safely mill for a given optic.
For guns with factory optic-ready cuts, the quality varies enormously. Some factory cuts are well-executed with tight tolerances and proper thread depth. Others are sloppy, with oversized pockets that allow the optic to shift laterally before the screws are even tightened. If your optic has any perceptible wiggle when seated in the cut, even before torquing the screws, that's a problem that threadlocker alone won't solve.

Footprint mismatch and the adapter plate trap
The micro red dot world has a footprint standardization problem. The most common footprints on subcompact-sized optics are the Shield RMSc footprint (used by the Holosun K-series, Shield RMSc, and others) and the Trijicon RMRcc footprint. These are not the same. The screw spacing and pin locations differ.
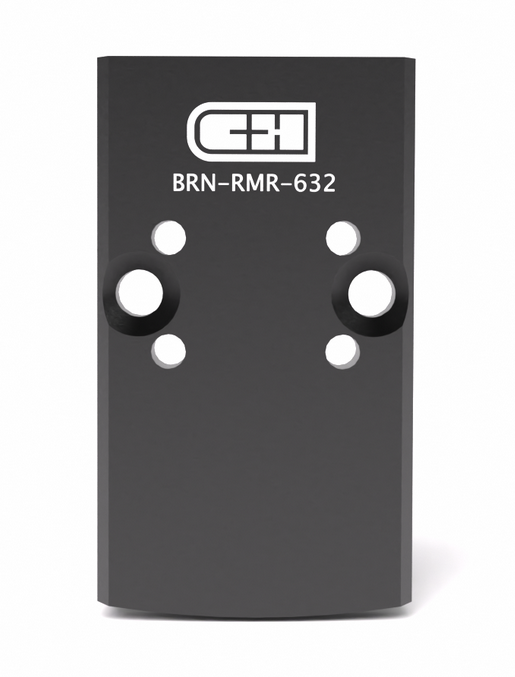
When your slide is cut for one footprint and you want to run an optic with a different footprint, you need an adapter plate. Companies like C&H Precision make quality plates that work well, but you're still adding a layer. And cheap plates, the ones that come bundled with budget optics or sold by no-name Amazon vendors, can be the root cause of zero loss all by themselves. Soft aluminum that deforms under recoil, imprecise machining that leaves gaps, screws that bottom out before the plate is fully clamped, all of these kill zero.
If you're running a plate, make sure it's from a reputable manufacturer, and check that the optic sits flush with zero rock or movement before you tighten anything down.
Screws: the most overlooked component in your carry gun
The screws holding your red dot to your slide are doing more work than almost any other fastener on the gun. They're resisting shear forces, tensile forces, and vibration, all while being tiny enough to lose in carpet. And yet most shooters install them hand-tight with the wrench that came in the optic box and never think about them again.
Thread engagement depth
On a full-size slide, optic mounting screws might engage six or seven threads deep. On a subcompact slide, you might get three to four threads. That reduced engagement means less clamping force before you risk stripping the threads, and less material resisting the forces trying to back the screws out.
Some factory optic-ready subcompacts ship with screws that are too long for the application. The screw bottoms out in the hole before the head fully clamps the optic. You think it's tight because you can't turn it anymore, but the optic isn't actually clamped, it's just sitting on top of a screw that's hit the bottom of a blind hole. This is shockingly common and almost impossible to diagnose by feel alone.
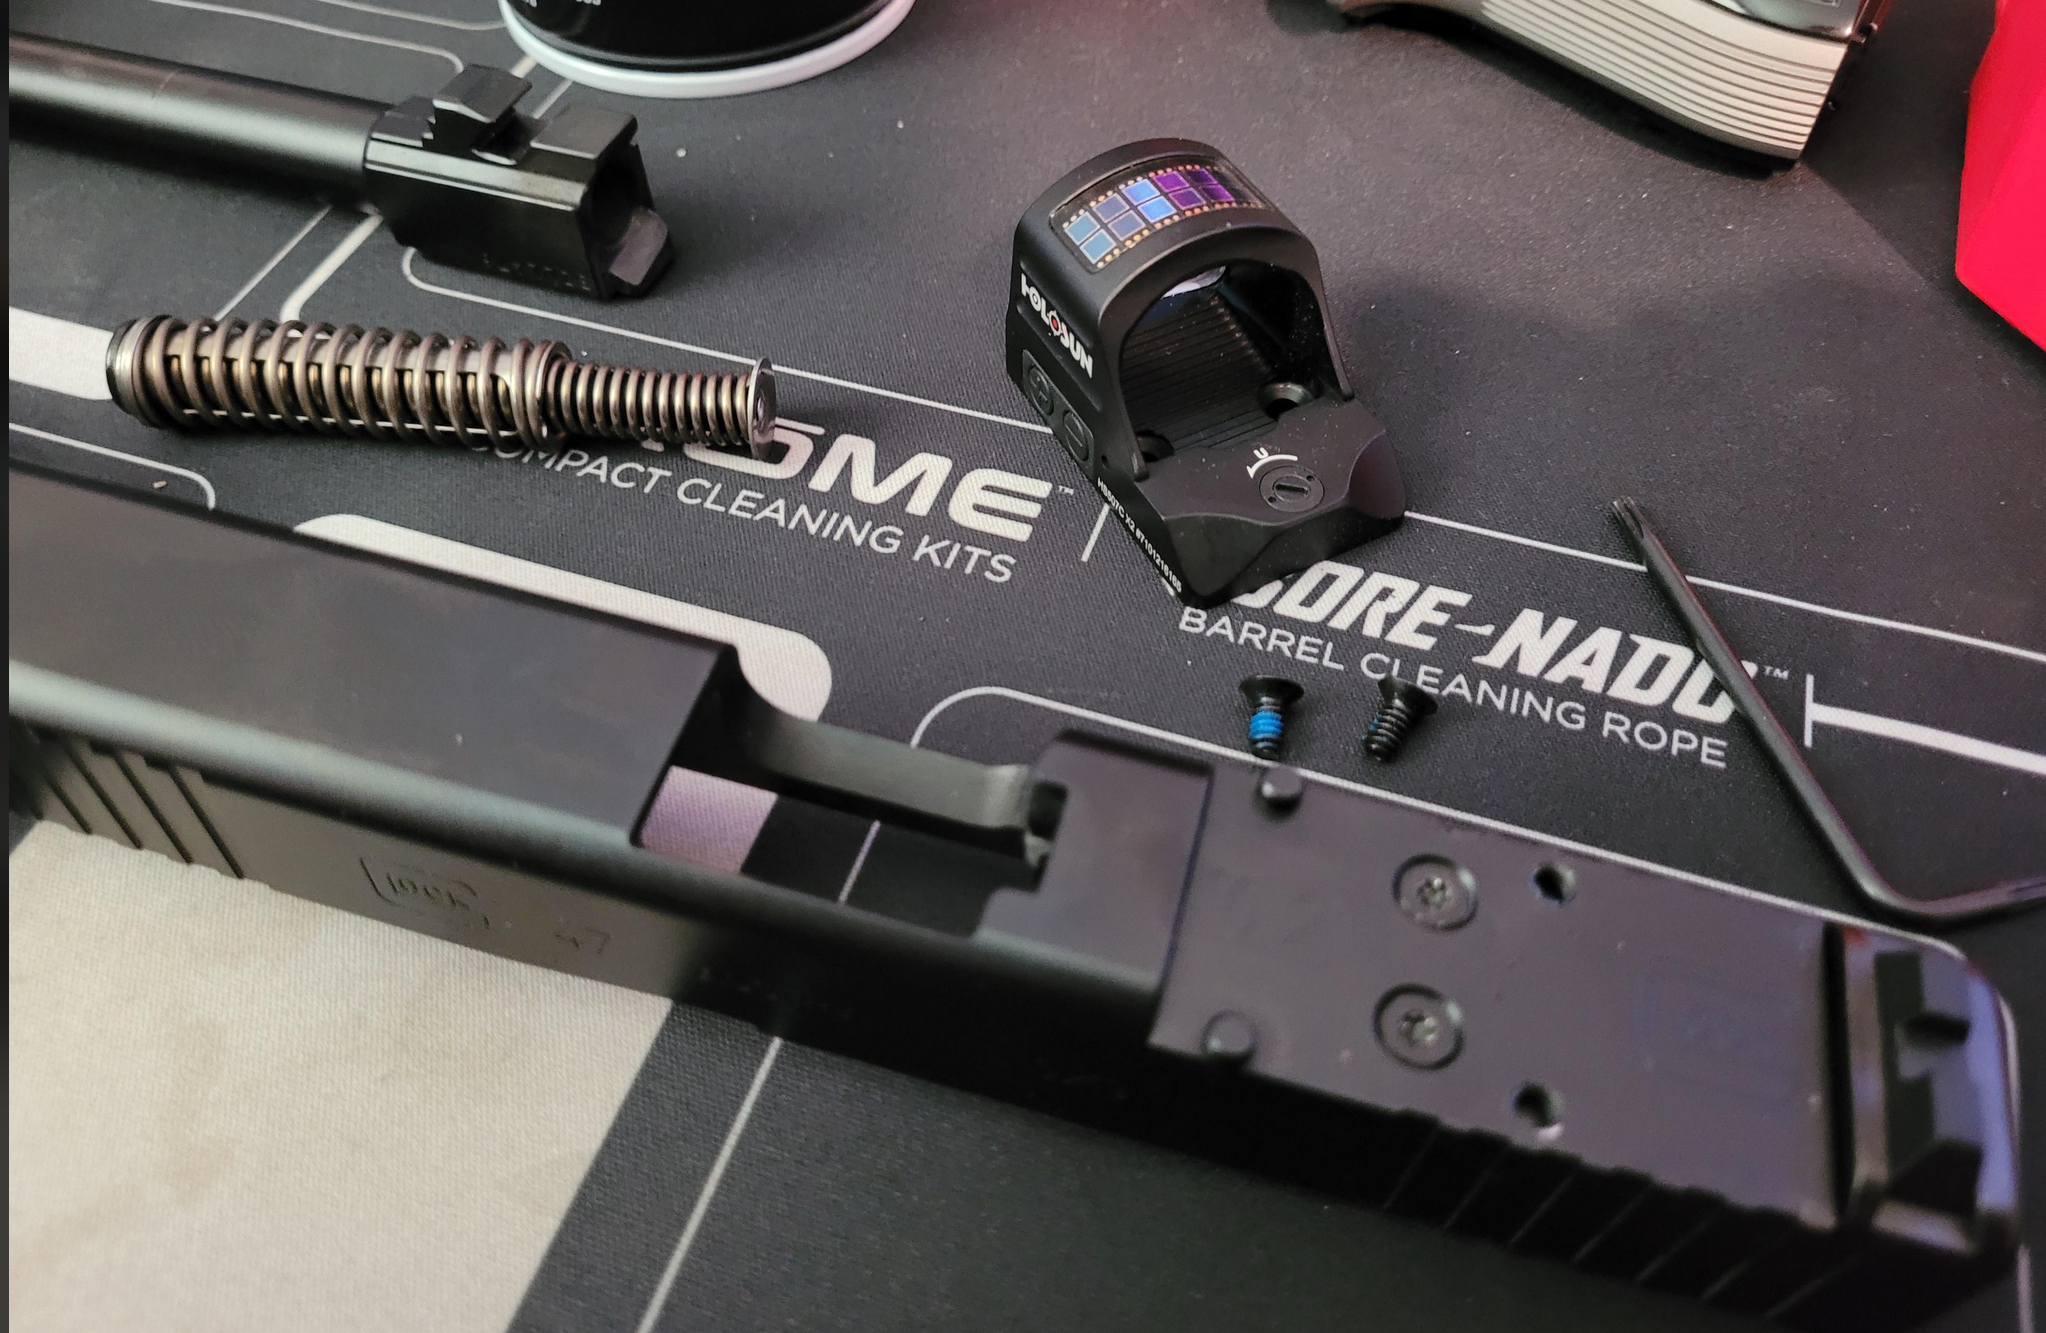
The fix: thread the screws in without the optic installed and see how far they go. If they bottom out with the head still proud of the surface, you need shorter screws. Many optic manufacturers include screws of different lengths for this reason, but not all of them, and the included hardware isn't always right for every slide.
Torque specs actually matter here
Most micro red dot manufacturers specify torque values between 10 and 15 inch-pounds for their mounting screws. That's not a lot, you can easily exceed it with a standard hex wrench and some enthusiasm. Over-torquing is just as dangerous as under-torquing on a subcompact slide. Exceed the spec and you can strip the threads in the slide (especially if it's aluminum), crack the optic's mounting lugs, or deform the screw head so it doesn't seat properly.
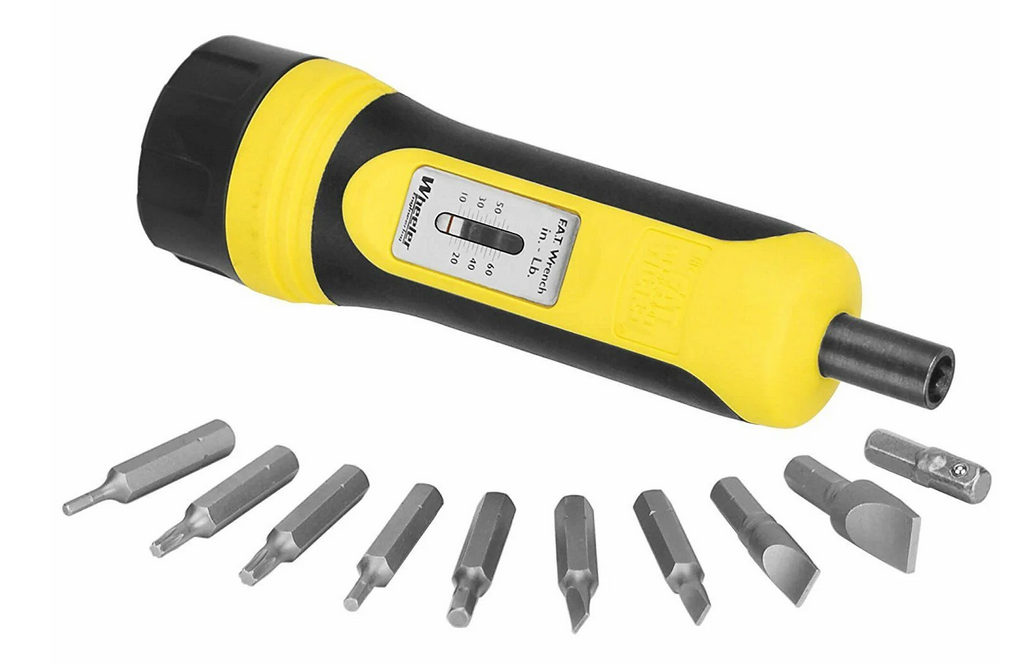
Get a torque wrench that reads in inch-pounds. Wheeler, Fix It Sticks, and several other companies make compact models designed for firearm work. This is a $30-50 tool that solves a $300 problem. Use it.
Threadlocker: the right kind, the right amount
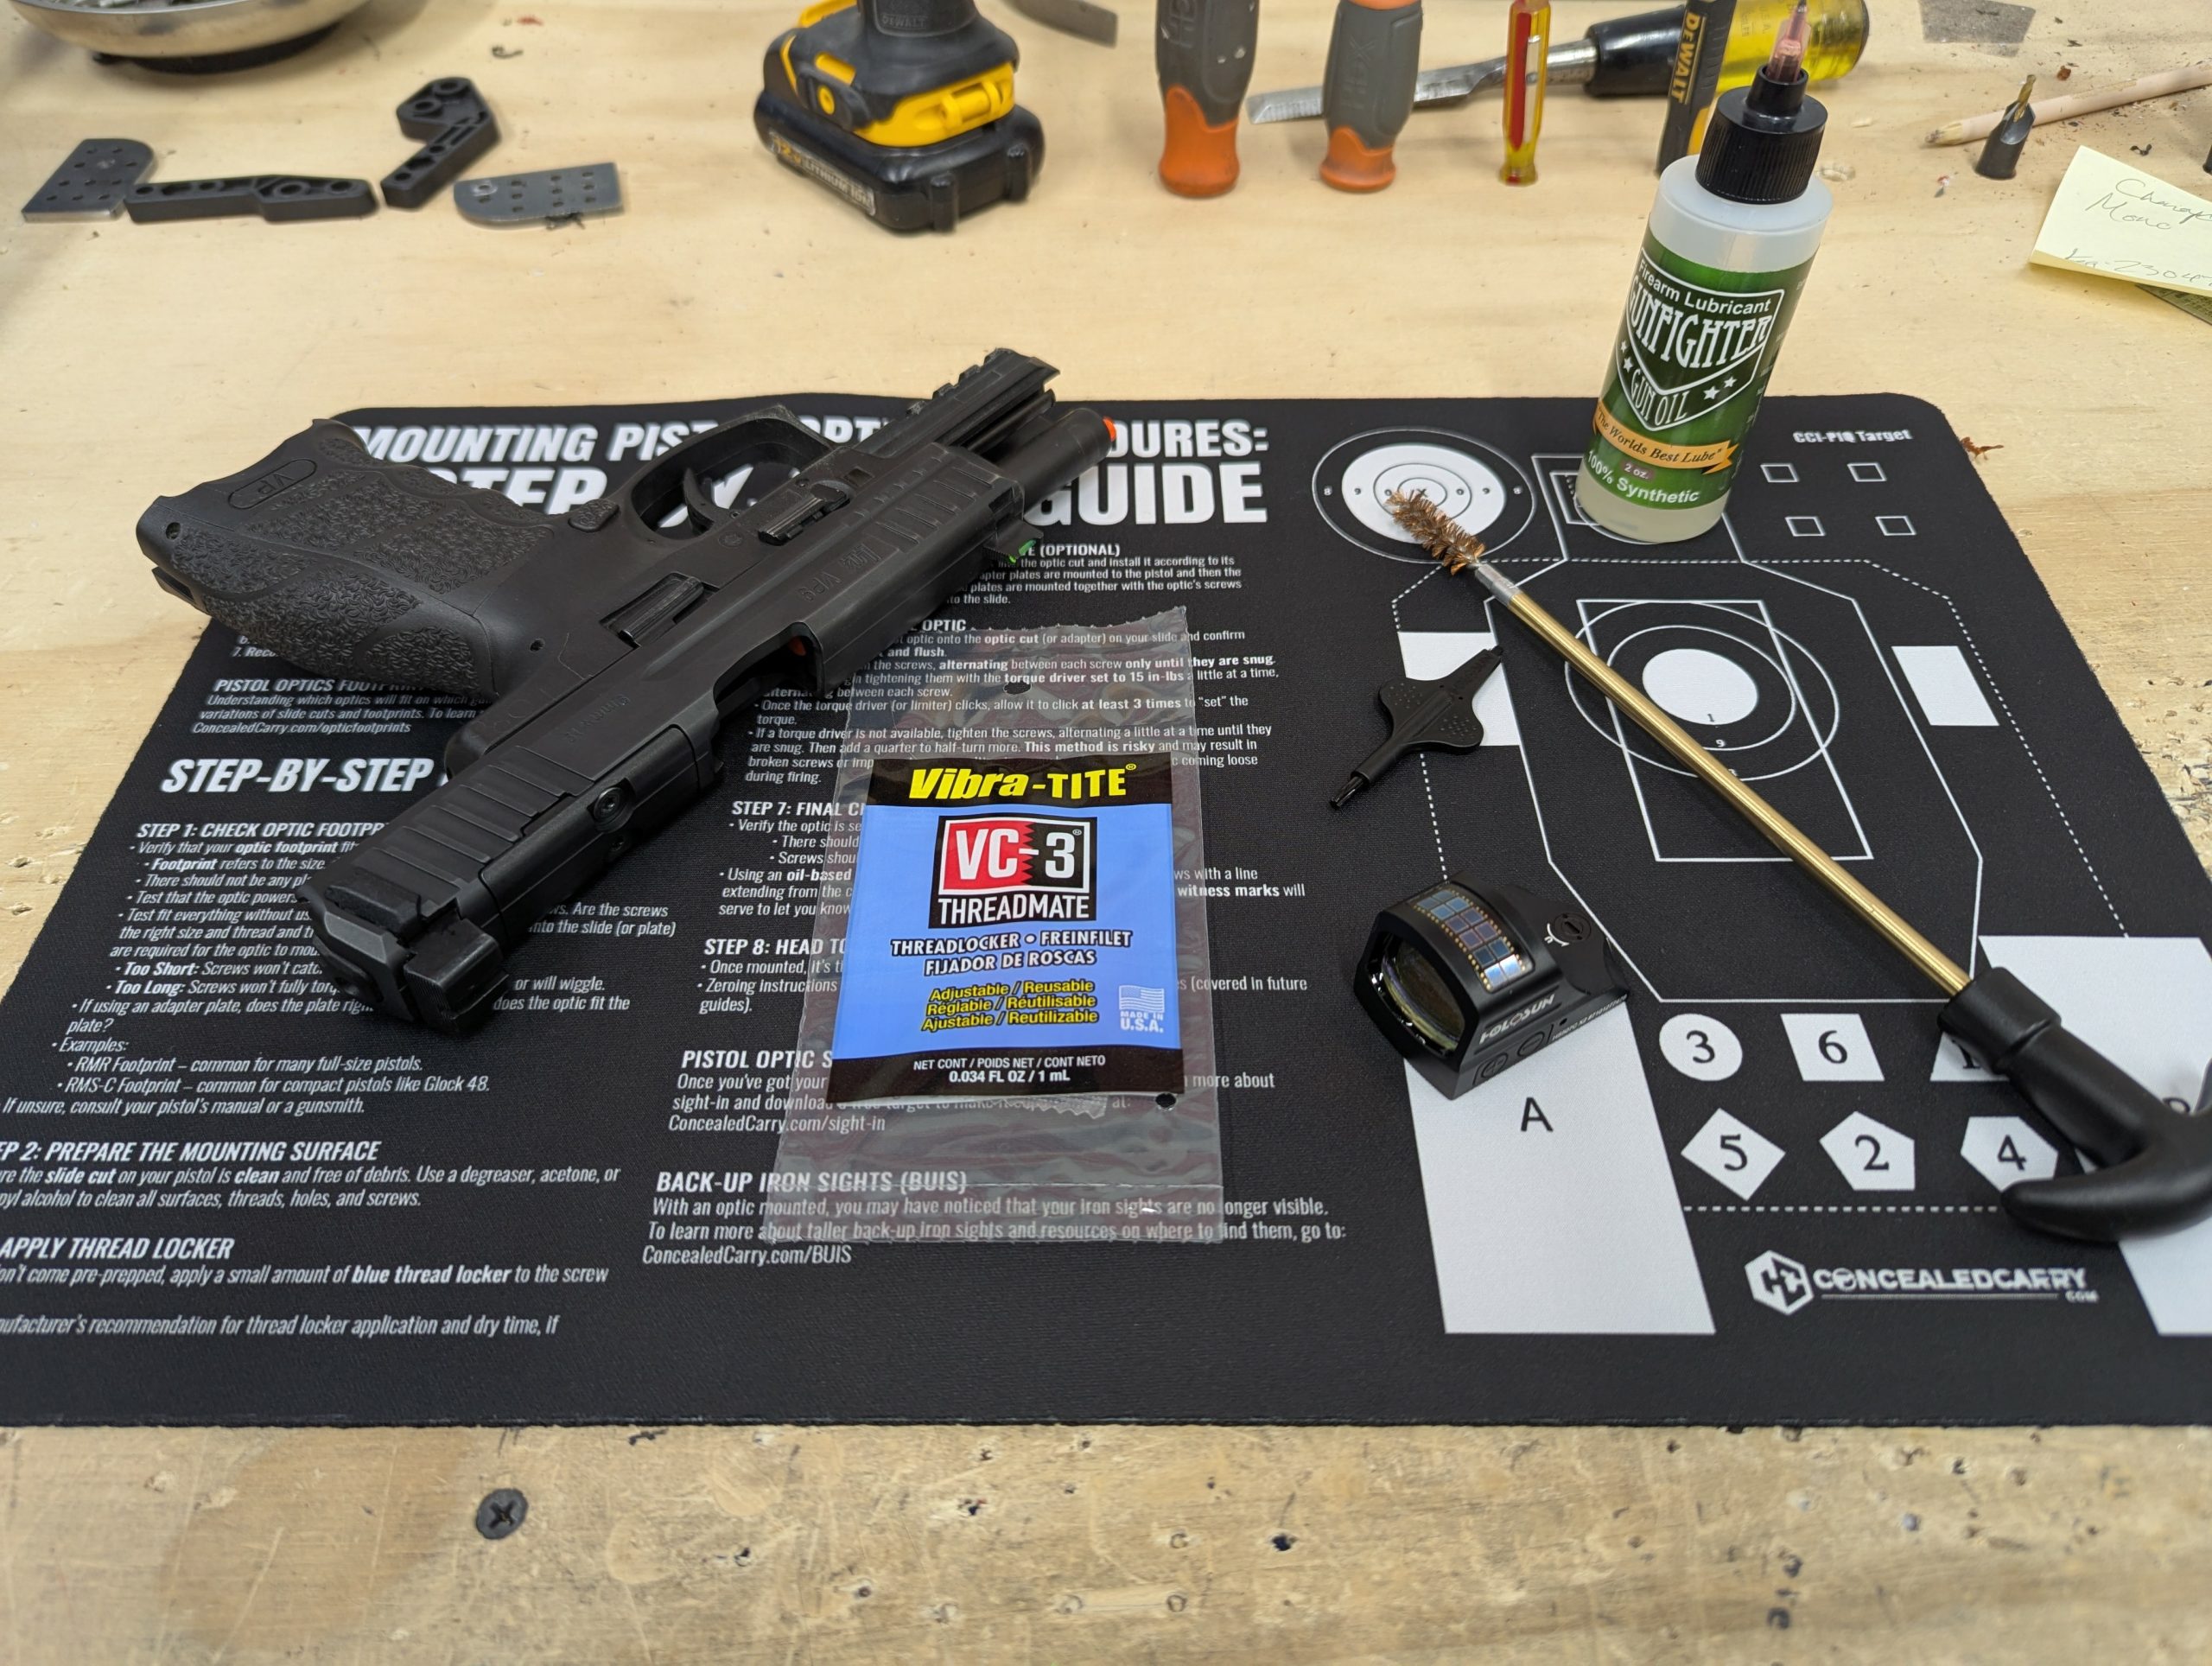
Blue Loctite 242 or 243 is the standard recommendation for optic mounting screws. It's medium-strength, removable with hand tools, and designed for fasteners in this size range. Apply a small drop to the threads, not a glob that fills the hole and acts as a hydraulic spacer preventing full engagement.
Red Loctite (271) is permanent-grade and requires heat to remove. Don't use it on optic screws. You'll need to remove the optic eventually for battery changes, and heating a slide with a mounted optic is a great way to damage the electronics.
What nobody mentions: some optic screws come pre-applied with a patch of threadlocker from the factory. If you add more on top of that, you can end up with too much material in the threads, which again prevents full engagement. Clean the screws with a solvent first, let them dry, then apply your own threadlocker fresh.
Purple Loctite (222) is low-strength and sometimes recommended for very small screws. It's acceptable for M3 screws on micro dots, but blue is generally preferred for the slightly higher holding power.
The optic itself matters more than you think
Not all micro red dots are built the same, and the construction differences show up directly in zero retention on subcompact slides.
Polymer vs. aluminum vs. titanium housings
The SIG Romeo Zero, the original version, uses a polymer housing. It's light, which is nice on a subcompact, but polymer flexes under recoil in ways that aluminum and titanium don't. That flex can shift the emitter relative to the lens, which means the dot moves even if the optic hasn't physically shifted on the slide. The Romeo Zero Elite addressed some of these concerns with a more rigid construction, but the original polymer version has a well-documented reputation for zero issues on the P365 platform specifically.
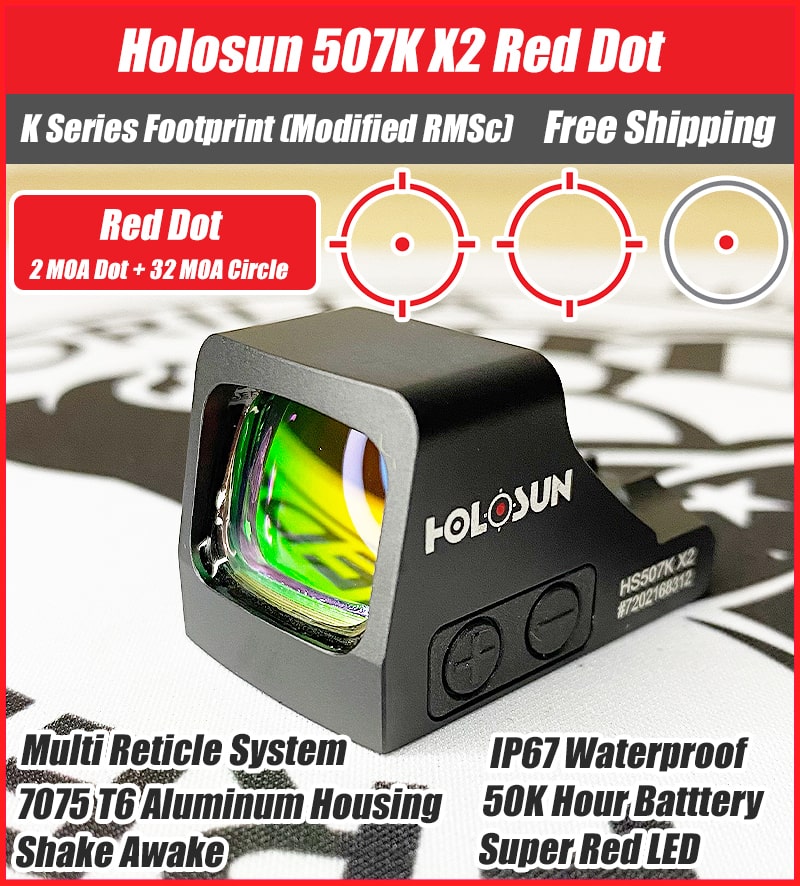
Aluminum-bodied optics like the Holosun 407K and 507K are significantly more rigid. The housing doesn't flex, so the only way the dot moves is if the entire optic moves on the slide. That's a much more controllable problem, tighten the screws properly and it stays put.
Titanium housings (like on the Trijicon RMRcc) add even more rigidity and durability, but at a weight and cost premium. For a carry gun that needs to survive thousands of rounds, the extra investment often pays for itself in reliability.
Emitter type and zero stability
There are two basic types of micro red dots: those that project the dot from a window-mounted LED onto the lens, and those that project from a side-mounted or bottom-mounted emitter. The emitter location affects how the dot behaves under recoil and, to some extent, how sensitive the optic is to housing flex.
A top-mounted window emitter (like on many budget micro dots) puts the LED in the most exposed position on the optic. Side impacts, drops, and even aggressive holstering can shift it. Bottom or rear emitters are somewhat more protected.
The detail that changes the experience: if you're running a polymer-housed optic with a window-mounted emitter on a lightweight subcompact slide, you've stacked every disadvantage on top of each other. Any one of those factors alone might be manageable. Together, they're a recipe for frustration.
Common mistakes that kill zero
These are the problems that show up over and over in forum posts, armorer's benches, and range sessions. Most of them are completely preventable.
1. Not cleaning the mounting surfaces
Oil, carbon fouling, fingerprints, and machining debris all prevent metal-to-metal contact between the optic and the slide. Even a thin film of oil acts as a lubricant that lets the optic shift under recoil. Before mounting, clean both the bottom of the optic and the mounting surface on the slide with a degreaser or brake cleaner. Let everything dry completely before assembly. This alone fixes a surprising number of zero-loss complaints.
2. Using the wrong screws
Not all screws that fit are correct. A screw that threads in doesn't mean it's the right length, thread pitch, or head style. Some aftermarket screws have slightly different head geometries that don't seat properly in the optic's countersunk holes. Use the screws that came with the optic or source exact replacements from the optic manufacturer. If you're using a third-party mounting plate, use the screws specified by the plate manufacturer, not the ones from the optic box.
3. Skipping the re-torque after the first range session
New mounting setups need to settle. Threadlocker needs to cure (typically 24 hours for full strength, though it reaches handling strength in about 10 minutes). After your first range session with a freshly mounted optic, say 100 to 200 rounds, check the screw torque again. It's common for screws to lose a fraction of a turn during the initial break-in as surfaces mate and threadlocker fully sets. One re-torque after the first session usually solves this permanently.
4. Over-relying on factory optic-ready setups
Just because a gun ships "optic ready" doesn't mean the mounting system is optimized. Some factory setups use shallow screw holes, loose-tolerance cuts, or mounting systems that prioritize ease of installation over long-term stability. The P365's proprietary mounting interface, for instance, generated significant discussion in its early iterations about whether the screws had adequate thread engagement. Later revisions improved things, but if you have an early production gun, it's worth investigating whether updated hardware or a different mounting approach is available.
5. Ignoring recoil spring weight
This one's subtle. If you've changed your recoil spring, heavier for hotter loads, lighter for competition, you've changed the slide's velocity profile. A heavier spring slows the slide's rearward travel but increases the forward impact when it returns to battery. A lighter spring does the opposite. Either change alters the shock loading on the optic. If you swapped springs and your zero walked, the spring change might be a contributing factor.
How to diagnose zero loss vs. other problems
Before you tear your optic off the slide and start troubleshooting, make sure you're actually dealing with zero loss and not something else.
Shift in point of impact that's consistent, every shot hits two inches left and one inch high compared to where you zeroed, is genuine zero loss. The optic has moved relative to the bore.
Groups that are just larger than they used to be, but centered roughly where they should be, probably aren't a zero problem. That's more likely a shooter issue, an ammunition change, or a dot brightness setting that's too high for the conditions (a bloomed dot covers more of the target and reduces precision).
A dot that occasionally jumps or flickers is an electronics issue, not a zero issue. Check the battery contacts and make sure the battery is the correct type and properly seated. Some micro dots are sensitive to battery brand, the thickness of the casing varies slightly between manufacturers, and a loose battery can cause intermittent contact.
A dot that disappears entirely during recoil and reappears when the slide returns to battery might be a loose battery, a failing emitter, or, on shake-awake models, a sensor that's malfunctioning. Again, not a zero problem.
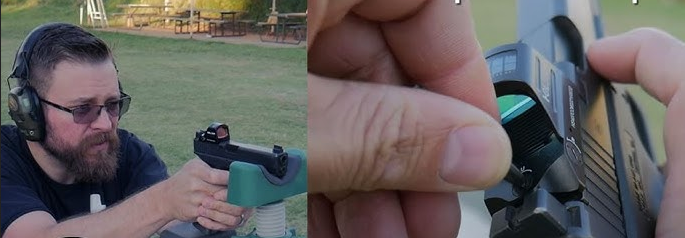
The test that matters: mount the gun in a rest or vice, fire five slow rounds at a target at 15 yards, and measure the group location relative to your aiming point. If the group is shifted consistently from where you zeroed, the optic has moved. If the group is centered but large, look elsewhere.
The best optics for holding zero on subcompact slides
Not every micro red dot is equally suited to the punishment of a subcompact slide. Based on widespread user reports, armorer feedback, and the mechanical factors discussed above, some optics consistently outperform others in zero retention.
The Holosun 407K and 507K have become the default recommendations for subcompact carry guns, and for good reason. Aluminum housing, robust mounting interface, and the Shield RMSc footprint that's become the de facto standard for micro cuts. The 507K adds the multi-reticle system (circle-dot option), which some shooters find faster for target acquisition. Both hold zero well on P365, Hellcat, Shield Plus, and similar platforms when mounted correctly.
The Trijicon RMRcc is the tank of the micro red dot world. It's heavier and more expensive than the Holosun options, but the machined aluminum housing and Trijicon's reputation for durability under abuse are well-earned. The downside is the proprietary footprint, it doesn't share a mounting pattern with the more common RMSc-cut slides, so you may need a plate or a specific slide cut.
The SIG Romeo Zero Elite (not the original Romeo Zero) improved significantly over its predecessor with a more rigid housing and better mounting hardware. If you're running a SIG pistol with the proprietary SIG mount, the Elite version is a worthwhile upgrade over the original polymer model.
The Swampfox Sentinel is another aluminum-housed option on the RMSc footprint that's gained a following for its durability relative to its price point. The auto-brightness sensor works well, and the housing is solid enough to handle subcompact recoil.
What to avoid: any micro red dot with a polymer housing that you plan to put on a subcompact slide and shoot regularly. Polymer works fine on a range toy or a competition gun that gets babied, but the repeated high-G impacts of a subcompact slide will test it in ways that metal housings shrug off.
Direct milling vs. factory optic-ready: the real tradeoff
If you're serious about zero retention on a subcompact, direct milling by a qualified gunsmith is the most reliable path. Here's why, and when it's worth the investment.
A direct-milled slide has a pocket machined to the exact footprint of your chosen optic. The optic drops in with minimal clearance, sits on a flat surface that's been cut perpendicular to the bore axis, and threads into holes that are drilled to the optimal depth for the specific screws. There's no adapter plate, no universal mounting system trying to accommodate multiple optics, just a precise, purpose-built interface.
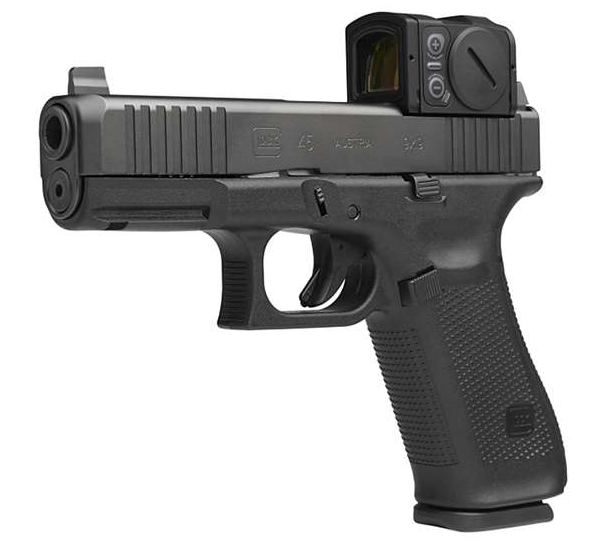
The downside is commitment. Once you mill a slide for an RMSc footprint, you're locked into optics that use that footprint. Switching to a different optic standard means a new slide or a re-mill (if there's enough material). On a subcompact slide where material is already limited, re-milling may not be possible.
Factory optic-ready systems trade some precision for flexibility. They're designed to accept multiple optics (sometimes with plates), and they're reversible, you can put the cover plate back on and run irons. For a carry gun that you might want to switch optics on down the road, that flexibility has value.
The practical answer for most shooters: if you've settled on an optic and a platform, and you're running that combination for carry, get it milled. The zero reliability improvement is meaningful. If you're still experimenting with different optics or you want to preserve resale flexibility, a quality factory optic-ready system with proper mounting technique will work, you just need to be more diligent about the details.
Shops like Nameless Arms, C&H Precision, Patriot Defense, and others specialize in slide milling and can advise on whether your specific subcompact slide has enough material for a safe cut. Expect to pay somewhere in the range of $75 to $175 for the milling work, depending on the shop and the complexity. That's cheap insurance for a gun you trust your life to.
Range notes: verifying and maintaining zero
Zeroing a micro red dot on a subcompact is different from zeroing a full-size gun, mostly because the shorter sight radius equivalent and the snappier recoil make it harder to isolate mechanical accuracy from shooter input.
Zero at 15 yards from a rest. Not 7, not 25. At 7 yards, even a slightly shifted zero won't show up in your groups because the angular error is too small relative to the distance. At 25, the subcompact's inherent mechanical accuracy and the difficulty of shooting a small gun precisely from a rest start to muddy the data. Fifteen yards is the sweet spot where a genuine zero shift will show as a measurable group displacement without being confounded by other variables.
Use a rest or sandbags. Shooting off a bench with your hands as the only support introduces too much human error. You need to isolate the gun's zero from your shooting. A pistol rest or even a rolled-up range bag works.
Fire five-round groups, not three. Three rounds isn't enough data to distinguish a zero shift from a flier. Five gives you a better picture.
After zeroing, fire 50 rounds of your carry ammo in a normal shooting cadence, draw from the holster, fire two to three rounds, holster, repeat. Then go back to the rest and fire another five-round group. Compare it to your zero group. If the point of impact has shifted, something is moving.
Mark your screws. After you've confirmed zero and re-torqued the screws, put a thin line of paint pen or nail polish across the screw head and onto the optic body. If the screw backs out even slightly, the line will break. This gives you a visual check you can do every time you pick up the gun without needing a torque wrench.
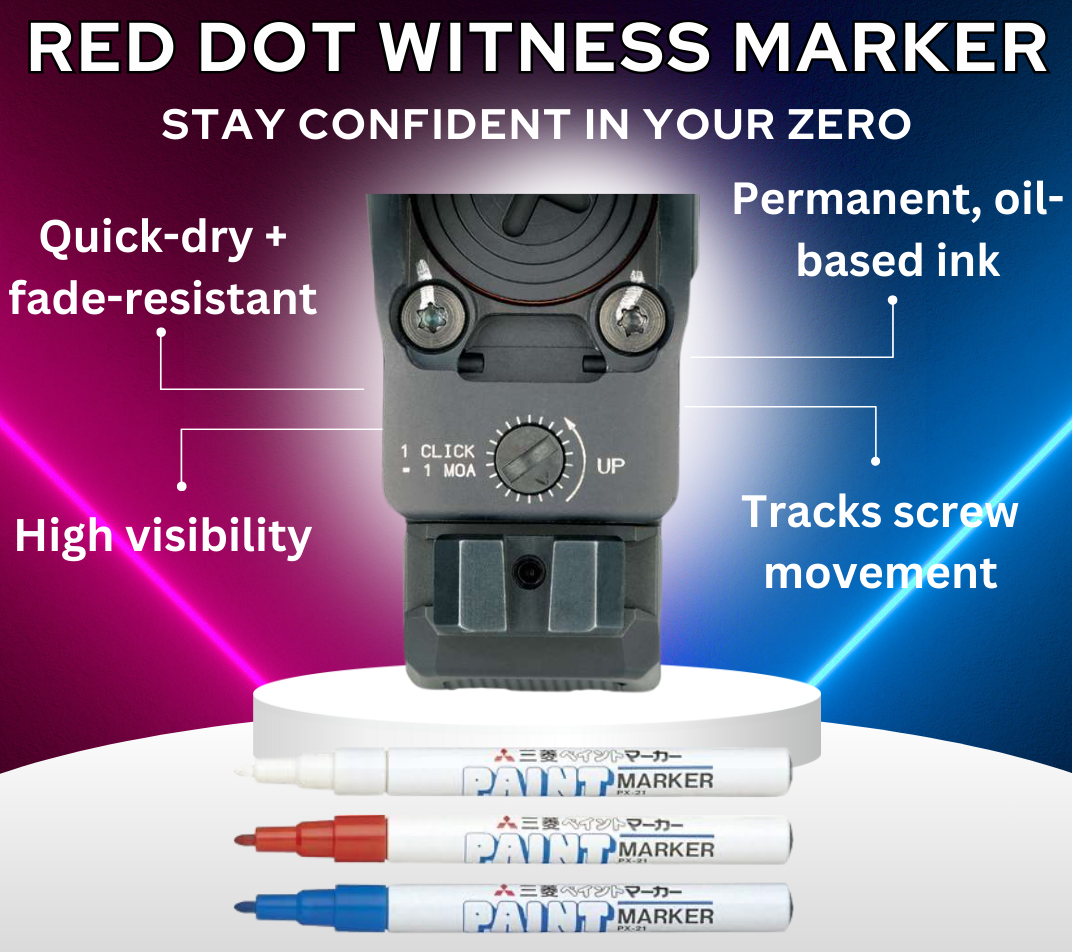
Check zero every 500 rounds or every three months, whichever comes first. Carry guns live in holsters against warm bodies, get exposed to sweat and humidity, and experience daily micro-impacts from sitting, walking, and bumping into things. A quarterly zero check takes five minutes and five rounds. Do it.
What about co-witnessing on subcompacts?
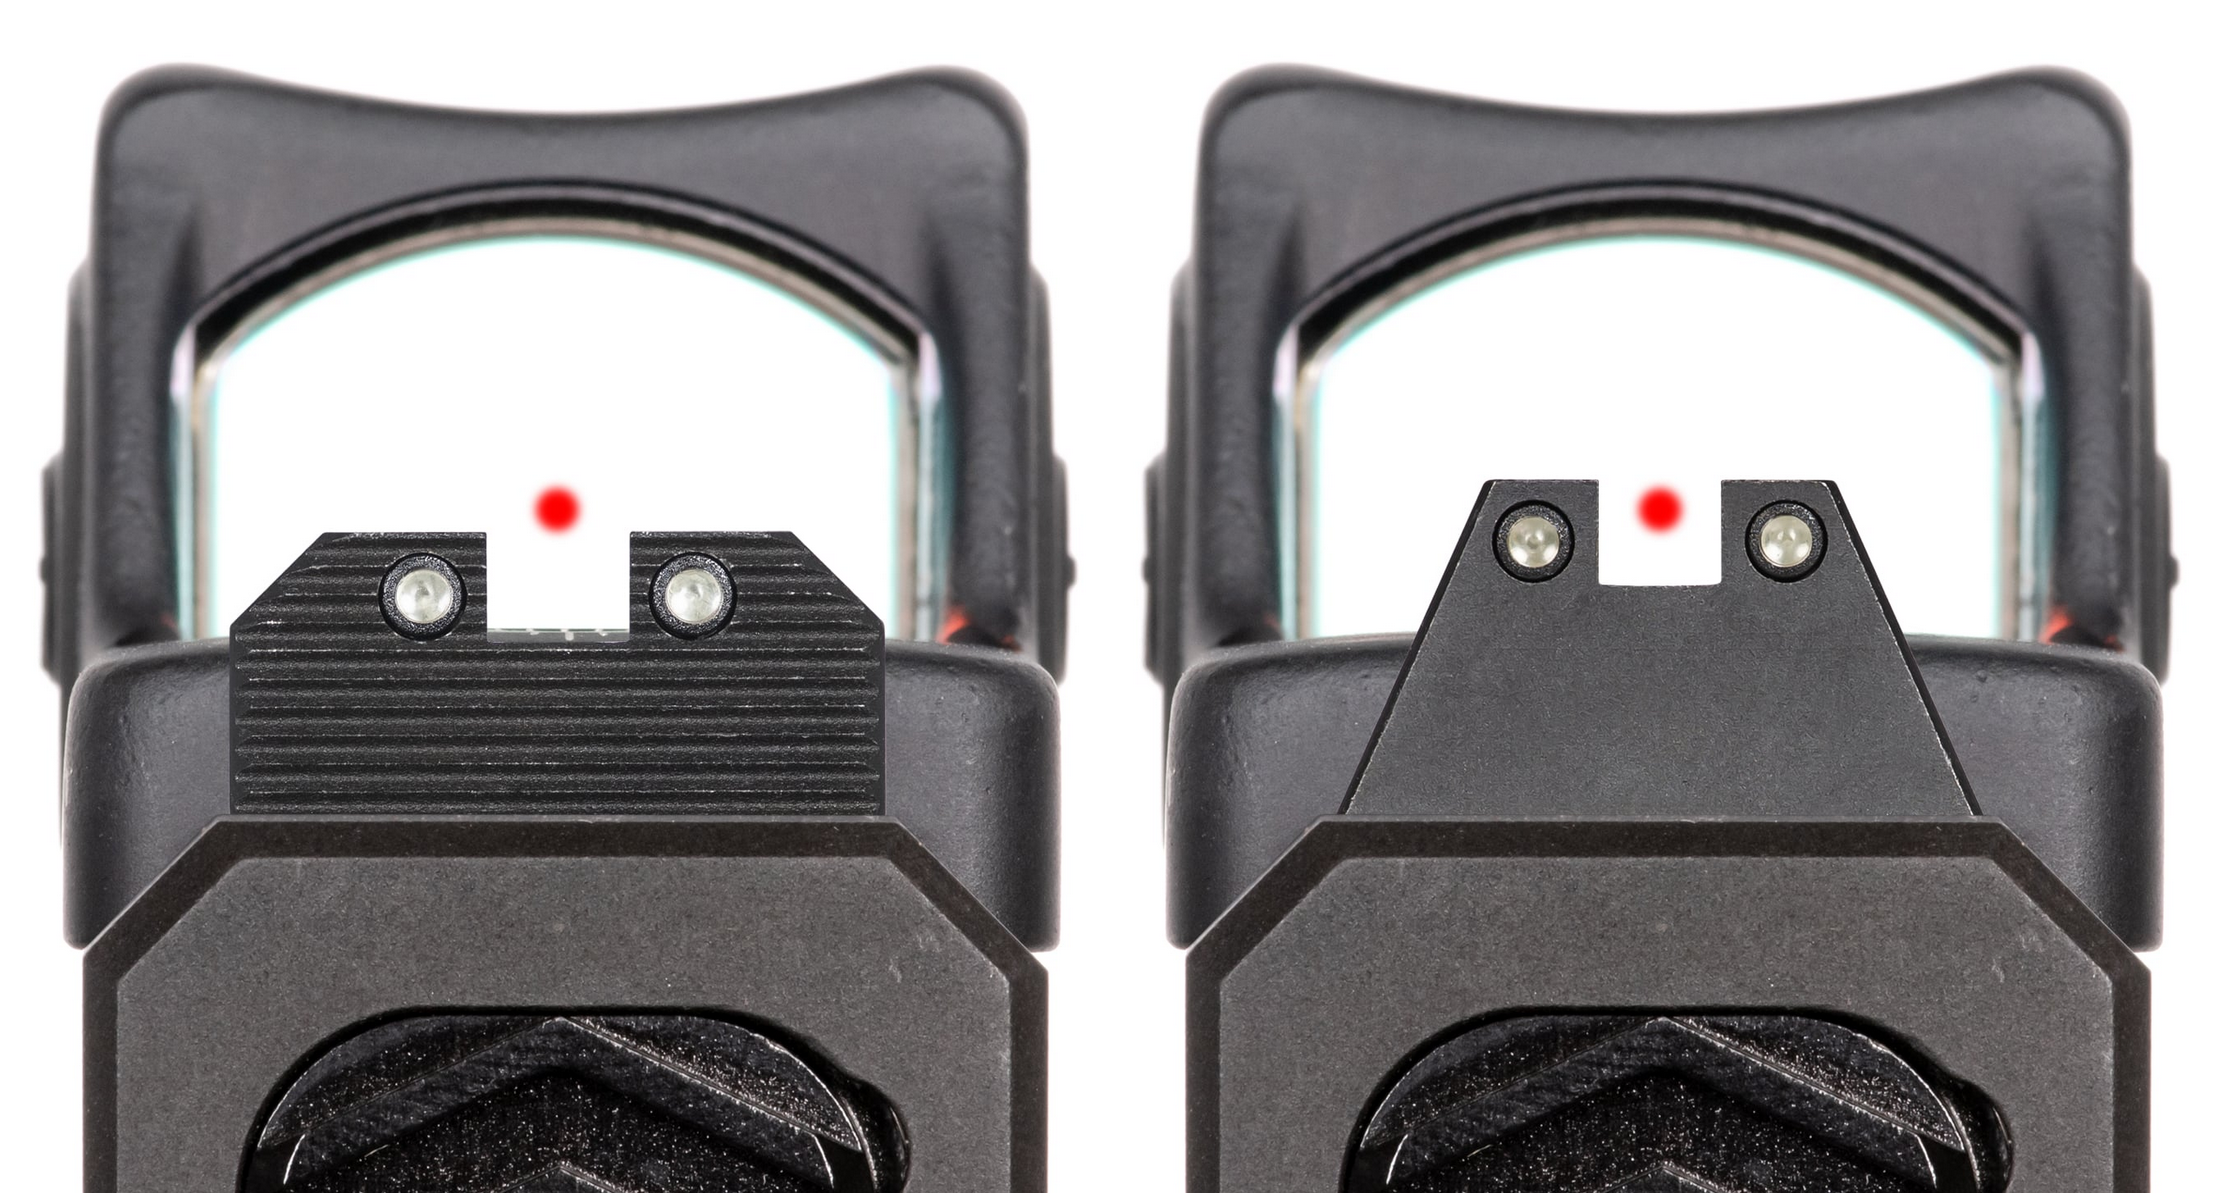
Most subcompact slides are too small for true co-witness with iron sights and a micro red dot. The optic sits so low on the slide that standard-height irons disappear behind the optic body. Suppressor-height sights will peek above the optic housing on most setups, giving you a lower-third co-witness at best.
This matters for zero loss because co-witness irons are your backup if the dot fails or shifts. If your irons are visible through or above the optic window, you can immediately tell if the dot has moved relative to the irons, the dot will no longer be aligned between the front and rear sight. That's an instant diagnostic.
If your setup doesn't allow co-witness, you lose that built-in check. You're relying entirely on your zero verification routine to catch problems. That's fine as long as you actually do the verification. Most people don't, which is how they end up at the range three months later wondering why they can't hit anything.
Suppressor-height iron sights from Dawson Precision, Night Fuse, Ameriglo, and Trijicon are available for most popular subcompact platforms. If you're running a red dot on a carry gun, these should be considered mandatory, not optional. The ability to transition to irons if the dot fails, whether from zero loss, battery death, or a cracked lens, is a genuine safety consideration on a defensive firearm.
The environmental factor nobody talks about
Temperature cycling affects zero. Your carry gun goes from a 72-degree house to a 95-degree car interior to a 40-degree evening walk. Metal expands and contracts with temperature changes, and the optic and the slide are made of different metals (usually aluminum and steel) with different coefficients of thermal expansion.
On a full-size gun, this effect is negligible because the mounting interface has enough mass and thread engagement to absorb the dimensional changes. On a subcompact, where everything is smaller and the tolerances are tighter, repeated thermal cycling can contribute to screw loosening over time. This is another reason why the re-torque check matters and why proper threadlocker application is critical, the threadlocker fills microscopic gaps in the threads and maintains clamping force even as the metals expand and contract at different rates.
Sweat is the other environmental enemy. If you carry appendix or strong-side IWB, your gun is pressed against your body for hours. Sweat is salty and corrosive. It wicks into the mounting interface through the gaps between the optic and the slide. Over time, it can corrode the contact surfaces, creating play where there was none. A thin film of anti-corrosion compound on the mounting surfaces (applied after degreasing and before final assembly) can help, but it needs to be thin enough not to act as a lubricant. Some shooters use a very light application of Tef-Gel or similar anti-seize compound designed for dissimilar metals.
Putting it all together
If your red dot keeps losing zero on a subcompact slide, work through this checklist in order:
Clean the mounting surfaces completely. Degrease the bottom of the optic and the slide's mounting pocket. Remove all oil, carbon, and debris. Let everything dry.
Verify your screws are the correct length. Thread them into the slide without the optic. They should engage fully without bottoming out. If they bottom out, get shorter screws from the optic or plate manufacturer.
Apply a small drop of blue Loctite 242/243 to clean, dry screw threads. Don't overdo it.
Seat the optic in the cut and verify there's no lateral play before tightening. If the optic rocks or shifts in the pocket, the cut is oversized and you need a shim or a different mounting solution.
Torque to the manufacturer's spec with an inch-pound torque wrench. Don't guess.
Let the threadlocker cure for 24 hours before shooting.
After the first 100-200 rounds, re-check torque. Re-zero if needed.
Mark your screws with a paint pen for visual monitoring.
Check zero every 500 rounds or every three months.
If you've done all of this correctly and the optic still won't hold zero, the problem is either the optic itself (internal component failure, housing flex) or the slide's mounting interface (inadequate thread depth, poor machining). At that point, you're looking at either upgrading the optic to a metal-housed unit or having the slide professionally milled for a direct-mount setup.
The subcompact red dot setup that holds zero isn't magic, it's just attention to detail at every step of the assembly. The gun doesn't care about your brand loyalty or how much you paid. It cares about clean surfaces, proper thread engagement, correct torque, and an optic that's rigid enough to survive the environment it's in. Get those right, and the dot stays where you put it.