
You're ready to do your own trigger swaps, barrel installs, or scope mounting; and you're trying to hold the gun steady with one hand while torquing something with the other. That doesn't work. A good vise is the difference between a clean job and a scratched receiver, a stripped screw, or a scope that's canted two degrees because the rifle shifted mid-torque.
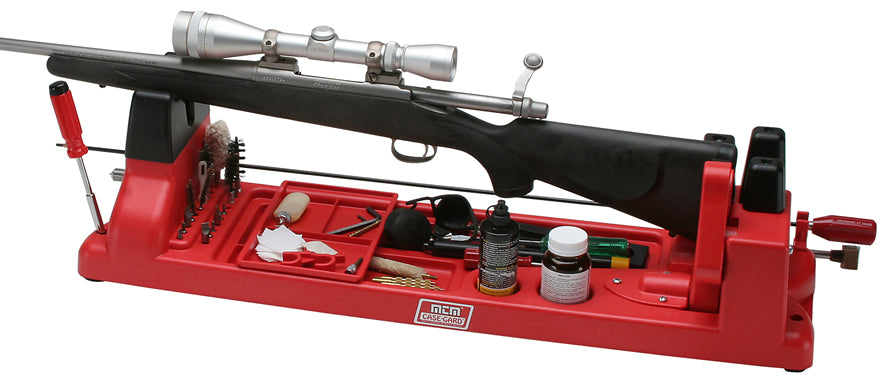
The problem is that "gun vise" covers everything from a $30 plastic cradle that's basically a cleaning rest to a $500 professional fixture that bolts to a steel bench. Most of the work home armorers actually do, AR builds, handgun sight installs, optic mounting, detail stripping, falls in a sweet spot where you need real clamping force and stability but don't need to spend professional-shop money. That sweet spot is roughly $50 to $300, and the options in that range vary wildly in what they actually hold well.
This piece breaks down the vises worth considering in that price range, organized by what kind of work you're actually doing. Not every vise does every job. Some are purpose-built for AR uppers. Some hold bolt-action rifles for scope work. Some try to do everything and end up mediocre at all of it. Knowing what you need the vise to do narrows the field fast.
What separates a gun vise from a bench vise with padded jaws
A standard bench vise with nylon jaw pads can hold a receiver or a barrel. Plenty of gunsmiths use them. But there's a reason purpose-built gun vises exist, and it's not just marketing.
The geometry of firearms doesn't cooperate with flat parallel jaws. Receivers are irregular shapes. Barrels are round and taper. Handguards have rails and flats at odd angles. A bench vise applies force on two opposing faces, if the part isn't flat on both sides, the clamping force is uneven, and the part wants to rotate or shift under torque. You can compensate with blocks and shims, but that's extra setup every time.
A gun vise, the real ones, not the cleaning cradles, addresses this with shaped clamp heads, adjustable jaw angles, or modular blocks that match specific receiver profiles. The Wheeler Delta Series AR vise, for example, uses a clamshell clamp shaped to the AR-15 upper receiver's contour. The Real Avid Master Gun Vise uses adjustable rear and front clamps with different jaw inserts. The CTK Precision P3 uses a different approach entirely, with adjustable support points along the length of the gun.
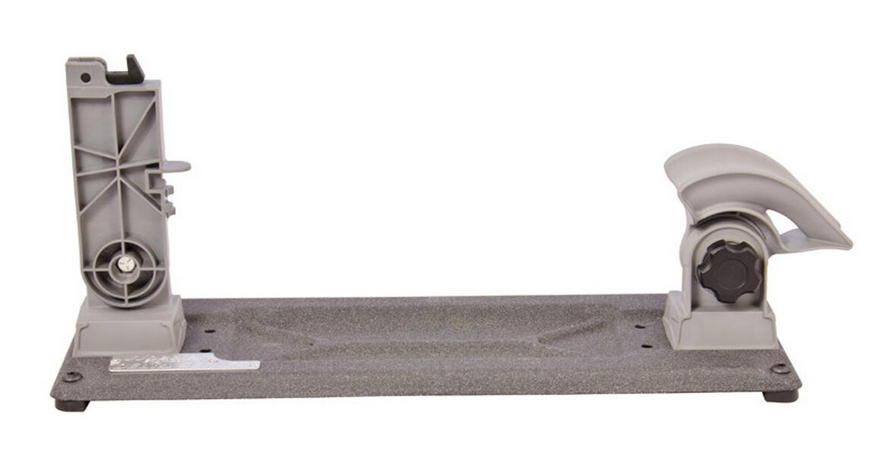
The other difference is mounting. A bench vise is already bolted to your bench, that's its strength. A dedicated gun vise might be freestanding (sits on the bench under its own weight and rubber feet), bolt-down, or clamp-on. Freestanding is more convenient. Bolt-down is more stable. You'll want to decide which matters more for your work before you buy.
The two categories that actually matter
Forget the marketing labels. Gun vises under $300 fall into two functional categories:
Platform vises sit flat on your bench and hold the entire firearm in a cradle-like arrangement. The gun rests in padded supports, and clamps apply downward or inward pressure at multiple points. The Real Avid Master Gun Vise and the CTK Precision P3 are the best-known examples. These handle rifles, shotguns, and sometimes handguns with adapter inserts. They're versatile but generally less rigid than the second category.
Receiver-specific vises clamp directly to one part of the firearm, usually the upper or lower receiver, and either mount in a standard bench vise or bolt to a bench on their own. The Wheeler Delta Series AR-15 Armorer's Vise and various upper receiver blocks fall here. These are less versatile but significantly more rigid for the specific platform they're designed for. If you're torquing a barrel nut to 40 ft-lbs, rigidity matters more than versatility.
Most home armorers end up owning one of each, or one platform vise and a set of receiver blocks that fit in a bench vise. That combination covers about 95% of the work.
Real Avid Master Gun Vise
This is probably the most popular gun vise sold in the sub-$200 range, and it deserves a detailed look because it does a lot of things well and a few things poorly.
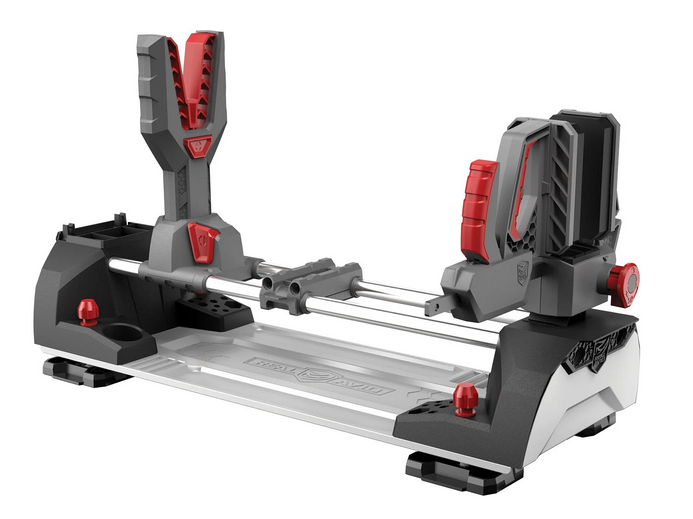
The Master Gun Vise is a freestanding platform vise that weighs about 9 pounds. It has a central body with a rear clamp assembly, a front clamp assembly, and a set of adjustable support feet along the middle channel. The rear clamp has padded jaws that adjust for width and angle. The front support has a similar arrangement. The whole thing sits on four rubber feet and has a parts tray molded into the base.
What it does well
The adjustability is genuinely useful. The rear clamp pivots and adjusts in width enough to hold everything from an AR-15 lower to a Remington 700 action to a Mossberg 500 receiver. The front support adjusts to accommodate different barrel profiles and forend shapes. For cleaning, detail stripping, and optic mounting where you need the gun held steady but aren't applying heavy torque, it works well.
The built-in parts trays are a small thing that matters more than you'd expect. Detent springs, pins, and small screws have a place to sit instead of rolling off the bench.
For handgun work, and this is where it surprised a lot of people, the Master Gun Vise can hold pistols reasonably well using the rear clamp. A 1911 frame or a Glock frame can be clamped by the dust cover area with enough stability for sight installation using a pusher tool. It's not a dedicated handgun vise, but it works for that specific job.
Where it falls short
Rigidity under torque is the main weakness. The Master Gun Vise is plastic-bodied with steel hardware at the clamp points. If you're torquing an AR barrel nut, which requires 30-80 ft-lbs depending on the nut, the vise will flex and the gun will shift. Real Avid doesn't really market it for that job, but people try it anyway and get frustrated.

The rubber feet keep it from sliding on a smooth bench, but there's no bolt-down option in the stock configuration. Some owners drill through the base and bolt it down, which helps significantly. Without that, any serious lateral force moves the whole unit.
The front support clamp also doesn't grip round barrels as securely as you'd want for muzzle device installation. The jaw faces are flat, and a round barrel under rotational force wants to spin in flat jaws. For that job, you need V-blocks or a barrel-specific clamp.
The verdict on the Real Avid
If you're doing cleaning, maintenance, parts swaps that don't require heavy torque, optic mounting with a torque wrench (not an impact), and occasional handgun sight work, the Master Gun Vise is a solid buy. If you're building ARs from stripped receivers and need to torque barrel nuts, you'll need something more rigid for that specific step, and the Real Avid can handle everything else.
CTK Precision P3 Ultimate Gun Vise
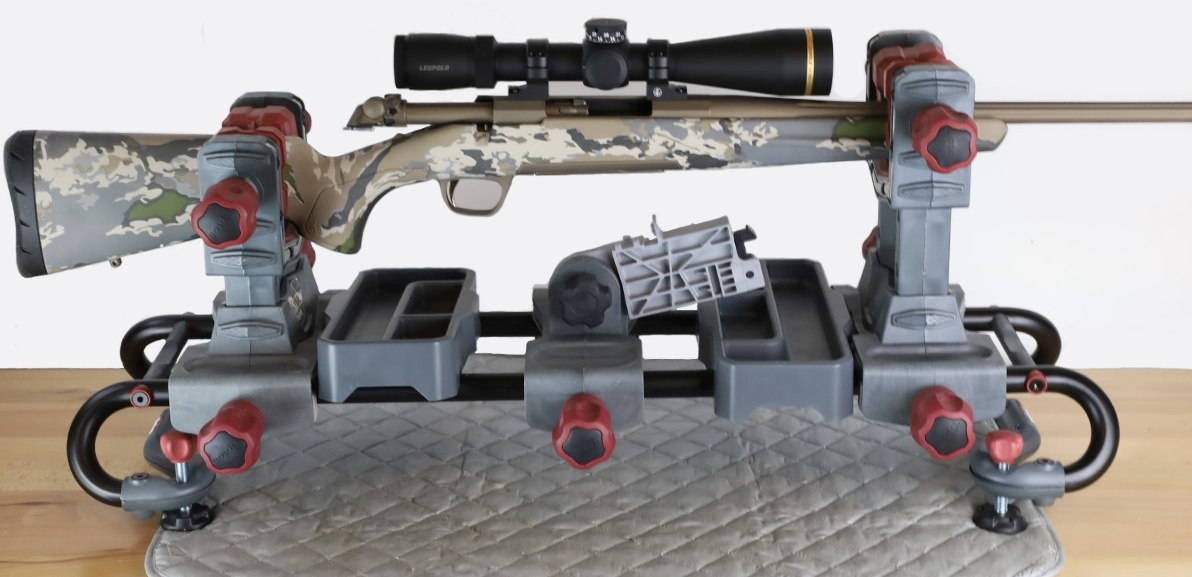
The P3 takes a different design approach than the Real Avid. Instead of front and rear clamps, it uses three adjustable support points (that's the "P3", three points) along a central aluminum rail. Each support point has a padded V-shaped cradle that adjusts for height and width. A strap system or top clamp holds the gun down into the cradles.
Build quality and rigidity
The P3 is heavier than the Real Avid, roughly 11 pounds, and the aluminum rail gives it noticeably more rigidity. It also has bolt-down holes in the base, which is a significant advantage if you have a dedicated bench. Bolted down, the P3 handles moderate torque applications better than any freestanding plastic-body vise.
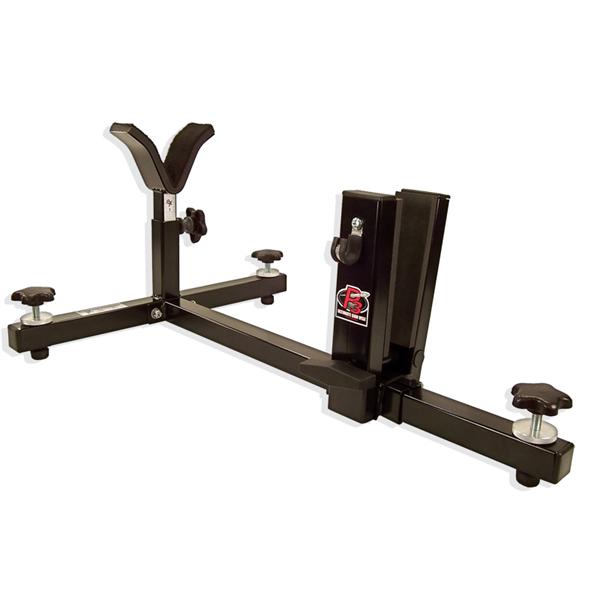
The three-point support system distributes the gun's weight more evenly, which matters for long heavy rifles. A 10-pound precision rifle with a heavy barrel and a loaded bipod can overwhelm a two-point cradle system. The P3 handles that weight without sagging.
Adjustability and compatibility
The three support points slide along the rail and lock with thumbscrews. This means you can position them for anything from a 16-inch AR to a 26-inch bolt gun. The V-cradles accommodate round barrels, flat-bottom forends, and irregular stock shapes reasonably well.
For handguns, the P3 is less capable than the Real Avid. The cradle system is designed for long guns, and while you can technically nestle a pistol into one of the V-supports, it's not stable enough for sight pressing or any work that requires the frame to be truly immobile.
Limitations
The strap-down system is the P3's weakest point. Straps flex. They stretch slightly under load. For scope mounting where you're applying 15-25 in-lbs with a torque wrench, the straps hold fine. For barrel nut torque or muzzle device installation, the gun can shift in the straps under rotational force.
Some P3 owners replace the straps with aftermarket top clamps or use the P3 in combination with receiver blocks in a bench vise for heavy-torque steps. That's a reasonable approach, use the P3 for 90% of the work and switch to a dedicated block for the high-torque moments.
Wheeler Delta Series AR-15 Armorer's Vise
This is a different animal from the platform vises above. The Wheeler Delta Series AR-15 Armorer's Vise is a purpose-built fixture for AR-15 upper and lower receivers. It doesn't hold shotguns. It doesn't hold bolt-action rifles. It holds AR-15s, and it holds them extremely well.
Design and function
The vise has a heavy steel base (about 8 pounds for just the base) with a vertical post. The post accepts different clamp heads, one shaped for the AR-15 upper receiver, one for the lower. The upper clamp is a clamshell design that wraps around the receiver's contour and locks with a lever. The lower clamp grips the magazine well area.
The base has four bolt-down holes and rubber feet. You can use it freestanding, but bolting it down is strongly recommended for barrel nut work. The steel construction and direct-clamp design make this dramatically more rigid than any platform vise for AR work.
Why it matters for barrel nuts
Here's the specific job where this vise earns its money: torquing a barrel nut. A standard AR-15 barrel nut needs 30-80 ft-lbs, and most free-float handguard barrel nuts have their own spec (often 35-50 ft-lbs, sometimes with specific anti-seize and timing requirements). That's real torque. Applied to a round nut. On a receiver that weighs about half a pound by itself.
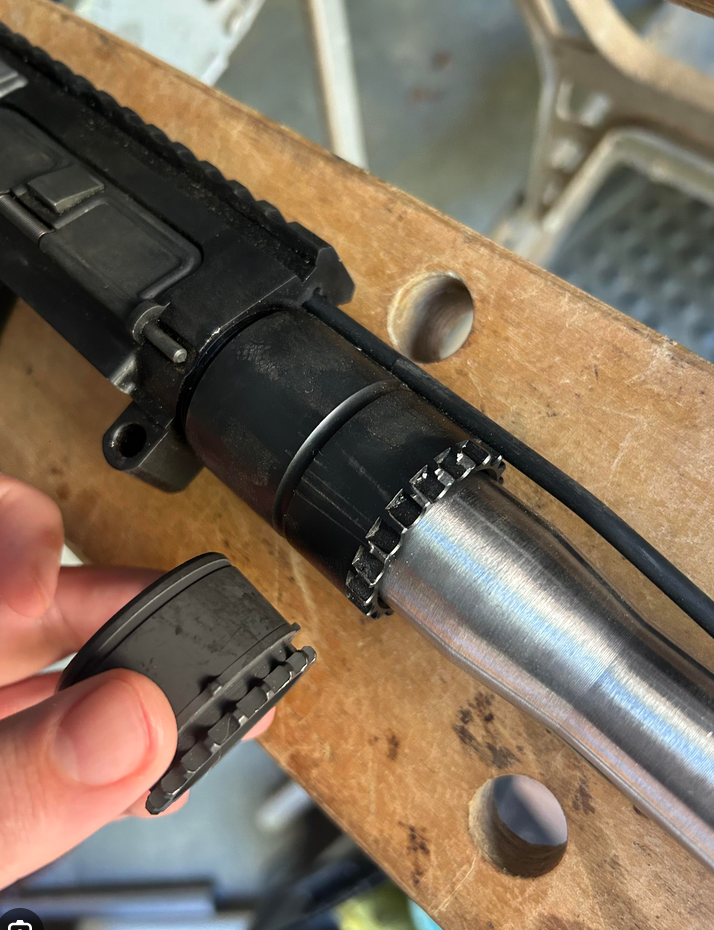
Without a rigid vise setup, the receiver rotates instead of the nut. The Wheeler upper clamp prevents this by distributing the clamping force around the entire upper receiver contour, not just two pressure points. The clamshell design means the force is spread across a large surface area, which also prevents the clamp from marring the finish.
If you're building ARs, even one or two a year, this vise or something like it is essentially required equipment. You can get away with a mag well block in a bench vise (Wheeler makes that too, the Delta Series Mag Well Vise Block), but the dedicated armorer's vise is more stable and easier to work with.
What it doesn't do
Anything that isn't an AR-15. That's the tradeoff. The Wheeler Delta Series AR-15 Armorer's Vise is a single-platform tool. If you also work on bolt guns, shotguns, or handguns, you need a second vise or a platform vise for those.
It's also not cheap relative to the vise blocks alone. The complete armorer's vise with base, post, and clamp heads runs in the $100-$170 range depending on retailer and what's included. The mag well vise block alone, which does the same job but requires your own bench vise, is around $30-40. If you already have a solid bench vise, the block is the budget-conscious choice.
Tipton Best Gun Vise
Tipton (same parent company as Wheeler, both under Battenfeld Technologies) makes the "Best Gun Vise," which is a platform-style vise that competes directly with the Real Avid Master Gun Vise. It's worth mentioning because it's widely available and often cheaper, but there are meaningful differences.
The Tipton uses a similar two-clamp design with a central channel, but the construction is lighter and the clamp mechanisms are simpler. The rear clamp doesn't have the same range of angular adjustment as the Real Avid. The front rest is a basic V-block without independent width adjustment.
Where the Tipton does well is basic cleaning and maintenance. If you need something to hold a rifle while you run patches or swap a scope, it's perfectly adequate and often available for under $80. For anything involving torque or precise positioning, the Real Avid and CTK P3 are meaningfully better.
The Tipton also doesn't handle handguns well. The clamp geometry is designed for long gun receivers and stocks, and there's no good way to secure a pistol frame.
Handgun-specific options
Most of the vises discussed so far are primarily long gun tools. If your main work is on handguns, sight installation, frame work, slide fitting, you need different equipment.
The bench vise with nylon jaws approach
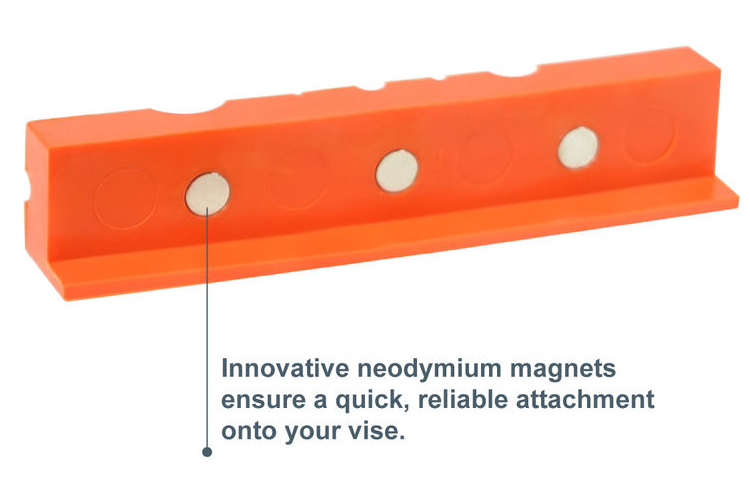
A quality 4-inch bench vise with nylon or brass jaw pads is still the most common way to hold a handgun for armorer work. Clamp the slide or frame in the jaws, and you have rigid, immovable support for pressing sights, driving pins, or fitting parts. The key is jaw pad material, steel jaws will destroy a finish instantly. Nylon jaw pads are cheap and replaceable. Brass is softer than steel but harder than nylon, good for parts that need serious clamping force without marring.
For sight installation specifically, a dedicated sight pusher tool (like the Real Avid Sight Pusher or Wheeler Universal Sight Tool) often has its own clamping mechanism built in, making a separate vise unnecessary for that one job.
Universal handgun vises
A few products exist specifically for holding handguns. Most use a clamp that grips the dust cover or trigger guard area of the frame. These work, but they're niche tools. Unless you're doing high-volume handgun work (armorer for a department, running a class, etc.), a bench vise with jaw pads covers the same ground for less money and more versatility.
Vise blocks and receiver fixtures: the budget path
If you already own a decent bench vise, even a $50 hardware store vise with 4-inch jaws, you can get into AR armorer work for much less than a dedicated gun vise costs. The key purchases are receiver-specific blocks.
Upper receiver vise block
This is a two-piece clamshell block (usually polymer or aluminum) shaped to the AR-15 upper receiver's exterior contour. You place the upper in the block, clamp the block in your bench vise, and now the upper is held rigidly for barrel nut work, handguard installation, or forward assist and dust cover installation.
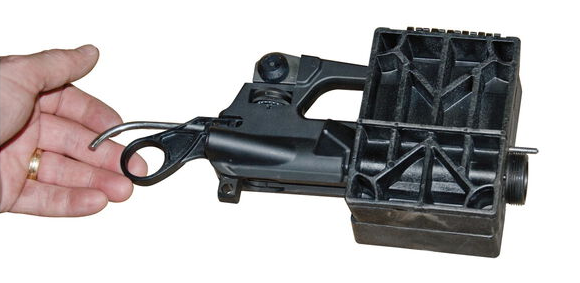
The Wheeler Delta Series AR Upper / Pic Rail Vise Block is the most common version. It clamps around the upper receiver and also has a Picatinny rail section so you can hold the upper by the rail if needed. These run $20-40 and work well, provided your bench vise is solid. A wobbly bench vise defeats the purpose.
Mag well vise block
This block inserts into the magazine well of a stripped or complete lower receiver. You clamp the block in your bench vise, and the lower hangs from it. This is primarily useful for installing or removing the pivot and takedown pin detents, the bolt catch, the trigger guard, and other lower parts. It also works for holding the lower while you torque the castle nut on the buffer tube.
The Wheeler Delta Series Mag Well Vise Block is the standard here. Simple, cheap, effective. One thing to watch: the block needs to fit snugly in the mag well. A loose block lets the lower wobble, which makes pin installation harder than it needs to be. Most mil-spec lowers fit fine. Some billet lowers with oversized or flared mag wells may not grip as tightly.
Barrel vise blocks (for barrel removal/installation)
These are a different category entirely. A barrel vise block is a set of half-round jaws (usually aluminum with a rosin or rubber lining) that clamp around the barrel extension or barrel itself, allowing you to hold the barrel while you rotate the upper receiver to remove or install the barrel nut. This is the reverse of using an upper receiver block, instead of holding the receiver and turning the nut, you hold the barrel and turn the receiver.
Barrel vise blocks require a real bench vise with at least 4-inch jaws. They're specialized and mostly needed for barrel swaps, not routine maintenance. If you're doing your first AR build with a new upper and barrel, the upper receiver block approach is simpler and more common.
What to look for regardless of which vise you choose
Clamping surface material
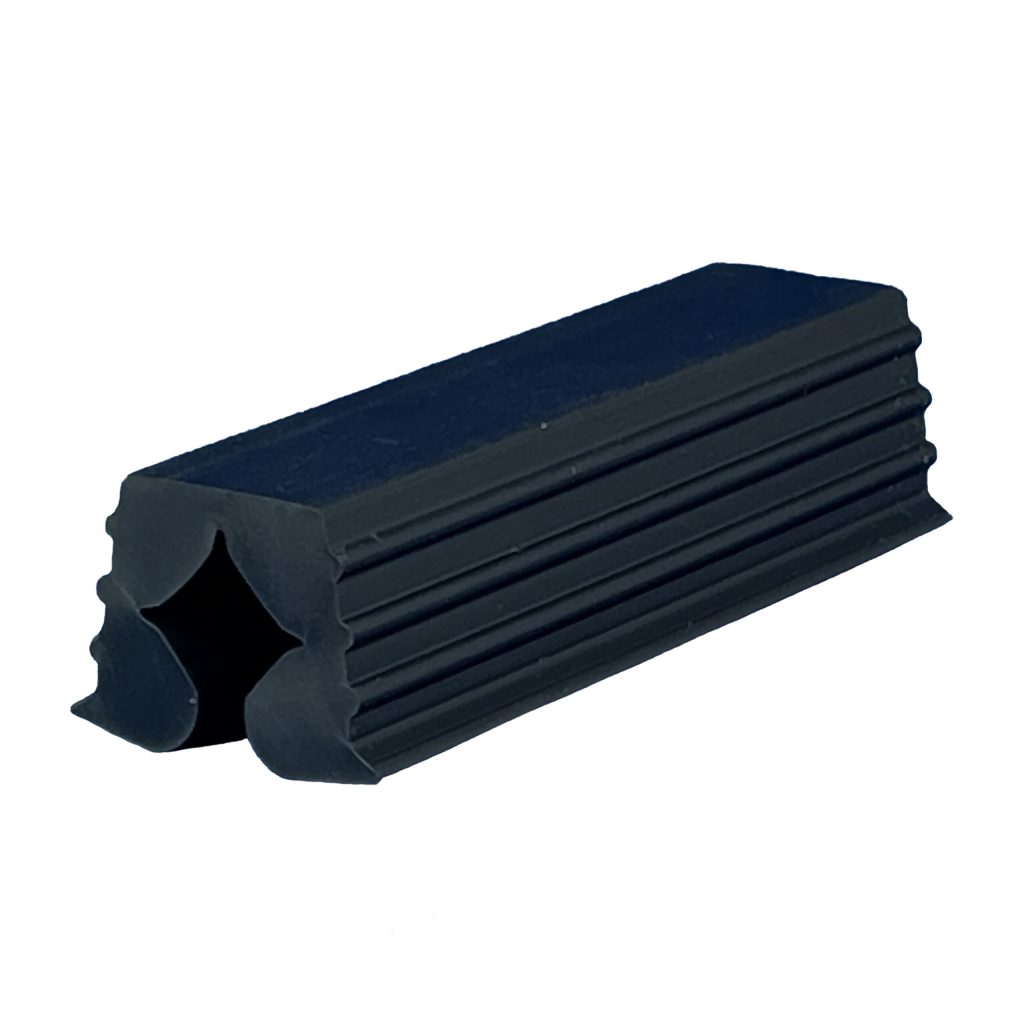
Any surface that contacts your firearm needs to be softer than the firearm's finish. Nylon, rubber, polymer, and brass are all acceptable. Bare steel or aluminum jaws will mar bluing, Cerakote, anodizing, and Parkerizing. Some vises come with padded jaw inserts; others require you to add your own. Check before you clamp anything.
Stability under your specific workload
Think about the highest-torque job you'll do. Scope ring screws at 15-25 in-lbs? Almost any vise handles that. Barrel nut at 40 ft-lbs? You need rigid mounting and a receiver-specific clamp. Muzzle device at 20-30 ft-lbs of rotational force on the barrel? You need something that grips the barrel or upper without letting it spin.
Match the vise to the hardest job. Everything easier than that will work fine by default.
Bench mounting options
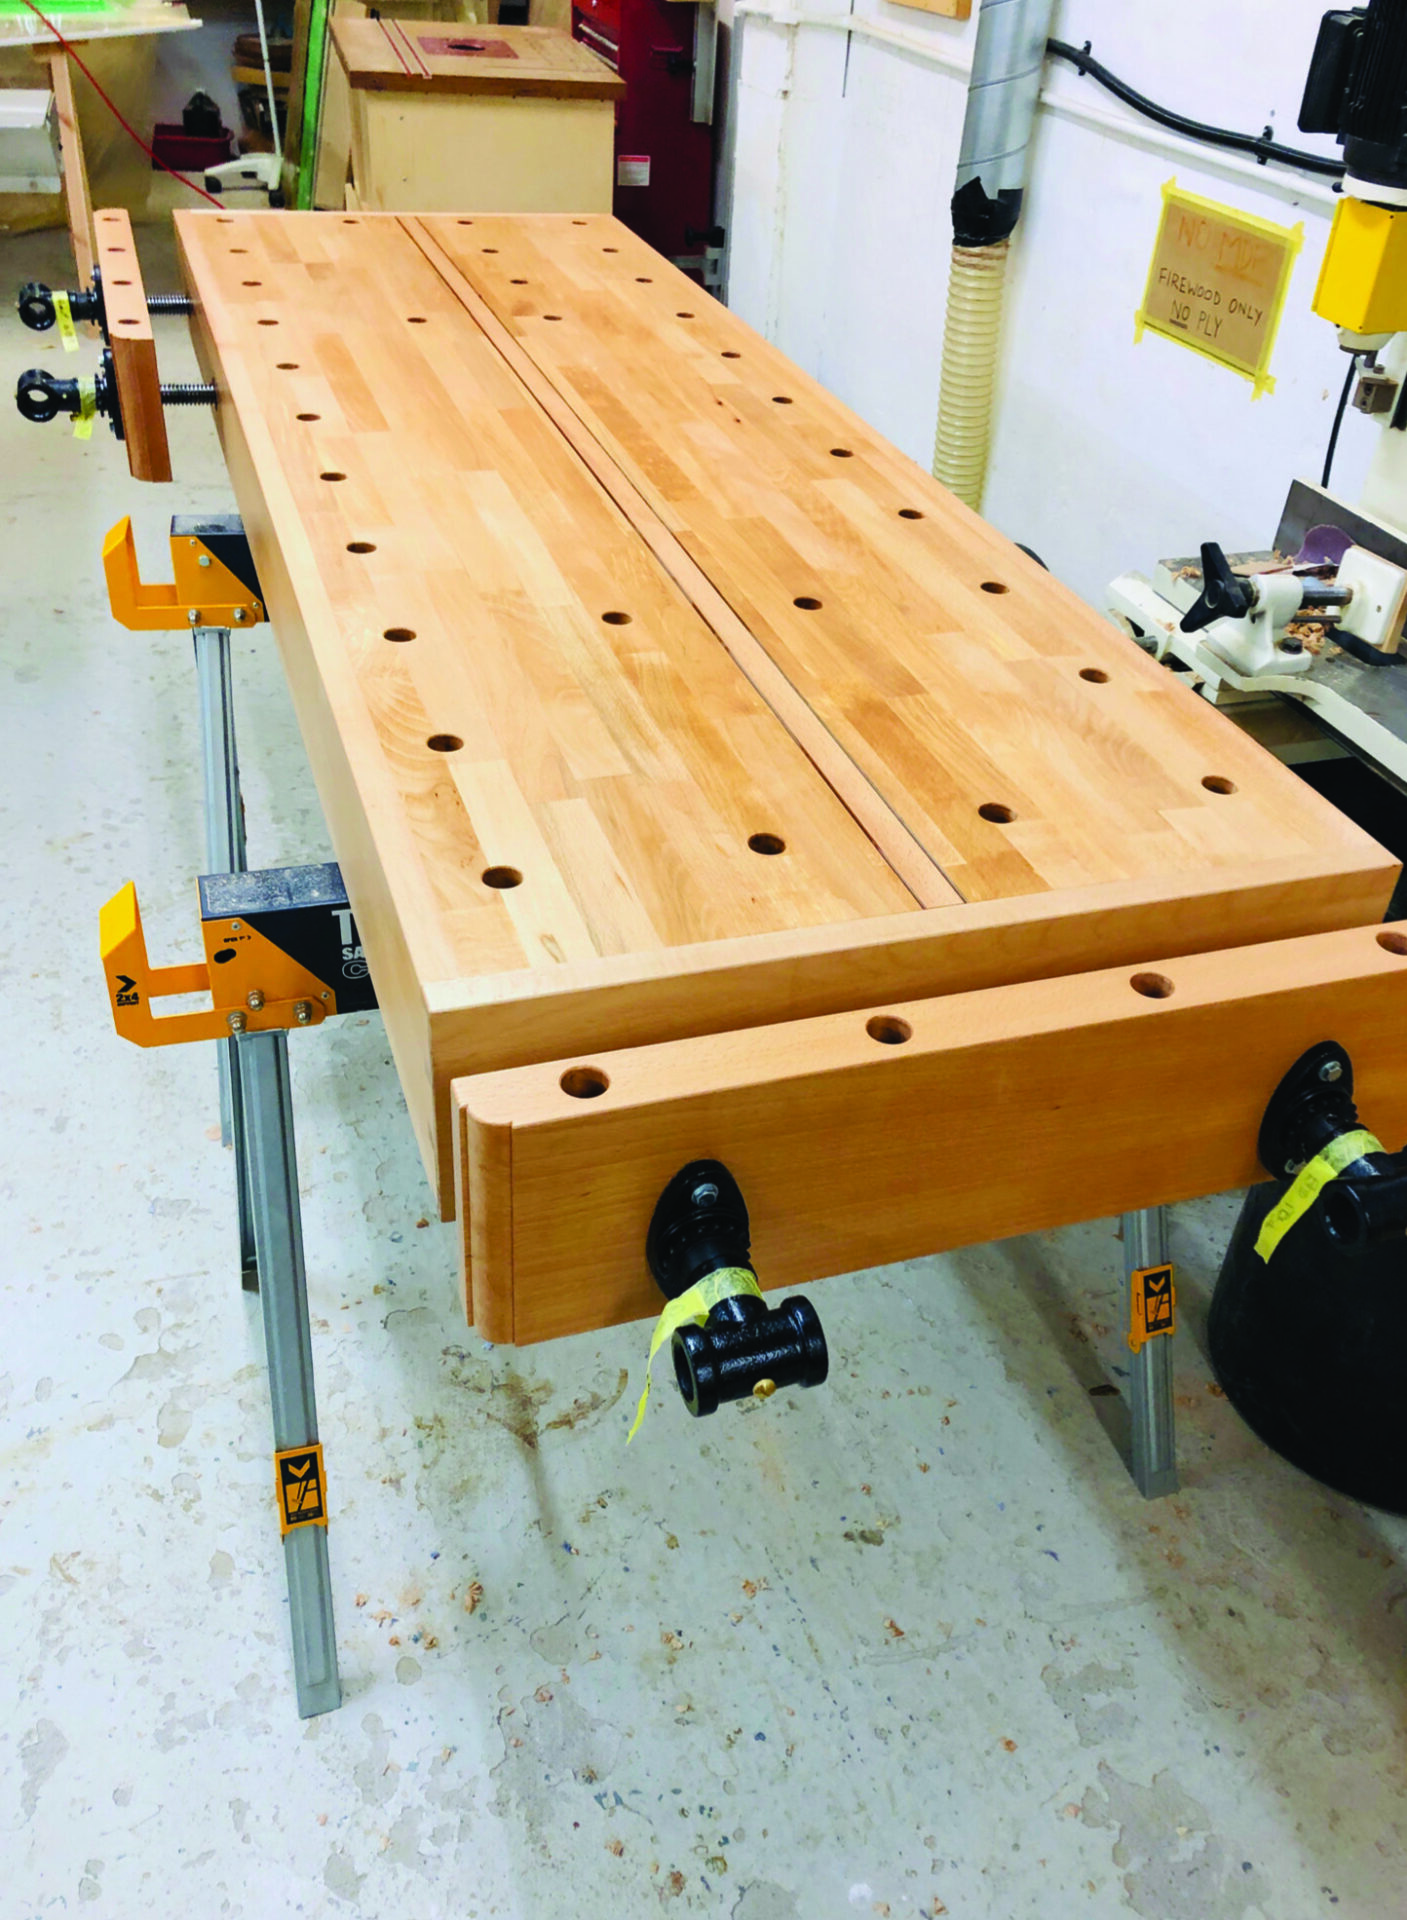
Freestanding vises slide. They just do. Rubber feet help, but 30 ft-lbs of torque on a 12-inch wrench is 30 pounds of lateral force at the wrench end. That will push a 10-pound vise across a smooth bench. If you're doing any torque work, either bolt the vise down or use a vise that clamps to the bench edge.
If you rent or don't want to drill your bench, a thick piece of plywood (¾-inch or thicker) with the vise bolted to it can be clamped to any table with C-clamps. Not elegant, but effective.
Footprint and storage
Platform vises like the Real Avid and CTK P3 have large footprints, roughly 28-34 inches long and 8-10 inches wide. They don't fold or collapse. If you don't have a dedicated workspace, storage is a consideration. The receiver-specific vises and blocks are much more compact. A Wheeler armorer's vise disassembles into a base and post that fit in a range bag. Vise blocks fit in a drawer.
Bench notes: how to tell if your setup is rigid enough
Here's a quick test before you commit to a torque-critical job. Mount the firearm in the vise the way you plan to work on it. Grab the part you'll be torquing (barrel nut, muzzle device, scope ring) with your hand and try to rotate it. Not with a wrench, just hand pressure.
If the gun shifts in the vise before the part would move, your setup isn't rigid enough. The gun should feel like it's part of the bench. Any flex, wobble, or rotation in the vise means that energy is going into moving the gun instead of tightening the fastener. You'll get inaccurate torque readings, potential finish damage from the gun shifting against the clamp surfaces, and frustration.
If the gun stays dead still under hand pressure, you're good. Apply the wrench smoothly, no impact, no jerking. Smooth, steady force. That's how you get accurate torque and avoid surprises.
Common mistakes with gun vises
Over-tightening the vise clamp itself
The vise holds the gun. The gun doesn't need to be crushed. Over-clamping causes finish damage, and on aluminum receivers, it can actually deform the receiver if the clamp contacts a thin-walled area. Tighten until the gun doesn't move, then stop. If it moves under working torque, the problem is usually vise rigidity or clamp geometry, not clamp pressure.
Using the wrong block for the receiver
AR-15 and AR-10/SR-25 receivers are different sizes. A block made for an AR-15 upper won't fit an AR-10 upper. This seems obvious, but the blocks look similar and aren't always clearly labeled. Check compatibility before you order. Same goes for mag well blocks, AR-15 and AR-10 magazine wells are different dimensions.
Clamping on the barrel for receiver work
If you clamp a barrel in a vise and then try to torque the barrel nut by rotating the upper receiver, you're applying bending force to the barrel-receiver junction. On a properly assembled AR, this usually doesn't cause damage because the barrel extension is press-fit and pinned. But on a new build where you're installing the barrel for the first time, the barrel isn't secured yet, you need to clamp the receiver, not the barrel. Clamping the barrel of an unassembled upper and twisting the receiver can damage the index pin or the barrel extension fit.
Forgetting to clear the gun
This gets said once: before you put any firearm in any vise, remove the magazine, lock the action open, and visually and physically verify the chamber is empty. Then close the action if the work requires it. Every single time. No exceptions for guns you "know" are empty.
Working on an unstable surface
A gun vise on a folding table is not a gun vise on a workbench. The vise might be fine, the table isn't. If the table flexes, rocks, or slides, you've got the same problems as a loose vise. Work on something solid. A kitchen table on a tile floor is better than a plastic folding table on carpet, even if neither is ideal.
Tools that pair with a vise purchase
If you're buying a vise, you're probably gearing up for a specific project. Here's what else you'll likely need, matched to common jobs:
For AR-15 upper builds, you'll need an armorer's wrench (the multi-tool kind that fits barrel nuts, castle nuts, and muzzle devices), a torque wrench that reads in ft-lbs (30-80 ft-lbs range), and aerobic anti-seize or grease for the barrel nut threads. Wheeler and Real Avid both make combo armorer's wrench tools. A ½-inch drive torque wrench from any reputable tool brand works, you don't need a gun-specific torque wrench.
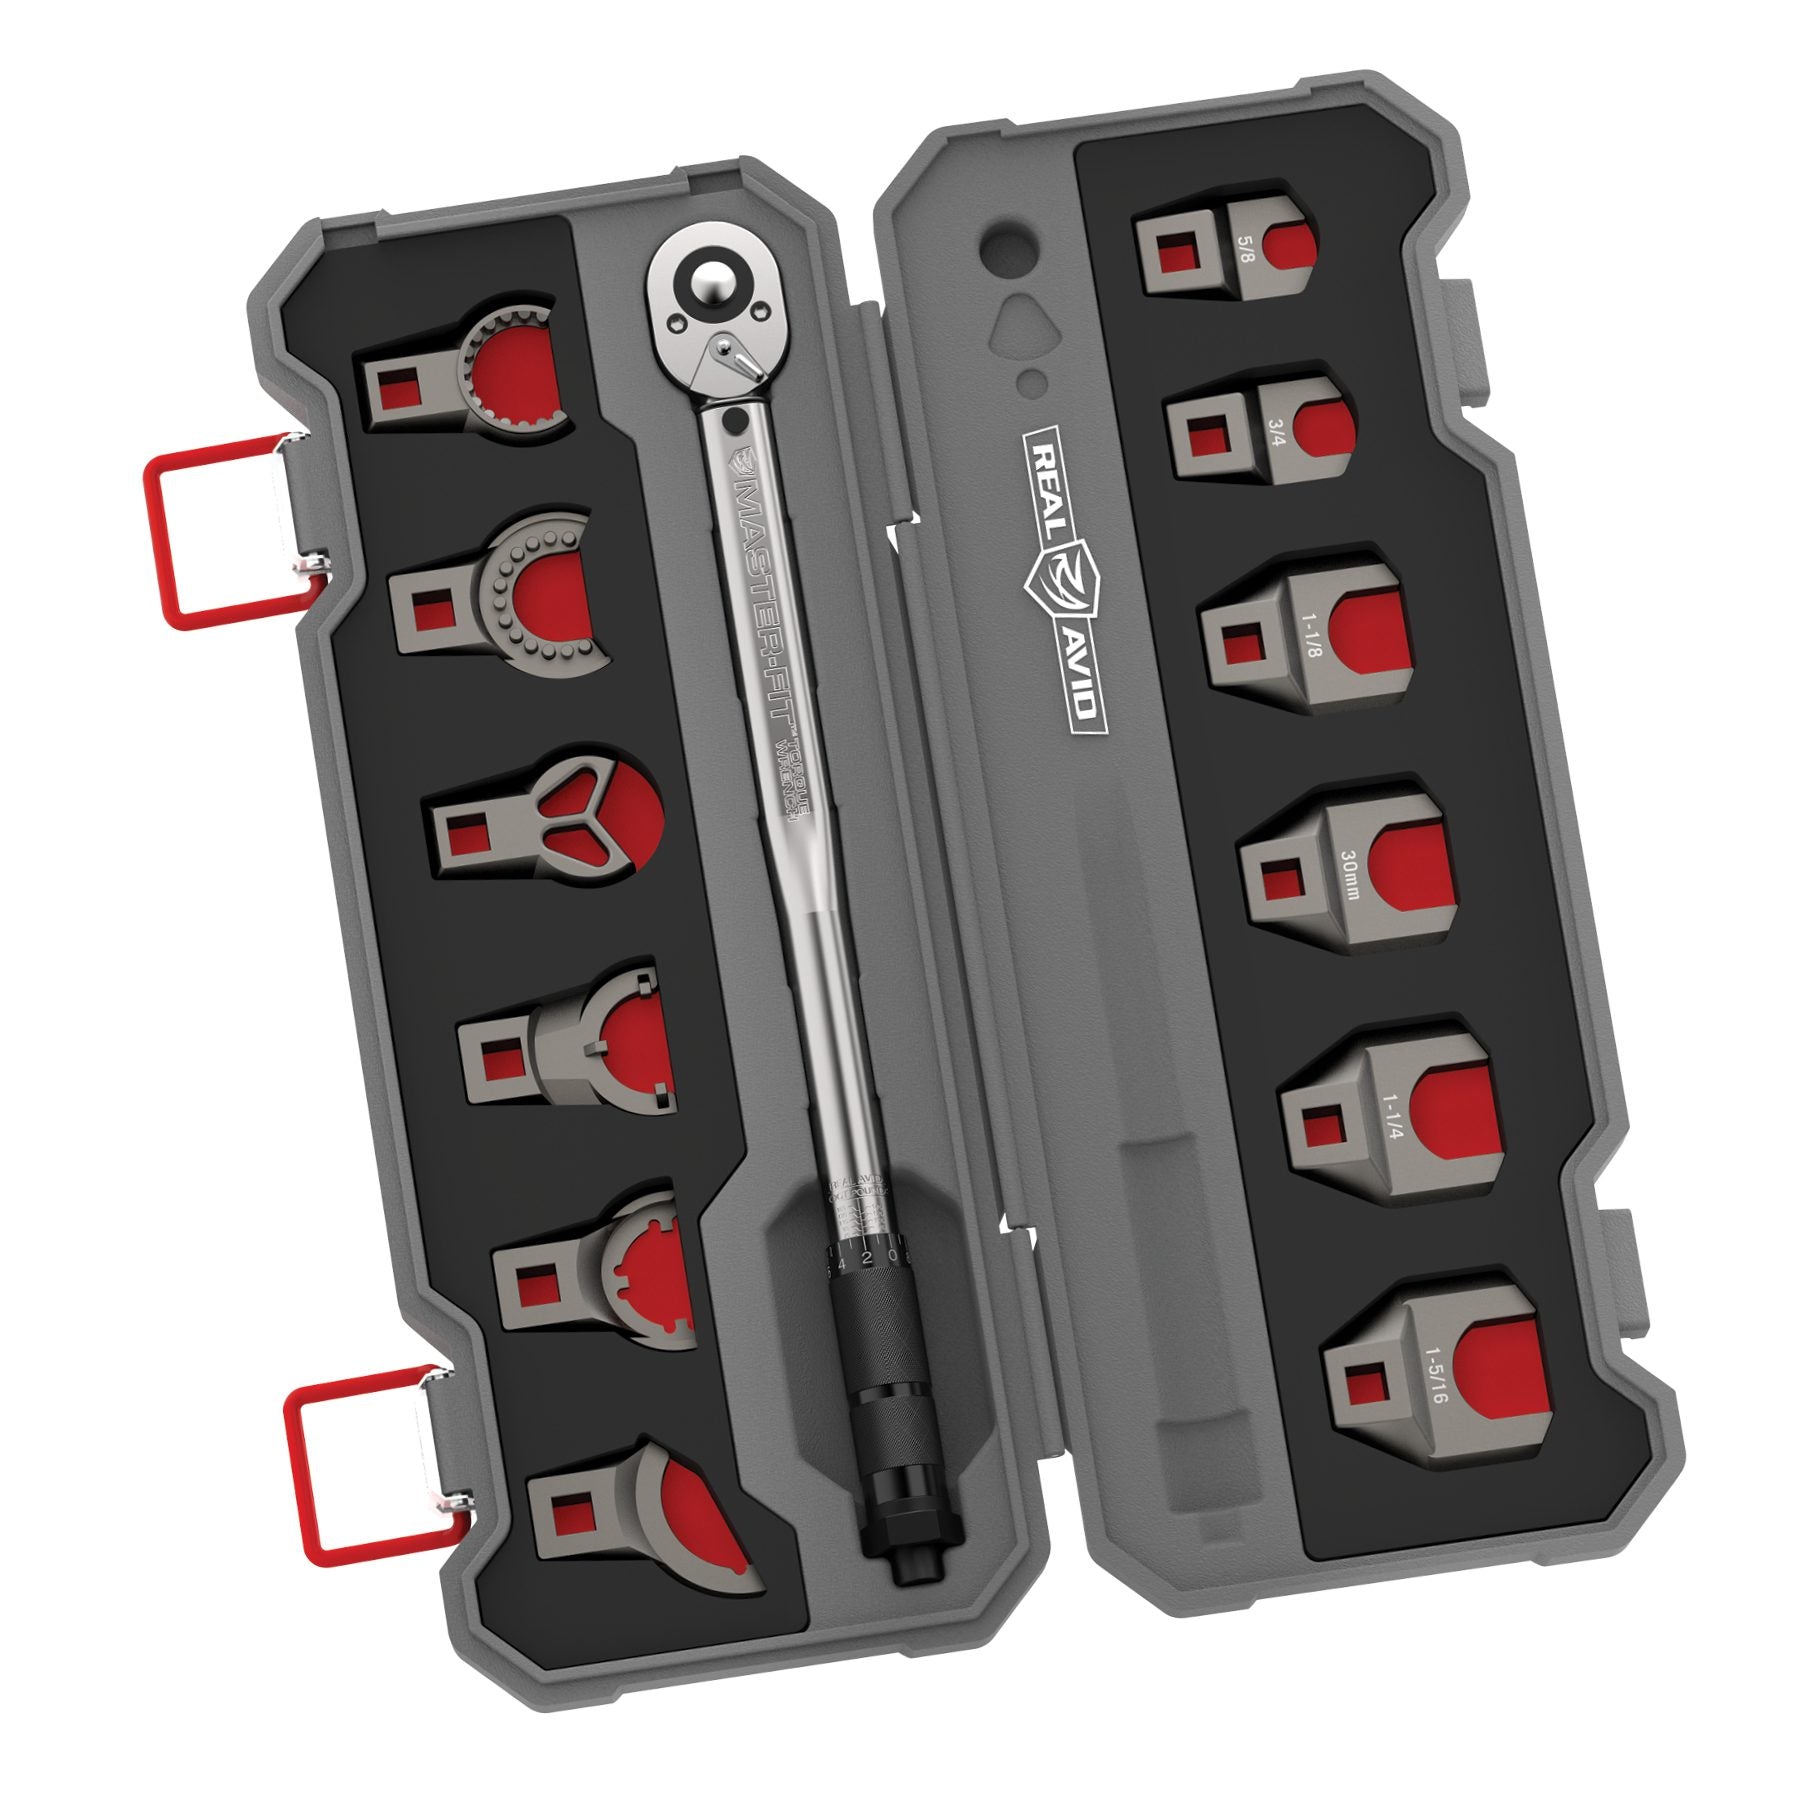
For scope mounting, a FAT (Firearm Accurizing Torque) wrench or a small in-lb torque wrench is more useful than the vise itself. Scope ring screws typically need 15-25 in-lbs depending on the manufacturer, and over-torquing them strips the screws or cracks the rings. Wheeler makes an affordable FAT wrench with interchangeable bits. A set of scope ring alignment bars is also worth having to verify ring alignment before you torque everything down.
For handgun sight installation, a sight pusher tool is the critical companion piece. Real Avid makes the Sight-A-Line tool, and Wheeler makes a universal sight tool. Both work with the gun clamped in a vise. Some sight pushers have their own clamping mechanism and don't require a separate vise at all.
For lower receiver assembly, you need roll pin punches (not standard punches, roll pin punches have a nub on the tip that centers in the hollow pin), a pivot pin installation tool or a simple clevis pin/detent trick, and a castle nut wrench or armorer's wrench. A bench block with various hole sizes is also extremely useful for supporting the receiver while driving pins.
Recommended setups by budget and use case
Under $100: the essentials
A Wheeler Delta Series Mag Well Vise Block plus a Wheeler Delta Series AR Upper Vise Block, used in a standard bench vise you already own. Total cost for the blocks is around $50-60. This handles all AR-15 armorer work if your bench vise is solid. Add the Real Avid Master Gun Vise if you need a freestanding option for cleaning and light maintenance on other platforms.
$100-$200: the versatile home setup
The Real Avid Master Gun Vise (around $100-130) as your general-purpose platform, plus the Wheeler upper receiver block (around $25-35) for barrel nut work in a bench vise. This combination handles long guns and handguns for maintenance and moderate-torque work, with the dedicated block available when you need maximum rigidity.
Alternatively, the CTK Precision P3 in this same price range if your work is primarily long guns and you value the three-point support system for heavy rifles.
$200-$300: the dedicated armorer's bench
The Wheeler Delta Series AR-15 Armorer's Vise as your primary AR fixture (around $100-170), bolted to your bench, plus a platform vise like the Real Avid or P3 for everything else. At this budget, you can also add specialty items like a barrel vise block set for barrel swaps or a dedicated handgun fixture.
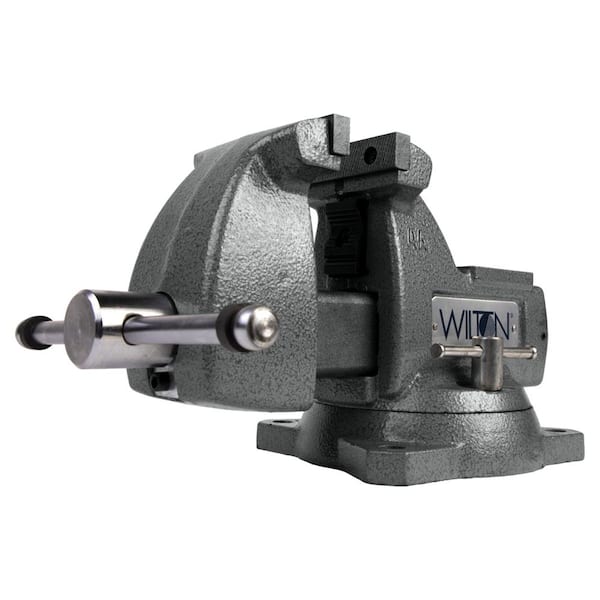
Some people in this range skip the platform vise entirely and invest in a high-quality bench vise (like a Wilton or Yost 4-inch) with nylon jaw pads, plus the full set of Wheeler receiver blocks. That's a more traditional gunsmithing approach and arguably more versatile long-term, since a good bench vise is useful for far more than gun work.
The function check that matters
After any work done in a vise, especially anything involving torque on a barrel nut, receiver, or action screws, run a function check before you go to the range.
For an AR-15: charge the rifle with an empty magazine, verify the bolt locks back on the empty magazine. Drop the magazine, pull the charging handle to release the bolt (or press the bolt catch). With the rifle pointed in a safe direction, pull the trigger, the hammer should fall. Hold the trigger back, cycle the action manually, then slowly release the trigger. You should feel and hear the disconnector release the hammer to the trigger sear (a distinct click). Pull the trigger again, the hammer should fall again. That confirms the fire control group is functioning and the upper and lower are mating correctly after your work.
For a bolt-action rifle after scope mounting: verify all action screws are at their specified torque. Cycle dummy rounds through the action to confirm feeding and extraction aren't affected. Check that the scope base screws and ring screws are at spec. Take the rifle to the range and confirm zero, then recheck all screws after the first range session, thermal cycling and recoil can loosen fasteners that were torqued correctly but not treated with threadlocker.
For a handgun after sight installation: cycle the slide manually several times. Verify the sights are aligned visually (front sight centered in the rear notch). Function check the trigger and safety mechanisms. Take it to the range and confirm point of impact matches the new sight picture. Dovetail-mounted sights can shift under recoil if they weren't pressed in far enough, check alignment after the first 50 rounds.
When the vise isn't the problem
Sometimes the work goes sideways and the instinct is to blame the vise. Usually the issue is elsewhere. A barrel nut that won't torque to spec is usually a thread issue (cross-threading, debris, lack of lubrication), not a vise issue. A scope that won't hold zero after mounting is usually a base or ring problem, not a vise problem. A handgun sight that drifts after installation was probably not pressed in far enough or the dovetail dimensions are off.
The vise holds the gun. That's all it does. If the gun is held solidly and the work still isn't going right, stop and diagnose the actual problem before you blame the setup. And if you're not sure what's going wrong, if something feels wrong, sounds wrong, or the torque readings don't make sense, stop. That's the point where a gunsmith earns their fee. A $75 shop visit is cheaper than a damaged receiver or an unsafe firearm.
A good vise lasts decades. Buy once for the work you actually do, bolt it down, and it'll be the most boring, reliable tool on your bench. That's exactly what you want.