
The accessories industry has a Loctite problem
You just mounted a new scope, cranked the ring screws until they felt "tight," hit them with blue Loctite for good measure, and called it done. Six months later the reticle's shifted two MOA left and there's a hairline crack running through your ring cap. You didn't do anything wrong; you did what the internet told you to do. And that's the problem.
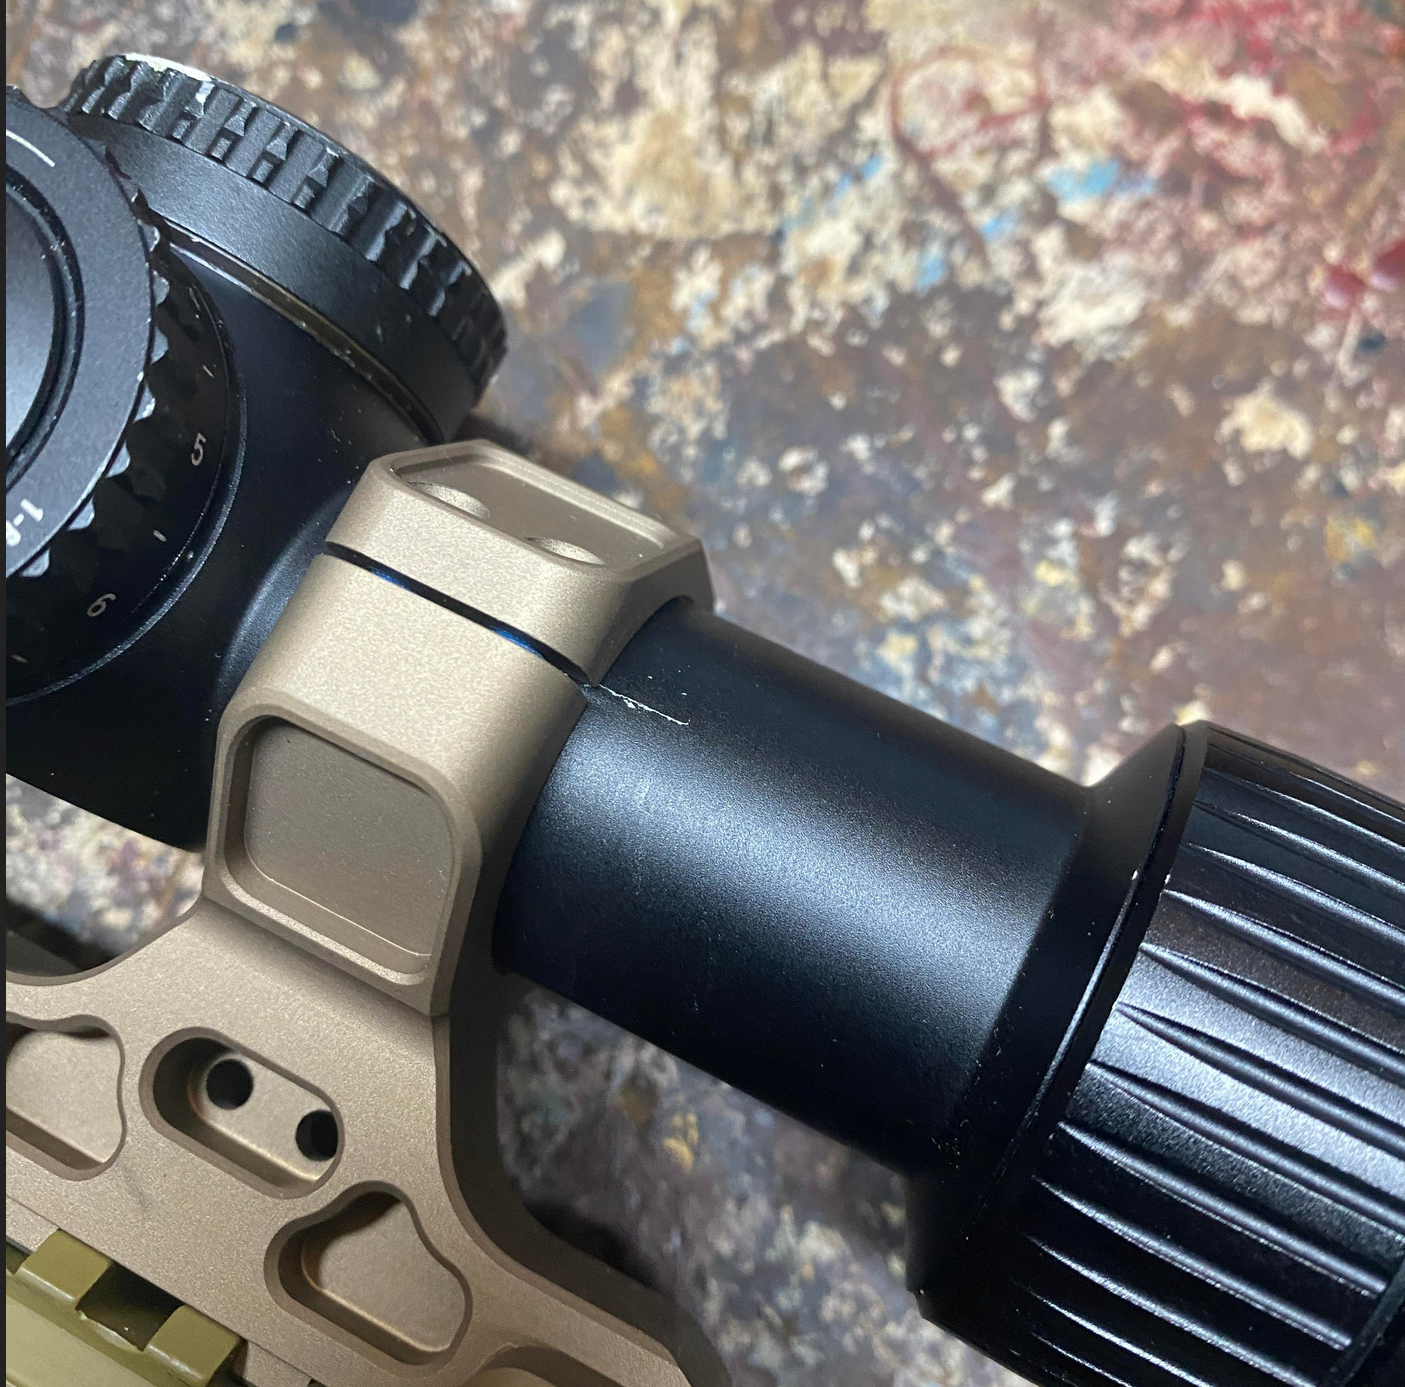
The firearms accessories world has a fastener problem disguised as a Loctite problem. Everyone knows you're "supposed to" use threadlocker. Everyone knows you're "supposed to" torque your screws. But almost nobody talks about the order of operations, the interaction between threadlocker and torque specs, or why the combination of the two, done wrong, causes more zero shifts and cracked parts than doing nothing at all. The advice floating around forums and YouTube is a strange mix of automotive habits, half-remembered spec sheets, and pure superstition.
This piece is about one thing: how threadlocker and torque interact on firearm accessories, and how to stop destroying your gear while trying to secure it. Scope mounts, red dot plates, handguard screws, muzzle devices; all of it. The physics don't change. The mistakes don't either.
The wet torque problem nobody mentions
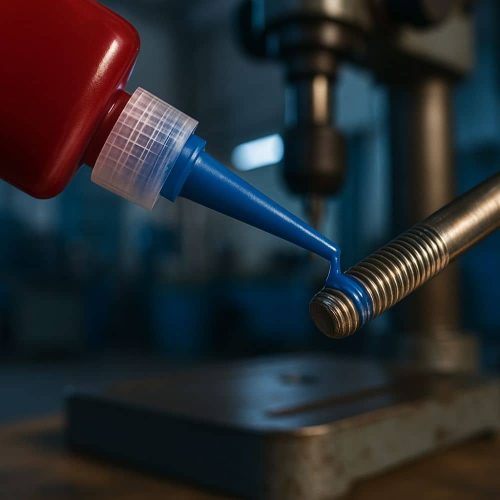
Here's what actually happens when you apply Loctite to a screw and then torque it to spec: you over-torque it. Every time.
Torque specifications published by manufacturers, Vortex, Trijicon, Nightforce, all of them, are almost universally dry torque values. That means the spec assumes metal-on-metal contact with no lubricant, no oil, and no threadlocker acting as a friction modifier. Loctite, whether it's blue 242 or purple 222, is an anaerobic adhesive suspended in a liquid carrier. Before it cures, it's a lubricant. It reduces the friction coefficient between the bolt threads and the mating surface, which means the same torque wrench reading produces more clamping force than intended.
How much more? The general engineering rule of thumb puts it around 20-25% additional clamp load when threading into a lubricated joint versus a dry one. Some fastener engineers put it higher depending on thread pitch and material. On a scope ring screw spec'd at 15 inch-pounds, you could be delivering the equivalent of 18-20 inch-pounds of actual clamping force. That doesn't sound catastrophic until you remember these are small-diameter fasteners threading into aluminum. The margin between "properly secured" and "stripped threads" on a 6-48 screw going into a Picatinny rail is thinner than most people realize.
Vortex Optic Mount Deals
Prices may change. May contain affiliate links.
The forums are full of guys who applied Loctite, torqued to spec, and cracked a ring cap or stripped a base screw. The standard diagnosis is "cheap rings" or "bad aluminum." Sometimes that's true. But more often, the real culprit is wet torque being treated as dry torque. The spec was never meant to account for the reduced friction.
What threadlocker actually does (and doesn't do)
Most people think of Loctite as glue for screws. That's close enough for casual use, but the distinction matters when you're trying to hold zero on a rifle.
Threadlocker is an anaerobic adhesive; it cures in the absence of air, specifically in the tight space between mating metal threads. Once cured, it fills the microscopic gaps between the male and female threads, preventing the micro-movements that cause fasteners to back out under vibration and recoil. It does not add meaningful clamping force. The clamping force comes from the torque you apply. The threadlocker just prevents that clamping force from decaying over time as the screw works loose.
This distinction matters because it changes how you should think about the relationship between the two. Threadlocker is insurance against vibration-induced loosening. Torque is what creates the actual clamping force that holds your optic in place. They're complementary, not redundant, and getting one right while botching the other defeats the purpose of both.
The three grades that matter for firearms work are Loctite 222 (purple), Loctite 242/243 (blue), and Loctite 271/262 (red). Purple is low-strength, designed for small fasteners under 1/4 inch; which describes most optic mounting screws. Blue is medium-strength and the most commonly recommended. Red is high-strength and essentially permanent without heat, which means it has almost no place on optics mounting hardware. The fact that "use blue Loctite" has become a universal mantra obscures the reality that purple is often the better choice for the fastener sizes involved. A 6-48 screw holding a Picatinny base doesn't need medium-strength threadlocker. It needs any threadlocker that prevents vibration loosening without making future disassembly a nightmare or adding unnecessary resistance that throws off your torque reading.
Trijicon Mount Deals
Prices may change. May contain affiliate links.
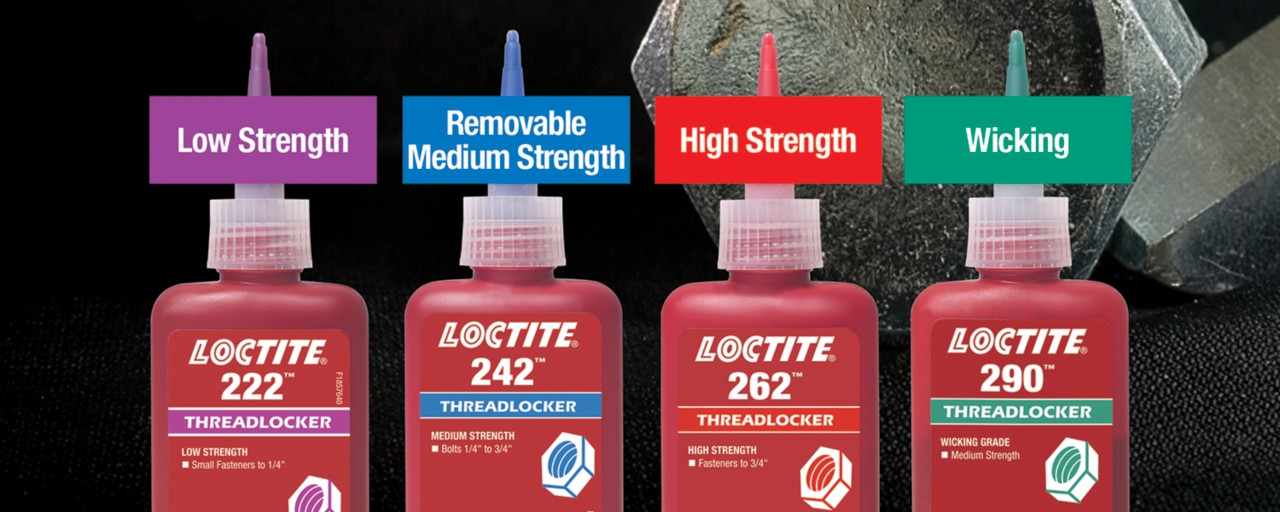
Worth knowing: Loctite 243 is the oil-tolerant version of 242. If you're working on a bolt action where the base screws might have residual oil from cleaning or storage, 243 is the better pick. Standard 242 can fail to cure properly on oily surfaces. This is one of those small details that never shows up in the "just use blue Loctite" advice.
The torque spec confusion
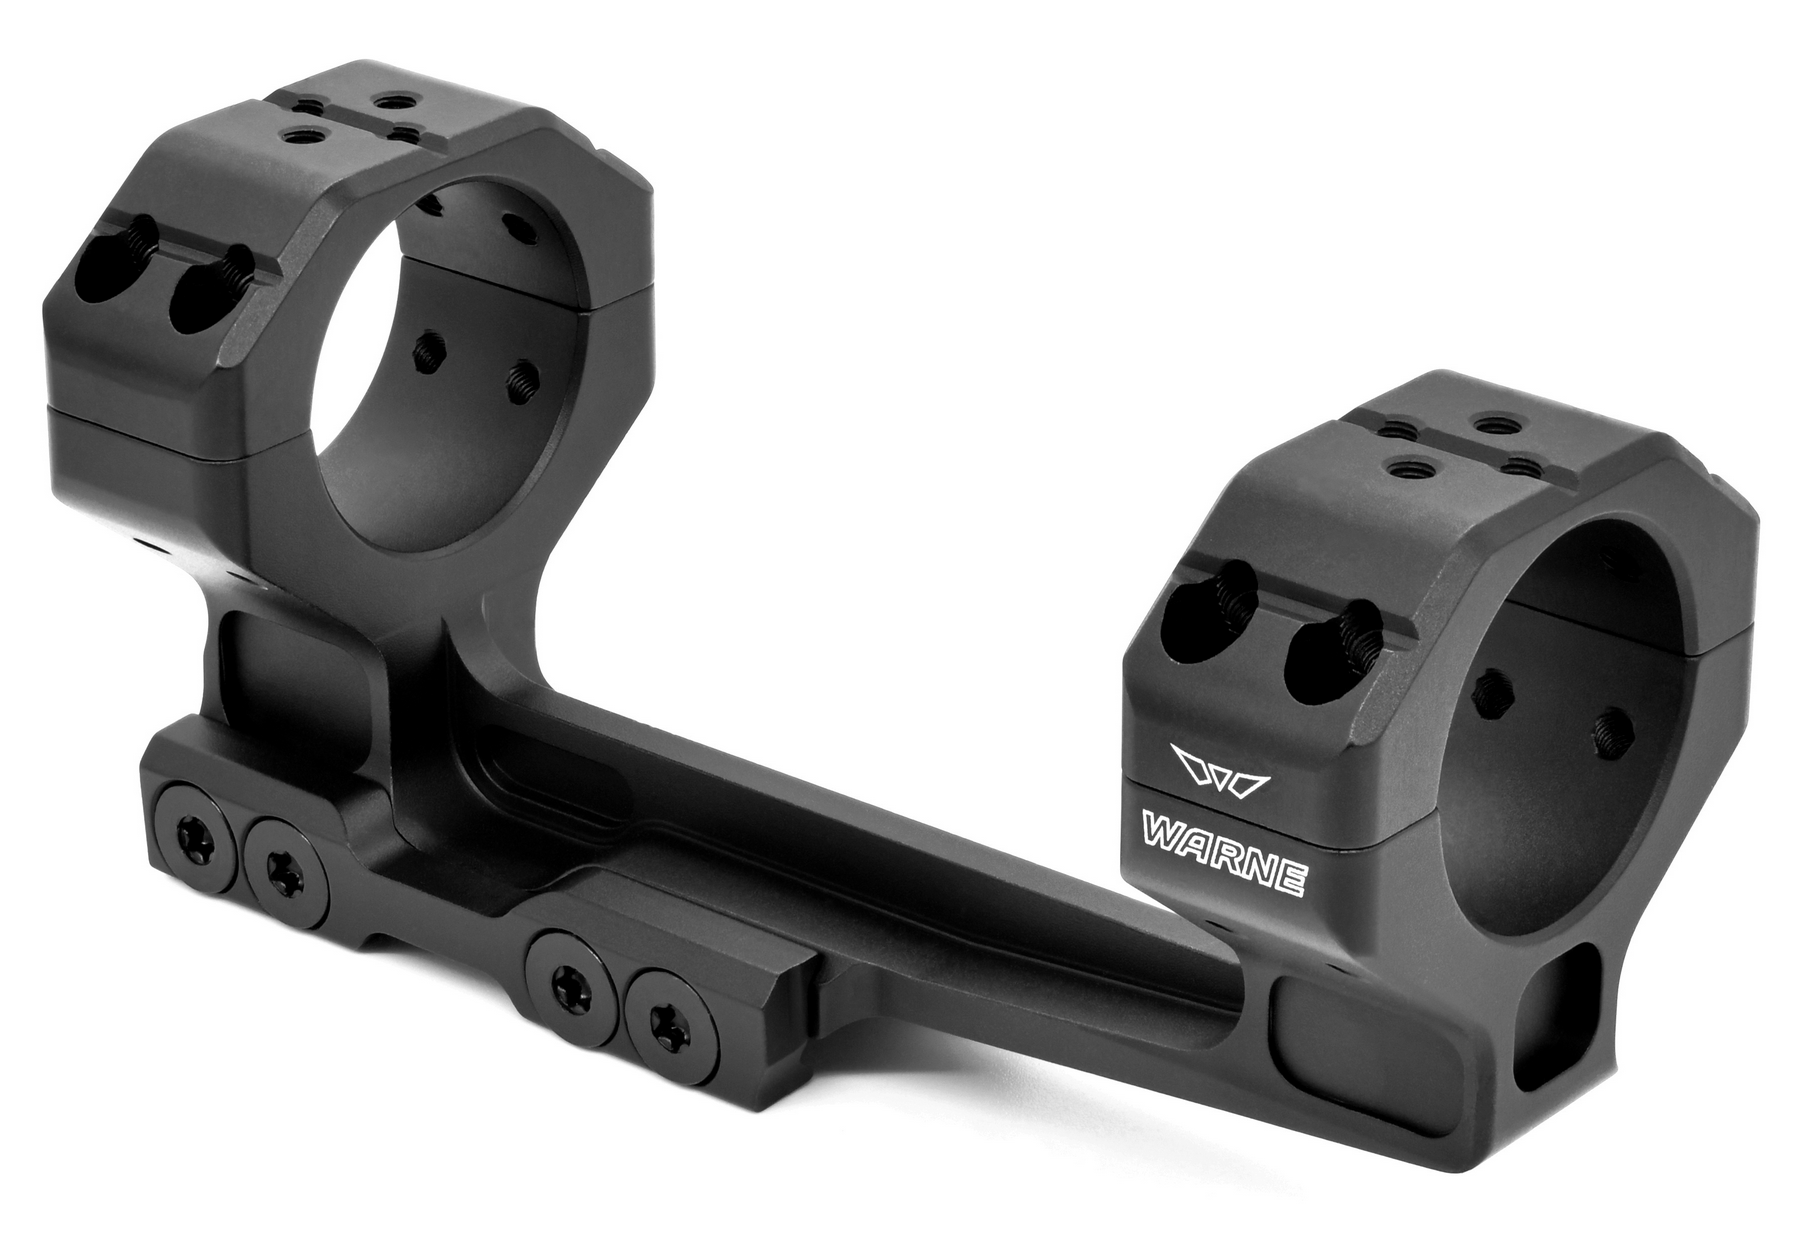
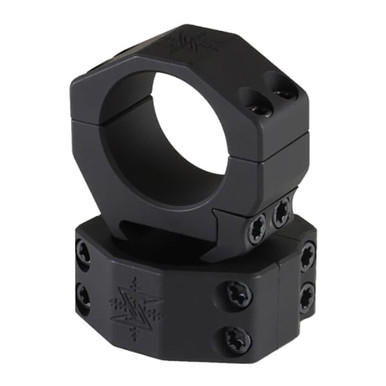
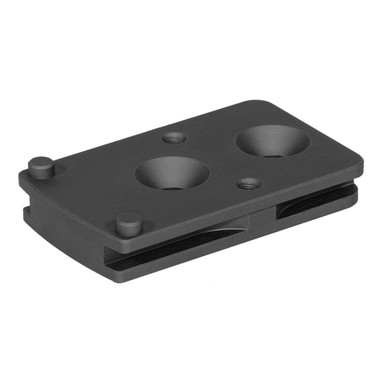
Pull up the spec sheets from five different optic mount manufacturers and you'll find five different torque values for seemingly identical applications. Vortex recommends 15-18 inch-pounds for their ring screws. Nightforce specifies 15 inch-pounds for the top ring screws on their Ultralite rings. Trijicon's bolt action mounts call for 15 inch-pounds on the cross bolts. Seekins Precision rings ask for 18 inch-pounds. Badger Ordnance Condition One mounts spec 65 inch-pounds on the cross bolts and 15 inch-pounds on the ring cap screws.
None of these numbers are arbitrary, but they are specific to the fastener size, thread pitch, material, and design of that particular product. The mistake everyone makes is treating torque specs as interchangeable. "Scope ring screws get 15 inch-pounds" is not a universal truth; it's a rough average that happens to work for a lot of products but can be dangerously wrong for others.
The cross bolts on a cantilever mount that clamp to a Picatinny rail are a completely different fastener situation than the cap screws that squeeze the scope tube. Different diameter, different thread pitch, different material interface, different failure mode. Treating them the same is how you end up with a mount that's loose on the rail but crushing the scope tube.
Where the specs come from
Manufacturers determine torque specs through a combination of engineering calculation and empirical testing. The calculation side involves the fastener's proof load; the maximum tension the bolt can sustain without permanent deformation; and a safety factor. The empirical side involves mounting optics, running them through recoil simulation or live fire, and checking for zero shift. The published spec is the sweet spot: enough clamping force to prevent movement, not so much that you risk damaging the scope tube, stripping threads, or cracking the mount.
Seekins Precision Rings Deals
Prices may change. May contain affiliate links.
The problem is that these specs are developed under controlled conditions; clean, dry threads, new fasteners, properly machined surfaces. Your garage workbench at 11 PM after three beers is not controlled conditions. Add threadlocker (which changes the friction coefficient), reuse old screws (which may have deformed threads), or work with a receiver that has paint or coating in the screw holes (which changes the effective thread engagement), and the published spec becomes a starting point, not a guarantee.
Dry versus wet: the actual guidance
So what do you do? The honest answer is that most manufacturers don't explicitly state whether their torque spec is wet or dry, because most of them assume you'll figure it out or because they tested with threadlocker and adjusted accordingly. Some do specify. Nightforce, for example, has stated that their ring torque specs assume dry threads; no Loctite. If you add threadlocker, you should reduce torque by roughly 20%.
That 20% reduction is a reasonable rule of thumb across the board. If the spec says 15 inch-pounds dry, torque to 12 inch-pounds with threadlocker applied. You'll still get adequate clamping force; arguably more than adequate, because the threadlocker is doing its job of preventing loosening independently of the clamp load. The screw doesn't need to be as tight when it physically can't back out.
The guys on the precision rifle forums who've been doing this for decades generally converge on this approach: apply a small amount of threadlocker to the screw threads (not the mating surface, not the screw head), thread the screw in by hand until snug, then torque to 80% of the dry spec. Let it cure for 24 hours before shooting. That last part matters; Loctite takes time to reach full strength, and shooting before it's cured means you're relying entirely on the clamp load, which you've intentionally reduced.
The over-torque failure cascade
Here's what happens when you over-torque fasteners on optic mounts, and why the symptoms are confusing enough that people blame everything except the actual cause.
Badger Ordnance Condition One Mount Deals
Prices may change. May contain affiliate links.
Stage one: you torque the ring cap screws too tight. The ring deforms slightly, creating uneven pressure on the scope tube. The tube itself may not show visible marks; modern scope tubes are tough; but the ring is no longer making uniform contact. Instead of a cylinder gripping another cylinder evenly, you've got point loading. The scope seems secure. It might even hold zero for a while.
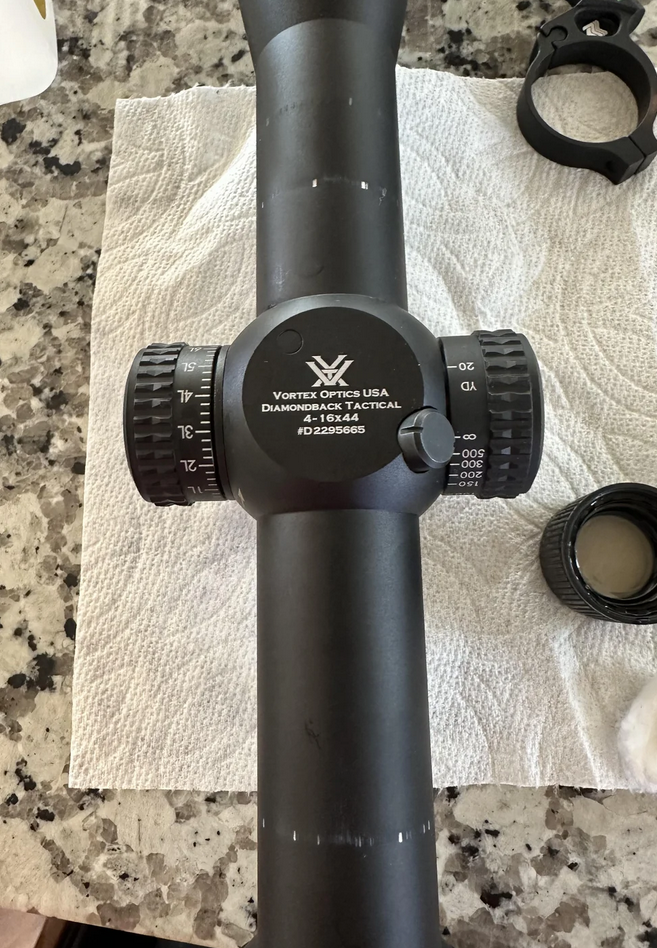
Stage two: under recoil, the scope shifts. Not because the rings are loose, but because the uneven clamping force created a stress riser. The scope tube walks forward or rotates slightly within the deformed ring. You re-zero, maybe re-torque (making it worse), and wonder why your $1,200 scope won't hold zero.
Stage three: you strip a screw or crack a ring cap. Now you're buying new rings, possibly new base screws, and if the receiver threads are damaged, you're looking at a trip to a gunsmith for a Heli-Coil insert.
This cascade is extremely common. The Sniper's Hide forums have threads going back years with the same pattern: shooter over-torques, scope shifts, shooter blames the scope or the rings, buys more expensive rings, over-torques those too, same result. The rings weren't the problem. The torque wrench wasn't the problem. The problem was applying Loctite and then torquing to the dry spec, or not using a torque wrench at all and going by feel.
Going by feel, by the way, is almost always over-torquing. Human wrists are terrible torque sensors. Most people's "hand tight plus a quarter turn" on a small screw delivers 25-35 inch-pounds. On a fastener spec'd for 15, that's catastrophic.
What you'll notice when it's done right
A properly torqued, properly threadlocked optic mount feels boring. Nothing moves. Nothing shifts. You don't think about it. That's the point.
The specific things to check: after mounting and torquing, grab the scope body and try to rotate it within the rings. Apply moderate force; not gorilla grip, but more than a casual touch. It shouldn't budge. Then try to push it forward and backward. Same thing. If there's any perceptible movement, something's wrong; either insufficient torque, improper ring/tube fit, or the rings aren't lapped.
After the first range session, re-check the screws with your torque wrench. Not to re-torque; to verify. Set the wrench to your original spec and see if the screws move. If they do, the threadlocker didn't cure properly (most common cause: oily threads with standard 242) or the clamp load was insufficient. If they don't move, you're done. Check again after 200 rounds and then stop worrying about it.
One thing that surprises people: a properly mounted optic with threadlocker and correct torque will often hold zero better than one that's been cranked down excessively. The even clamping pressure means the scope tube isn't being stressed unevenly, which means it returns to the same position after each recoil impulse instead of walking incrementally in one direction. Tighter is not better. Correct is better.
The Loctite selection chart that actually makes sense
Forget the color-coded marketing for a second. Here's how to pick threadlocker for specific firearms applications based on what the fastener actually needs.
Optic base screws (6-48 or 8-40, threading into a steel or aluminum receiver): Loctite 222 (purple) or 243 (blue, oil-tolerant). These are small-diameter fasteners with limited thread engagement. Purple is genuinely sufficient here. Blue works fine too, but you're adding strength you don't need, and removal becomes slightly more annoying. If the receiver screw holes have any residual oil; and they almost always do on bolt actions; use 243 specifically, not 242.
Scope ring cap screws (typically 6-48, 8-32, or T-15/T-20 Torx): Loctite 222 or 242/243. Same logic as above. These screws are small, the clamping force is modest by design, and you want to be able to remove them without drama. Purple is the conservative choice. Blue is fine.
Mount cross bolts (the larger bolts that clamp a one-piece mount to the rail): Loctite 242/243 (blue). These are bigger fasteners with higher torque specs; 40-65 inch-pounds depending on the mount. Blue is appropriate here. The higher clamp loads and larger thread engagement mean the joint can handle medium-strength threadlocker without risk.
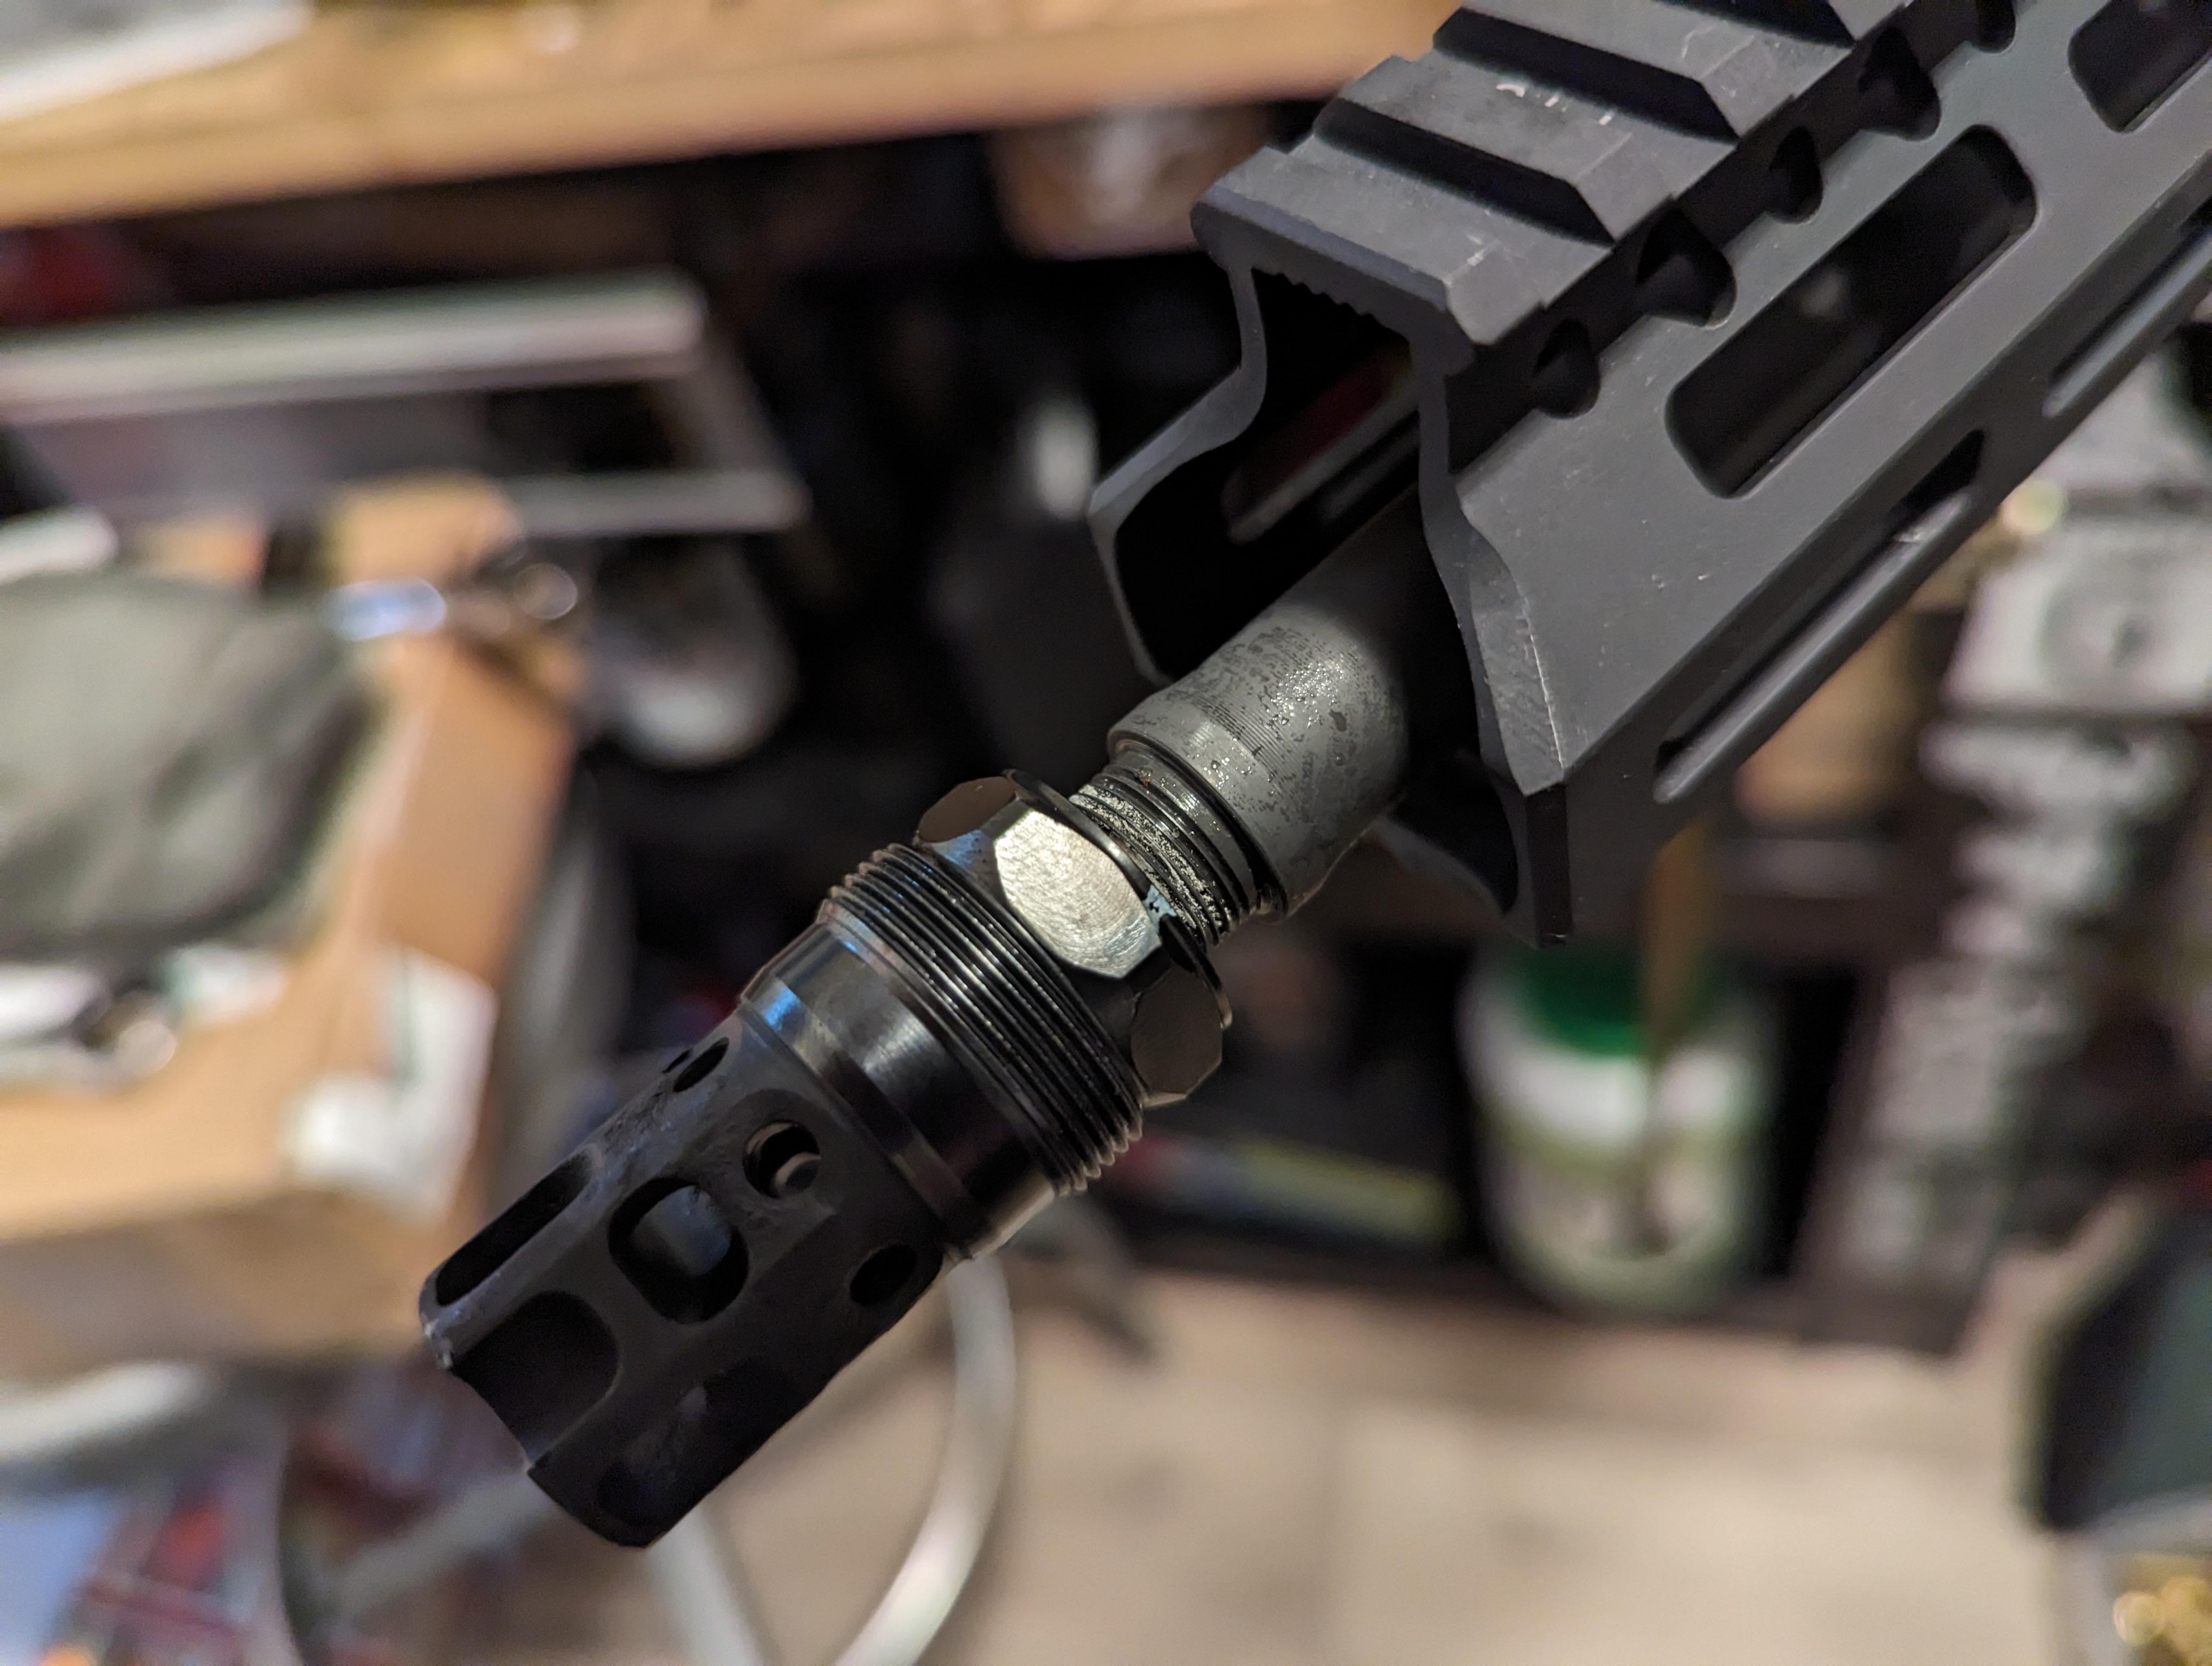
Muzzle devices (typically 1/2-28 or 5/8-24 threads): Loctite 271 (red) or Rocksett. This is the one application where high-strength or semi-permanent threadlocker makes sense. Muzzle devices see enormous vibration and thermal cycling. Red Loctite requires heat for removal, which is fine because you have a wrench and a vise for muzzle devices. Rocksett is the other popular option; it's a ceramic-based adhesive that's actually easier to remove than red Loctite (soak in water for 24 hours) while providing comparable vibration resistance.
Handguard mounting screws (M-LOK nuts, barrel nut, set screws): Usually no threadlocker needed. Most handguard systems use mechanical locking features; anti-rotation tabs, barrel nut timing, etc.; that make threadlocker redundant. If you're adding it anyway, purple 222 is plenty. The exception is free-floating handguards with set screws that index against the barrel nut; those benefit from a drop of 242.
Red dot mounting screws (the tiny screws that hold a micro red dot to a slide or plate): Loctite 222 (purple), absolutely. These are the smallest fasteners in the equation, often threading into thin slide material with minimal engagement. Blue is too strong for this application. People strip these screws constantly, and it's almost always because they used blue Loctite and then torqued to whatever felt right. Purple plus 10-12 inch-pounds. That's it.
Five ways people destroy their mounts
These show up repeatedly in forum posts, gunsmith shop stories, and warranty claims. Every one of them involves the intersection of threadlocker and torque.
Applying Loctite to the screw head bearing surface. Threadlocker goes on the threads only. If it gets between the screw head and the ring cap, it acts as a lubricant on that surface too, further reducing friction and increasing the effective clamp load beyond what your torque wrench reads. A small drop on the threads, spread with the screw tip, is all you need. The bottle's applicator tip delivers way too much; dab it on with a toothpick if you want to be precise.
Using red Loctite on scope ring screws. This happens more than it should. Red 271 requires 500°F to disassemble. You cannot safely heat scope rings to 500°F without risking damage to the scope, the finish, and potentially the mount's structural integrity. If someone used red Loctite on your ring screws, the fix involves penetrating oil, patience, and sometimes drilling out the fastener. Just don't do it.
Not degreasing threads before applying threadlocker. Standard Loctite 242 needs clean, oil-free metal surfaces to cure properly. If there's cutting oil from manufacturing, CLP residue, or even fingerprint oils on the threads, the cure can be incomplete or fail entirely. Wipe the screws and screw holes with a cotton swab dipped in acetone or isopropyl alcohol, let them dry, then apply threadlocker. This step takes 30 seconds and eliminates one of the most common failure modes. Or skip the degreasing and use 243, which is formulated to tolerate light oil contamination.
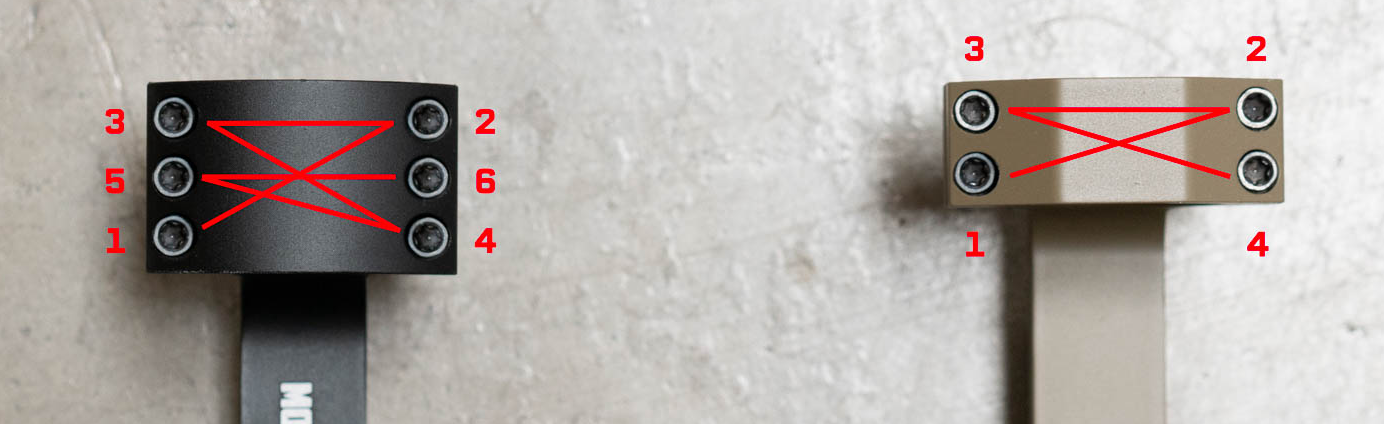
Torquing in a single pass. Proper technique for multi-screw joints; like scope rings with four cap screws; is to torque in a cross pattern, in stages. First pass to 50% of final spec, second pass to 75%, final pass to 100%. This ensures even clamping pressure across the joint. Cranking one screw to full spec before touching the others creates a tilted, unevenly loaded interface that will shift under recoil.
Re-torquing over cured threadlocker. If a screw has been installed with threadlocker and has fully cured, you can't just "check the torque" by applying more force. Breaking the threadlocker bond and re-torquing without cleaning and re-applying is worse than useless; you've now got crumbled adhesive debris in the threads acting as an unpredictable friction modifier. If you need to re-torque, remove the screw completely, clean both surfaces, apply fresh threadlocker, and start over.
Product comparison: torque tools that don't suck
You need a torque wrench. Not optional. Not "nice to have." The difference between 12 and 20 inch-pounds is invisible to your hand but potentially destructive to your mount. Here are the tools that actually work for firearms applications.
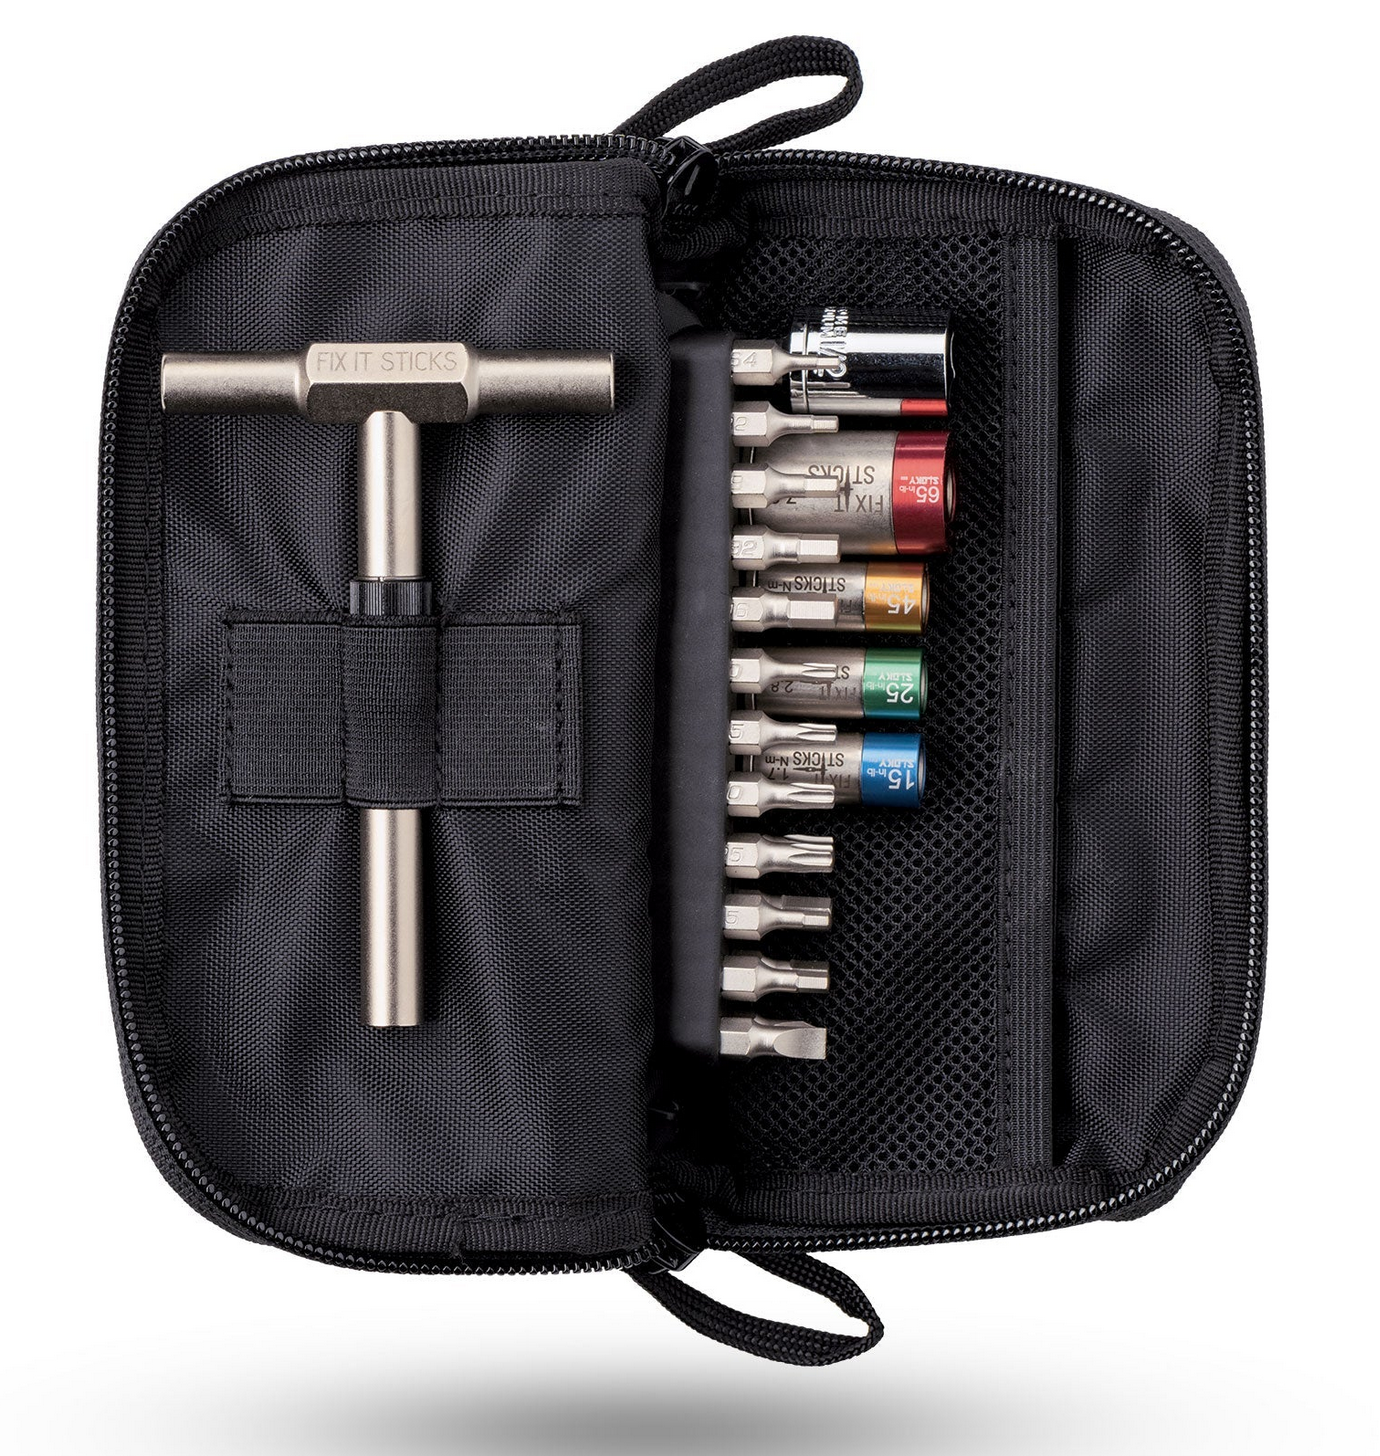
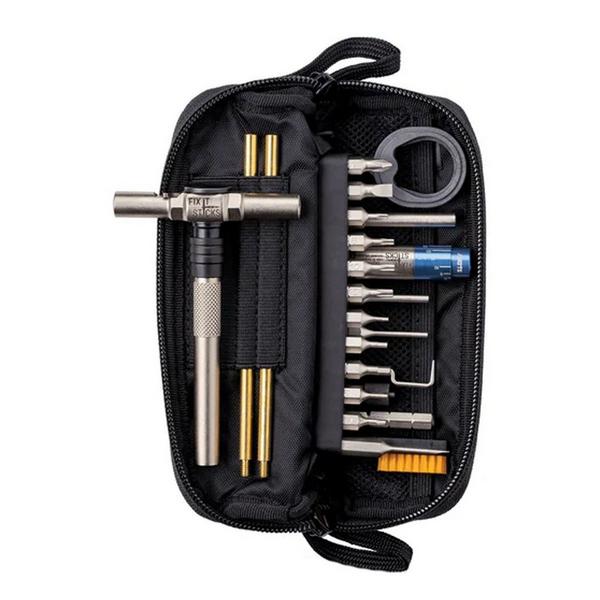
Fix It Sticks makes the torque limiter kits that have become the de facto standard for field and bench use. Their system uses interchangeable torque limiters; small, color-coded modules that click at a preset value. You get limiters for common specs (15, 25, 40, 65 inch-pounds, etc.) and a T-handle driver. The bits are standard 1/4-inch hex. The accuracy is within ±5% according to the manufacturer, which is more than adequate for this application. The kit is compact enough to live in a range bag permanently. The limitation is that you need to buy individual limiters for each torque value, and they don't cover every possible spec; if your mount calls for 18 inch-pounds specifically, you're choosing between 15 and 25.
Wheeler FAT Wrench (Firearms Accurizing Torque Wrench) is the other widely used option. It's a beam-type torque wrench with an adjustable scale from 10 to 65 inch-pounds. The advantage over Fix It Sticks is continuously adjustable torque; you can set it to any value in the range, not just preset increments. The disadvantage is size (it's not pocketable) and the fact that beam-type wrenches require you to read a scale while applying force, which introduces some user error. It ships with a decent bit set that covers most common fastener heads.
Vortex Torque Wrench is a click-type wrench that adjusts from 15 to 80 inch-pounds. Click-type wrenches are generally easier to use accurately than beam-type because you feel and hear the click at the set value instead of reading a scale. The Vortex wrench is well-made and reasonably compact. The lower limit of 15 inch-pounds is a slight drawback; if you need to torque red dot screws to 10-12 inch-pounds, this wrench won't go low enough.
Real Avid Master Armorer's Wrench is more of a multi-tool that includes a torque function, aimed at AR-15 builders who need to torque barrel nuts, castle nuts, and optic mounts. It's bulkier than the other options and more specialized. Not the first choice for precision optic mounting, but useful if you're building complete rifles and want one tool that covers barrel nut specs (30-80 ft-lbs range) alongside accessory mounting.
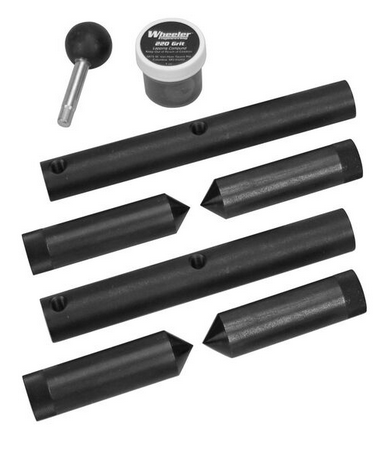
Seekins Precision Scope Ring Lapping Kit isn't a torque tool, but it's worth mentioning here because lapping rings before mounting is the other half of the equation that people skip. Misaligned rings create point loading even at correct torque. Lapping evens out the contact surface. If you're running two-piece rings (as opposed to a one-piece mount), lapping is a five-minute step that pays dividends in consistent clamping pressure.
The "just send it" mentality and why it costs you
There's a culture in the shooting world; especially the tactical and AR-15 segments; of treating mounting as a five-minute task that doesn't require much thought. Slap it on, crank it down, go shoot. And honestly, for a lot of casual use, this works fine. A red dot on an AR that shoots 200 rounds a year at an indoor range is not going to reveal the consequences of sloppy mounting. The problems show up under sustained use, high round counts, precision applications, and harsh environments.
If you're trying to shoot sub-MOA groups at 100 yards, a scope mount that's shifting even a quarter-MOA between sessions will drive you insane. You'll blame the ammo, the barrel, the scope, the weather. You'll chase your tail re-zeroing every range trip. And the whole time, the issue is that you applied Loctite to oily threads, torqued to the dry spec, created an uneven clamp, and the scope is walking a tiny amount every 50 rounds.
Precision rifle guys figured this out years ago. The PRS and NRL crowd are obsessive about mounting procedures because they've seen the consequences of sloppy work at 1,000 yards, where a half-MOA shift means a miss on a 2-MOA target. Their mounting process; clean threads, apply minimal threadlocker, torque in stages with a cross pattern, let cure, verify; takes maybe 20 minutes. Twenty minutes that saves hours of frustration and hundreds of dollars in wasted ammo chasing phantom accuracy problems.
The thermal cycling factor
Nobody talks about this, but thermal cycling is one of the most significant stress factors on threaded fastener joints on firearms. A rifle left in a truck goes from 30°F overnight to 140°F in afternoon sun. The aluminum mount, the steel screws, and the scope tube all expand and contract at different rates. This differential thermal expansion works against the clamping force, and over many cycles, it can cause even properly torqued fasteners to lose preload.
Threadlocker's real value shows up here. A dry-torqued screw relies entirely on friction between the threads to maintain clamp load. Thermal cycling reduces that friction incrementally. A screw with cured threadlocker has a mechanical bond in the thread gaps that resists loosening regardless of thermal changes. This is why threadlocker matters even on fasteners that "feel tight"; the failure mode isn't sudden loosening, it's gradual preload loss over weeks and months that eventually manifests as a zero shift you can't explain.
Fix It Sticks Torque Limiter Kit Deals
Prices may change. May contain affiliate links.
The practical implication: if your rifle lives in a climate-controlled safe and goes to a temperature-stable indoor range, you can get away with more. If it rides in a truck, sits in a deer stand in November, or bakes in a carbine class in August, proper threadlocker application isn't optional. It's the difference between a zero that holds all season and one that drifts mysteriously.
Putting it all together: the 15-minute mount procedure
Here's the actual procedure, start to finish, for mounting an optic with threadlocker and proper torque. No steps skipped, no assumptions.
Start by gathering what you need: torque wrench with appropriate bits, threadlocker (222 or 243 for most applications), acetone or 91%+ isopropyl alcohol, cotton swabs, a toothpick, and a clean work surface. Have the manufacturer's torque spec sheet in front of you. Not from memory. Not from a forum post. From the actual manufacturer of the mount you're installing.
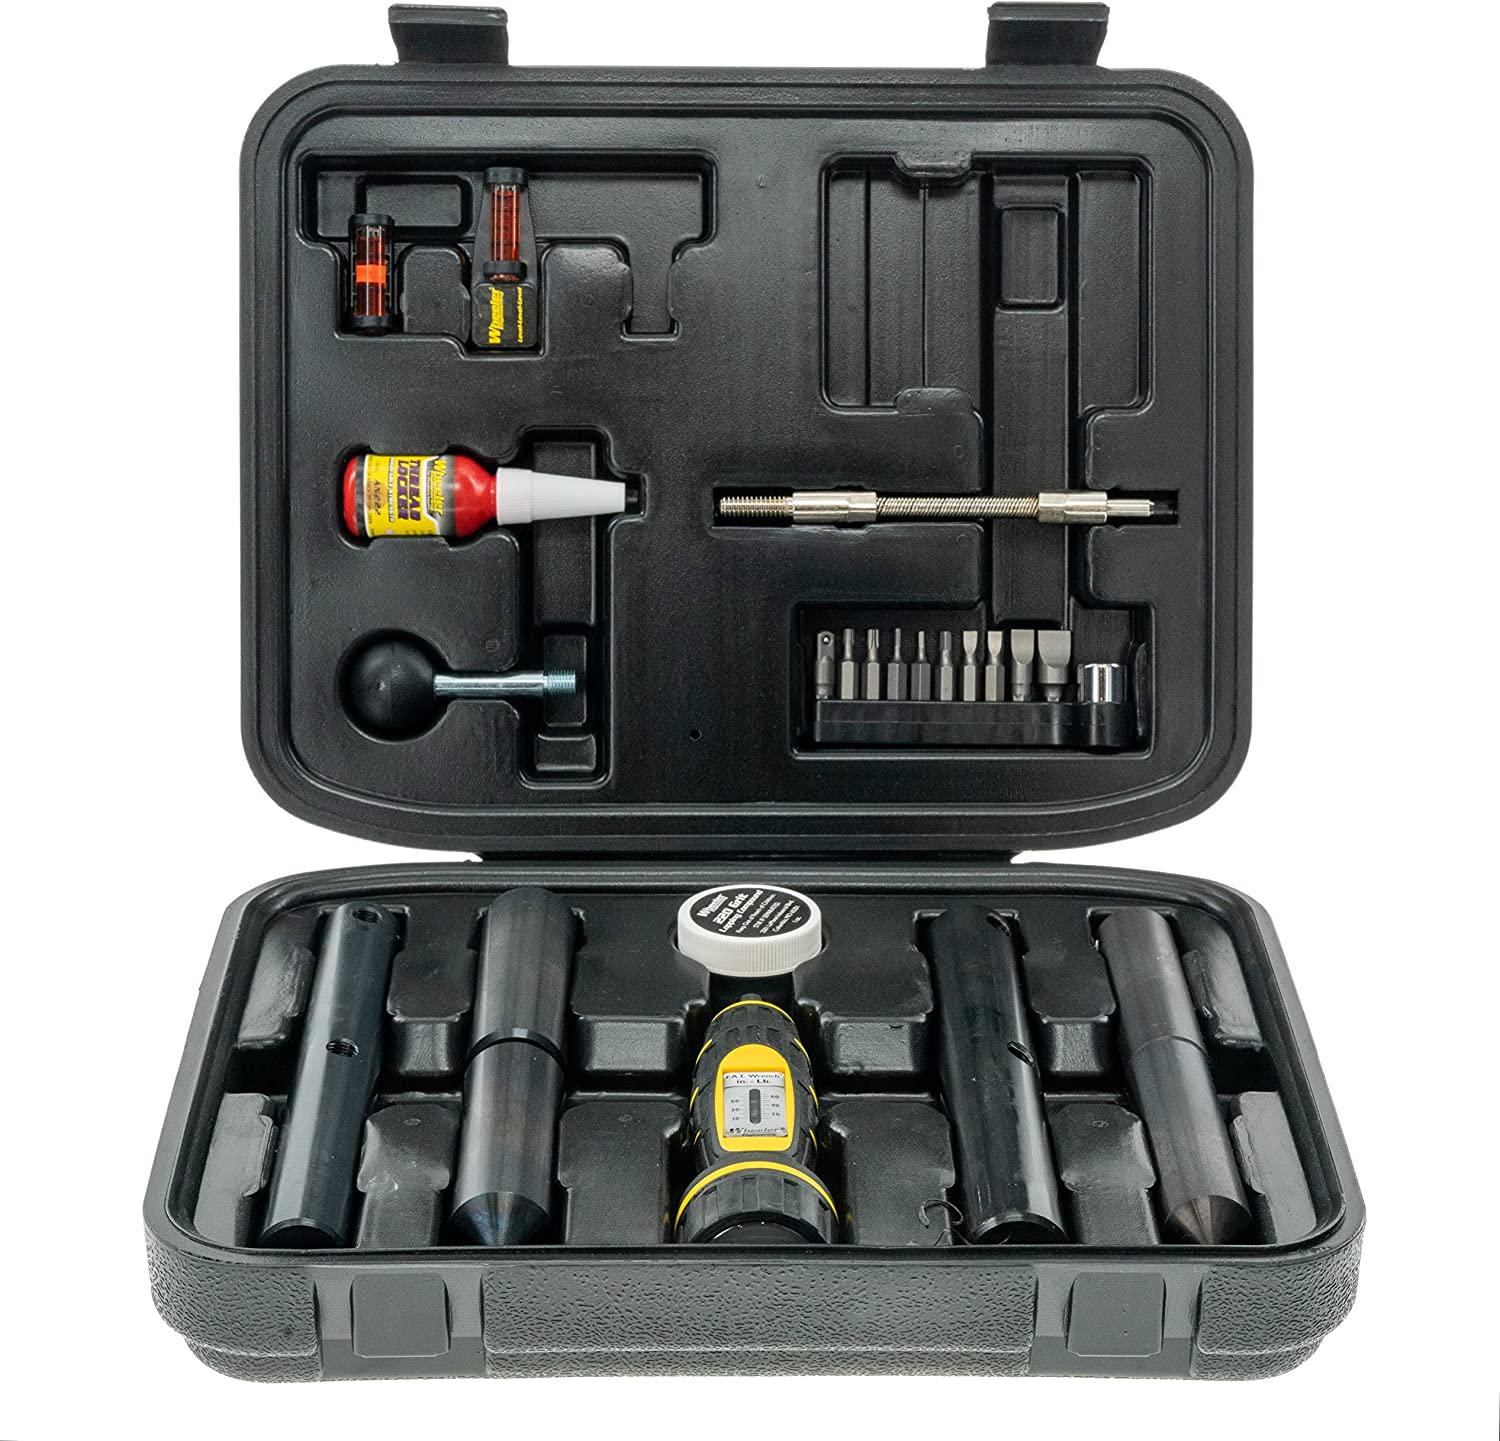
Clean every screw and every threaded hole with a solvent-dampened cotton swab. Remove all oil, thread sealant from previous installations, and debris. Let everything dry completely; two minutes is enough.
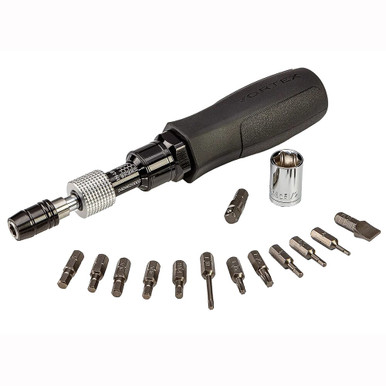
If you're using two-piece rings, lap them now. If you're using a one-piece mount, verify that the recoil lug engages a Picatinny cross slot properly and that the mount sits flat on the rail without rocking.
Place the scope in the rings or mount. Get your eye relief set and the reticle level before you start tightening anything. Finger-tight only at this stage; just enough to hold the scope in position.
Apply one small drop of threadlocker to each screw's threads. Spread it with the screw tip or a toothpick. You want a thin film on the threads, not a puddle. More is not better; excess threadlocker that squeezes out of the joint is wasted and can contaminate other surfaces.
Thread each screw in by hand until snug. No tools yet.
Torque in a cross pattern. If your ring caps have four screws, go diagonal: top-left, bottom-right, top-right, bottom-left. First pass at 50% of your target spec. Second pass at 75%. Final pass at 100%. If you're using threadlocker, remember the 80% rule; your final pass target should be roughly 80% of the published dry torque spec.
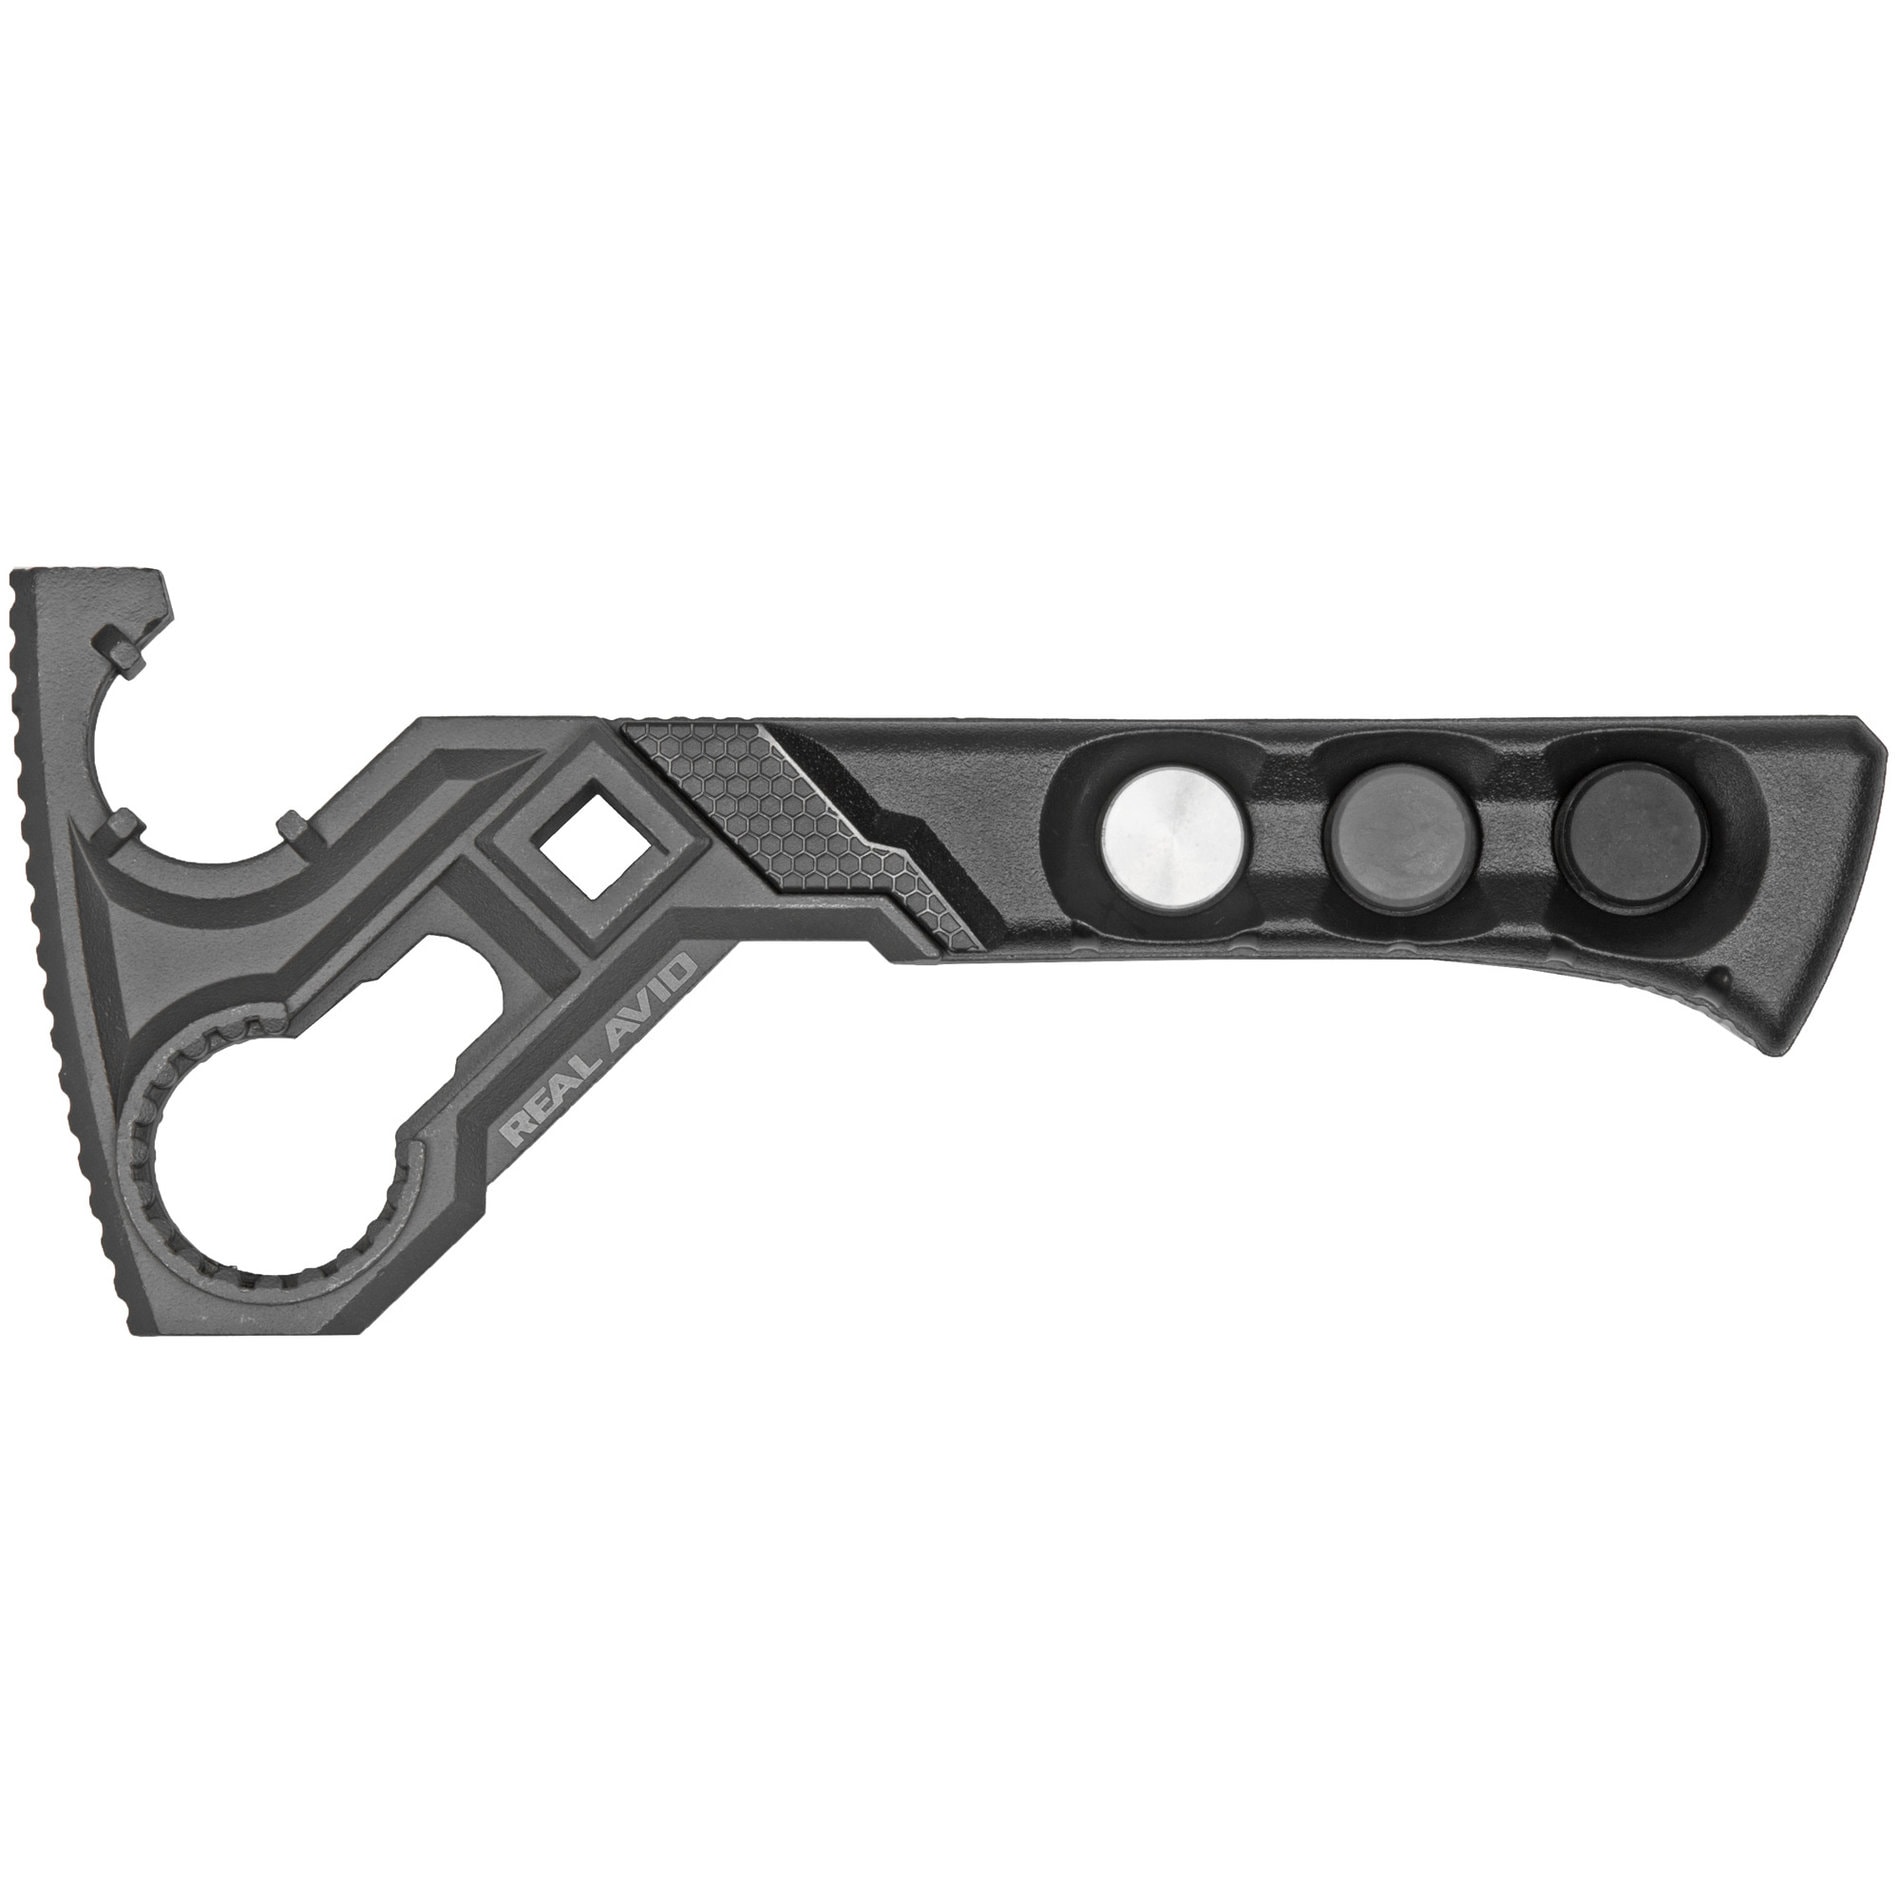
Real Avid Master Armorer's Wrench Deals
Prices may change. May contain affiliate links.
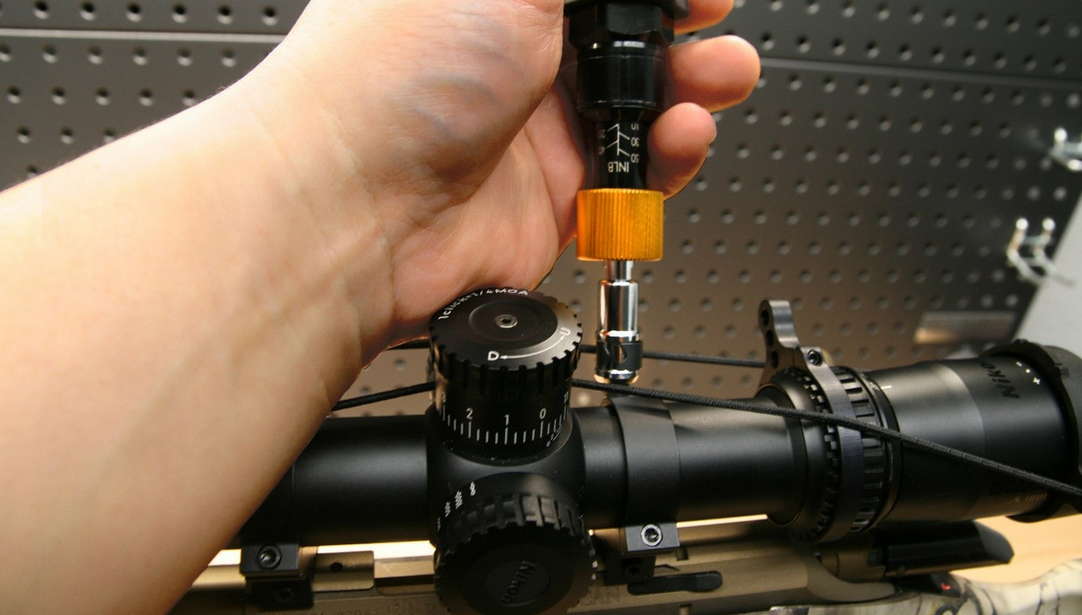
Set the rifle aside and let the threadlocker cure. Full cure time for Loctite 242/243 is 24 hours. You can handle the rifle before then, but don't shoot it. The impact and vibration of firing before cure can disrupt the bond formation.
After the first range session, verify torque. Set your wrench to the original spec and check each screw. They should not move. If they do, remove, clean, and re-do the entire process. Don't just re-torque over the top.
That's it. Fifteen minutes of careful work that eliminates 90% of the mounting-related problems people bring to gunsmiths.
What to do this weekend
Take your most-used rifle and check the torque on every accessory fastener. Scope mount, red dot, handguard screws, light mount, sling mount; all of it. Use an actual torque wrench, not your fingers. Write down what you find. If anything moved, that's your starting point.
If you've been running dry screws with no threadlocker, consider whether your use case warrants adding it. A safe queen that shoots 50 rounds a year probably doesn't need it. A duty rifle, a hunting rifle that lives in a truck, or a competition gun that sees 500 rounds a month absolutely does.
If you've been applying Loctite and torquing to the published spec without adjusting for wet torque, back off 20% next time and see if your zero holds just as well. It will. And your ring screws will thank you by not stripping out next time you need to swap optics. The goal isn't maximum tightness; it's correct preload maintained over time. That's a fundamentally different thing, and understanding the difference is what separates a mount that holds zero for 5,000 rounds from one that shifts every other range trip.