
Your dominant hand is injured, pinned, or occupied. You need to put rounds on target with the hand you've barely trained. Most shooters have never seriously practiced this scenario, and the ones who have usually did it once during a class and never revisited it. That's a problem, because weak-hand-only shooting isn't a party trick; it's a contingency skill that degrades fast without maintenance.
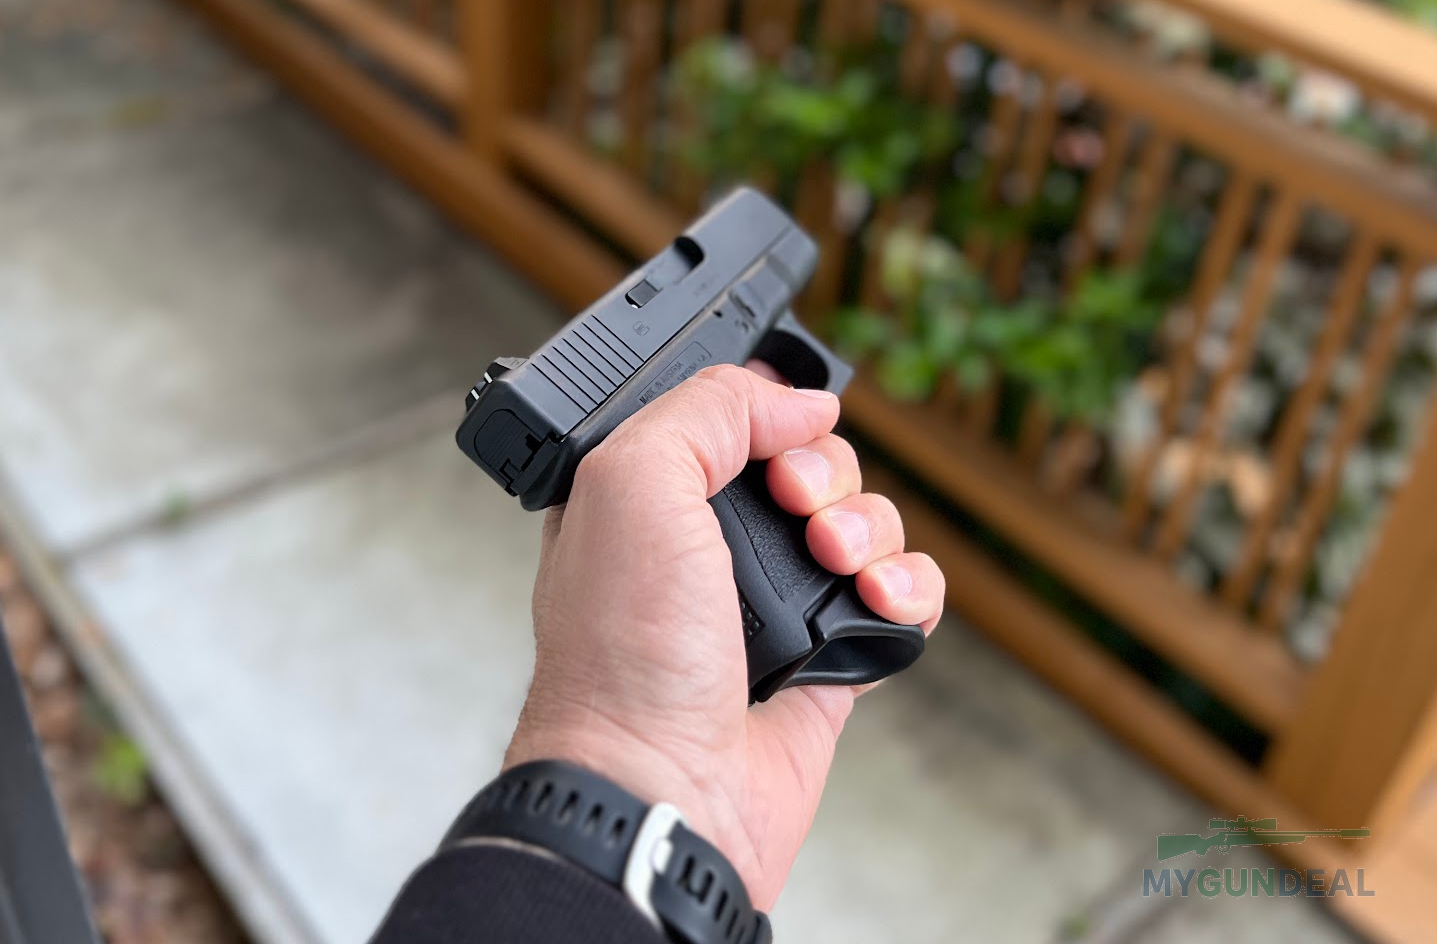
Here's what this covers: a structured approach to building legitimate weak-hand-only capability with a pistol, from grip mechanics to a specific drill with par times and passing standards. The goal isn't to make your support hand as good as your dominant hand. The goal is to make it good enough to save your life at realistic defensive distances. That means keeping all rounds inside an 8-inch circle at 5 yards, on demand, without a warmup. If you can't do that right now, you've got work to do.
Most people skip weak-hand training because it's uncomfortable and humbling. Shots go wide. The grip feels wrong. The trigger pull is a mess. That discomfort is exactly the signal that this skill needs attention. The good news: weak-hand shooting responds well to focused practice. A few deliberate sessions, even dry fire only, will produce noticeable improvement. You don't need to dedicate entire range trips to it. You need a plan and 50 rounds.
Why this matters more than you think
The argument for weak-hand-only shooting usually starts with the injury scenario: your strong hand takes a round, gets cut, or breaks during a fall. That's real, but it's not the only reason to train this. Think about situations where your dominant hand is occupied: holding a child, bracing against a doorframe, using a phone to call 911, or pushing someone behind you. In any of those moments, your support hand might be the only hand available to present and fire a weapon.
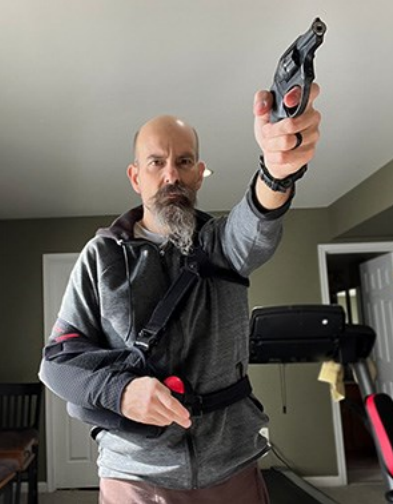
There's also the mechanical reality of how gunfights unfold. Data from law enforcement shootings consistently shows that fine motor skills degrade under stress. The hand you've trained thousands of reps with will still function, but it'll function worse. The hand you've barely trained? It might not function at all. Stress doesn't create skill. It reveals what you've actually practiced.
Beyond the tactical case, there's a pure marksmanship benefit. Training your weak hand forces you to slow down and focus on fundamentals in a way that two-handed shooting often doesn't. You can't muscle through bad trigger control with one hand. You can't compensate for a garbage grip. Every flaw is amplified, which means every rep is a diagnostic. Shooters who put in serious weak-hand time almost always report that their dominant-hand shooting improves too, because they had to rebuild their understanding of grip pressure, sight alignment, and trigger press from scratch.
The grip: your first problem to solve
Gripping a pistol with your non-dominant hand feels wrong because it is wrong, at least it's unfamiliar, and your hand hasn't developed the specific strength patterns needed to control recoil and manipulate the trigger independently. With a two-handed grip, your support hand does most of the clamping work while your dominant hand handles the trigger. When you flip that, you're asking one hand to do both jobs simultaneously, and it's the hand that's less practiced at either.
Start by indexing the pistol deep into the web of your support hand, the same way you'd seat it in your dominant hand. The backstrap should be locked into the meaty part between your thumb and index finger. Wrap your three lower fingers around the grip with as much surface contact as possible. Your thumb should ride along the frame, pointed forward; don't wrap it over the top of the slide or curl it down. A forward thumb position helps with recoil management and keeps your hand out of the way of the slide's reciprocation.
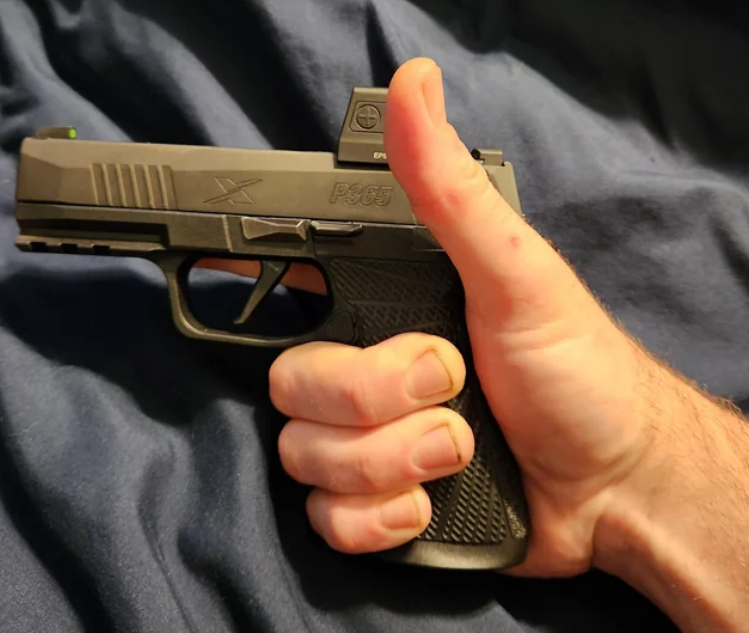
Here's where most people go wrong: they grip too tentatively. Your support hand needs to squeeze the grip hard, not death-grip hard, but firm enough that the gun doesn't shift in your hand during recoil. Think about 70% of your maximum grip strength as a starting point. If the gun is rotating or shifting between shots, you're not gripping hard enough. If your hand is shaking and your trigger finger can't move independently, back off slightly.
The cant of the pistol matters too. Many instructors teach a slight inward cant, tilting the top of the slide toward your centerline, when shooting one-handed with the support hand. This isn't about looking tactical. It's about aligning the sights with your eye more naturally, since your support-side arm doesn't present the gun to your dominant eye as cleanly as your strong hand does. Experiment with a slight cant of 10 to 20 degrees and see if your sight picture improves. Some shooters find it helps significantly. Others prefer to keep the gun vertical and simply shift their head. Neither is wrong. What matters is that you can acquire a consistent sight picture quickly.
Dry fire notes
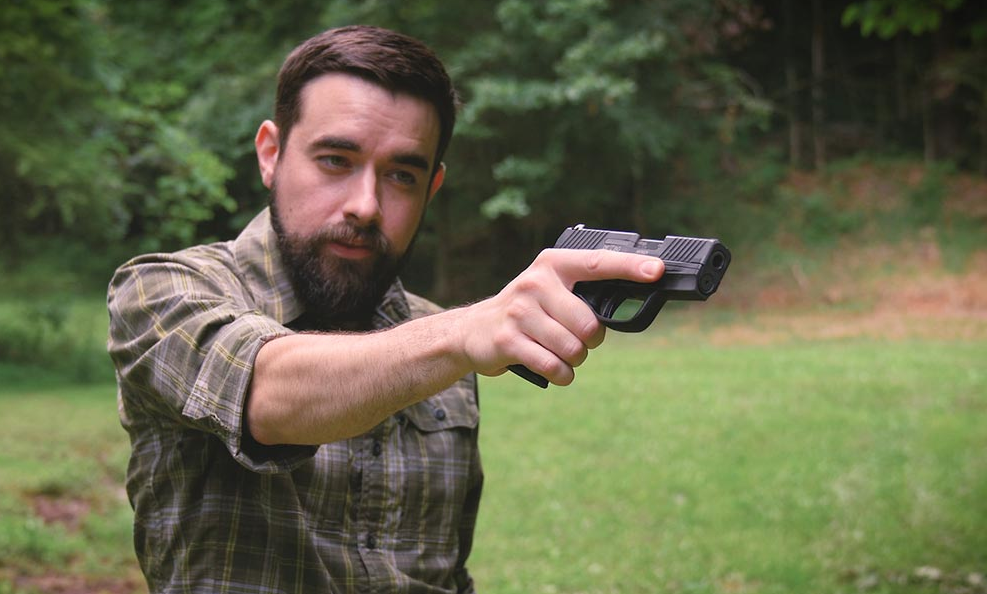
Before you put a single live round through the gun with your weak hand, spend time dry firing. Grip the pistol, present it to full extension, acquire your sights, and press the trigger without disturbing the sight picture. Do this 20 times per session for a week. You'll feel the trigger pull trying to drag the muzzle off target; that's normal. Your non-dominant index finger doesn't have the same isolation and fine motor control as your dominant one. The dry fire reps are building that neural pathway. Watch the front sight during the press. If it dips or drifts, you're applying lateral or downward pressure with the trigger finger. Slow down until the sight stays still through the entire press.
Trigger control with the wrong finger
This is the hardest part. Your non-dominant index finger has spent its entire life doing support work: stabilizing objects, typing, maybe playing guitar. It hasn't been trained to apply smooth, rearward pressure on a trigger while the rest of the hand maintains a static grip. The result, for most shooters, is that the first few attempts at weak-hand trigger press look like a flinch festival. The whole hand clenches, the muzzle dips, and shots land low and toward the thumb side.
The fix is the same fix that works for dominant-hand trigger issues: isolate the trigger finger. The trigger press should involve only the distal joint (the last segment) of your index finger moving rearward. The rest of your hand stays clamped on the grip. This is easier to describe than to execute, especially with an untrained hand.
One drill that helps: grip the pistol with your support hand and extend it toward a target. Now, without pressing the trigger, wiggle only your index finger back and forth. Watch the sights. If the front sight moves when your finger moves, you're engaging muscles in the rest of your hand. Practice isolating that finger movement until you can wiggle it without disturbing the sights. Then transition to actual trigger presses.
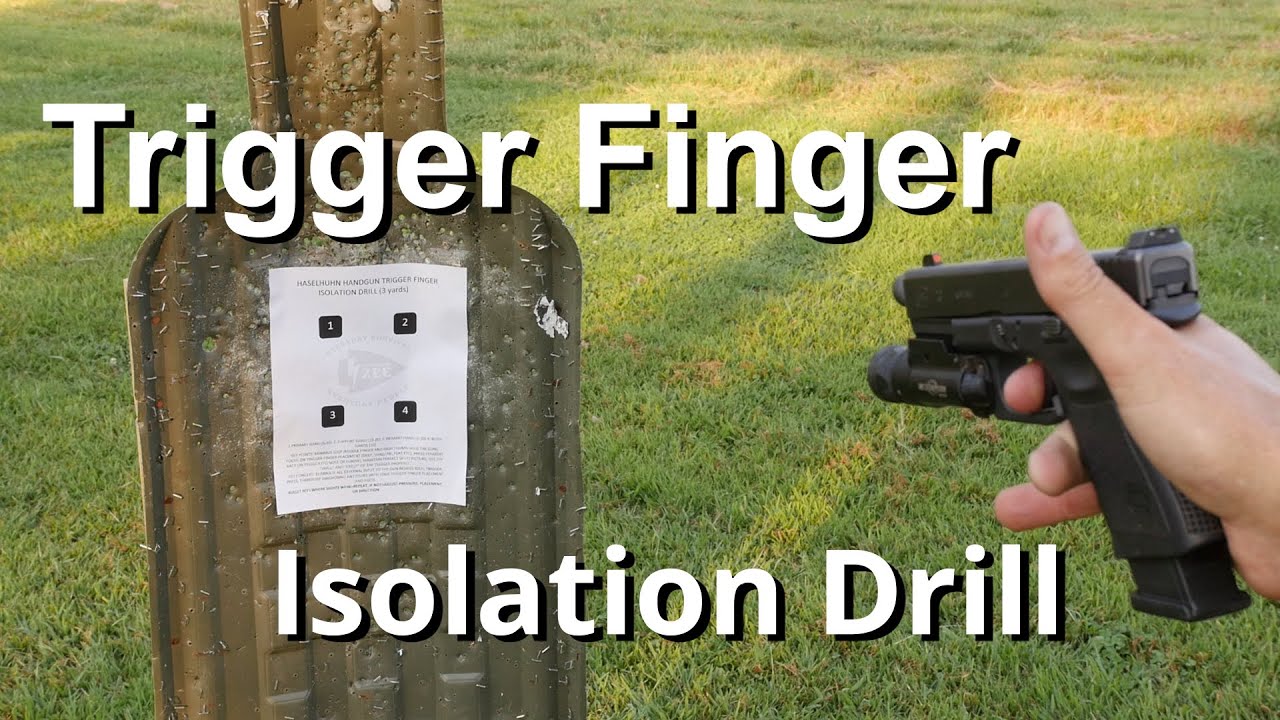
The compressed surprise break still applies here. You should be pressing the trigger with steady, increasing pressure until the shot fires. You shouldn't know the exact instant the trigger will break. If you're anticipating the shot, and you will be, because your weak hand has no reference point for when the trigger breaks, you'll push the muzzle down right before the shot fires. The diagnostic for this is simple: have someone load a random snap cap into your magazine. When you hit the snap cap, watch what the muzzle does. If it dips, you're anticipating. Dry fire fixes this.
For double-action triggers or DA/SA guns, weak-hand-only shooting gets even harder because the long, heavy double-action pull requires more finger strength and control. If you carry a DA/SA pistol, you need to specifically practice that first double-action pull with your support hand. It's a different animal than a short, light striker-fired trigger.
Sight alignment and eye dominance
Here's something that catches people off guard: when you switch to your support hand, your sight alignment relationship changes. If you're right-handed and right-eye dominant, you've spent all your training time presenting the gun to your right eye. Switch to your left hand, and the gun naturally presents more toward your left eye. If you're cross-eye dominant (right-handed but left-eye dominant, or vice versa), this might actually make things easier. But for most shooters, it creates a moment of confusion.
The solution is straightforward. When shooting weak-hand-only, you have two options: shift the gun toward your dominant eye by angling your arm slightly across your body, or shift your head to align your dominant eye with the gun's natural presentation point. Most shooters find the head shift more natural and faster. Trying to angle your arm across your body introduces tension and makes recoil management harder.
If you shoot with both eyes open (and you should), this is less of an issue than it sounds. Your brain will sort out which eye is providing the aiming reference. But if you've never shot weak-hand-only before, expect the first few presentations to feel disorienting. Your eyes are looking for the sights in a slightly different place than usual. This normalizes quickly with repetition.
At defensive distances, inside 7 yards, you may find that a hard front-sight focus isn't even necessary for weak-hand-only shooting. A flash sight picture, where you verify the front sight is roughly centered and roughly on target, is often sufficient to keep rounds inside an 8-inch circle. Don't let the pursuit of a perfect sight picture slow you down to the point where you're not training at a realistic pace.
The drill: weak-hand-only 5x5
This is a diagnostic and training drill in one. It tells you exactly where your weak-hand-only skill level is, and repeated sessions will build that skill. Run it cold; no warmup, no dominant-hand shooting first. Your weak hand doesn't get a warmup in a real situation.
Setup
- Distance: 5 yards
- Target: standard 8-inch paper plate, or the -0 zone of an IDPA target, or a comparable 8-inch circle
- Round count: 25 rounds (5 strings of 5)
- Start position: gun in the holster (if you carry) or on a table/bench at low ready
- Par time: 5 seconds per string (from the draw or pickup to last shot)
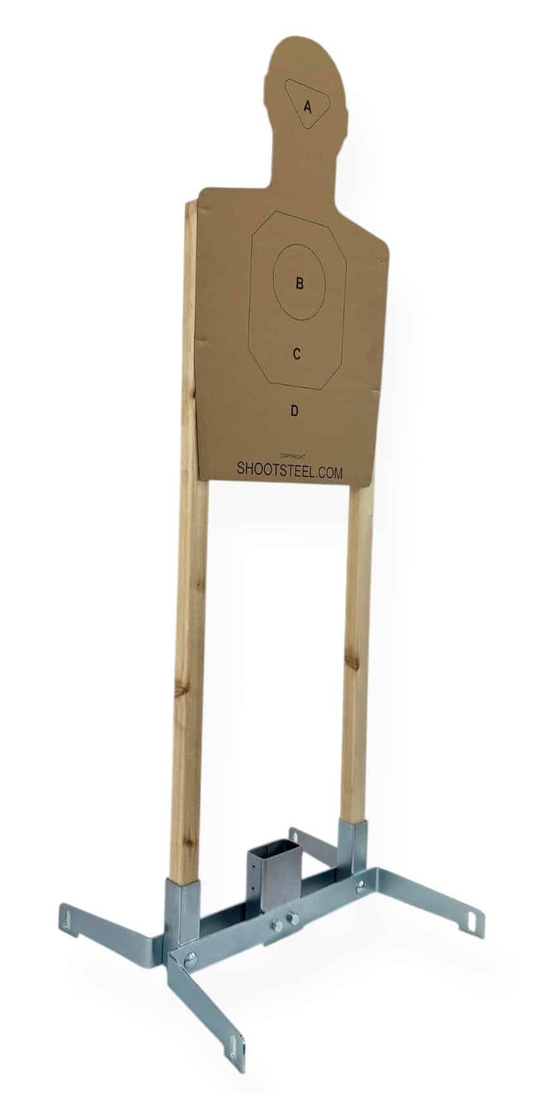
Execution
String 1 through 5 are identical. On the buzzer, draw or pick up the pistol with your support hand only, present to the target, and fire 5 rounds. All rounds should land inside the 8-inch circle. If you're drawing from a strong-side holster with your weak hand, this adds a cross-body draw component; we'll address that below. If you prefer, start with the gun on a table or at low ready to isolate the shooting fundamentals first.
Scoring
Count the total hits inside the 8-inch circle out of 25 rounds.
- 25/25 inside the circle, all strings under 5 seconds: solid. Tighten the par time to 4 seconds or shrink the target to 6 inches.
- 20-24/25: you're in the right neighborhood. Identify which shots are escaping and diagnose whether it's grip, trigger, or sight alignment.
- 15-19/25: fundamentals need work. Slow down, forget the par time, and focus on keeping every round inside the circle. Add the timer back once you're hitting 90%.
- Below 15/25: back to dry fire. Spend two weeks doing 20 dry fire presentations and trigger presses per day with your support hand before running this drill again.
What to track
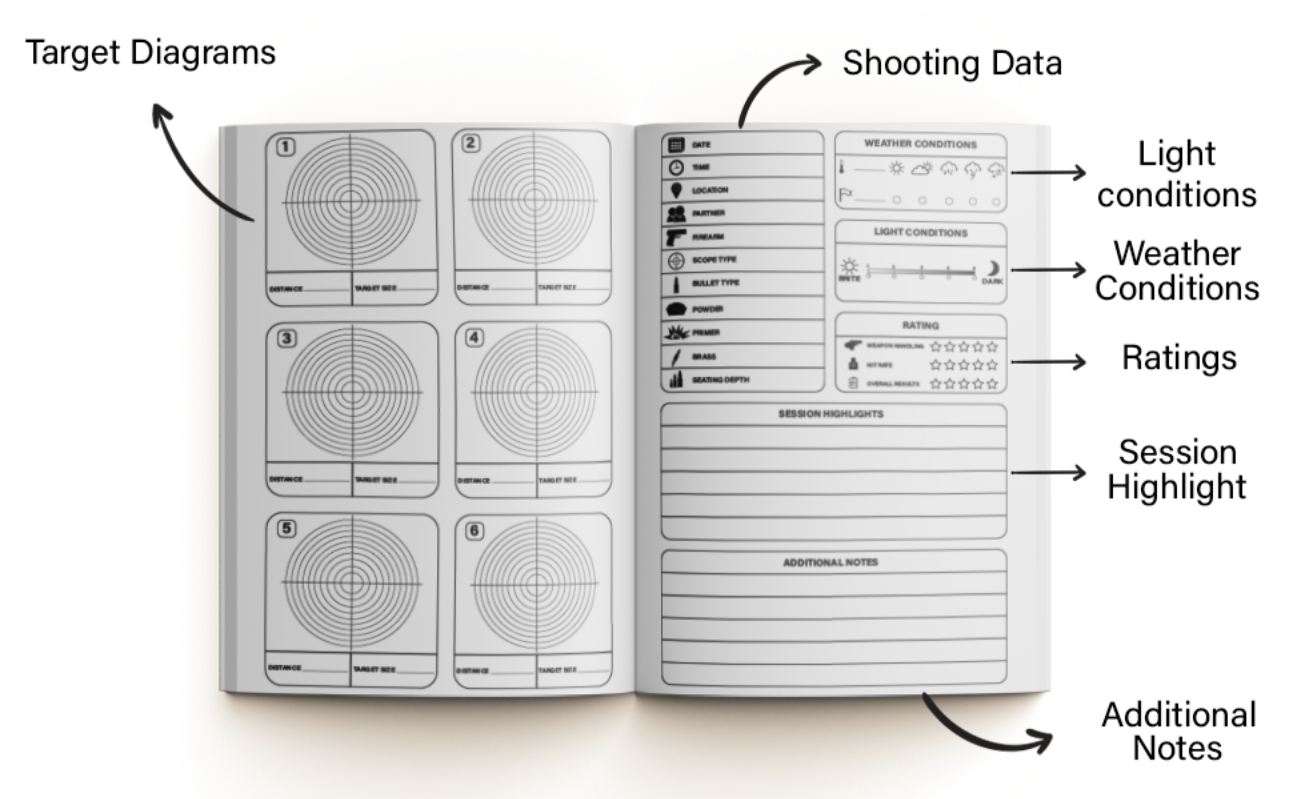
Log your score each time you run this drill. Date, hits out of 25, average split times if your timer records them, and any notes about what felt off. The trend matters more than any single session. You're looking for a steady climb toward 25/25 under par.
The cross-body draw
If you carry strong-side (appendix or 3-4 o'clock), drawing with your support hand means reaching across your body. This is awkward, slow, and potentially dangerous if you don't practice it. The muzzle has to cross your body during the draw stroke, and your weak hand is reaching at an angle it's never trained for.
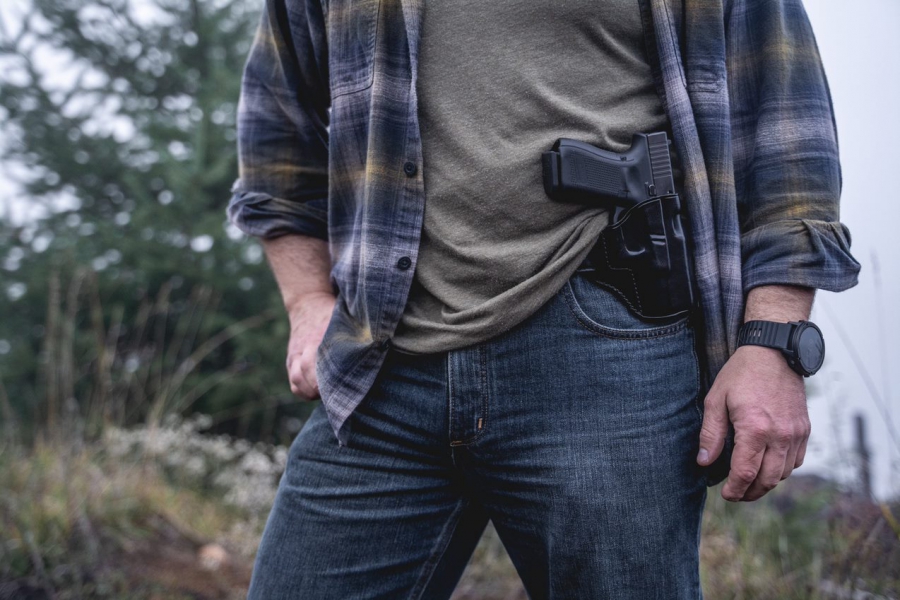
A few practical points. First, if you carry appendix, the cross-body draw is shorter and more manageable than reaching across to a 3 or 4 o'clock holster. The gun is closer to your centerline, and the draw path is less extreme. Second, you need to defeat your cover garment with your support hand, which means reaching across with that hand to clear the shirt or jacket before gripping the pistol. Practice this in dry fire extensively before attempting it live. The garment clear is where most people fumble.
Some shooters who take weak-hand contingencies seriously choose holster positions or backup carry methods that account for support-hand access. A cross-draw holster, an appendix position that's accessible from either side, or a backup gun on the support side are all solutions that various instructors have advocated. Massad Ayoob has written extensively about cross-draw carry as a viable option partly because of its accessibility from either hand. That's a carry method discussion for another day, but it's worth considering if weak-hand access is a priority for you.
For the purposes of this drill, if the cross-body draw is adding too much complexity, start with the gun on a table or at a low ready position. Master the shooting fundamentals first. Add the draw once you're consistently hitting your target standard.
Recoil management with one hand
Two-handed shooting distributes recoil across both hands and both arms. One-handed shooting puts all of that energy into a single hand and arm, which means the gun moves more between shots and returns to target slower. Your split times will be slower. Accept that.
The key to managing recoil one-handed is a locked wrist and a firm grip. Your wrist is the weakest link in the recoil chain. If it breaks, bends rearward under recoil, the gun flips up excessively and takes longer to settle back on target. Lock your wrist by engaging the forearm muscles that keep your wrist straight. Think about pushing the gun forward slightly, like you're trying to extend your arm just a fraction of an inch more. This engages the wrist stabilizers and helps keep the gun tracking in a more vertical arc rather than flipping wildly.
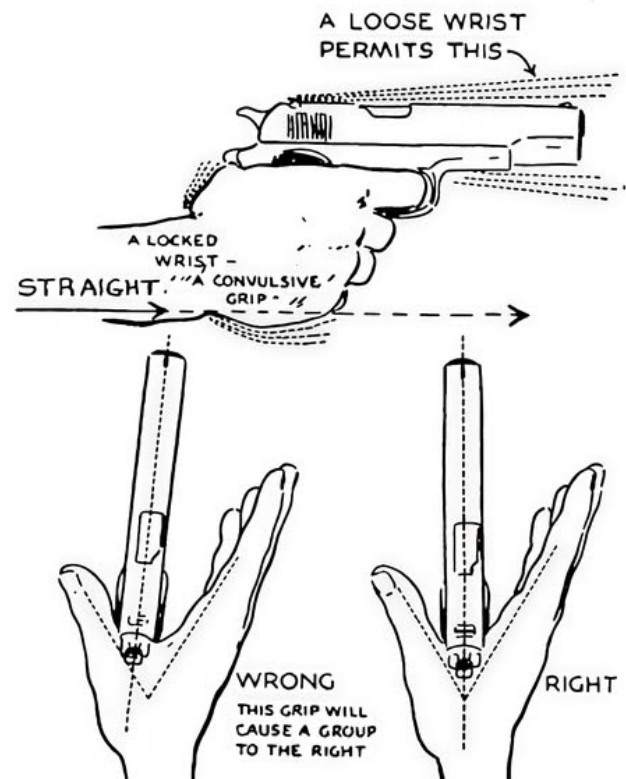
Your arm should be extended but not hyperextended. A slight bend in the elbow gives you a natural shock absorber. A completely locked-out arm transmits all the recoil energy into your shoulder, which is less efficient and more fatiguing.
For shooters running compact or subcompact pistols, recoil management one-handed is significantly harder because the shorter grip provides less leverage and the lighter gun moves more. If you carry a subcompact, you need to train weak-hand-only with that specific gun. Don't practice with your full-size range gun and assume the skill transfers perfectly. It won't.
Range notes
The first time you shoot weak-hand-only with live ammo, start at 3 yards with a large target. Seriously. Ego has no place here. Put up an 8.5x11-inch piece of paper and fire 5 rounds slowly, focusing on grip and trigger press. See where they land. If they're all on paper, move to 5 yards. If they're scattered, stay at 3 and work the fundamentals. You'll progress faster by building confidence at close range than by struggling at distance and reinforcing bad habits.
You'll probably notice that your groups are shifted toward the thumb side of your support hand. Right-handed shooters shooting left-hand-only tend to pull shots to the right. Left-handed shooters shooting right-hand-only tend to pull shots to the left. This is the trigger finger dragging the muzzle. It's the most common issue and it responds well to dry fire and the finger isolation drill described earlier.
Common mistakes
These are the errors that show up most frequently when shooters start training weak-hand-only. Recognizing them is half the battle.
Trying to go fast before going accurate
Speed is a product of efficiency, and efficiency comes from fundamentals. If you can't put 5 out of 5 rounds into an 8-inch circle at 5 yards with no time pressure, you have no business adding a par time. Slow down. Get the hits. The speed will come as the mechanics become more natural. Rushing weak-hand-only shooting just ingrains bad habits that are harder to fix later.
Inconsistent grip
Every time you pick up the gun with your support hand, the grip should feel the same. Same depth in the web of the hand, same finger placement, same pressure. If you're re-adjusting your grip after every shot or every string, you haven't established a repeatable grip yet. Dry fire is where you build this. Pick the gun up, establish your grip, present, dry fire, put the gun down. Repeat. The pickup-to-grip sequence should become automatic.
Neglecting the trigger reset
With an unfamiliar hand on the trigger, shooters tend to slap the trigger; fully releasing it after each shot and then yanking it back. This creates unnecessary movement and disrupts the sight picture. Instead, let the trigger reset forward only until you feel or hear the click of the reset, then begin pressing again. Riding the reset keeps your finger in contact with the trigger and minimizes the distance it needs to travel, which means less opportunity to disturb the sights.
Chicken-winging the elbow
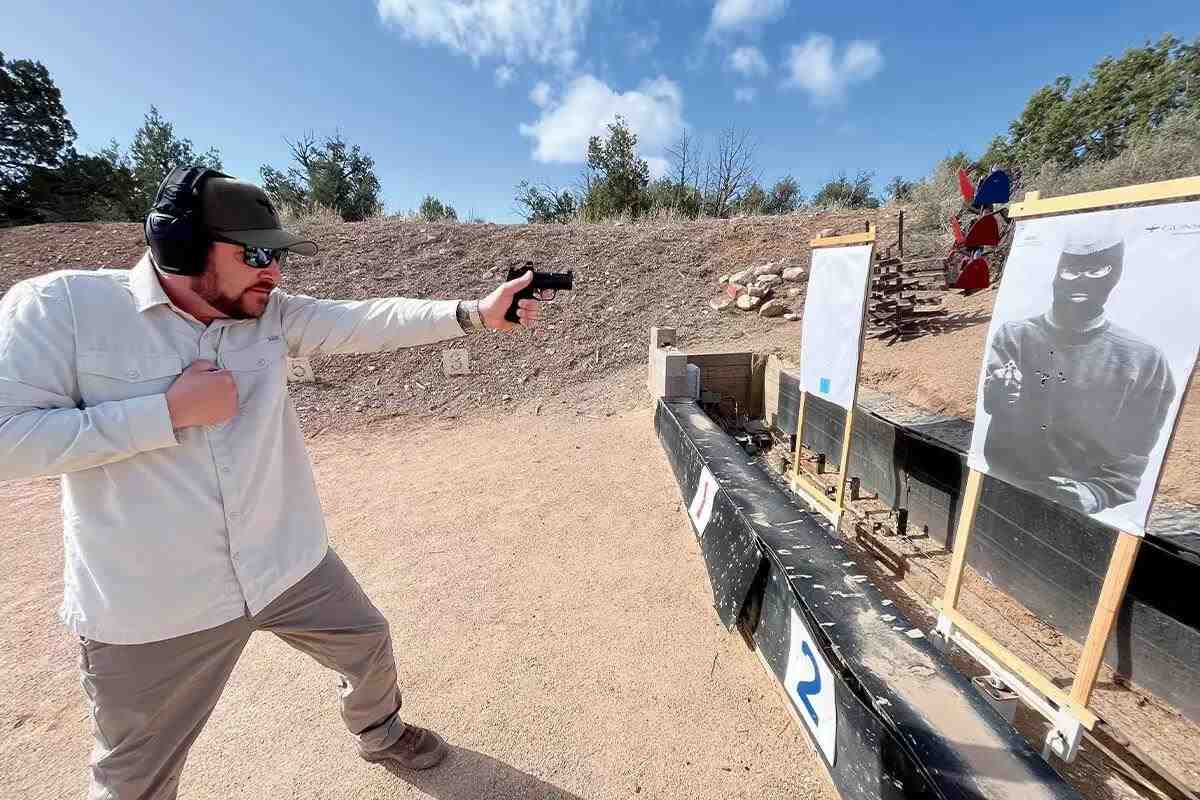
When shooting with the support hand, many shooters flare their elbow out to the side dramatically. This weakens your structure and makes recoil management harder. Your elbow should point generally downward, with your arm extending forward in a natural line from your shoulder. Some outward angle is normal and fine; you're not trying to tuck your elbow into your ribs. But if it's sticking out at 90 degrees, you've lost structural support.
Only practicing at the range
Weak-hand-only is one of the skills that benefits most from dry fire because the primary challenges, grip, trigger control, sight alignment, don't require live ammo to train. If you only practice this at the range, you're limiting yourself to maybe 50 rounds per session a couple times a month. That's not enough volume to build the skill. Ten minutes of dry fire three times a week will do more than a monthly range session. Verify all dry fire safety protocols: no live ammunition in the room, dedicated dry fire area, safe backstop.
Building the skill progressively
Don't try to train everything at once. Break the skill into components and build them sequentially.
Phase 1: grip and trigger press (weeks 1-2)
All dry fire. Focus exclusively on establishing a consistent grip and pressing the trigger without disturbing the sights. Twenty reps per session, three to five sessions per week. Use a wall or a small target across the room as your aiming point. Watch the front sight (or the top of the slide if you're using a target focus) throughout the trigger press. If the sight moves, the rep doesn't count.
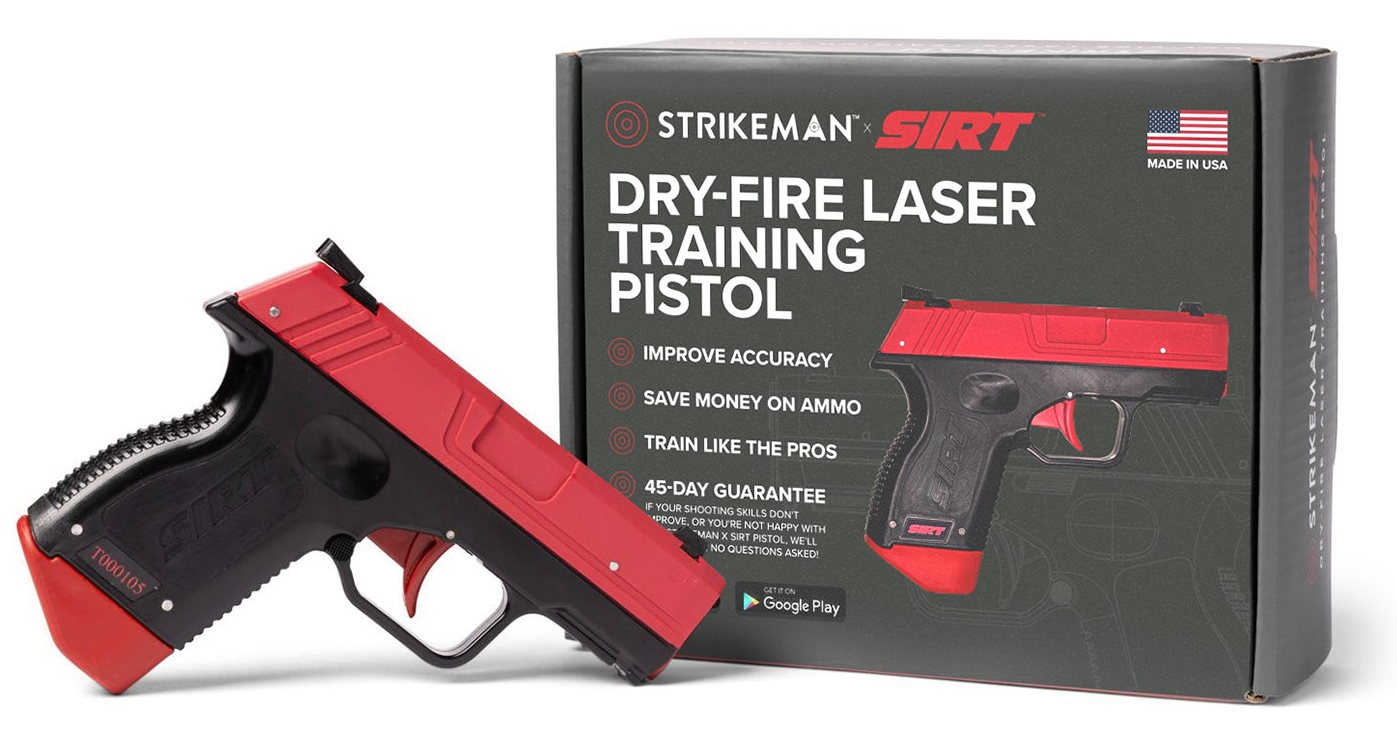
By the end of two weeks, you should be able to press the trigger 10 times in a row without visible movement of the front sight. That's your baseline.
Phase 2: live fire fundamentals (weeks 3-4)
Take it to the range. Start at 3 yards, no timer. Fire 5-round groups with your support hand, focusing on keeping all rounds inside an 8-inch circle. Once you can do that consistently at 3 yards, move to 5 yards. Your round count per session doesn't need to be high; 25 to 50 rounds of weak-hand-only work is plenty. Spend the rest of your range time on other skills.
Continue dry fire at home between range sessions. The dry fire maintains the neural pathways you're building. The live fire validates them and adds recoil management to the equation.
Phase 3: add the timer (weeks 5-6)
Now run the Weak-Hand-Only 5x5 drill described above. Set the par time at 7 seconds initially; generous, but you're establishing a baseline. Log your score. If you're hitting 20/25 or better, drop the par to 6 seconds. Then 5. The standard to chase is 25/25 at 5 seconds per string.
Phase 4: add complexity (ongoing)
Once you're hitting the basic standard, start layering in additional challenges. Draw from the holster instead of low ready. Add a reload (weak-hand-only reloads are a whole separate skill set; practice trapping the gun between your knees or against your body to strip and insert the magazine). Shoot at 7 yards instead of 5. Add lateral movement. These progressions keep the skill growing and prevent you from plateauing at "good enough at 5 yards standing still."
Weak-hand-only reloads
This deserves its own mention because it's a skill that almost nobody practices and it's genuinely difficult. If your strong hand is out of the fight and your gun runs empty, you need to reload with one hand. There are several methods, and none of them are fast or pretty.
The most common approach: trap the pistol between your knees (squeeze them together to hold the grip), drop the empty magazine by hitting the mag release, retrieve a fresh magazine from your carrier, insert it into the mag well, then rack the slide by hooking the rear sight on your belt, holster, or a hard edge and pushing the gun downward. This requires a rear sight that's sturdy enough to catch on a surface; another reason some shooters prefer aftermarket sights with a ledge or a squared-off front edge.
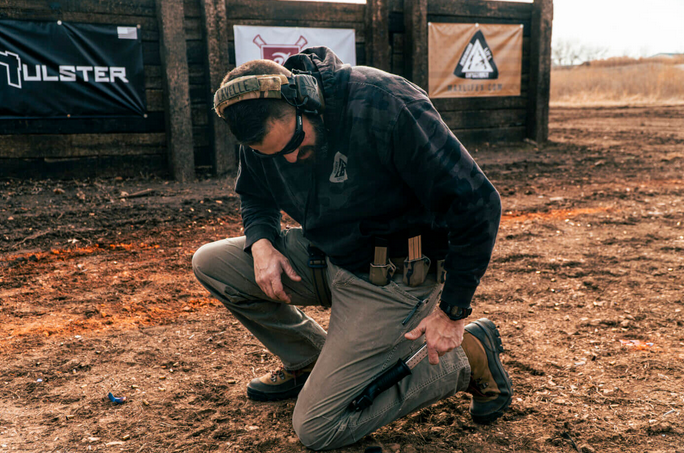
An alternative for guns with a slide stop: after inserting the fresh magazine, hit the slide stop with your support-hand thumb to drop the slide. This is faster than the rear-sight rack method but requires a slide stop that's accessible and easy to manipulate with your non-dominant thumb.
Practice this dry first. Many, many times. It's clumsy and slow, and that's fine. In a real scenario, you'd likely be moving to cover while performing this reload. The goal isn't speed; it's completing the reload without dropping the gun or the magazine. Once you can do it dry without fumbling, try it live with an empty gun and empty magazines to confirm the mechanics work with your specific pistol and gear.
Integrating weak-hand work into regular practice
You don't need a dedicated "weak-hand day." You need a few minutes of weak-hand work built into your existing routine. Here's a simple framework.
During dry fire sessions at home, dedicate the last 5 minutes to support-hand-only work. If you're doing 20 minutes of dry fire, that's 15 minutes dominant hand (draws, presentations, transitions) and 5 minutes support hand (grip, present, trigger press). That 5 minutes, done consistently, adds up to more weak-hand training than most shooters do in a year.
At the range, run one or two strings of the 5x5 drill at the end of your session. That's 10 to 25 rounds. If you're shooting 150 rounds total, that's less than 20% of your ammo budget dedicated to a skill that could matter enormously. Log your scores. Compare them month to month.
Once a quarter, run the full 5x5 drill cold; first thing at the range, no warmup, no dominant-hand shooting first. This is your true assessment. Your cold score is your real skill level. Everything else is practice.
The mental game
There's a psychological component to weak-hand-only shooting that doesn't get discussed enough. The first time you try it, you'll feel incompetent. The gun feels foreign. The shots go wide. There's a strong temptation to think "this is pointless, I'll never need this" and go back to comfortable two-handed drills. Resist that.
The discomfort is the point. You're building a capability that doesn't exist yet. Every new physical skill feels terrible at first. The shooters who push through the initial awkwardness and commit to consistent practice are the ones who end up with a legitimate support-hand capability. The ones who try it once and quit are the ones who'll have nothing to fall back on if they ever need it.
Set modest goals. Your first goal isn't to shoot weak-hand-only as well as you shoot with your dominant hand. Your first goal is to keep all rounds on a paper plate at 5 yards. That's it. Once you hit that, your next goal is to do it in under 5 seconds per 5-round string. Then shrink the target. Then increase the distance. Small, measurable progressions that you can actually achieve and build on.
Track it. Then trust the trend. A bad session doesn't mean you're not improving. A string of sessions with gradually improving scores means the work is paying off. The data doesn't lie, even when a single range trip feels frustrating.
What "good enough" looks like
For a concealed carrier focused on defensive competency, here's a reasonable standard for weak-hand-only shooting:
At 5 yards, all rounds inside an 8-inch circle, 5 rounds in 5 seconds from low ready. That's the floor. If you can do that cold, you have a functional support-hand capability at typical defensive distances.
A more advanced standard: at 7 yards, all rounds inside an 8-inch circle, 5 rounds in 5 seconds, from the draw (including cross-body draw from a strong-side holster). This adds distance and the draw complexity.
An aspirational standard: at 7 yards, all rounds inside a 6-inch circle, 5 rounds in 4 seconds from the draw, including one reload during a 10-round string. If you can do that, your weak hand is genuinely capable, not just checked off a list.
Most shooters will land somewhere between the floor and the advanced standard with consistent practice over a few months. That's a fine place to be. You're not training to win a one-handed shooting competition. You're training to have options when things go sideways.
Fifty rounds with a plan beats 200 without one. Your support hand is part of the plan. Put in the work, track the results, and build a skill that most shooters ignore until it's too late to learn. The drill is simple. The standard is clear. Now go run it.