You bought the rifle. You've got it zeroed. You can hit paper at 50 yards. Now you're thinking about taking your first carbine class, but you're worried about showing up and embarrassing yourself. Here's the thing: most people walk into their first rifle course with zero preparation beyond "I can make the gun go bang." That's a mistake that costs you money and wastes your weekend.
The instructors expect you to know the basics. They're not there to teach you how to load a magazine or explain what a safety selector does. They want to build on fundamentals you already have. Show up unprepared, and you'll spend the whole class catching up instead of learning.
Here's a 30-day plan that'll get you ready. It's not about becoming an expert — it's about having the basic skills locked down so you can actually absorb what the instructor teaches.
What you need before you start
This plan assumes you've got a functional carbine that's already zeroed at 50 yards. You need at least 500 rounds of ammunition, a sling, and access to either a range or safe dry fire space. That's it.
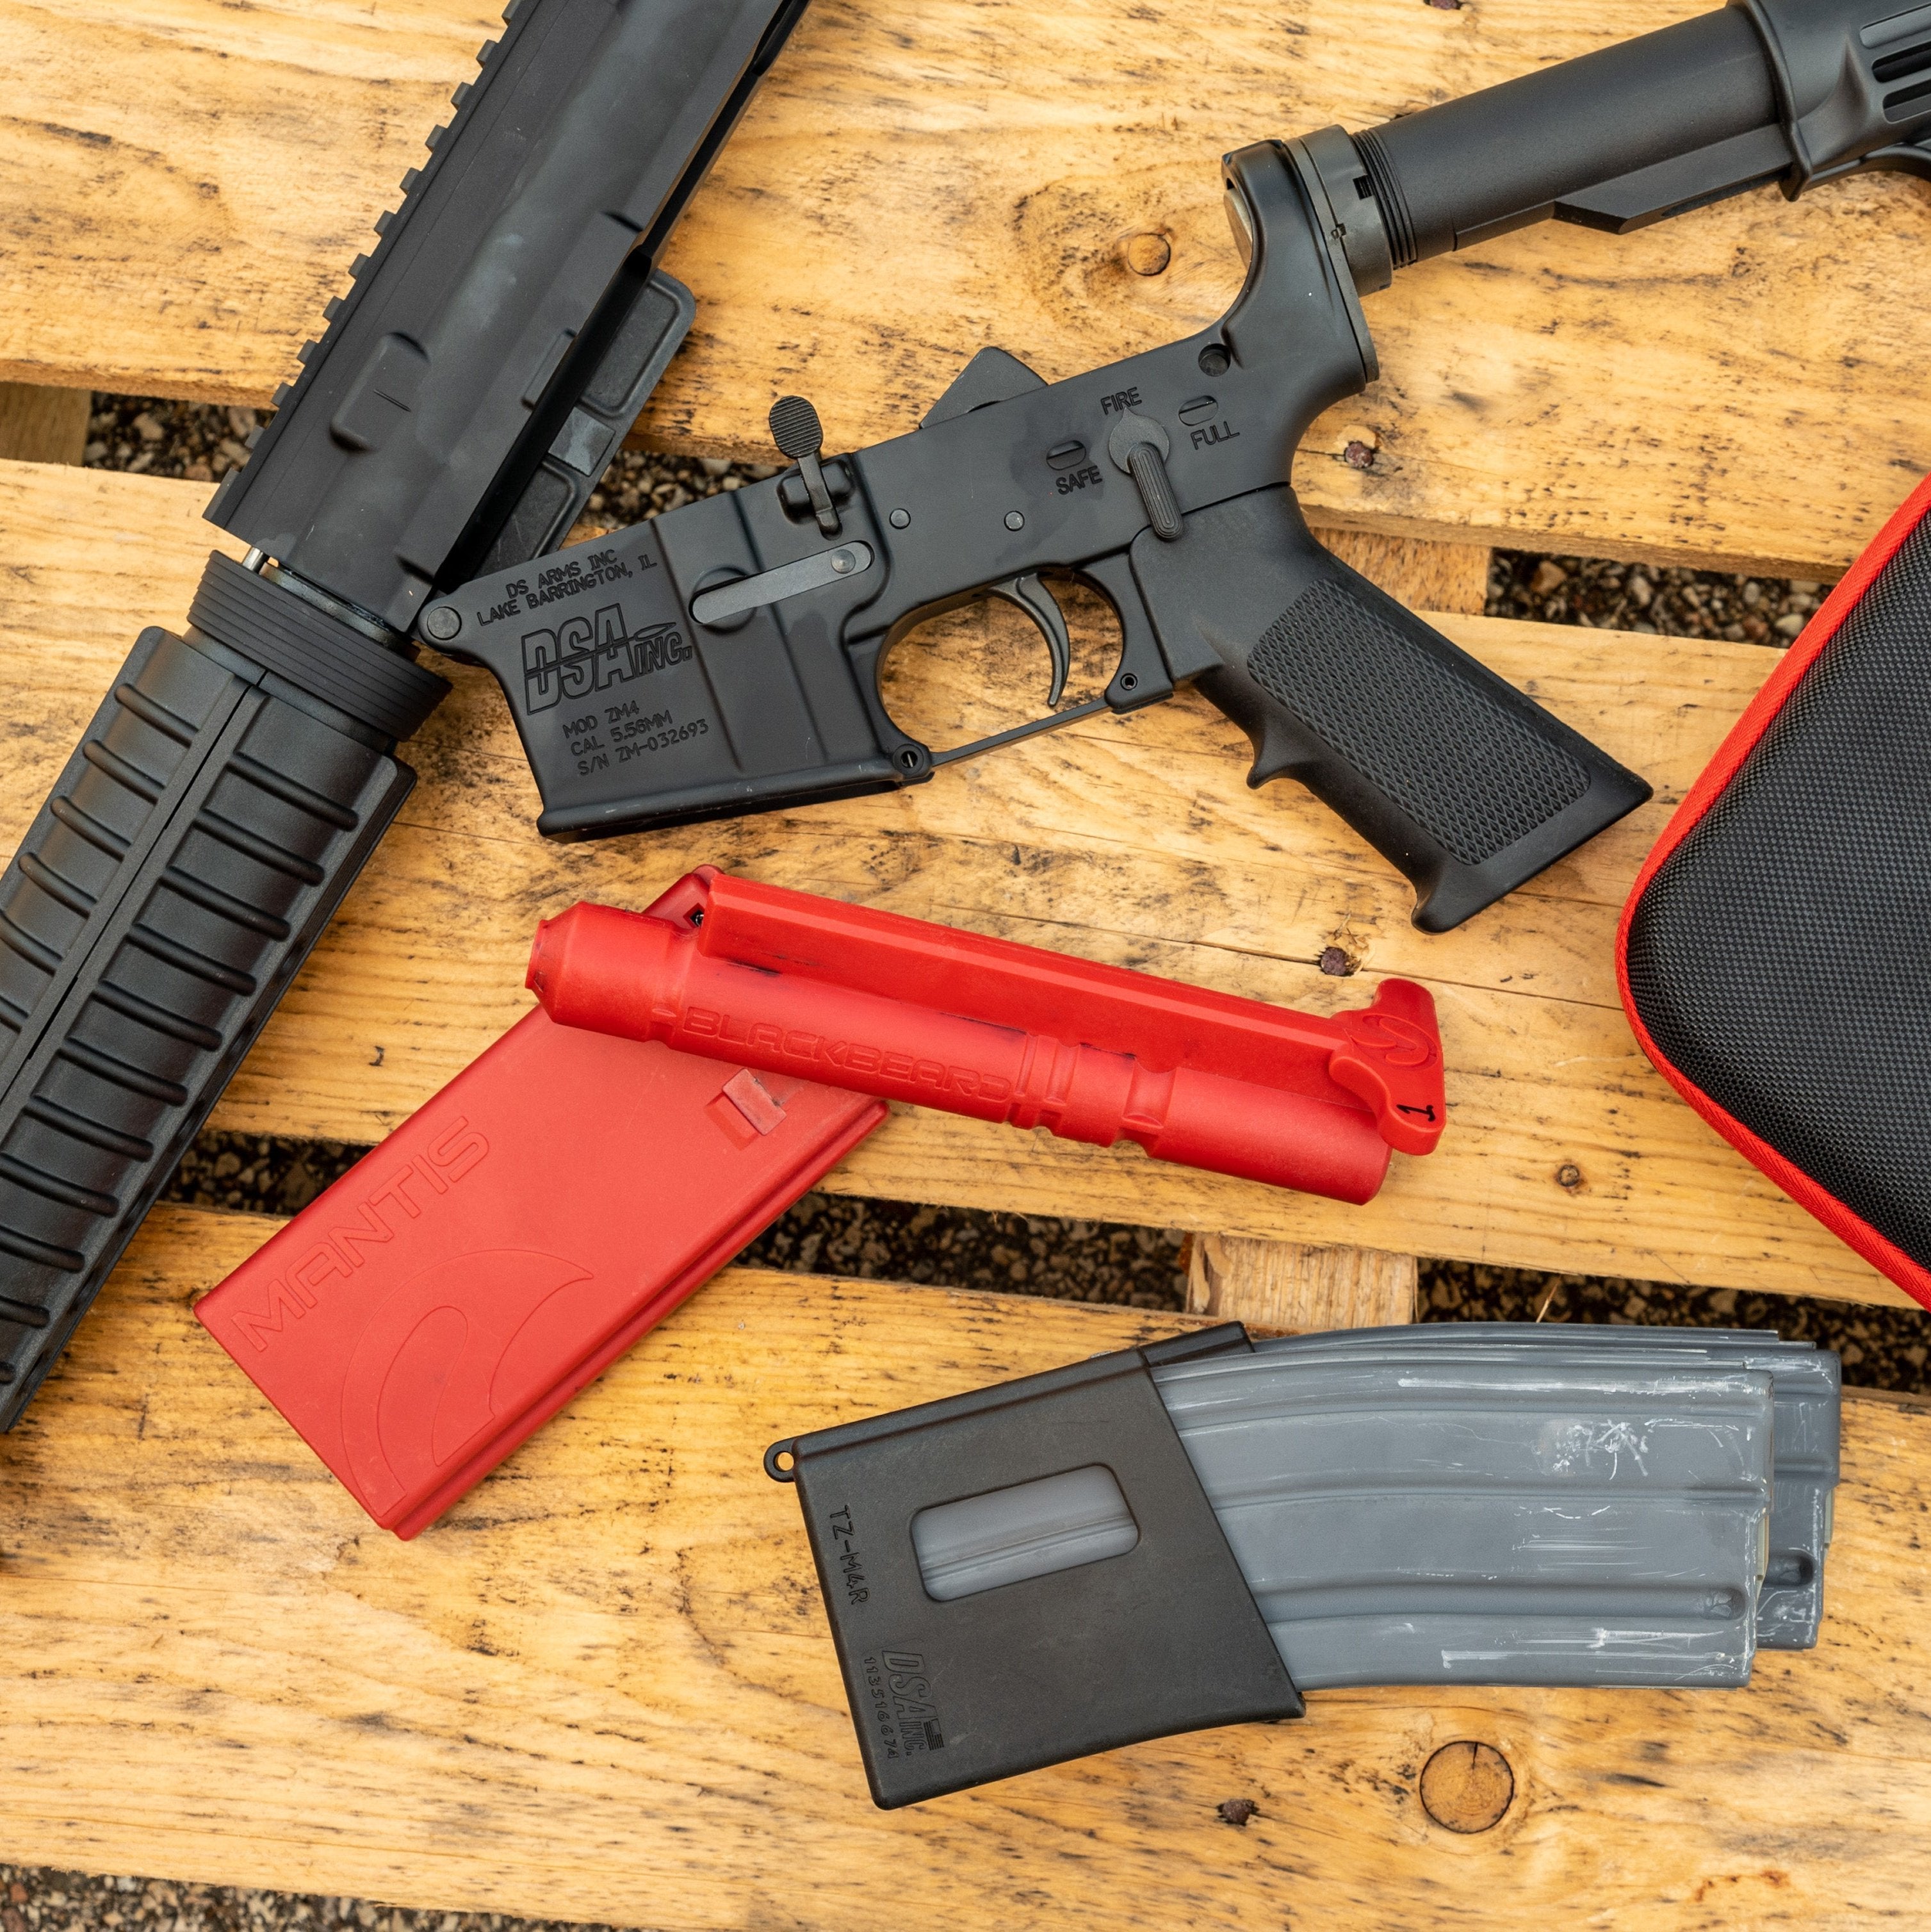
The rifle doesn't need to be fancy. A basic AR-15 with iron sights or a simple red dot will work fine. Don't show up to your first class with a brand-new optic you've never used or a rifle you just built. Use what you know works.
You'll also need a way to track your performance. A notebook works. Your phone's timer app works. The key is recording what you did and how you performed so you can see improvement over the 30 days.
Week 1: Basic manipulation and safety
The first week is about building muscle memory for the fundamental actions. Every carbine class starts with safety, and instructors notice immediately who's comfortable with their rifle and who isn't.
Days 1-3: Loading and unloading
Start with dry fire practice at home. Practice loading a magazine into the rifle, charging the bolt, and conducting press checks. Do this 20 times each session. The goal is smooth, deliberate movements without looking at the controls.
Work on your reload sequence: magazine out, new magazine in, bolt release if needed. Time yourself doing five reloads. Don't worry about speed — focus on not fumbling the magazine or missing the mag well.
Common mistakes here are trying to go too fast and developing bad habits like looking at the magazine during insertion. Keep your eyes up and let your hands learn the motions.
Days 4-7: Safety and ready positions
Practice transitioning between safe and fire. Do this 50 times per session until you can find the selector without looking. Your thumb should automatically know where it is.
Work on ready positions: low ready, high ready, and port arms. Hold each position for 30 seconds and focus on consistent placement. The rifle should go to the same spot every time.
Range notes
If you get to the range this week, keep it simple. Load five rounds, fire five rounds, reload, repeat. Focus on smooth manipulation between strings. Don't worry about group size yet — just get comfortable with the rifle's cycle of operations.
Week 2: Shooting fundamentals
Week two shifts to actual marksmanship. This is where you build the foundation that everything else sits on. Most people skip this part and wonder why they can't hit anything when they try to go faster.
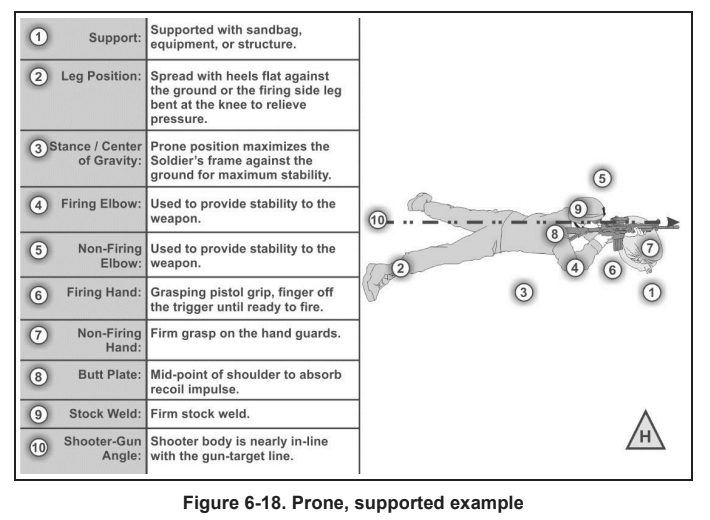
Days 8-10: Supported shooting positions
Start with prone supported. Use a bipod, sandbag, or pack to support the rifle. It's OK to also use your magazine as a "monopod". Fire 5-shot groups at 50 yards and measure them. A good benchmark is keeping all shots within a 3-inch circle.
Work on your natural point of aim. Get into position, close your eyes, settle in, then open them. Your sights should be on target without muscling the rifle. If not, adjust your body position, not your grip.
Practice breathing control. Fire during your natural respiratory pause — don't hold your breath until you turn blue.
Days 11-14: Unsupported prone and sitting
Move to unsupported prone. Your groups will open up, and that's normal. Focus on consistent sight picture and trigger control. Five shots in 4 inches at 50 yards is solid progress.
Add sitting position with crossed-leg support. This is harder than prone but more practical than bench shooting. Work on bone support — use your skeleton to hold the rifle, not your muscles.
Dry fire notes
Spend 10 minutes each day on trigger control. Use a coin balanced on your barrel or red dot housing. Dry fire without the coin falling off. This drill will show you exactly what your trigger finger is doing wrong.
Week 3: Movement and transitions
Week three adds complexity. You'll work on shooting from different positions and moving between them. This is where rifle handling starts to matter more than pure marksmanship.
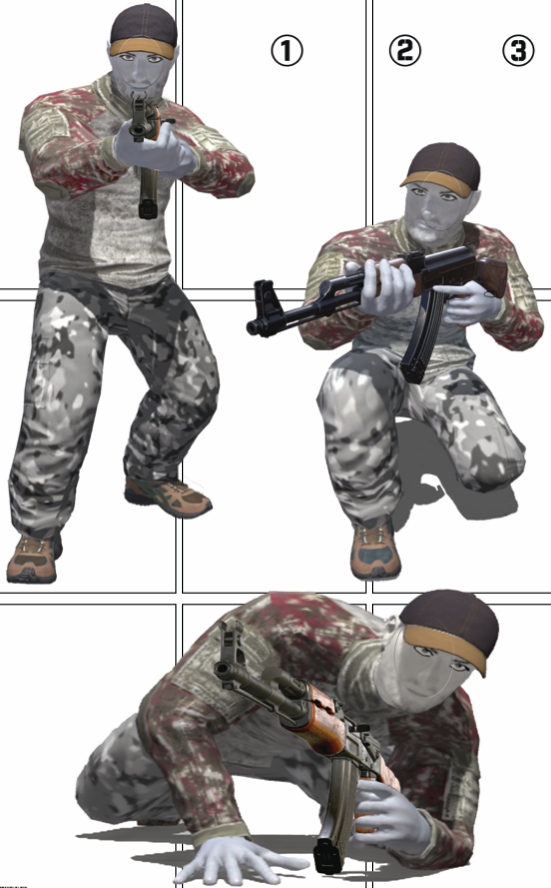
Days 15-17: Standing and kneeling
Standing unsupported is the hardest position, but it's what you'll use most in a class. Start at 25 yards and work on 5-shot groups. Six inches is acceptable progress for week three.
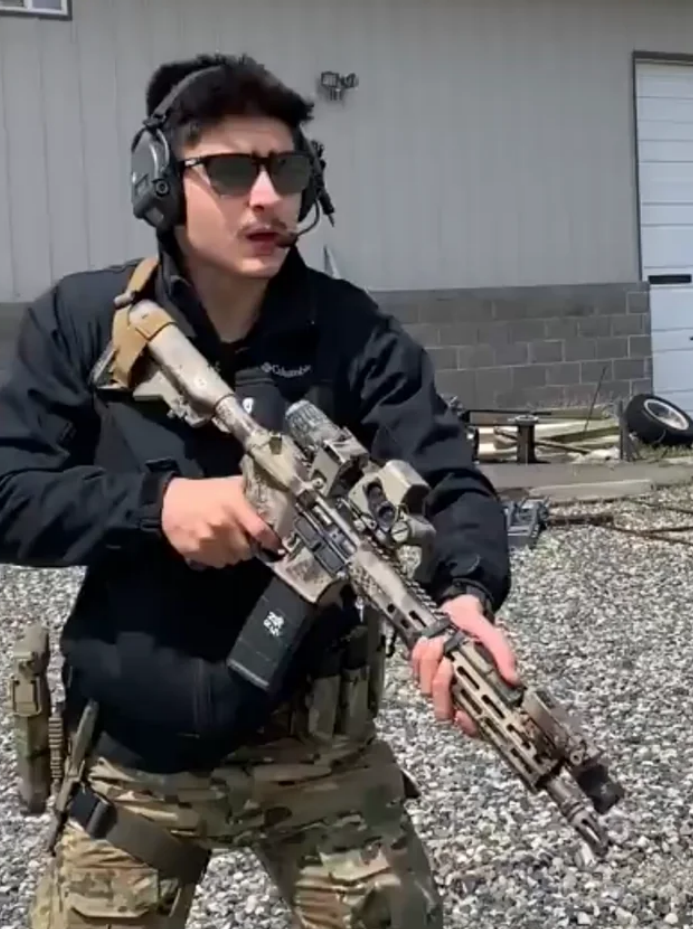
Practice your shooting stance. Feet shoulder-width apart, weight slightly forward, rifle pulled into your shoulder pocket. The rifle should feel stable, not like you're fighting it.
Add kneeling position. Drop to your strong-side knee and use your weak-side leg as a shooting rest. This position bridges the gap between standing and prone.
Days 18-21: Position transitions
Practice moving between positions smoothly. Start standing, drop to kneeling, fire one shot, return to standing. Time yourself and work on fluid movement.
Add prone transitions. Standing to prone should take about 3 seconds. Prone to standing should take about 2 seconds. Don't rush — smooth is fast.
Work on maintaining muzzle discipline during transitions. The rifle should stay pointed downrange, and your finger should stay off the trigger until you're ready to shoot.
Common mistakes to avoid
Most people try to transition too quickly and lose control of the rifle. They also forget about trigger finger discipline when moving between positions. Keep the rifle pointed in a safe direction and your finger indexed along the receiver until you're settled and ready to fire.
Another mistake is changing your grip during transitions. Establish your shooting grip once and maintain it throughout the movement. Don't readjust your hands every time you change position.
Week 4: Speed and accuracy balance
The final week brings together everything you've practiced. You'll work on shooting faster while maintaining acceptable accuracy. This is the skill set that separates trained shooters from people who just own rifles.
Days 22-24: Controlled pairs and failure drills
Start with controlled pairs — two quick shots to the same target. Fire, recover, fire again. Your split time (time between shots) should be around 0.3-0.5 seconds at first.
Work on failure drills: one shot to the body, assess, one shot to the head if needed. This teaches you to evaluate your hits and make corrections quickly.
Use an 8-inch circle at 25 yards for body shots and a 4-inch circle for head shots. Both shots should hit their respective zones.
Days 25-28: Multiple targets
Set up two targets 3 feet apart at 25 yards. Fire one shot at each target, then repeat. Work on smooth transitions between targets without losing your sight picture.
Time yourself shooting 10 rounds at two targets (5 rounds each). A good benchmark is completing this in under 15 seconds with all hits in an 8-inch circle.
Practice target discrimination. Set up three targets but only engage two of them based on a predetermined plan. This simulates the decision-making you'll do in class scenarios.
Days 29-30: Putting it together
Run a simple course of fire that combines everything: start standing at 50 yards, fire 5 rounds prone supported, transition to 25 yards, fire 5 rounds standing, move to 15 yards, fire 5 rounds kneeling.
Time the entire sequence and track your hits. A reasonable goal is completing this in under 3 minutes with 80% hits in an 8-inch circle.
Range notes
This week, shoot like you're in a class. Bring a shot timer if you have one, or use your phone's stopwatch. Set par times for each drill and try to beat them while maintaining accuracy. This pressure will prepare you for the stress of performing in front of an instructor.
What to track during your 30 days
Keep a simple log of each session. Record the date, what you worked on, round count, and how you performed. Note any problems or breakthroughs.
Track your group sizes at different distances. Measure them honestly — use calipers or a ruler, don't eyeball it. You want to see consistent improvement over the month.
Time your reloads, position transitions, and any drills you run. Numbers don't lie, and seeing your times drop will keep you motivated.
Note what feels awkward or uncomfortable. These are the areas to focus extra attention on. If your kneeling position feels unstable, spend more time there.
Equipment considerations for class day
Don't change anything major the week before your class. If your rifle has been running reliably with certain magazines and ammunition, stick with that combination.
Bring more magazines than you think you need. Most carbine classes require at least four 30-round magazines, but six is better. Load them all the night before.
Test your sling setup during week 4. You should be able to get into a shooting position with the sling supporting the rifle without fighting the adjustment. If it's not working smoothly by day 25, fix it or leave it at home.
Make sure your zero is still good the week before class. Fire a 5-shot group at 50 yards to confirm. If it's shifted, re-zero before you go.
Mental preparation
Your first carbine class will be overwhelming. There's a lot of information coming at you quickly, and you're performing under observation. The physical preparation helps, but mental preparation matters too.
Expect to make mistakes. Everyone does in their first class. The instructors have seen it all before, and they're there to help you improve, not embarrass you.
Focus on safety first, performance second. A safe shooter who's a little slow is always welcome back. An unsafe shooter who's fast gets sent home.
Listen more than you talk. Ask questions when appropriate, but don't interrupt demonstrations or explanations. Take notes during breaks if it helps you remember key points.
Building on your foundation
This 30-day plan gives you the basics, but it's just the beginning. After your first class, you'll have a much better idea of what to work on next.
Most instructors will give you specific homework based on what they observed during class. Take their advice seriously — they've seen hundreds of students and know what works.
Plan to take another class within 6 months. The skills you learn decay quickly without practice, and a follow-up class will help cement what you learned.
Keep practicing the fundamentals even as you add more advanced skills. Position shooting, reloads, and safety procedures need constant reinforcement.
The goal isn't to show up to class as an expert. It's to show up prepared enough that you can learn what the instructor is teaching instead of struggling with basic rifle manipulation. Put in the work for 30 days, and you'll get much more value from your training investment.