Drill of the Month: Building precision with the 3-position rifle drill
This month, we focus on the 3-position rifle drill, a versatile exercise that enhances your ability to engage targets from multiple positions. Whether you're preparing for a match, hunting, or simply looking to refine your skills, this drill will help you build consistency and precision.
Context of training
You can practice this drill at an outdoor range or in a space that allows for prone, kneeling, and standing positions. The goal is to develop stability and accuracy as you transition between positions. Success is defined by achieving tight shot groups within specific time limits and maintaining control over your rifle throughout each position.
What success looks like
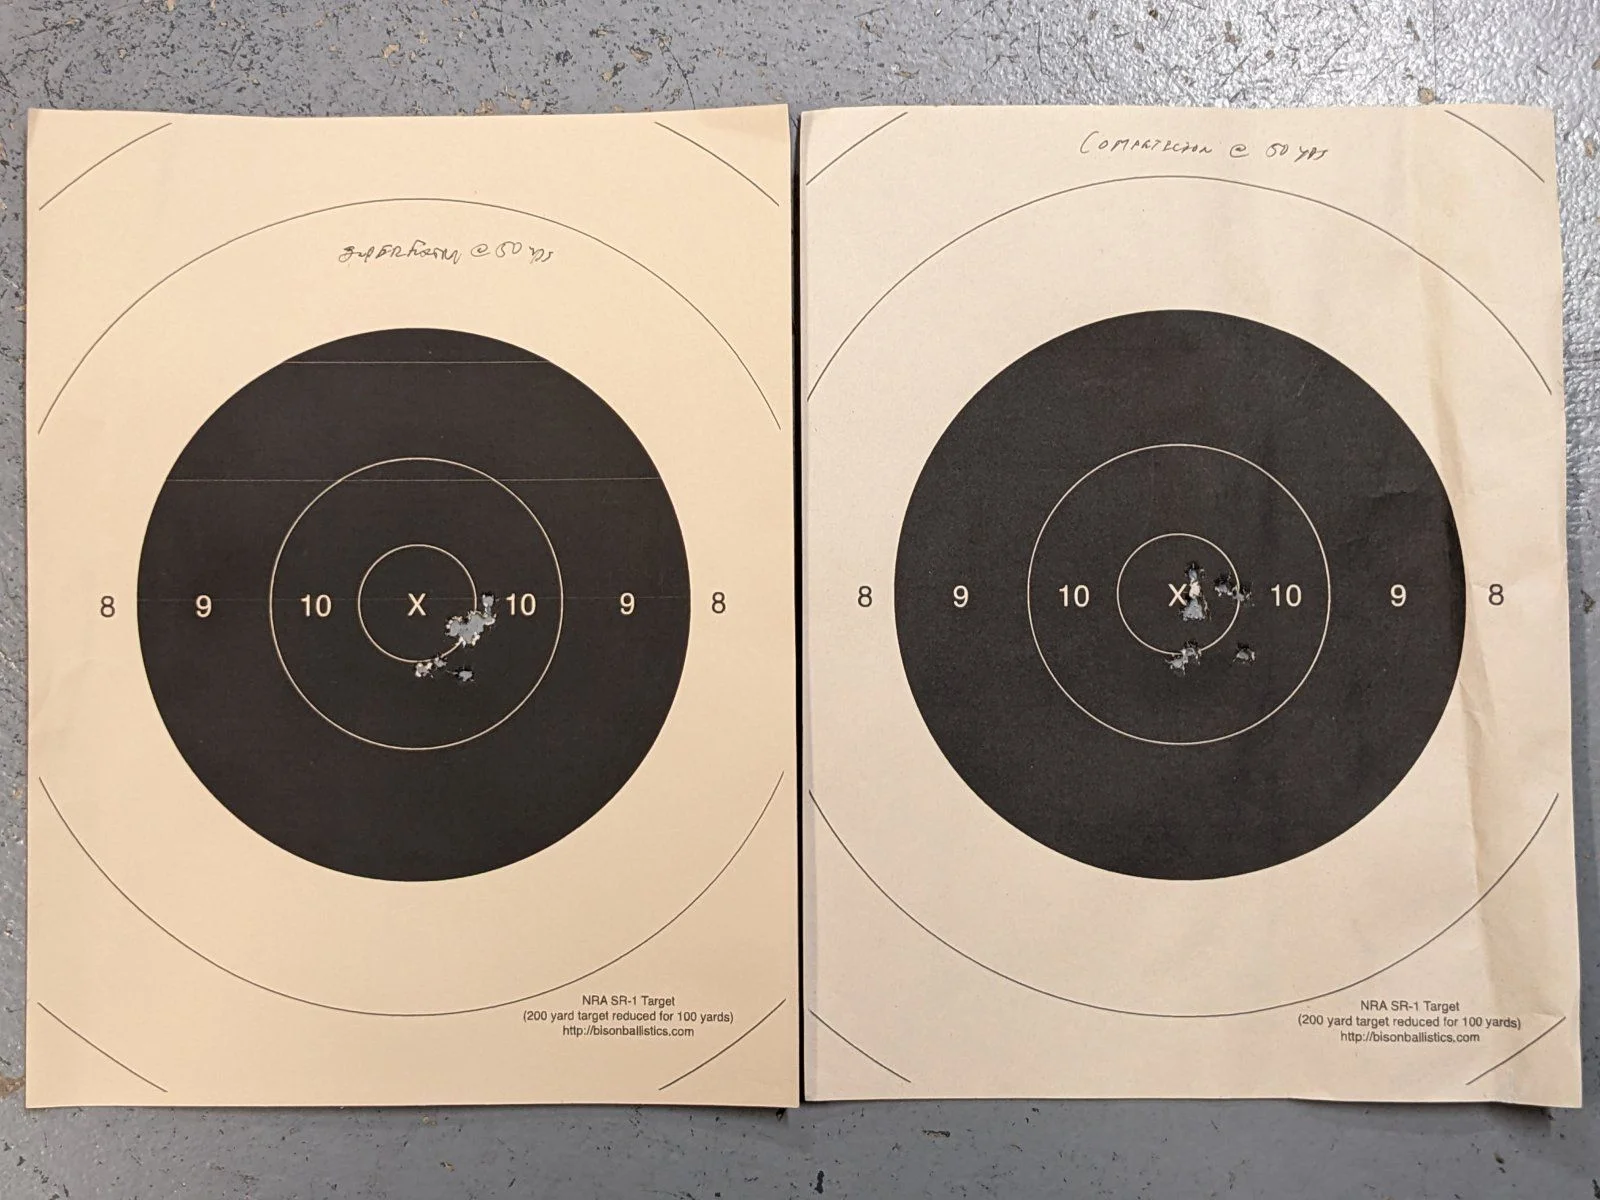
Aim for five clean hits in a 6-inch circle at 100 yards, transitioning through all three positions in under 30 seconds. Keep track of your times and hit placements to assess progress over sessions.
Setting up for the drill
Equipment needed
Rifle: Use a caliber suitable for your target distance (typically .223 Remington or .308 Winchester for 100 yards).
Ammunition: Bring at least 20 rounds to allow for repetitions.
Targets: Use an IPSC silhouette or a standard paper target with a 6-inch bullseye.
Shooting mat: Provides comfort and stability in the prone position.
Spotting scope or binoculars: Useful for assessing shot placement after each run.
Safety considerations
Always follow basic safety rules: keep the muzzle pointed downrange, maintain trigger discipline, and be aware of your surroundings.
Ensure that your shooting area has a safe backstop for your caliber.
Be cautious when transitioning positions; maintain control of your rifle.
The drill breakdown
The 3-position rifle drill consists of three distinct shooting positions: prone, kneeling, and standing. Each position presents unique challenges regarding stability and target acquisition.
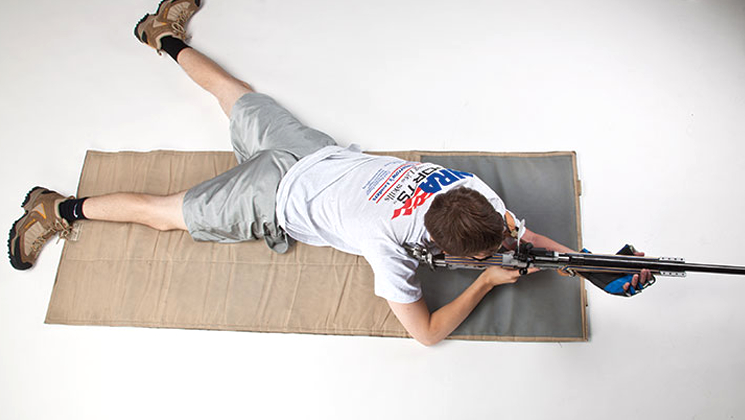
Position 1: Prone
Setup: Lie flat on your stomach with your rifle supported by your bipod or sandbags.
Focus: Align your sights on the target while ensuring a consistent cheek weld.
Drill execution:
Take one shot at the target.
Call your shot and note where it hits.
Repeat for a total of five shots before transitioning to the next position.
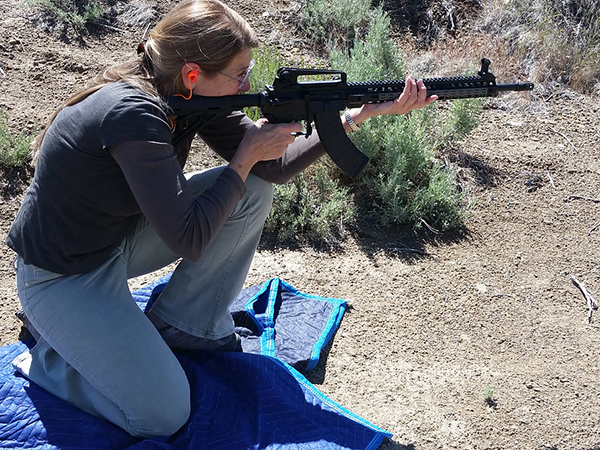
Position 2: Kneeling
Setup: Move to a kneeling position, keeping your non-dominant leg forward for stability.
Focus: Use your elbows to create a stable platform against your knee.
Drill execution:
Take one shot at the target.
Call your shot and assess the hit location.
Complete five shots before moving to standing.
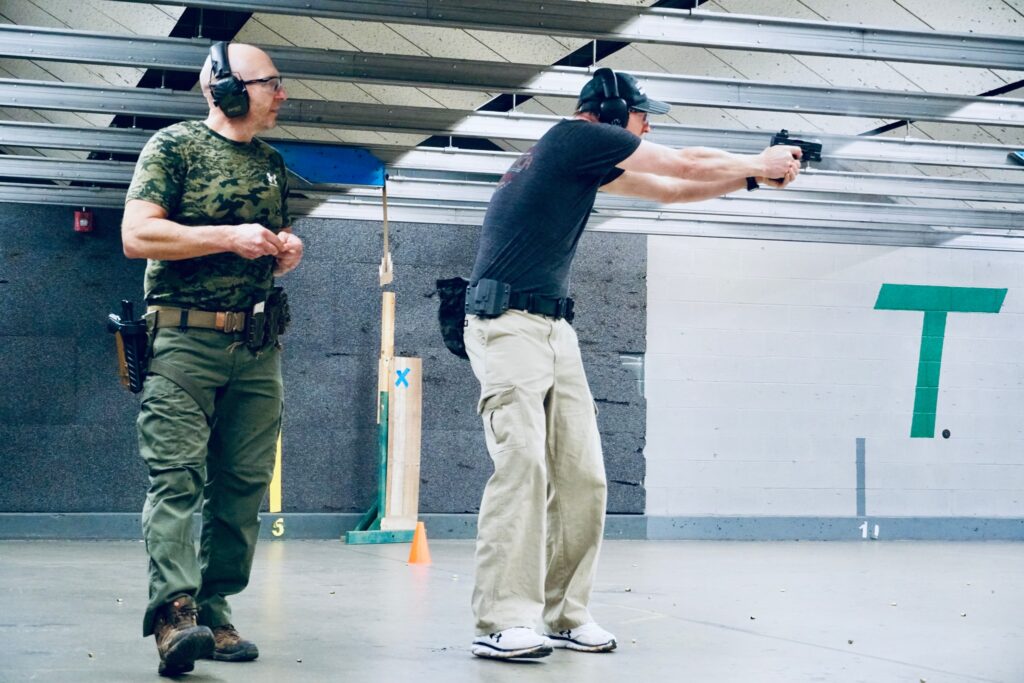
Position 3: Standing
Setup: Stand with your feet shoulder-width apart for balance.
Focus: Keep your core engaged and use your body to support the rifle.
Drill execution:
Fire one shot at the target.
Call your shot and evaluate hit placement.
Finish with five shots.
After completing all three positions, take a moment to review your targets and record hit placements and times.
Drill checklist
Distance: 100 yards
Target: 6-inch circle
Rounds: 15 rounds (5 per position)
Par time: 30 seconds
Goal: Five clean hits per position in under the allotted time.
Common mistakes and fixes
Inconsistent positioning:
- Fix: Prioritize establishing a solid base in each position before shooting. Practice getting into each stance smoothly and consistently.
Poor trigger control:
- Fix: Focus on a smooth trigger press with minimal movement of the rifle. Dry-fire practice can help reinforce this skill.
Neglecting shot calling:
- Fix: After each shot, call where you think it hit before checking the target. This builds awareness and helps improve future accuracy.
Rushing transitions:
- Fix: Take a moment to regain composure between positions. Moving too quickly can lead to instability and missed shots.
Failure to track progress:
- Fix: Keep detailed notes on each session's times, hit placements, and conditions. This will help you identify trends and areas needing improvement.
Progression and scaling
To make this drill more challenging as you improve, consider these progression methods:
Increase distance: Move back to 200 yards while maintaining the same shooting positions.
Add stressors: Incorporate time constraints or physical exertion before starting the drill (e.g., sprinting to your shooting location).
Change targets: Use smaller target sizes (4 inches or even smaller) to challenge precision further.
From the bench
Logging your practice sessions is key to improvement. Record your times, hit placements, and any notes about what worked or what didn’t during each run. This data allows you to see your progress over time and adjust your focus accordingly.
Conclusion
The 3-position rifle drill is an essential training tool for any serious shooter looking to enhance their precision under varying conditions. By focusing on stability, shot calling, and controlled transitions, you will develop skills that directly translate to improved performance in matches or real-world scenarios.
Run this drill once a week for a month and track your clean runs. Analyze your notes after each session to identify areas for improvement, and don’t shy away from pushing yourself further as you gain confidence.