Choosing the right mount height for long-range precision shooting
When it comes to long-range precision shooting, the mount height of your optic is a crucial factor that can significantly impact your shooting experience and overall performance. Selecting the appropriate height ensures proper alignment, enhances target acquisition, and contributes to overall shooting comfort. This article will delve into the intricacies of mount height selection, addressing common challenges and providing hands-on tips for achieving optimal setup.
Understanding mount height
Mount height refers to the vertical distance between the centerline of the optic's objective lens and the top of the rifle's receiver. It plays a pivotal role in how you interface with your firearm. An improper mount height can affect your eye relief, cheek weld, and overall shooting posture.
Eye relief and its importance
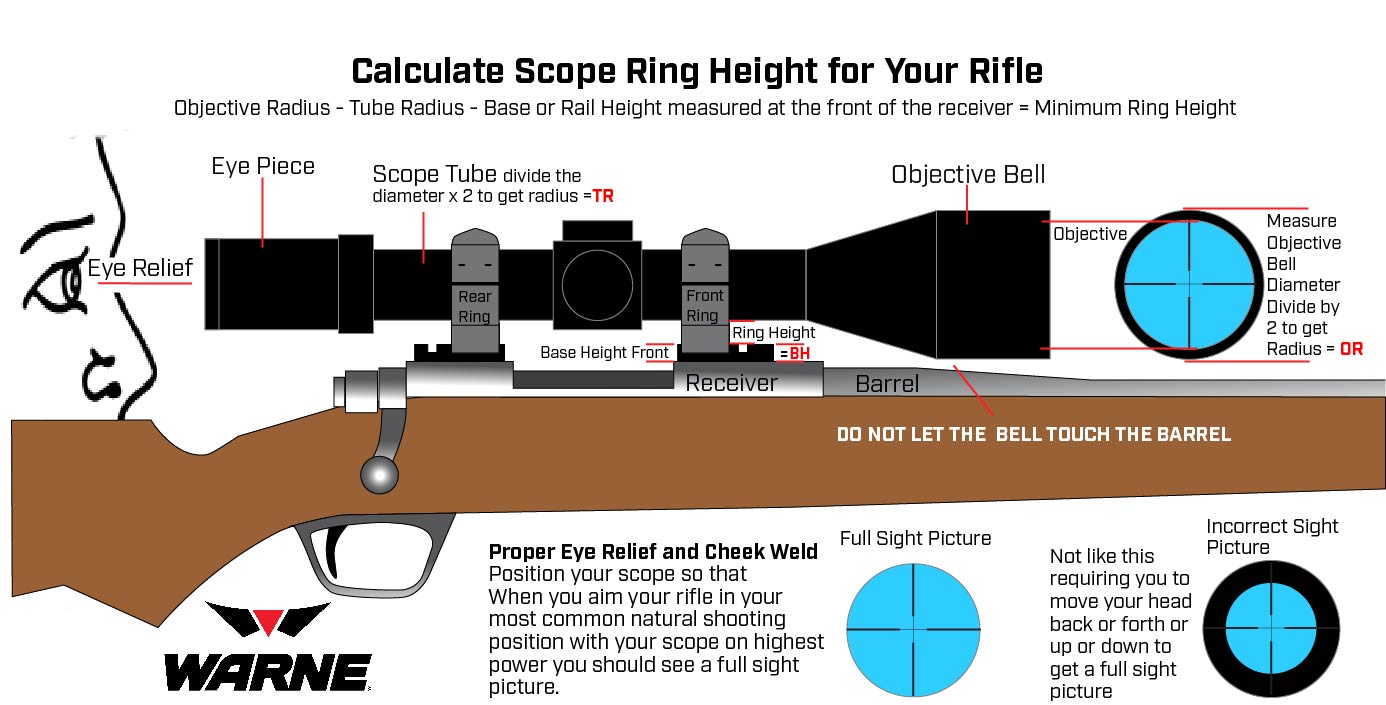
Eye relief is the distance from the rear lens of the optic to your eye. It’s vital for ensuring that you can see the entire sight picture without any obstruction or risk of injury from recoil. Most optics specify an ideal eye relief range, often between 3 to 4 inches for rifle scopes. If your mount is too high, you may struggle to achieve proper eye relief, making it difficult to acquire targets efficiently.
Cheek weld and shooting posture
A good cheek weld is essential for consistent shooting. The mount height you choose will directly influence your head position and how comfortably you can maintain your aim. If your mount is too low, you may find yourself craning your neck uncomfortably. Conversely, if it’s too high, you might have to lift your head off the stock, leading to instability and inconsistent shots.
Factors influencing mount height selection
Several factors come into play when choosing the right mount height for your long-range setup:
Optic type and design
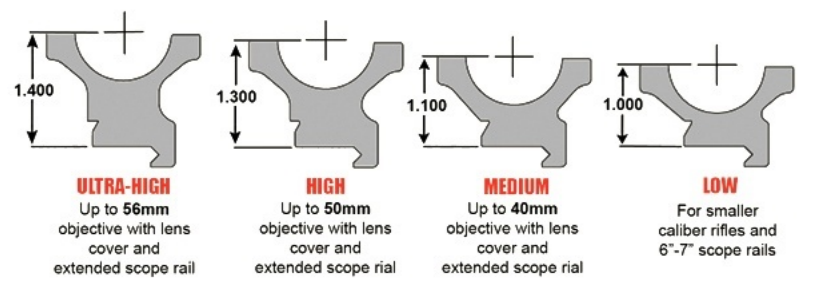
Different optics come with varying dimensions and designs that can affect how they fit on your rifle. For example, a scope with a larger objective lens may require a higher mount to prevent interference with the barrel or handguard. Consider the specifications of your optic, including its tube diameter and objective lens size, as these details will guide your mount height choice.
Rifle configuration
The type of rifle and its configuration also influence mount height decisions. For instance, a precision bolt-action rifle typically has a different stock design compared to an AR platform. The stock's height and design can dictate how low or high you need to mount your optic to achieve a proper sight alignment.
Shooting style and purpose
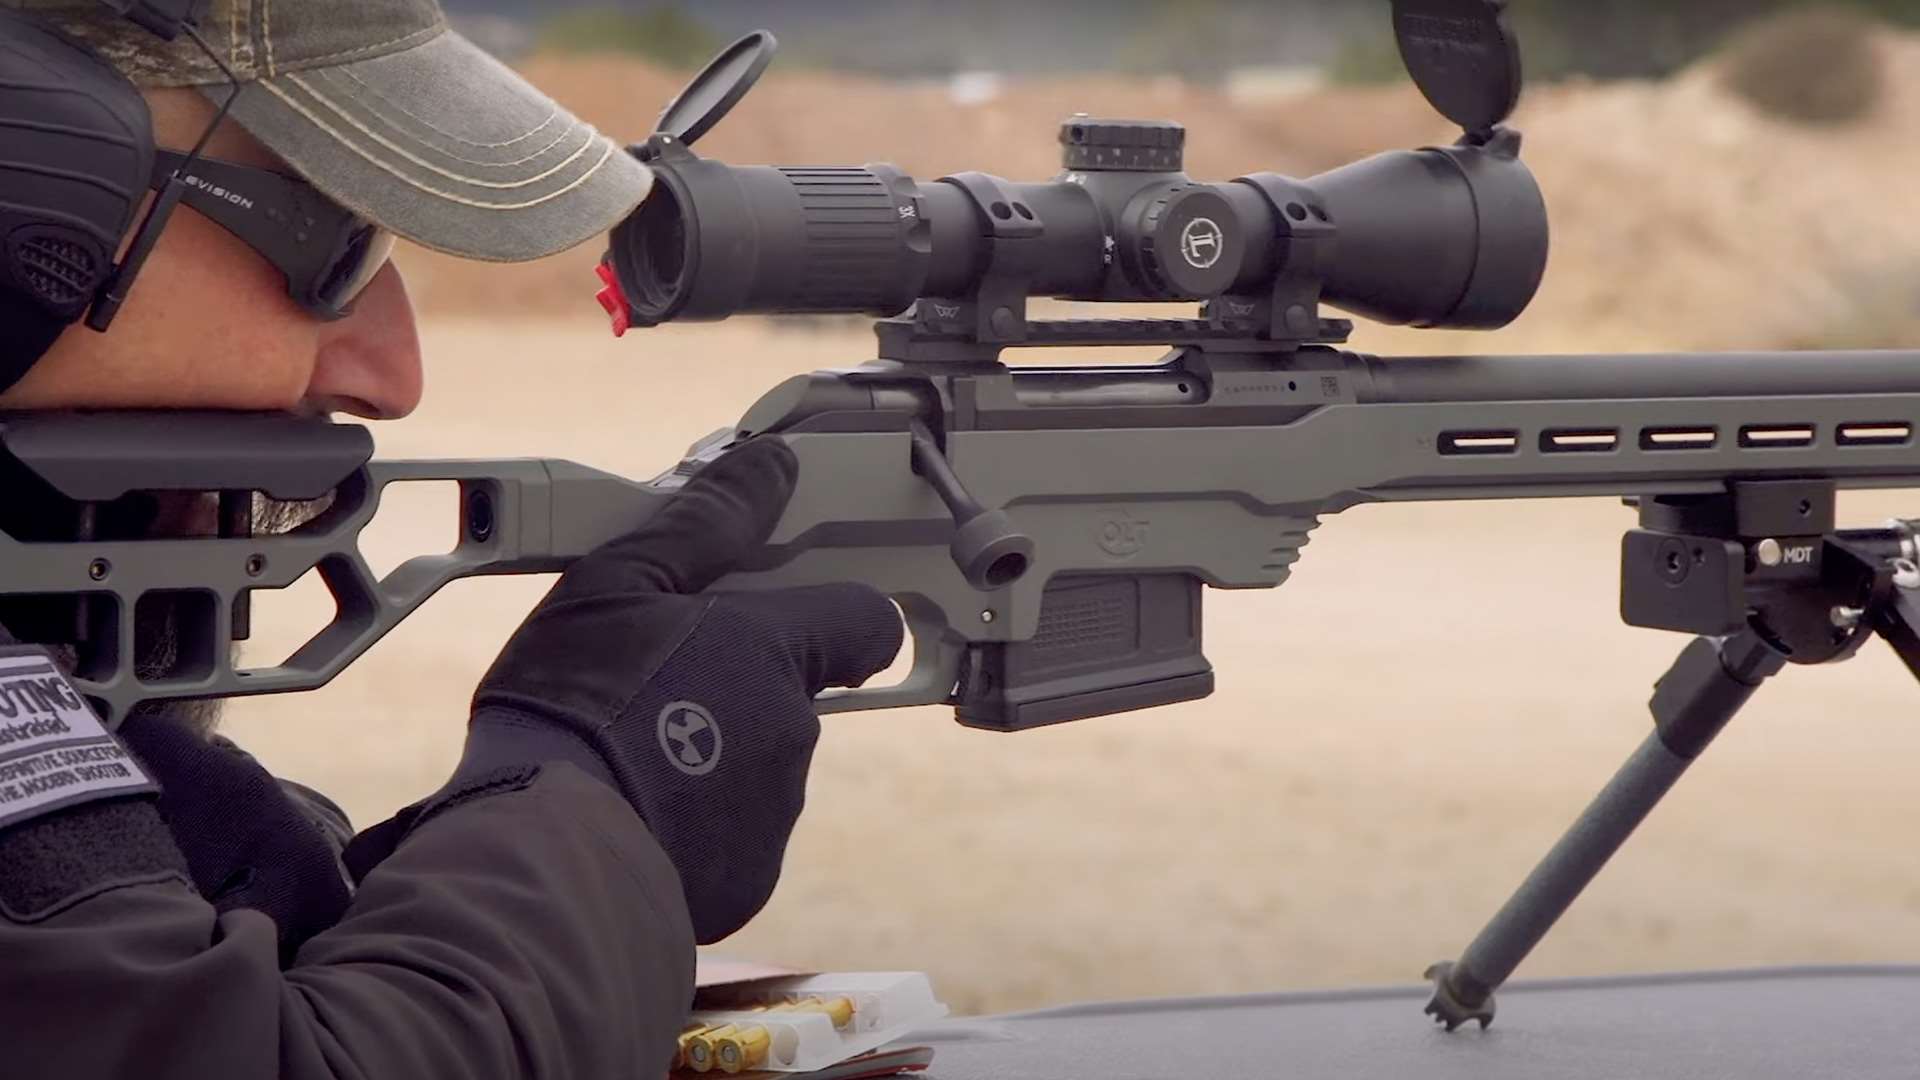
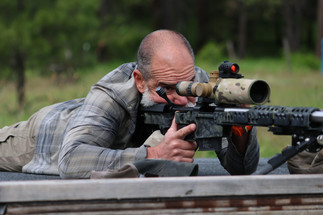
Your intended shooting style—whether it be prone shooting, standing, or benchrest—also affects mount height selection. Prone shooters often benefit from lower mounts that allow for a more stable shooting position, while those shooting from standing positions may prefer slightly higher mounts for improved target acquisition.
Measuring for optimal height
To find the ideal mount height for your setup, follow these steps:
Determine your eye relief: Start by measuring the eye relief of your optic as specified by the manufacturer.
Check your rifle's stock: Measure the distance from the top of your receiver to the bottom of your cheek piece in your natural shooting position. This will give you a baseline for how high your optic should sit.
Choose a mount style: Select a mount style (fixed or adjustable) that fits within the ideal range you've established based on your measurements.
Test different heights: If possible, try different mounts or risers at the range. Use temporary mounting solutions like high-rise rings or adjustable mounts to get a feel for what works best before committing to a permanent solution.
Verify alignment: Once mounted, ensure that your optic is level with the rifle's receiver and that there are no obstructions when aiming downrange.
Common mistakes in mount height selection
Even experienced shooters can make errors when selecting mount heights. Here are some pitfalls to watch out for:
Ignoring eye relief: Failing to account for eye relief can lead to an uncomfortable shooting experience or even injury during recoil.
Overlooking stock design: Not considering how your rifle's stock interacts with your chosen mount height can result in poor cheek weld and alignment issues.
Choosing aesthetics over function: While an attractive setup is nice, prioritize functionality over looks when selecting mounts.
Neglecting testing: Skipping live testing at various heights can prevent you from finding the most comfortable and effective setup.
Shop Tips
Always degrease mounting surfaces before installation to ensure a secure fit.
Use a torque wrench to tighten screws to manufacturer specifications; over-torquing can lead to stripped screws or damage.
Consider using level bubbles or digital levels when mounting to ensure perfect alignment.
After initial setup, verify zero after a few range sessions as components can settle over time.
Setup checklist
Measure eye relief according to manufacturer specs.
Check cheek weld position before mounting.
Select appropriate mount style (fixed or adjustable).
Install the mount securely with proper torque specifications.
Confirm alignment using a level before finalizing.
Verify zero with a box test after mounting.
The impact of environmental conditions
Environmental factors play a significant role in long-range shooting accuracy and should be considered when selecting your mount height. Factors such as wind conditions, light exposure, and temperature changes can affect both your comfort and performance.
Wind and mirage considerations
When shooting at long distances, wind drift can become significant. A higher mount might give you better visibility over obstacles but could also increase susceptibility to wind effects on bullet travel. Additionally, mirage caused by heat waves can distort targets; thus, a lower mount might help minimize this effect.
Low-light performance
In low-light scenarios, having a proper cheek weld becomes even more critical since lighting conditions can limit visibility. A well-positioned optic allows you to maintain alignment without adjusting your head position excessively.
Reticle choice and target acquisition
The reticle design within your optic also interacts with mount height. For long-range precision shooting, consider the following:
Line weight and visibility
Thicker reticle lines can obscure small targets at distance if not paired with an appropriate mount height. Ensure that your chosen height allows for unobstructed view through the optic while maintaining clarity of fine details in the reticle.
FFP vs SFP considerations
In first focal plane (FFP) optics, reticle subtensions change with magnification, which can complicate holdovers if not properly aligned with eye level. Ensure that your mounting choice complements the reticle design and offers consistent performance across magnification ranges.
Final adjustments and verification
Once you've established a suitable mount height and tested it at the range, take time for final adjustments:
Revisit eye relief: Recheck eye relief after any changes in position or equipment setup.
Zero verification: Conduct thorough zero verification using tall target tests or box tests to confirm accuracy.
Document results: Keep records of settings used for future reference and adjustments.
Seek feedback: Get input from fellow shooters regarding comfort and effectiveness of your setup; they might offer insights that enhance performance.
Conclusion
Selecting the right mount height for long-range precision shooting is an integral aspect of achieving consistent performance and comfort. By understanding the factors influencing mount height selection—such as eye relief, stock design, environmental conditions, and reticle visibility—you can make informed decisions that enhance your shooting experience.
Take time to experiment with different heights and setups at the range. Remember that careful mounting practices, regular verification checks, and adjustments are essential for optimal performance in any shooting environment. With diligence and attention to detail, you'll find a setup that suits both your preferences and needs on the long-range line.