Maintaining reliability in lever-action rifles: inspection and lubrication techniques
Lever-action rifles have a storied history, known for their classic design and fast follow-up shots. However, like any firearm, they require regular maintenance to ensure reliability and longevity. In this article, we’ll cover the essential inspection and lubrication techniques to keep your lever-action rifle running smoothly.## Scope and safety boundariesBefore diving into the specifics, let's establish what you can safely tackle at home and what’s better left to a professional gunsmith. As an experienced enthusiast, you likely know your way around your firearm, but it’s crucial to remember that safety always comes first.
What you can do:
- Inspect critical components for wear and damage.
Clean and lubricate parts as needed.
Replace worn or damaged springs and other small parts.
What you should leave to a professional:
Chambering or re-barreling work.
Alterations to the receiver or action geometry.
Any modifications that affect the firearm's classification or safety features.
Now that we've set the ground rules, let’s get to work.
Bench safety checklist
Before starting any maintenance on your lever-action rifle, follow these important safety steps:
Ensure the rifle is unloaded: Check the chamber and magazine multiple times. This is a non-negotiable step.
- Work in a well-lit area: Good visibility helps prevent mistakes and accidents.
Wear safety glasses: Protect your eyes from debris and cleaning solvents.* Organize your tools: Keep everything you need within reach—a clean bench is a happy bench.
Use proper cleaning solvents: Ensure you’re using products that are safe for firearms. Avoid anything abrasive or caustic.
Have a first aid kit nearby: Accidents happen; it’s best to be prepared.
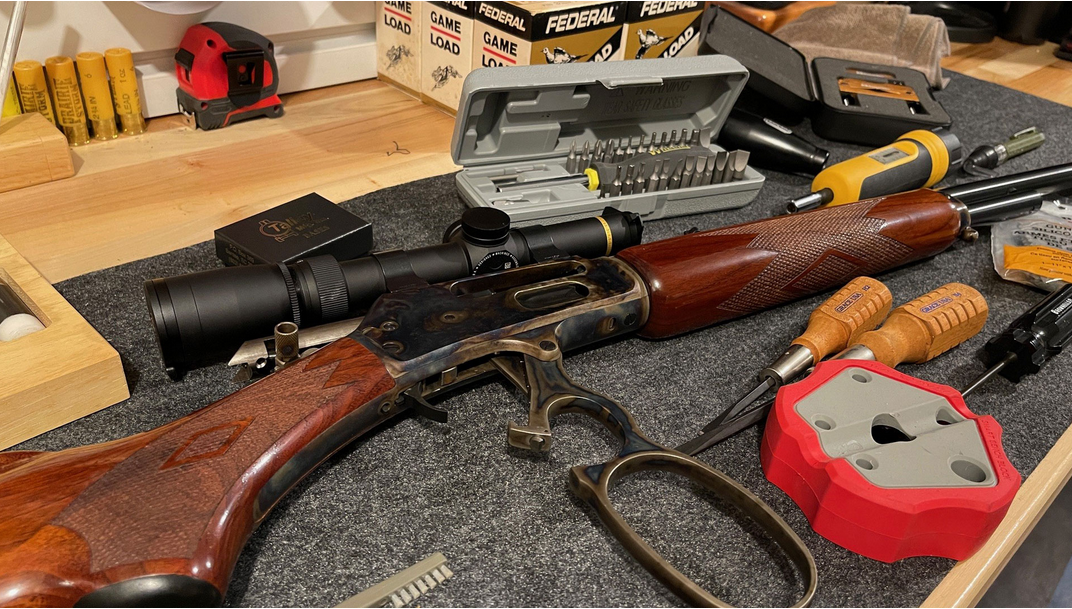
Bench setup and tools
Your workspace should be organized and equipped with the right tools. Here’s what you’ll need for maintaining your lever-action rifle:
- Cleaning rod with brushes: A good cleaning rod and appropriate brushes for the caliber will help remove fouling.
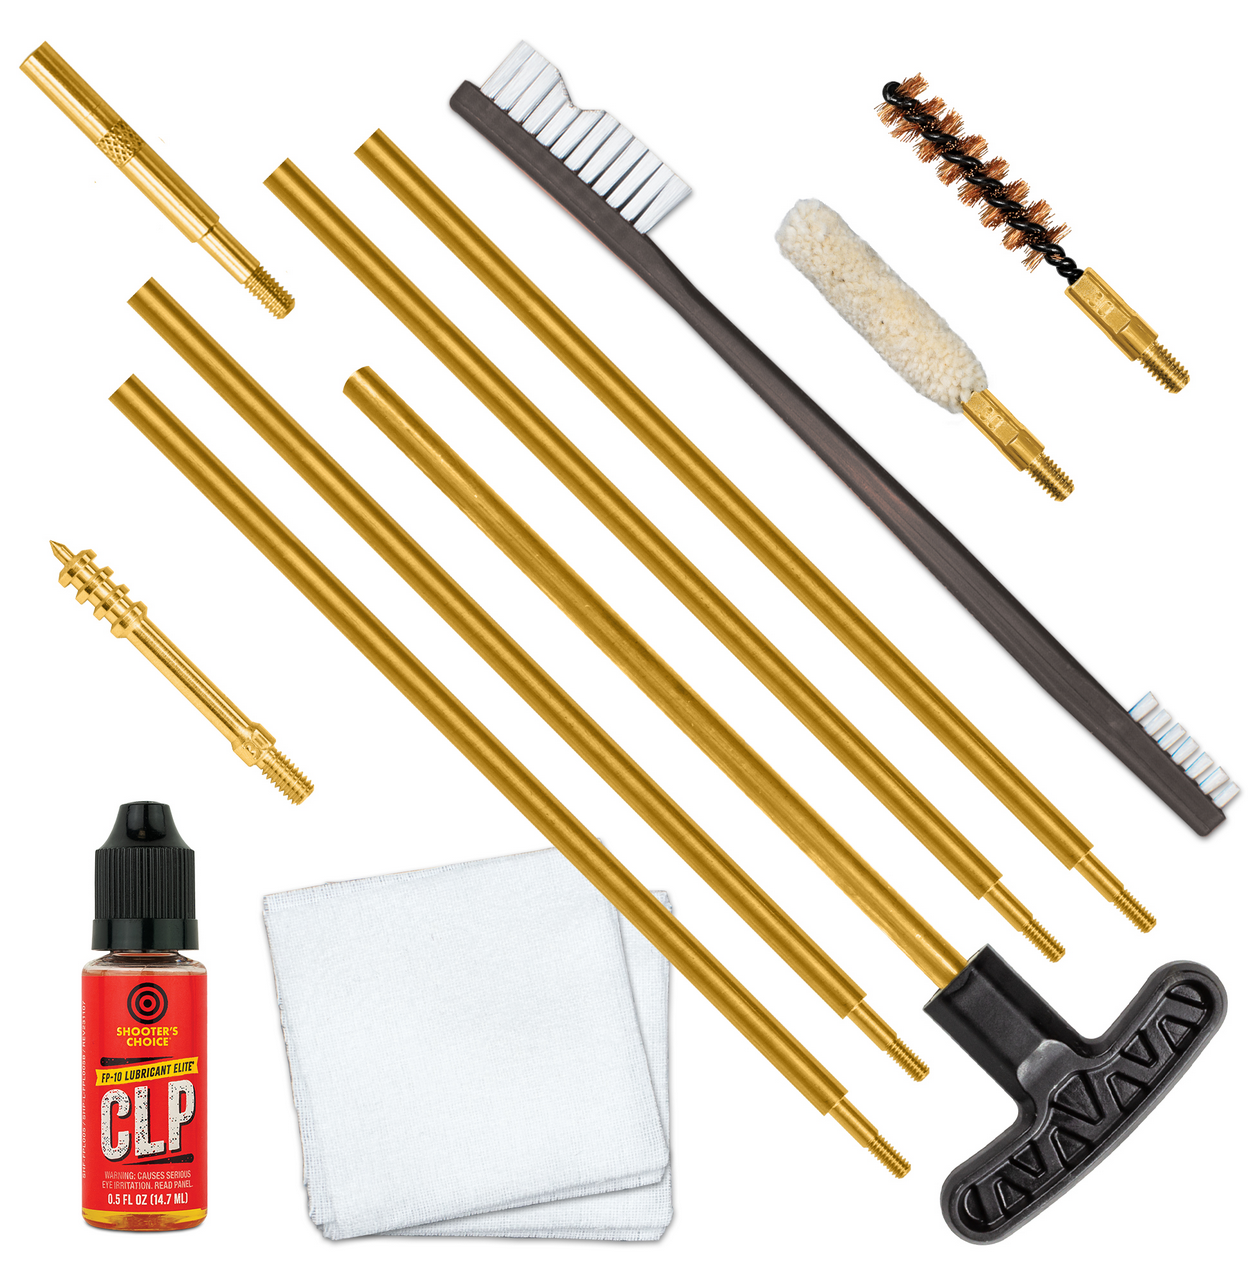
Cleaning patches: For wiping down the bore after brushing.
Cotton swabs or dental picks: Great for getting into tight spots.
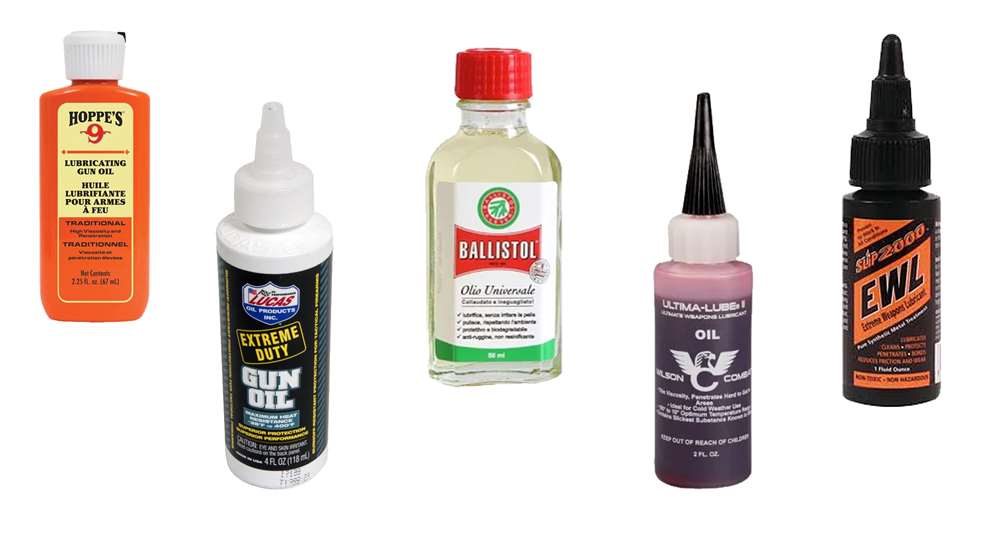
- Lubricant: Choose a high-quality gun oil or grease that can withstand temperature changes.
Bench block: Keeps your rifle steady while you work on it.
Torque wrench: Useful for ensuring screws are properly tightened.
Feeler gauges: For checking tolerances if you’re getting into more detailed inspections.
Diagnosis before teardown
Before you start disassembling your rifle, it's important to diagnose any issues you might be experiencing. Common problems with lever-action rifles can include:
Failure to cycle properly: This may indicate dirt buildup or insufficient lubrication.
- Inconsistent accuracy: This could stem from a dirty bore or loose action screws.
Stiff lever operation: Often caused by lack of lubrication or wear on internal components.
Take note of any specific symptoms you're experiencing. Documenting these can help guide your inspection and maintenance process.

Controlled disassembly and inspection
Let’s get into the nitty-gritty of disassembling your lever-action rifle for thorough inspection. Always refer to your manufacturer’s manual for specific instructions related to your model.
Disassembly steps1. Ensure the rifle is unloaded: This cannot be overstated—double-check it.
Remove the lever: This often involves loosening a pin or screw that holds it in place. Make sure to keep track of any small parts that may fall out during this process.
Take off the stock: Depending on your model, this could involve removing screws or bolts securing the stock to the receiver.
Remove the action from the receiver: Carefully slide it out while ensuring not to lose any springs or detents that may be under tension.
Inspect all components: Look for signs of wear, rust, or damage.
What to look for
Bright metal spots: These can indicate excessive wear on moving parts.
Rust or corrosion: Pay special attention to the barrel and internal components.
Cracked or damaged springs: If you notice anything amiss, consider replacing those parts before reassembly.
Corrective work within specOnce you've inspected all components and noted any issues, it’s time for corrective actions.
Cleaning components
Use a cleaning rod with an appropriate brush to clean the bore of your rifle thoroughly. Follow these steps:
Attach a brush soaked in solvent to your cleaning rod.
Insert it into the chamber and push through to the muzzle end.
Pull it back out without pulling it through the action; repeat until the bore is clean (3–5 passes usually does it).
Follow up with dry patches until they come out clean.
Lubrication techniques
After cleaning, proper lubrication is key to ensuring smooth operation:
Apply a few drops of lubricant on moving parts, such as:
The lever pivot points.
The bolt assembly.
The carrier and lifter mechanisms.
Use a cotton swab or small brush to distribute the lubricant evenly. Be careful not to over-lubricate—excess oil can attract dirt and lead to malfunctions.
Inspecting screws and fittings
Use a torque wrench to ensure that all screws are tightened to factory specifications. A loose screw can cause misalignment or other issues:
- For most lever-action rifles, aim for about 30–50 inch-pounds for wood screws securing the stock and action together, but always refer to your manual for specific values.
Reassembly and function checksOnce you've cleaned and lubricated all necessary parts, it’s time for reassembly:
Reinsert the action into the receiver: Ensure that all springs and detents are seated correctly.
Attach the stock: Secure it back in place with screws.
Reattach the lever: Make sure everything is functioning smoothly as you do this.
Function check
Perform a thorough function check before taking it back to live fire:
Cycle the action several times to ensure smooth operation.
Check for any binding or resistance that wasn’t there before disassembly.
Dry-fire the rifle (with snap caps if desired) to ensure trigger function is intact.
Live-fire verification
After all inspections and adjustments are complete, take your rifle out to the range for a test fire. Keep an eye on how it operates during live fire:
Look for any failures to feed, extract, or eject properly.
Pay attention to accuracy—if there are noticeable deviations from your normal group sizes, further investigation may be necessary.
Long-term maintenance habits
Maintaining reliability in lever-action rifles isn’t just about one-time inspections; it’s about developing good habits over time:
Regular cleaning schedule: Clean after every outing, especially if shooting corrosive ammo or in harsh conditions.
Document round counts: Keep track of how many rounds you’ve fired since your last inspection; this helps identify when maintenance is due.
Periodic checks on lubrication: Don’t wait until something feels off—check lubrication levels regularly.
Common mistakes
While inspecting and maintaining your lever-action rifle, here are some common pitfalls to avoid:
Neglecting cleaning after shooting: Dirt and fouling can build up quickly; don’t let it slide.
Over-lubricating parts: More isn’t always better—excess oil can lead to fouling rather than preventing it.
Ignoring small signs of wear: Address minor issues before they escalate into major repairs.
Bench note
One critical insight to remember when working on lever-action rifles is this: always document what you see during inspection—take notes or photos if necessary. It helps track changes over time and prevents "mystery springs" from popping up unexpectedly when you least expect them!
Maintaining reliability in lever-action rifles is both an art and a science. By following these inspection and lubrication techniques, you'll not only keep your rifle running smoothly but also extend its service life significantly. Remember, methodical work leads to reliable performance, so take your time and enjoy the process!