Drill of the month: Effective use of bipods in precision shooting
Bipods are a game-changer for precision shooting. They help stabilize your rifle, allowing for more accurate shots, especially at longer distances. When set up correctly, they can significantly improve your shooting experience by providing a solid platform that minimizes movement and maximizes focus on your target.
In this drill, we’ll explore how to effectively use bipods to enhance your shooting performance. You’ll learn about their setup, how they affect your shooting posture, and some common pitfalls to avoid. Let’s get started!
Understanding bipods
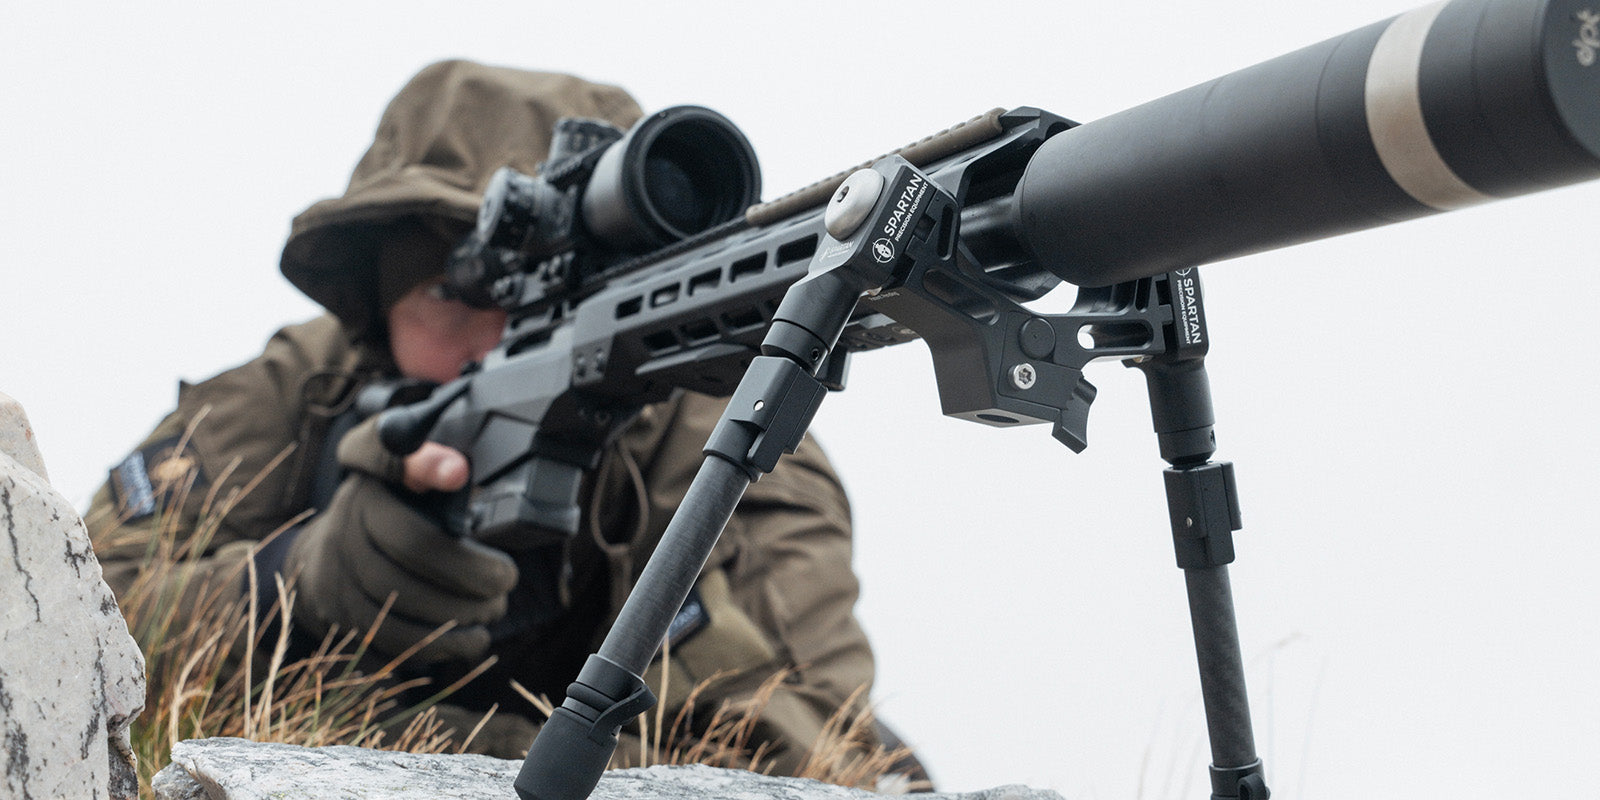
Before jumping into the drill, let’s quickly cover what bipods do for your shooting setup. A bipod provides a stable support system, which helps reduce the effects of natural body movement when you’re aiming and firing. This stability can enhance your cheek weld and eye box alignment, making it easier to maintain a consistent sight picture.
Key features of bipods
Height adjustment: Most bipods come with adjustable legs, allowing you to set the height according to your shooting position and terrain. Finding the right height is crucial for maintaining a proper shooting stance.
Pan and tilt: Many bipods have panning and tilting capabilities, enabling you to track moving targets without having to reposition your entire setup.
Material and weight: The construction material can influence the weight and durability of the bipod. Lightweight materials like aluminum or carbon fiber are popular among shooters who want to minimize added weight without sacrificing strength.
Setting up your bipod
Setting up your bipod properly is essential for maximizing its effectiveness. Here’s a step-by-step guide:
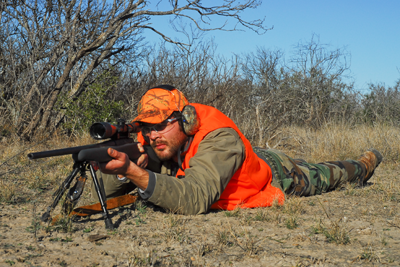
Choose the right location: Find a stable surface to shoot from. Whether it’s a rock, the ground, or a bench, ensure that it provides a solid base for your bipod.
Adjust the legs: Extend the legs of your bipod to an appropriate height. When you’re in a prone position, the rifle should be level with your eye. If you’re sitting or kneeling, adjust accordingly to maintain a comfortable angle.
Positioning: Place the bipod’s feet firmly on the ground or the surface you’re using. Make sure they’re spread wide enough for stability but not so wide that they compromise your shooting position.
Lock it down: Ensure that the bipod is locked in place before taking your shot. Some models have locking mechanisms that secure the legs and prevent unwanted movement during firing.
Check your grip: Once you’re set up, check how the rifle feels in your hands. Your trigger finger should rest comfortably on the trigger without straining, and your non-dominant hand should be positioned securely on the fore-end.
Fit & feel
When your bipod is set up correctly, you should experience a few key sensations:
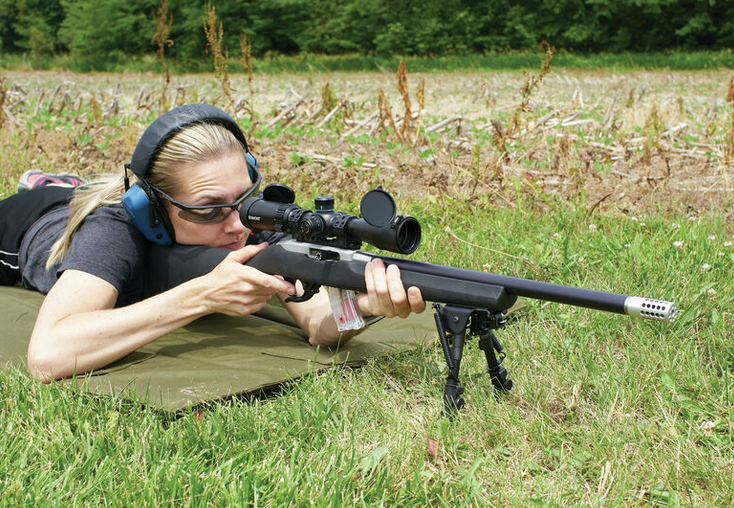
Stability: The rifle should feel anchored, with minimal wobble as you aim.
Comfort: You shouldn’t feel strained in any part of your body—your arms should be relaxed, and you should maintain a natural posture.
Control: You should be able to easily manipulate the rifle while maintaining a steady aim.
If any of these elements feel off, take a moment to readjust your setup before firing.
Common mistakes with bipods
Even experienced shooters can fall into traps when using bipods. Here are some common mistakes to watch out for:
Incorrect height adjustment: Setting the bipod too high or too low can lead to discomfort and poor aim.
Poor positioning: Not anchoring the bipod properly can result in instability and wobble.
Overgripping: Applying too much pressure on the rifle can create unnecessary tension and movement.
Neglecting terrain: Failing to account for uneven ground can throw off your balance and shooting posture.
Not practicing enough: Relying solely on equipment without regular practice can hinder your shooting skills.
Drills for effective bipod use
Now that you understand how to set up your bipod and what mistakes to avoid, let’s dive into some drills designed to improve your precision shooting skills with a bipod.
Drill 1: Basic stability drill
This drill focuses on enhancing stability while using a bipod.
Set up your bipod on a flat surface.
Get into a prone position and adjust the bipod legs for optimal height.
Without taking any shots, aim at a target and observe how steady your rifle is.
After 30 seconds, switch to different positions (sitting, kneeling) while keeping the bipod set up.
Aim at the target for another 30 seconds from each position.
Goal: This drill helps you become familiar with how different positions affect stability when using a bipod.
Drill 2: Target tracking drill
This drill is all about learning to track moving targets with your bipod.

Set up a target that moves (you could use a friend or an automated target system).
Begin in a prone position with your bipod adjusted correctly.
As the target moves, practice panning and tilting with your bipod while keeping your reticle on target.
Once comfortable, try transitioning between different shooting positions while tracking.
Goal: Develop fluidity and adaptability in tracking moving targets while maintaining stability through your bipod.
Drill 3: Rapid fire drill
This drill emphasizes speed while maintaining accuracy with a bipod.
Set up multiple targets at varying distances.
Start in a prone position with your bipod set up.
Engage each target in succession as quickly as possible while ensuring that you maintain stability and accuracy.
Record your time and accuracy rate; aim to improve both with each round of practice.
Goal: Increase your ability to shoot accurately under time constraints while using a bipod.
Product examples & comparison
When it comes to choosing a bipod, there are several options available on the market. Here are some widely recognized models along with their key features:
Harris S-BRM Bipod
The Harris S-BRM is known for its durability and ease of use. It features adjustable legs with a range of heights and is made from aluminum, making it lightweight yet sturdy. The swivel feature allows for smooth panning when tracking targets.
Atlas BT10 Bipod
The Atlas BT10 offers exceptional versatility with its multiple attachment options and adjustable legs. It has built-in canting capabilities, which is great for uneven terrain. Its robust construction ensures reliability under various conditions.
Caldwell XLA Pivot Bipod
The Caldwell XLA Pivot Bipod is budget-friendly while still providing solid performance. It features quick-adjust legs and a pivoting head that accommodates various shooting angles. It’s lightweight and easy to carry around on long outings.
Accu-Tac SR-5 Bipod
The Accu-Tac SR-5 Bipod stands out for its ruggedness and ability to handle heavy recoil rifles. Its leg adjustments are quick and easy, allowing for smooth transitions between positions. It also has an innovative locking mechanism that keeps it stable during firing.
Magpul Bipod
The Magpul Bipod combines sleek design with functionality. It features an adjustable leg length and pivoting capabilities for improved tracking. Its lightweight polymer construction makes it easy to carry without compromising strength.
Comparison summary
| Model | Key features | Strengths | Weaknesses |
|---|---|---|---|
| Harris S-BRM | Adjustable legs, aluminum construction | Lightweight, durable | Limited canting capability |
| Atlas BT10 | Multiple attachment options, canting | Versatile, robust | Heavier than other models |
| Caldwell XLA | Quick-adjust legs, pivoting head | Budget-friendly | Less durable than others |
| Accu-Tac SR-5 | Rugged design, heavy recoil capability | Excellent stability | Bulkier than some alternatives |
| Magpul Bipod | Adjustable length, lightweight | Sleek design | Fewer features than competitors |
Choosing the right bipod depends on your specific needs and shooting style. Consider factors like weight, adjustability, and price when making your decision.
Final thoughts
Effective use of bipods in precision shooting can significantly enhance your performance. By following the drills outlined above, you can improve your stability, tracking ability, and overall accuracy when using this valuable accessory.
Remember that practice is key! Regularly integrating these drills into your training routine will help you develop muscle memory and familiarity with your bipod setup.
So grab your gear, hit the range, and put these techniques into action! You might just find that those small adjustments lead to big improvements in your shooting game.