Diagnosing FTF Issues in 1911 Pistols: Steps for Reliable Feeding
Diagnosing FTF Issues in 1911 Pistols: Steps for Reliable Feeding
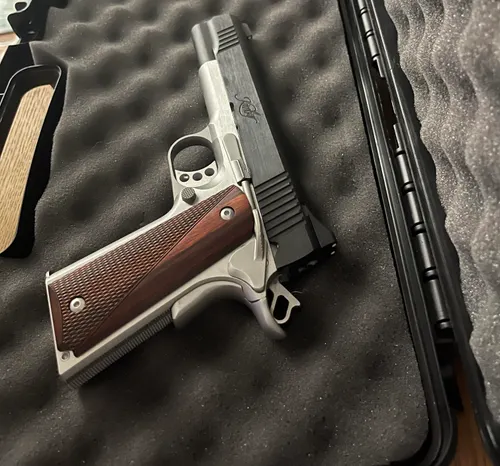
The 1911 pistol is a classic and reliable firearm, but even the best can experience feeding issues. If you’re dealing with failures to feed (FTF), it’s essential to approach the problem methodically. A careful home armorer can diagnose and correct common feeding issues without diving into complex modifications or risking safety. However, some tasks are best left to professionals; knowing where those boundaries lie is part of being an effective armorer.
1. Scope of the job and safety boundaries
This guide will focus on diagnosing and correcting FTF issues in 1911 pistols, covering safe checks, inspection methods, and user-serviceable repairs. We’ll emphasize diagnostics over guesswork, ensuring you know what to look for before disassembly. Remember that some jobs—like adjusting sear engagement or altering locking surfaces—should be handled by a qualified gunsmith.Before starting, always ensure your firearm is unloaded. Check the chamber, magazine well, and clear any ammunition from the area. Wear appropriate personal protective equipment (PPE), including safety glasses and hearing protection if you're near a range.
2. Bench, tools, and references
Setting up your workspace correctly is key to a smooth diagnosis. Ensure you have good lighting to see small details clearly. A sturdy bench with a non-slip surface will help keep everything in place. Use support blocks to stabilize the pistol during inspection.
Here’s a list of core tools and reference materials you'll need:
Bench block: Prevents marring when working on metal parts.
Roll-pin punches: Useful for driving pins without damaging them.
Torque wrench: For reassembling components to manufacturer specifications.
Feeler gauges: To check for proper fit and clearance.
Factory manual: Always refer to this for specific part specifications and diagrams.
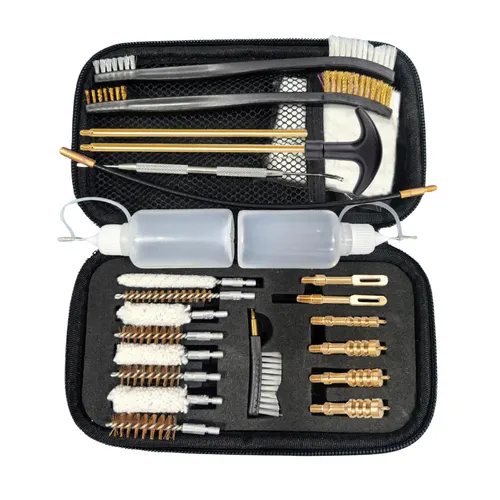
Lubricants and cleaners: Use a proper solvent for cleaning and a quality lubricant for reassembly. Having these tools handy ensures you can complete each step without interruption, helping you maintain focus on what matters.
3. Diagnosis before teardown
Before diving into disassembly, take a moment to verify the complaint. Gather information about the FTF issue:
Check the type of ammunition used—some feeds better than others.
Document any specific instances where feeding fails (e.g., last round, first round).
Take note of the ejection pattern as it can provide clues about what's going wrong.
Perform basic function checks. Cycle the action by hand and observe how smoothly it operates. If something feels off, make a note of it. Remember that guessing won't get you anywhere; accurate documentation is crucial.
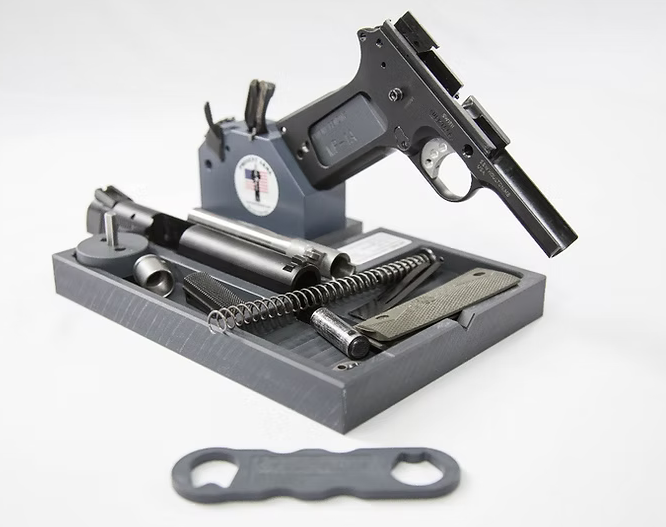
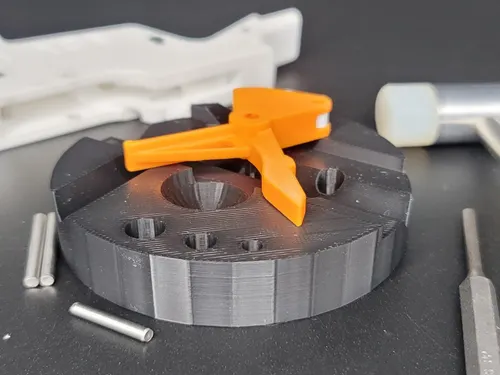
4. Controlled disassembly and inspection
When you're ready to disassemble, do so carefully. Keep track of all parts, especially springs, which can easily go missing or launch themselves across the room. Pay attention to how each component comes apart so you can reassemble it correctly.
During inspection, look for:
Worn or damaged magazines: Check for bent feed lips or broken followers.
Burrs on metal surfaces: Feel for rough edges that could impede movement.
Spring tension: Ensure recoil springs are not excessively worn or weak.
Chamber support: Look for any signs of peening or damage around the chamber area. Use your feeler gauges to measure clearances between parts like the barrel and link. This helps identify if wear has pushed tolerances out of spec.

5. Corrective work within spec
Once you've identified potential issues, it’s time for corrective action. Here are some user-level interventions:
Clean thoroughly: Remove any buildup in the chamber and feed ramp using solvent and a brush. Dirt can easily lead to FTF problems.
Inspect and replace magazines: If your magazines show wear or damage, replace them with factory-spec components. Good magazines are critical to reliable feeding.
- Deburr surfaces: If you find burrs on critical contact points, carefully use a stone to smooth them out. Just remember that chasing “perfection” can lead to problems; aim for functional rather than glass-smooth.
Lubricate properly: Apply lubricant to moving parts according to your factory manual recommendations. Over-lubrication can attract dirt, while under-lubrication leads to wear.
Bench note: It's often overlooked, but ensure that your magazine springs are not overly compressed or fatigued. A weak spring can lead to inconsistent feeding, especially with the last few rounds in the magazine.
6. Reassembly, function checks, and live-fire verification
Reassemble your pistol methodically. Make sure you don’t have leftover parts—double-check against your notes from disassembly. Once everything is back together, perform high-level function checks:
Ensure the safety operates correctly.
Check trigger reset by cycling the action manually.
Function-test by cycling through dummy rounds to confirm smooth operation.
For live-fire verification, plan a simple range session focused on testing feeding reliability:
Start with a few rounds in the magazine; observe how it feeds.
Watch for any signs of failure during firing—note if issues recur with specific ammo types.
7. Maintenance habits and knowing when to stop
Regular inspection intervals are key to maintaining your 1911's reliability. After every few hundred rounds, take time to clean your weapon thoroughly and inspect key components like magazines and springs.
Common mistakes:
Ignoring magazine condition; they’re often the source of feeding issues.
Over-tightening screws during reassembly; this can cause misalignment.
Not documenting findings; forgetting what you observed can lead to confusion down the line.
Sometimes it’s best to recognize when a problem exceeds your skill level. If you find significant wear or damage that goes beyond simple fixes, take your notes and concerns to a qualified gunsmith.
Working on your firearm should be about understanding it better and enhancing its performance. Methodical work pays off more than quick fixes or shortcuts. Keep track of what you learn along the way, and never hesitate to seek help when needed.